Modern Drywall Hanging Tools, Methods, and More
New methods and materials produce flatter walls and ceilings, and fewer callbacks.
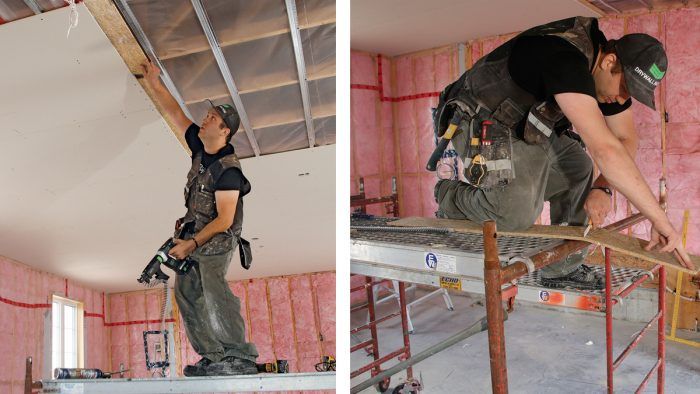
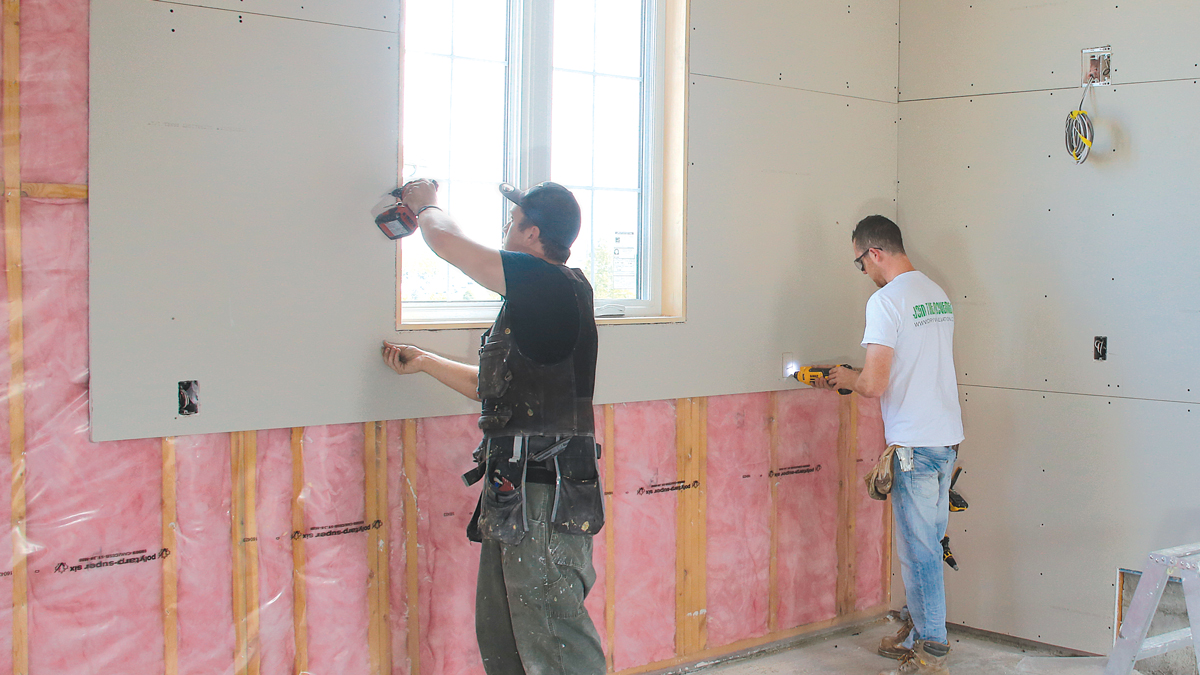
While it’s true that drywall as a material hasn’t changed much since its introduction in the 1940s, the way we hang it has evolved quite a bit in the last few years. Now we have better methods and better tools, which results in smoother walls and ceilings and less effort required to achieve them.
It won’t be difficult to find contractors and professional drywallers who question or even vehemently disagree with our methods. We know that because they routinely comment on our Instagram feed. All we can say is that we know our methods work because we’ve been hanging drywall like this for years. Because our walls are flatter and we don’t get cracks and screw pops, we get to work for the very best builders in the area.
New-school materials
You won’t find resilient channel, OSB drywall backers, or spray polyurethane adhesives on low-bid drywall jobs because they add to the cost of the project. That’s too bad, because these products greatly improve the quality of a drywall installation. Here’s how they do it.
Forgiving ceilings
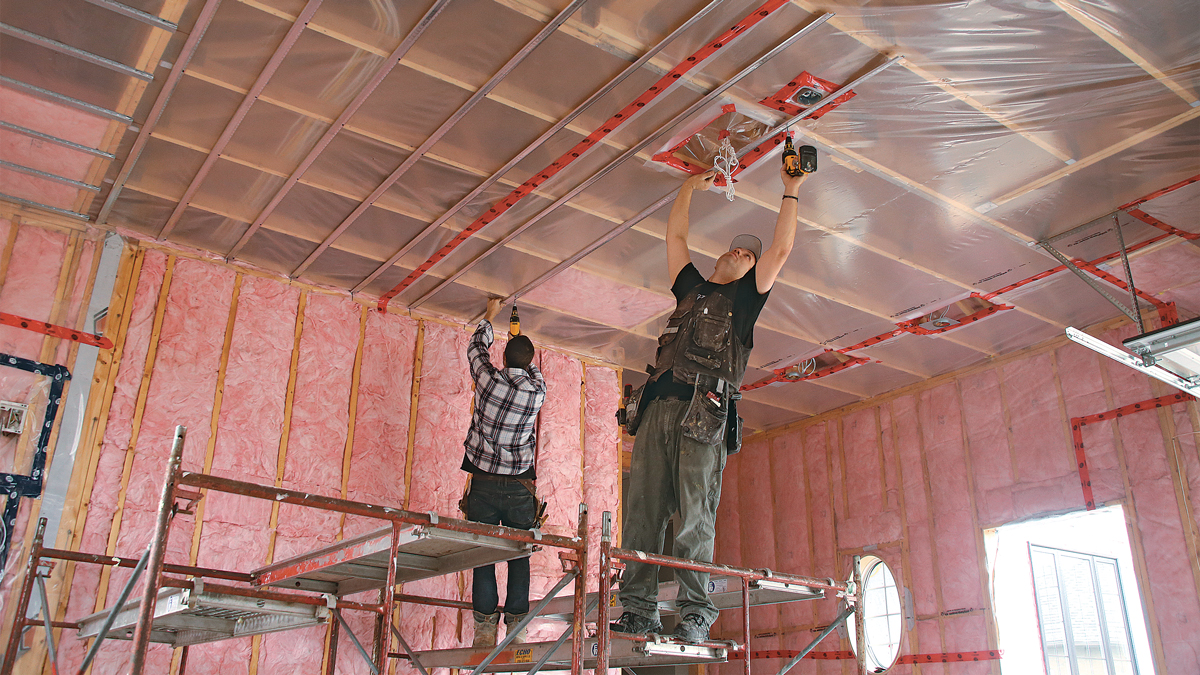
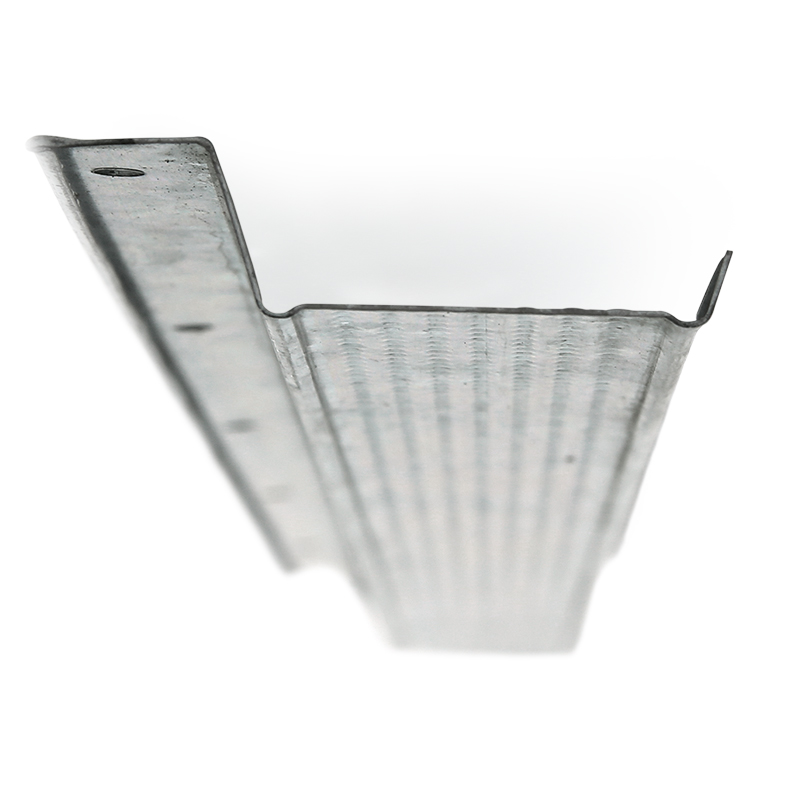 The cold climate in this part of Ontario requires a poly vapor/air barrier. Resilient channel (22¢ per ft.) prevents the screws from putting holes in the plastic and allows 16-in.-on-center fastening on a 24-in.-on-center framing layout for a flatter ceiling that resists sagging, even with a deep layer of blown-in insulation. The channel is fastened to the framing with 1-1/4-in. coarse-thread drywall screws. The drywall is fastened to the channel with 1-in. fine-thread screws.
Better butt seams
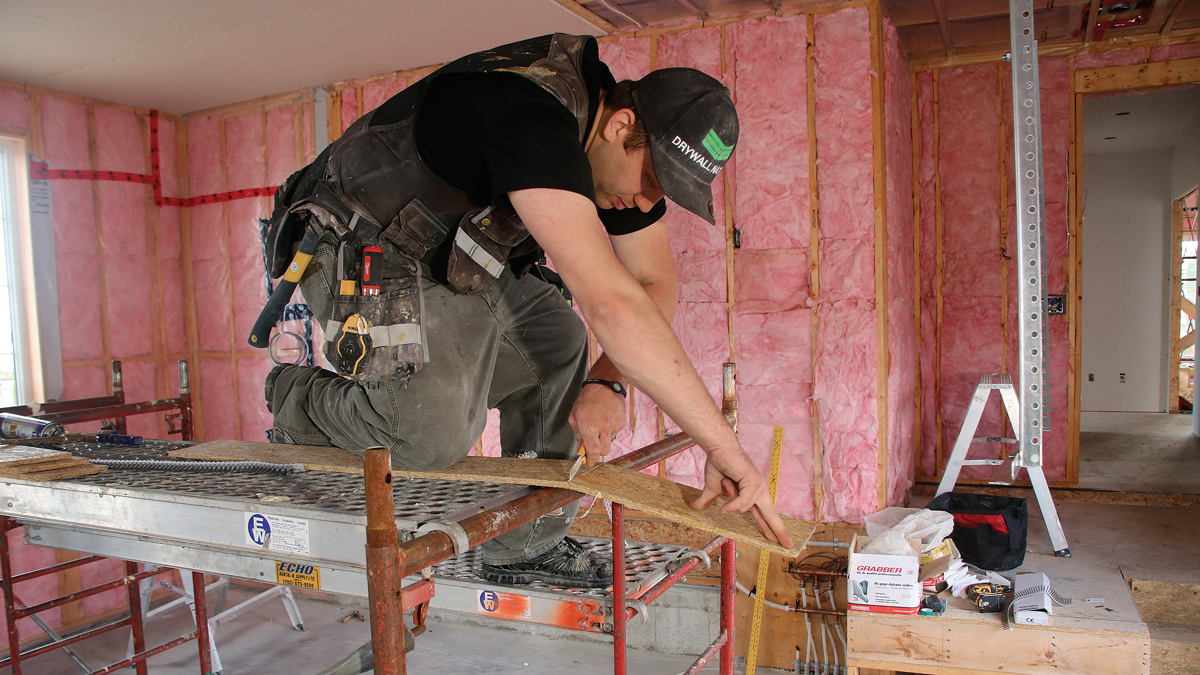
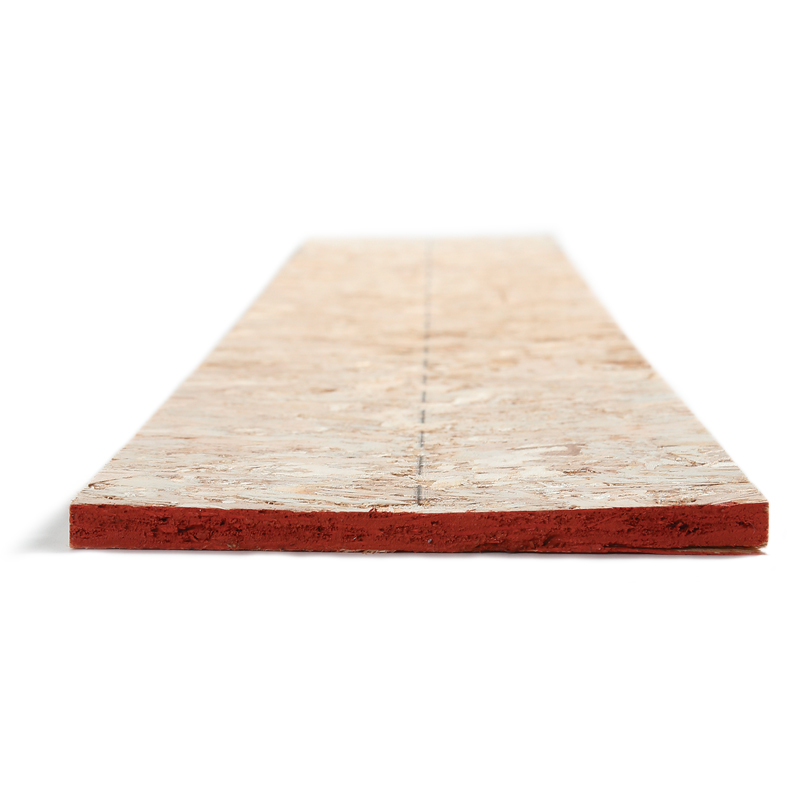 Drywall backers pull in the butt edges of the panels to create subtle recesses that allow the normally time-consuming finishing of these seams to be done like tapered-edge seams. This also means fewer screw pops because the fasteners can be placed farther from the drywall’s edge. We use Trim-Tex’s Buttboards, which come in 4-ft. and 4-1/2-ft. lengths ($4 to $5) but can be scored and snapped to make shorter pieces.
Improved adhesive
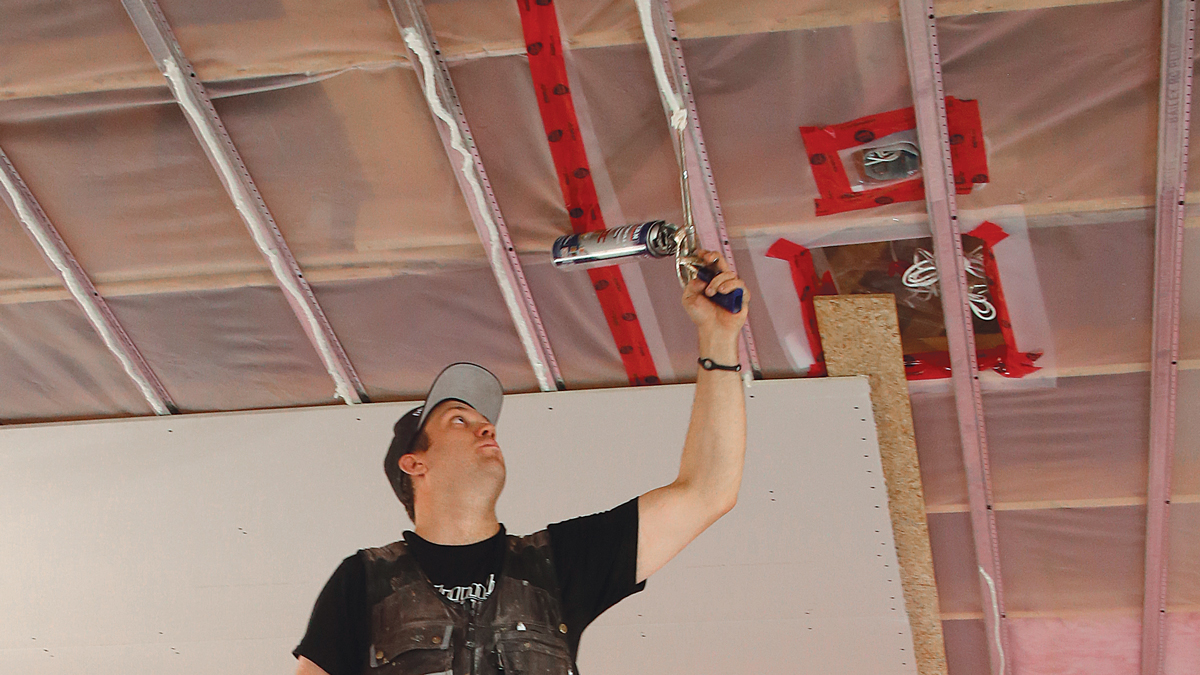
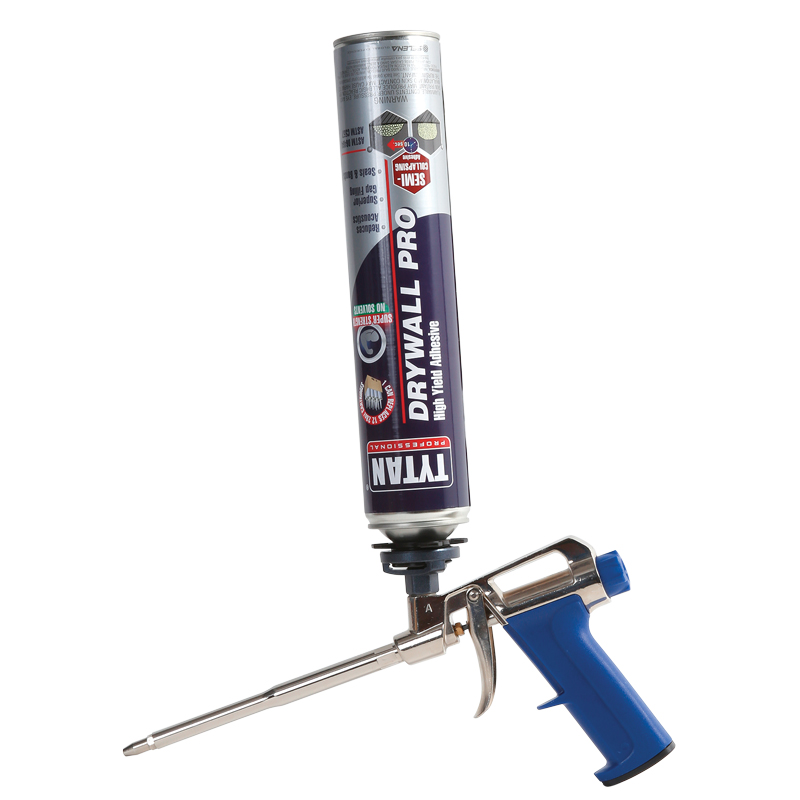 Polyurethane-based sprayfoam adhesives ($20 to $25 per can) are easier to dispense than caulk-gun dispensed adhesives, they produce a uniform bead, and they hold tenaciously, even to steel. Because of their superior hold, you need far fewer screws, resulting in faster hanging and fewer screw pops later on.
Forget about staggered seams
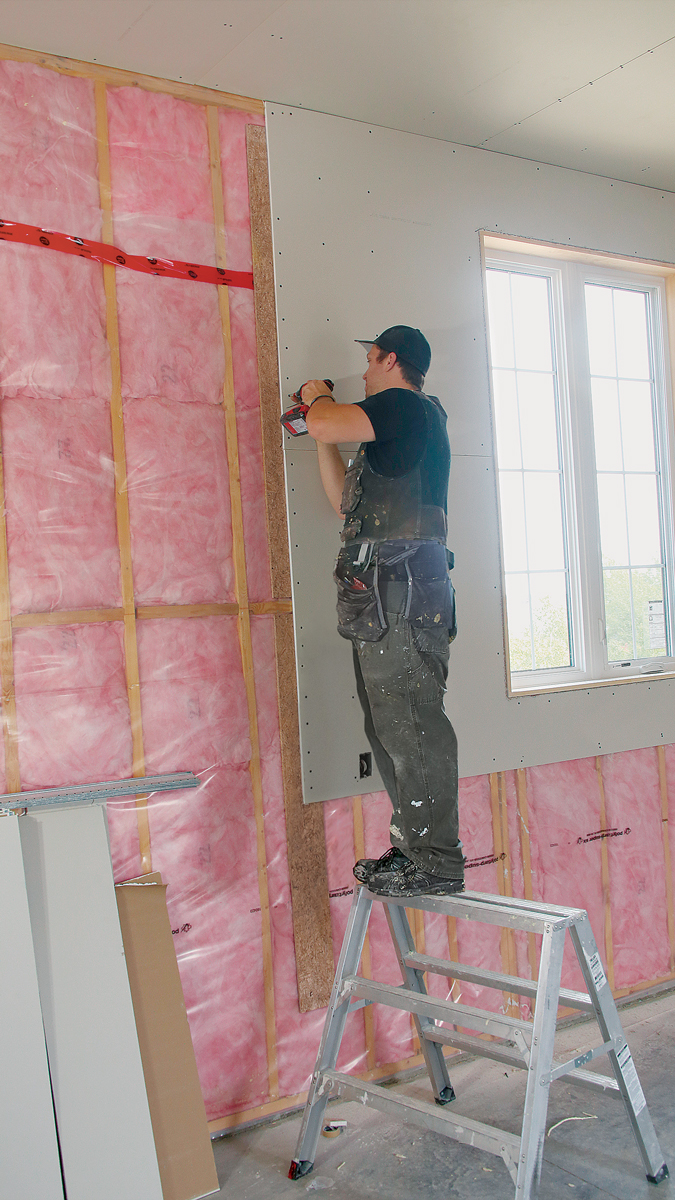
The old thinking was that you need to stagger drywall joints to make the seams less obvious. Unless the wall or ceiling is subject to raking light or will be covered with glossy paint, however, this is often unnecessary. An OSB drywall backer turns a butt joint into a tapered joint that’s easy to finish and so flat that it’s nearly invisible even in raking light. Critics sometimes say that staggered seams make a house stronger, but it’s hard for us to believe that a couple dozen screws on both sides of a drywall backer make a weaker connection than landing two sheets of drywall on a single stud.
Stay away from plates
The drywall backer is kept a few inches away from top and bottom plates so that the sheet can bend to accommodate the backer’s taper and the slightly different plane of the plates.
Upgrade your drywall saw
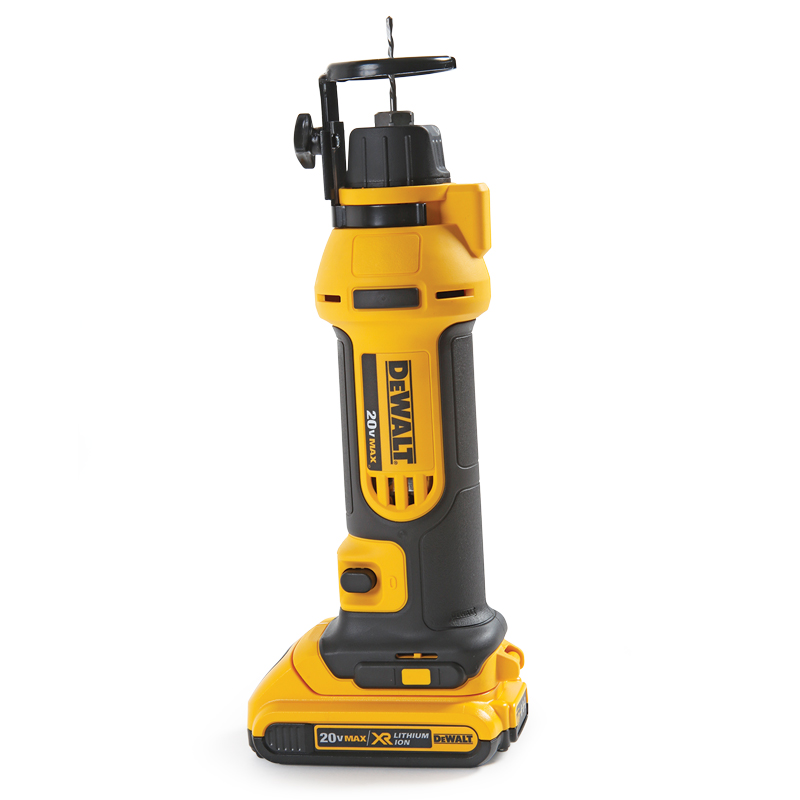
Although utility knives and T-squares are still mainstays for cutting drywall, cordless drywall routers have replaced drywall saws because they cut faster with less effort.
 Cut the cord
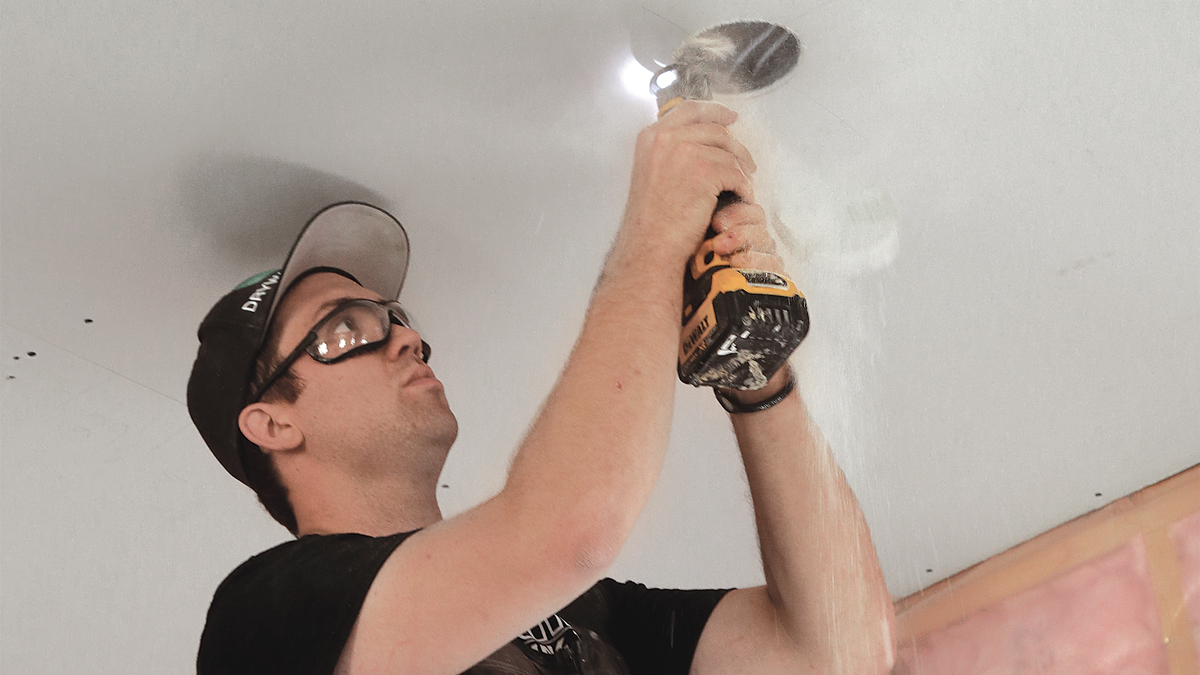
Cordless drywall routers go to work quickly, free you from the hassle of a cord, and have enough run-time to last all day. For greatest efficiency, get two drywall routers and outfit them with different bits.
Use two bits
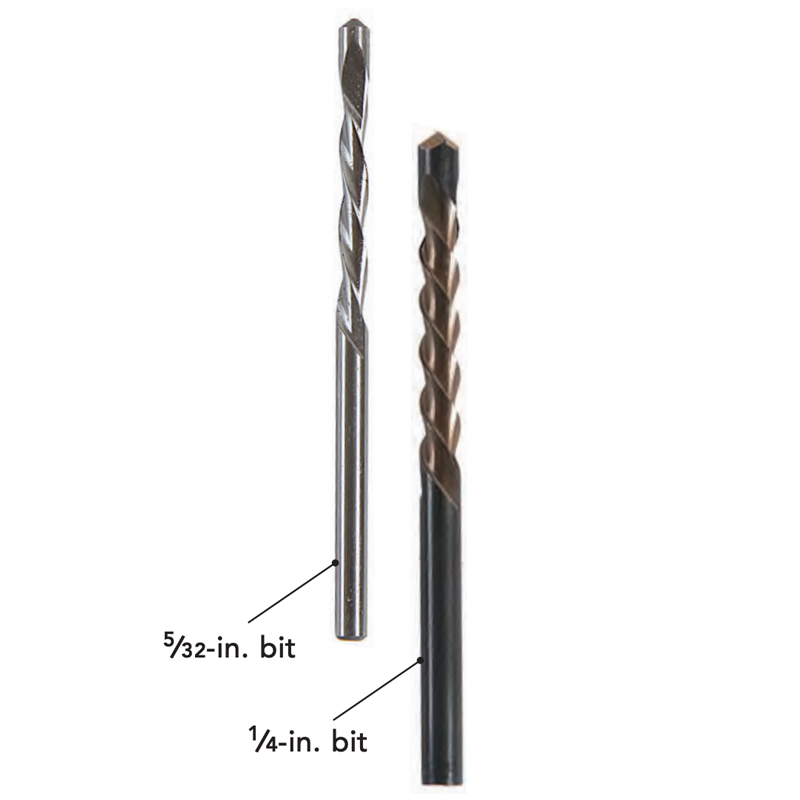 Electrical wall plates will cover the gap made with 5⁄32-in. bits. But 1⁄4-in. bits cut out window and door openings faster and without overheating. The larger bits are slightly longer, too, so they’re more stable.
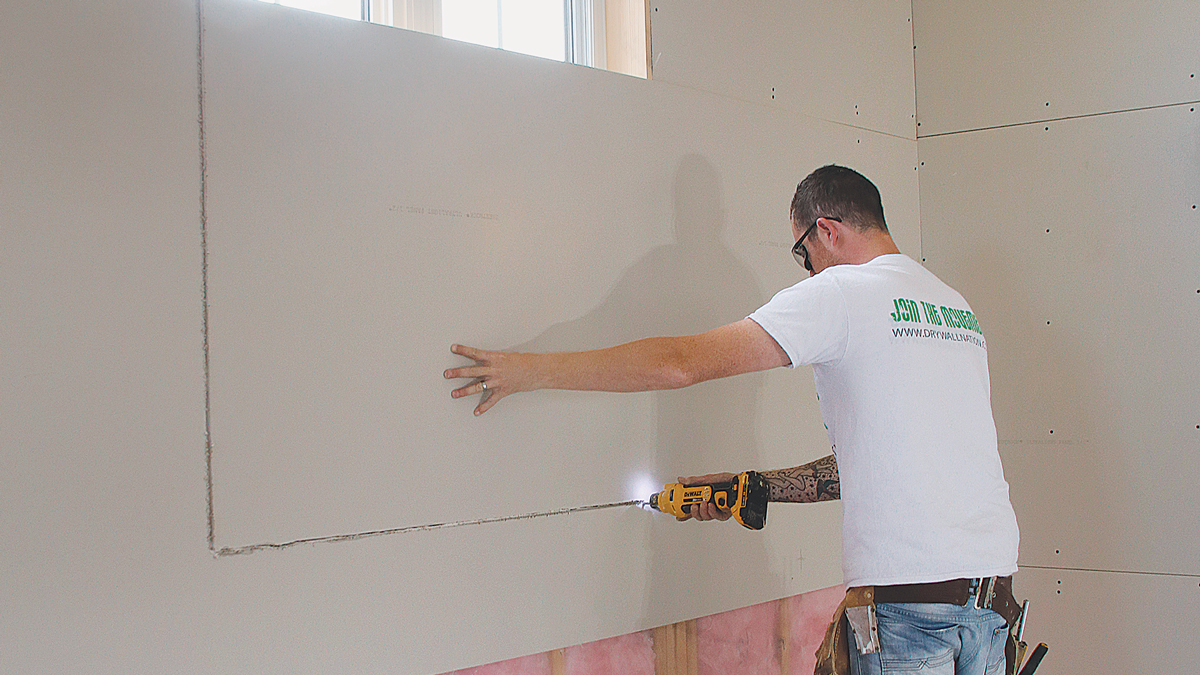
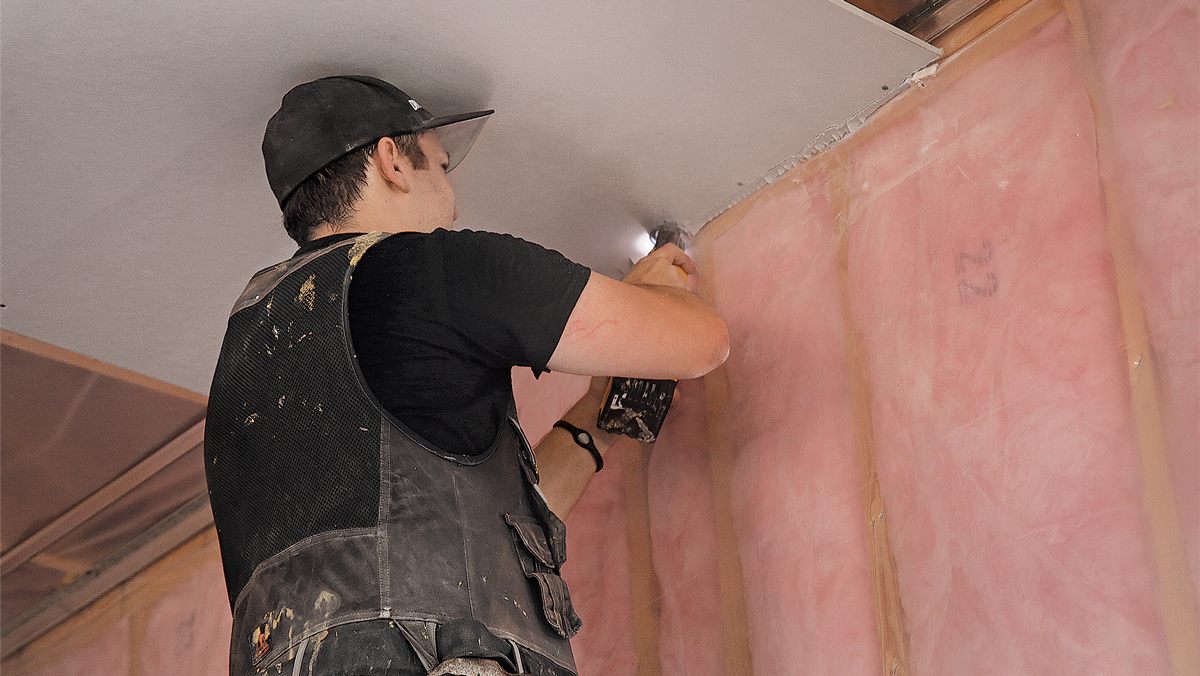
Forget about squeezing a wallboard saw between framing and a too-tight sheet of drywall. A drywall router with a 1⁄4–in. bit cuts oversize pieces easily. Use it free hand for making L-shaped and U-shaped cuts, then trim away any ragged paper with a utility knife.
Cut and trim
Forget about squeezing a wallboard saw between framing and a too-tight sheet of drywall. A drywall router with a 1⁄4–in. bit cuts oversize pieces easily. Use it free hand for making L-shaped and U-shaped cuts, then trim away any ragged paper with a utility knife.
From Fine Homebuilding #265

