House of Cars
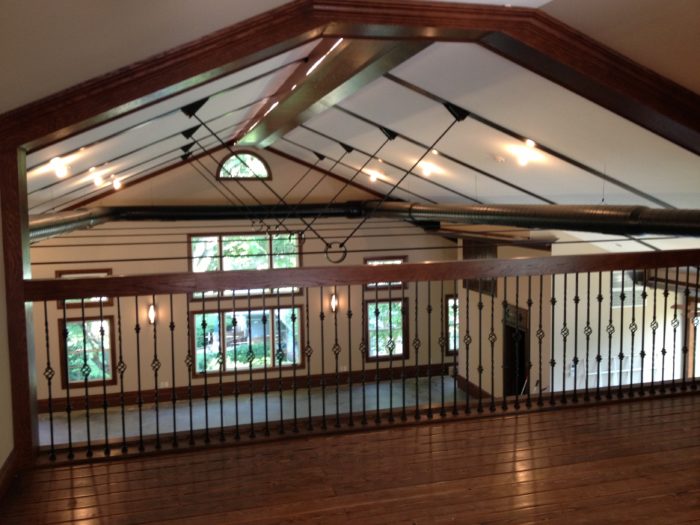
This huge garage renovation includes crown molding and paneling throughout, as well as a staircase that rises into the ceiling.
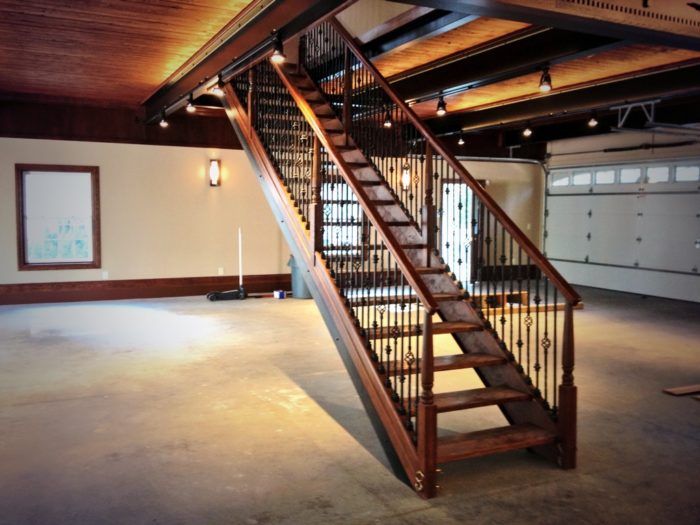
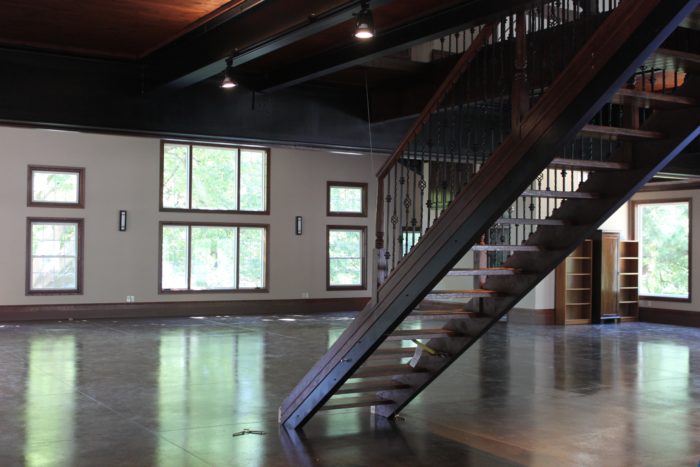
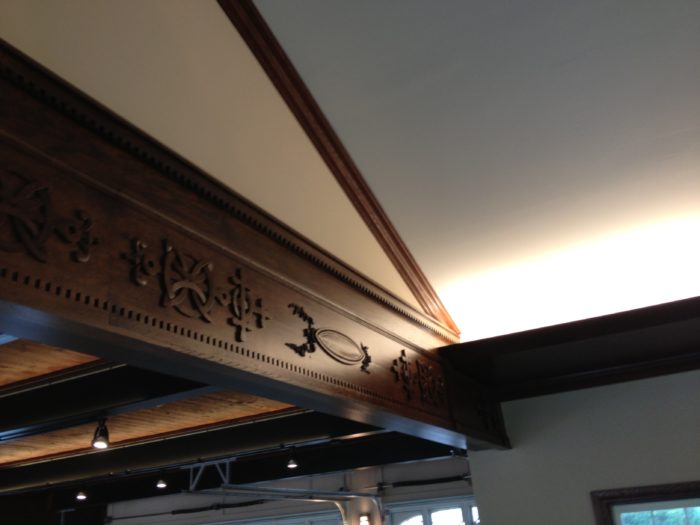
The jobs I love are the ones that nobody else has seen or done. Four years ago, after just starting JPM, I was called about trimming a garage and told it would be “pretty cool”. Well, I did not anticipate the amount of finish work until I walked onto the site. Immediately, I knew I wanted to be involved. This place was bigger than many houses and definitely more steel than most. There were unique details to include, such as panels saved from a church to be used a beam wrap, crown molding and paneling throughout, and coolest of all, a staircase that rose into the ceiling to allow for cars to drive though effortlessly.
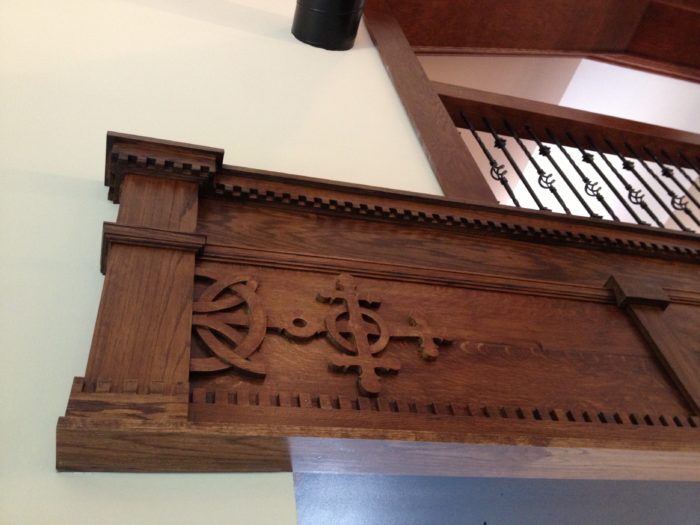
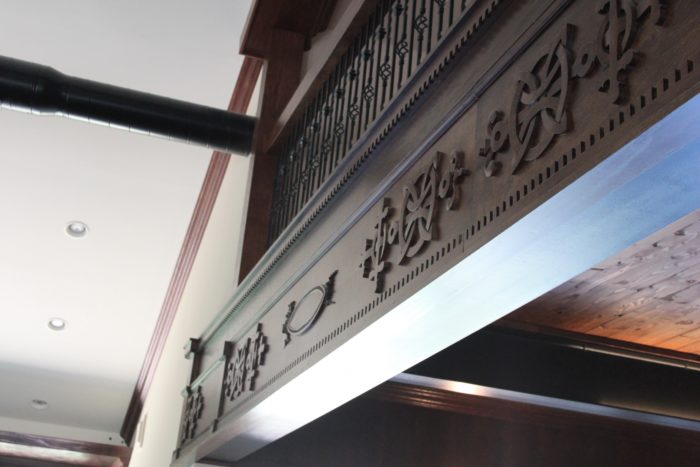
We were awarded the contract and the first thing I wanted to do was get the panels up on the beam wrap. Not only was I excited to see how they looked, but everything in the room tied into that feature — the railing above, the light trays, and the soffit. There was not much of a set design, only an idea, and the owner had faith in our abilities to make it happen. That is my favorite way to do things. It gives me freedom to play around with new ideas and make decisions without waiting for answers on details.
We started by cutting and squaring up the panels. There were several different styles and lengths, but as we added everything up the length of the beam was a little longer than the length of the panels and we had some room to break it up and add some details. We did this by adding an ornamental transition between the panels. This helped to break it up but also took care of the height difference. If you look closely, the center panels are slightly taller than the others. To end the beam wrap, we created a pilaster and made molding to match the top of the decorative panels. We wanted everything to flow together, so along with the site-made molding we copied the dentil at the base and added it to the top off the beam.
Now on to the stair install. The stair to begin with was just some steel and construction lumber. They also asked that this stair would be able to rise into the beams to drive a car below and then lower back down for normal use. The length of the run was longer than anticipated, so o meet code we ultimately had to build a railing system where the last 6 ft. of the rails were detachable and could be removed so the stair could lift between the beam.
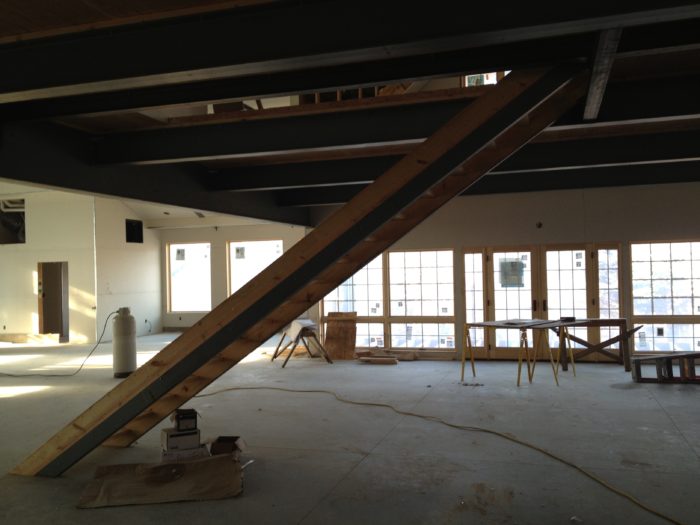
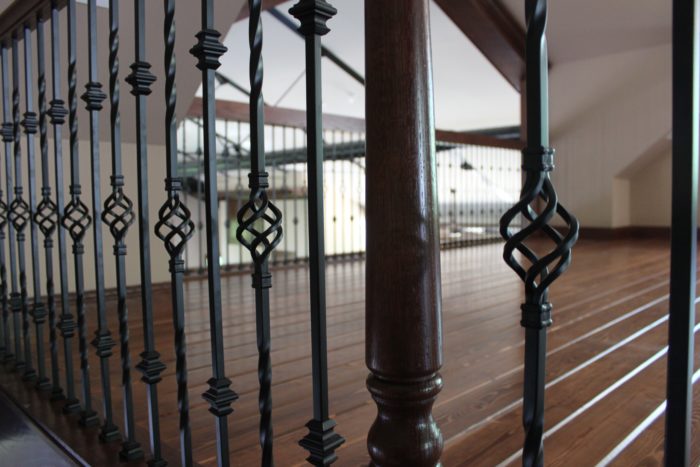
Another code issue we dealt with was distance between rails. We ended up notching all of our posts to sit on the stringers, maximizing the space between top rails and also giving us very tight tolerances when the stair was lifted. Each post was cut to sit on the stringer and also cut to the same angle inside the notch to have as much strength as possible. Then each post except the bottom two were set with construction adhesive and screws with each screw plugged and sanded flush.
Now to the top rails. The posts the owner wanted were not readily available for our application, so we ordered a standard over-the-post newel and modified it to match the angle of the stair and accept the top rail. After this, the top rails and newels were all connected with 1-in. dowels and glue.
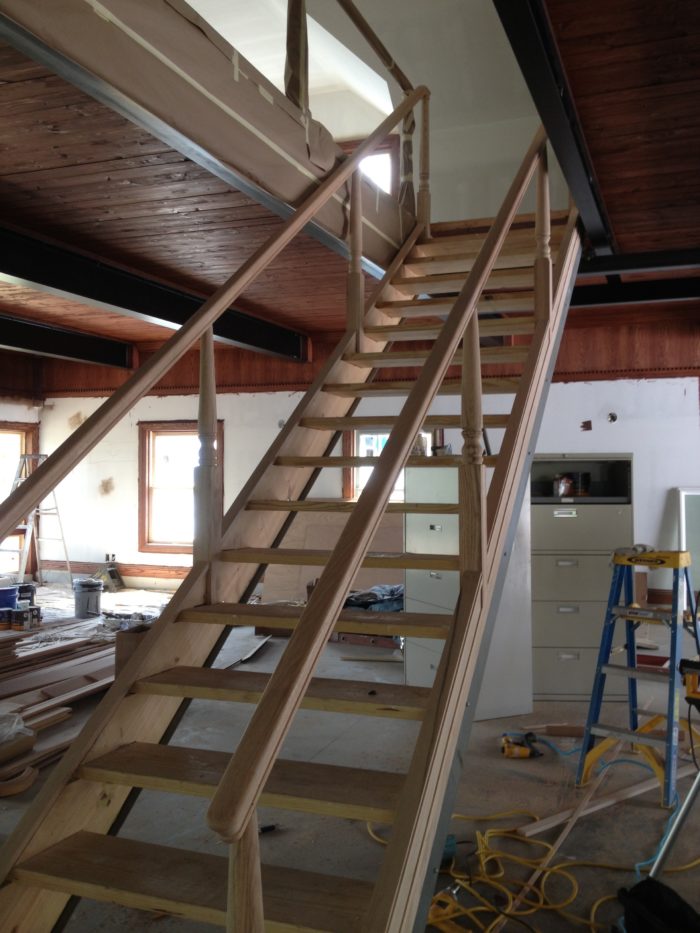
Everything in the rail system was glued and screwed and permanently attached from 6 ft. and up, while the stair and the bottom run was left loose for disassembly. To make it removable, we attached the top rails with dowels once again, but only glued the side that would be permanently fastened. This way, the dowel would be in place for the top rails to line up. The bottom newels were set the same as rest but we decided to make them removable using two 1/2-in. brass pull pins at the base of each newel. I was worried about the connection of the top rails coming loose, so we applied some pressure toward the second newel while drilling and installing the pins. This way, when the pins were in, the force would push the top rail onto the dowel glued into the connecting railing.
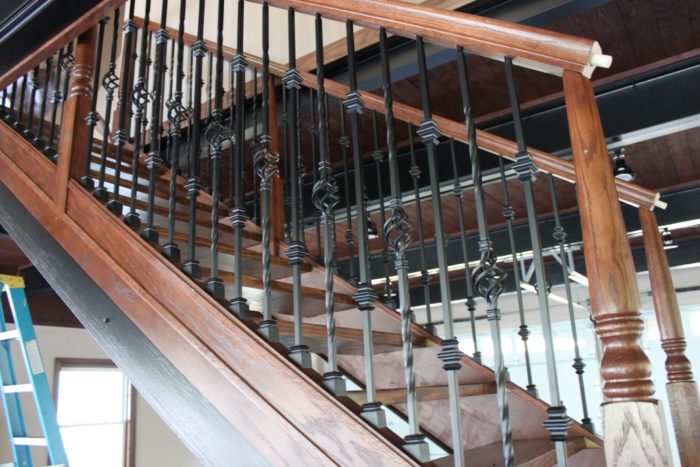
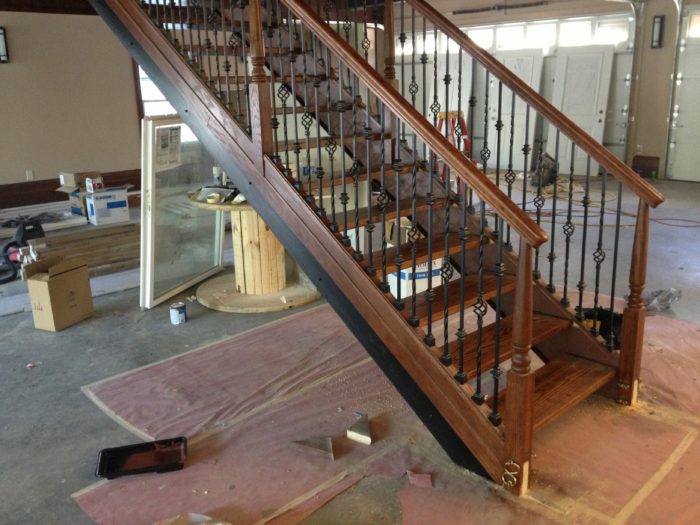
Last was to make sure the sections of rail were able to be removed and moved but then installed again for standard use. Instead of boring into the stringer, we decided to make our own separate midrail so everything would be connected as one unit. All of the balusters were drilled and set with epoxy, and each one (where possible) was installed with small trim screws, so when removing, if the adhesive gave way, the screws would still remain, holding everything tight. Any visible head was touched up with black paint.
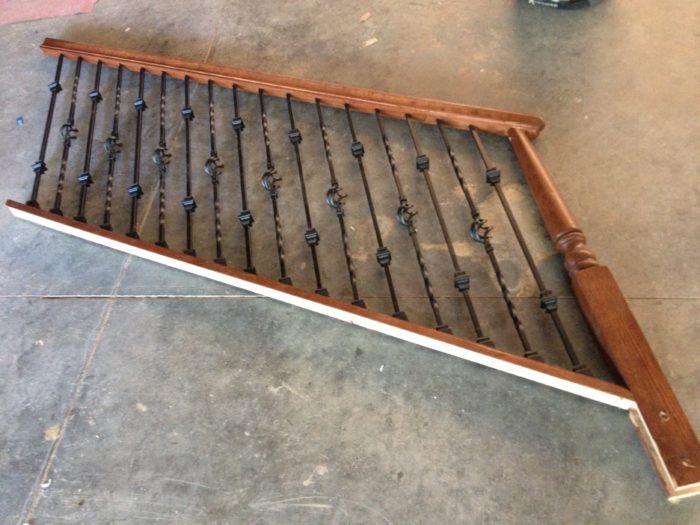
The stair is lifted by a motorized winch located in the floor and cabinet above. A cable is dropped down and strapped to the hook location and everything is controlled from a remote near the overhead doors.
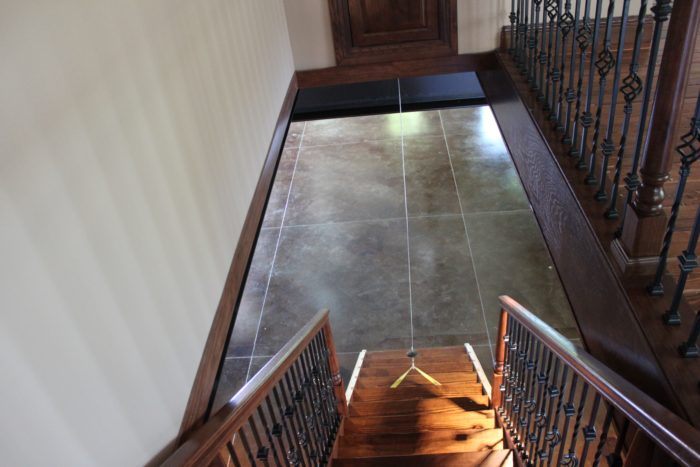
Much of what you see in the garage was either made on site to fit the space or ordered custom, like the profiled moldings and doors. Other than that, we worked with the owner to create the overall look and design he wanted to achieve.








View Comments
Nice blog
different look very nice ... really house of car
Good Look
all design are very best good