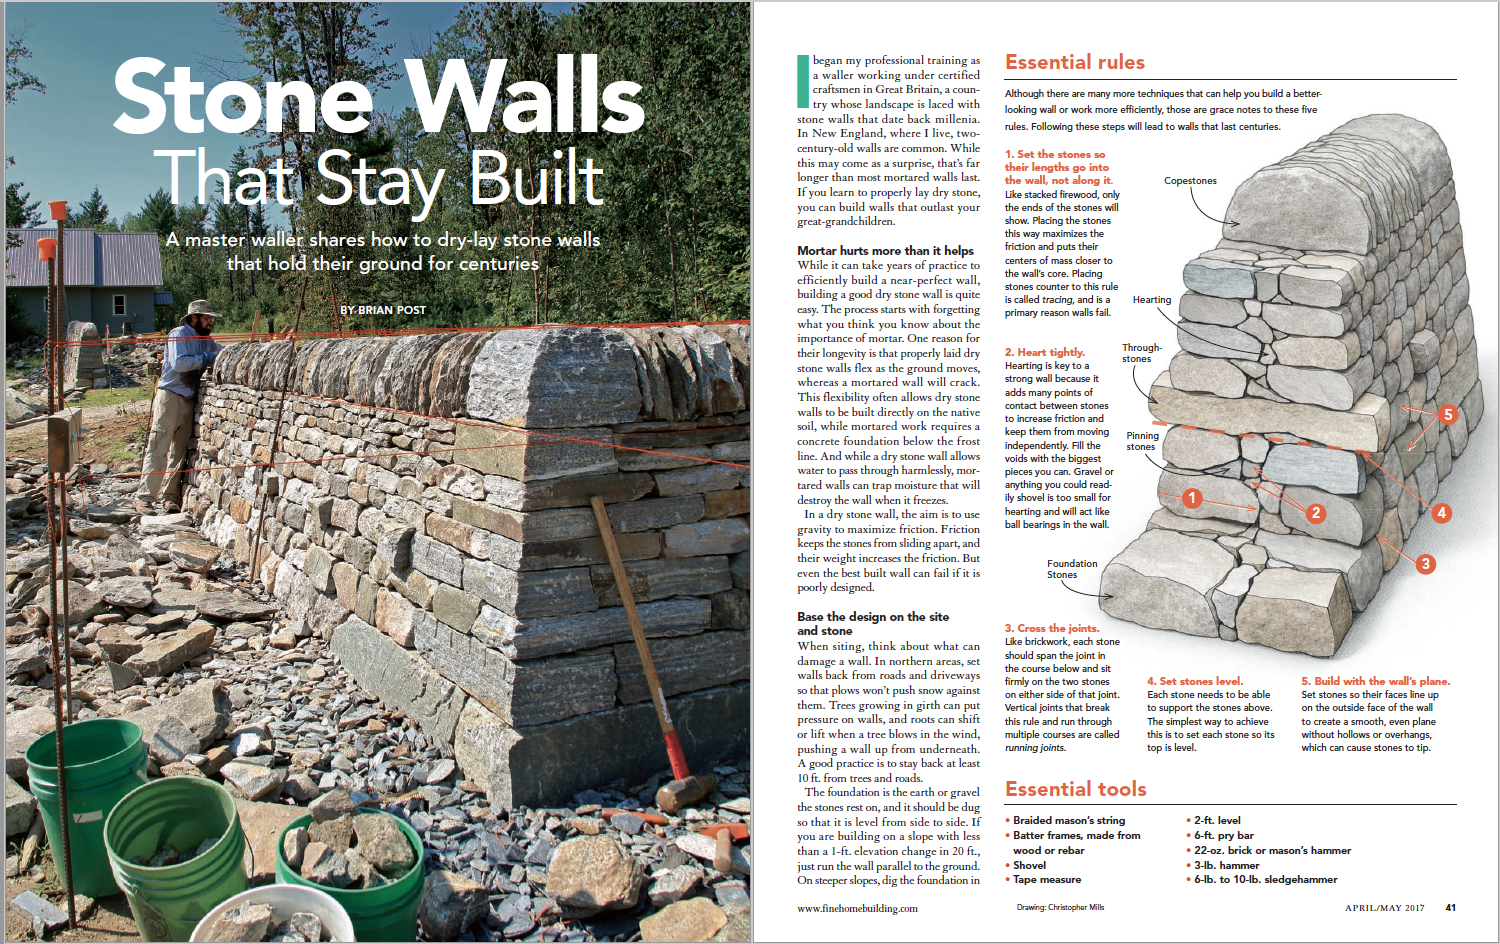
Stone Walls That Stay Built
A master waller shares how to dry-lay stone walls that hold their ground for centuries.

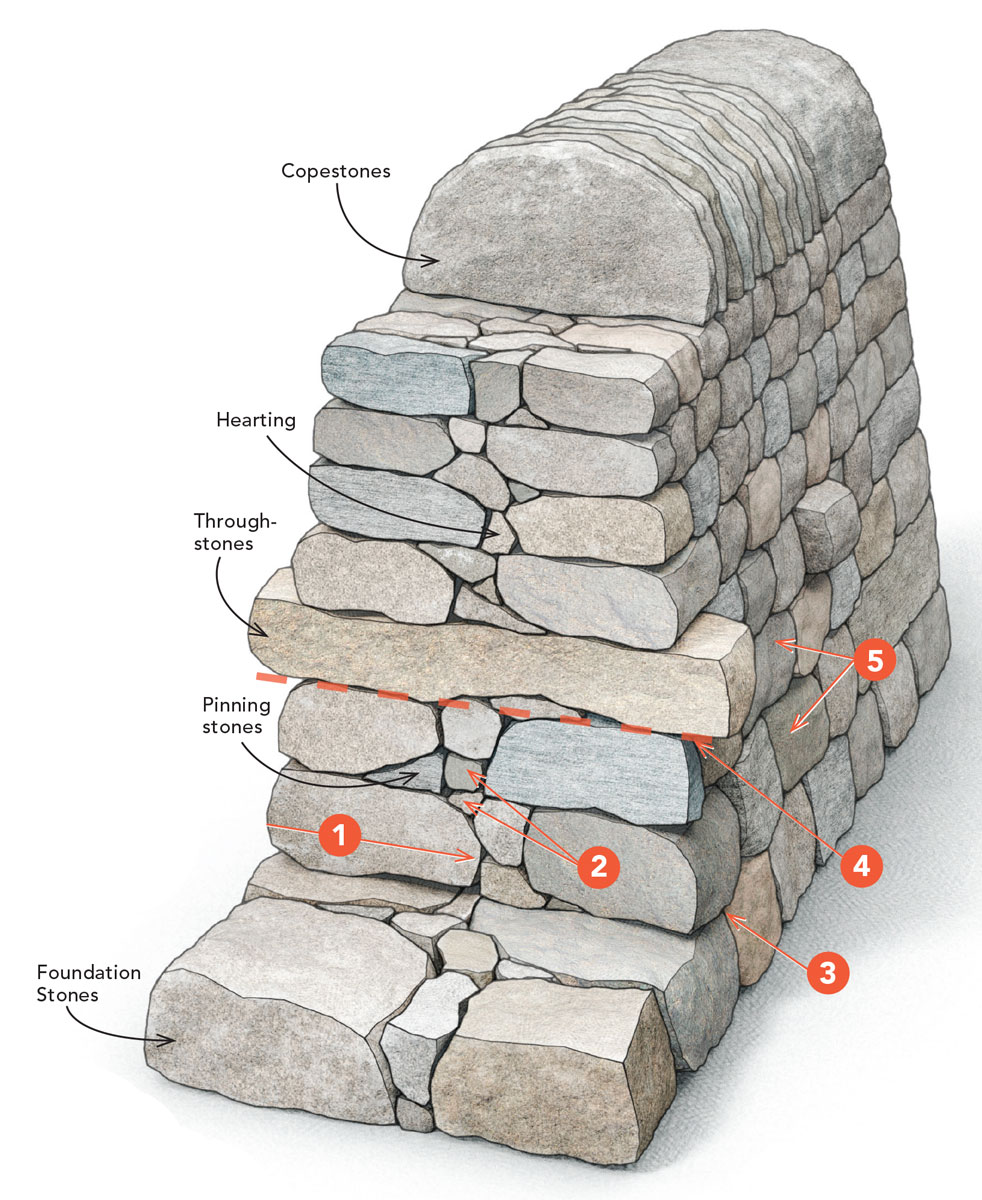
Synopsis: Brian Post is a Master Craftsman–level waller, certified by the Dry Stone Walling Association of Great Britain. In this article, he explains that stone walls last longer than mortared walls, and describes how to build a dry-laid stone wall. His instructions include making sure to base the design on the site and type of stone, not worrying too much about the foundation or about fitting the face stones tightly together, forming a strong connection with hearting stones, and holding the wall together with capstone and copestones. Post describes the five essential rules of stone walling, and how they can help you build walls that will last centuries.
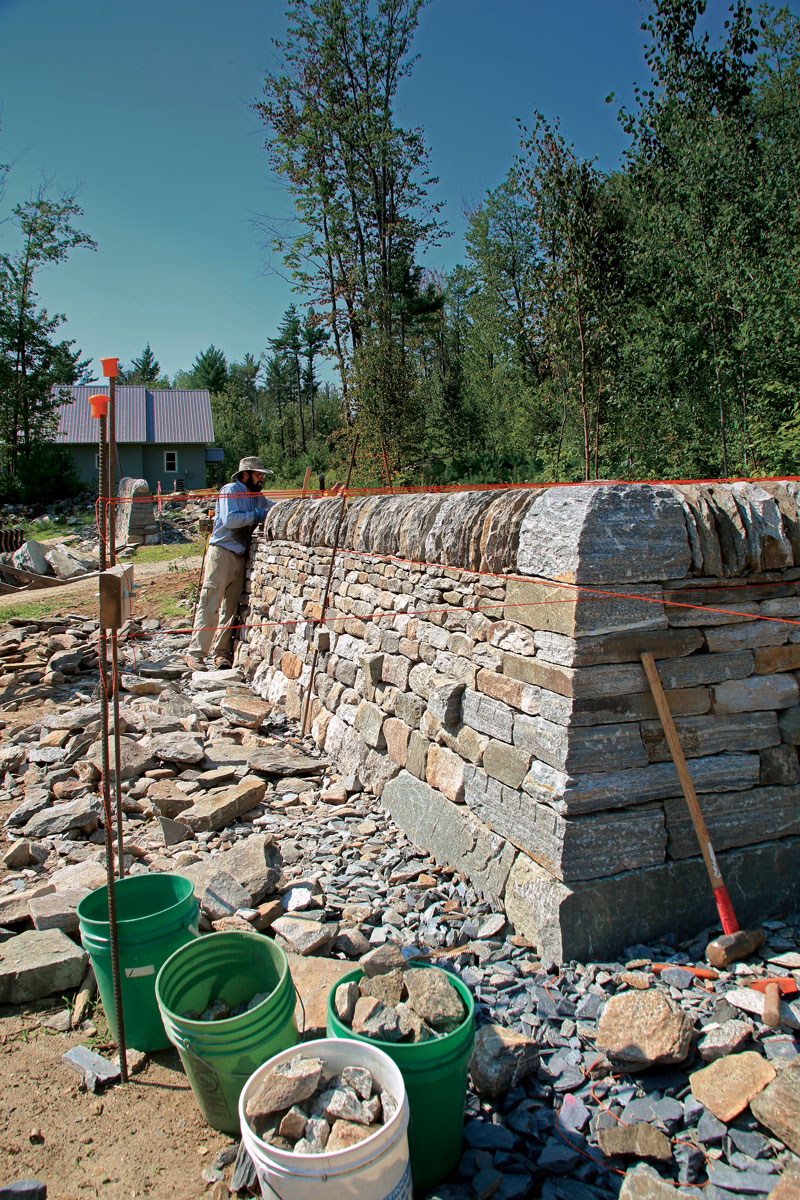
I began my professional training as a waller working under certified craftsmen in Great Britain, a country whose landscape is laced with stone walls that date back millennia. In New England, where I live, two-century-old walls are common. While this may come as a surprise, that’s far longer than most mortared walls last. If you learn to properly lay dry stone, you can build walls that outlast your great-grandchildren.
 Mortar hurts more than it helps. While it can take years of practice to efficiently build a near-perfect wall, building a good dry stone wall is quite easy. The process starts with forgetting what you think you know about the importance of mortar. One reason for their longevity is that properly laid dry stone walls flex as the ground moves, whereas a mortared wall will crack. This flexibility often allows dry stone walls to be built directly on the native soil, while mortared work requires a concrete foundation below the frost line. And while a dry stone wall allows water to pass through harmlessly, mortared walls can trap moisture that will destroy the wall when it freezes. In a dry stone wall, the aim is to use gravity to maximize friction. Friction keeps the stones from sliding apart, and their weight increases the friction. But even the best built wall can fail if it is poorly designed.
Base the design on the site and stone. When siting, think about what can damage a wall. In northern areas, set walls back from roads and driveways so that plows won’t push snow against them. Trees growing in girth can put pressure on walls, and roots can shift or lift when a tree blows in the wind, pushing a wall up from underneath. A good practice is to stay back at least 10 ft. from trees and roads. The foundation is the earth or gravel the stones rest on, and it should be dug so that it is level from side to side. If you are building on a slope with less than a 1-ft. elevation change in 20 ft., just run the wall parallel to the ground. On steeper slopes, dig the foundation in level steps like stairs. Otherwise, the stones will gradually slide downhill and cause the wall to fail.
For stability, walls should be wider at the bottom than at the top. This taper is called batter. Expressed as a ratio of run to rise, batter typically ranges from 1:6 to 1:10. A 1:6 batter means that for every 6 in. of height, the wall narrows 1 in. on each side. So, a 3-ft.-tall wall with a batter of 1:6 would be 12 in. narrower (6 in. on each side) at its top. With flatter stones, a steeper batter like 1:10 may be appropriate, while a batter of 1:6 makes a wider base that’s better for more irregular stone.
The width of a wall’s base depends on its height, the width of the top, and the batter. Walls lower than 3 ft. lack enough area for the unevenness of individual stones to blend visually into a smooth face. Narrower walls use less stone, while wider walls make it easier to use larger stone and tend to be sturdier. With these factors in mind, the top is typically 14 in. to 18 in. wide. With smaller stone or flatter stone, you can make the wall closer to 14 in. at the top. With larger or rounder stones, make the wall closer to 18 in. at the top. The size of available capstones may also influence the top’s width.
Choosing the right stone
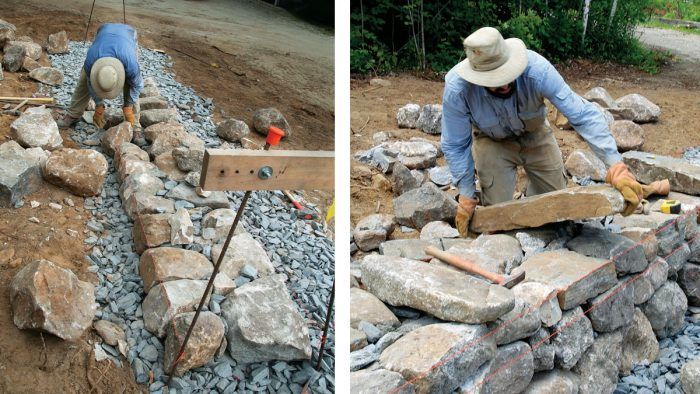
A 4-ft.-high wall takes about 1,000 lb. of stone per linear foot, and the options vary by region. First, look for stones of a size you can move, and keep in mind that those with one longer dimension work better. Flat stone doesn’t necessarily equal good stone, and round or irregular stone doesn’t equal bad stone. Flat stone can make working with thickness variations between adjacent stones harder; plus, it’s often thin, meaning lots of courses and slower building. Rounded stone makes it easier to work with thickness variations, and each course tends to be thicker, so building goes faster. With irregular stones, build a wall whose face stones fit more loosely. With flatter stones or ones that are easy to shape, build a tighter wall.
Stone from the ground right by the wall is the traditional material to use. Old piles that were collected but never built into walls and debris from construction sites can also be good sources. For reasons of historical preservation, even with permission, harvesting stone from old walls or structures is frowned upon and may be illegal. But taking stones from walls in poor condition that aren’t visible from a road and don’t mark property boundaries is more of an ethically gray area.

For more photos, drawings, and details, click the View PDF button below:
From Fine Homebuilding #266


View Comments
Great Article! Anyone have any advice on using these techniques for a retaining wall?