The Britches Method: A Simple Template for Outside Skirt Returns
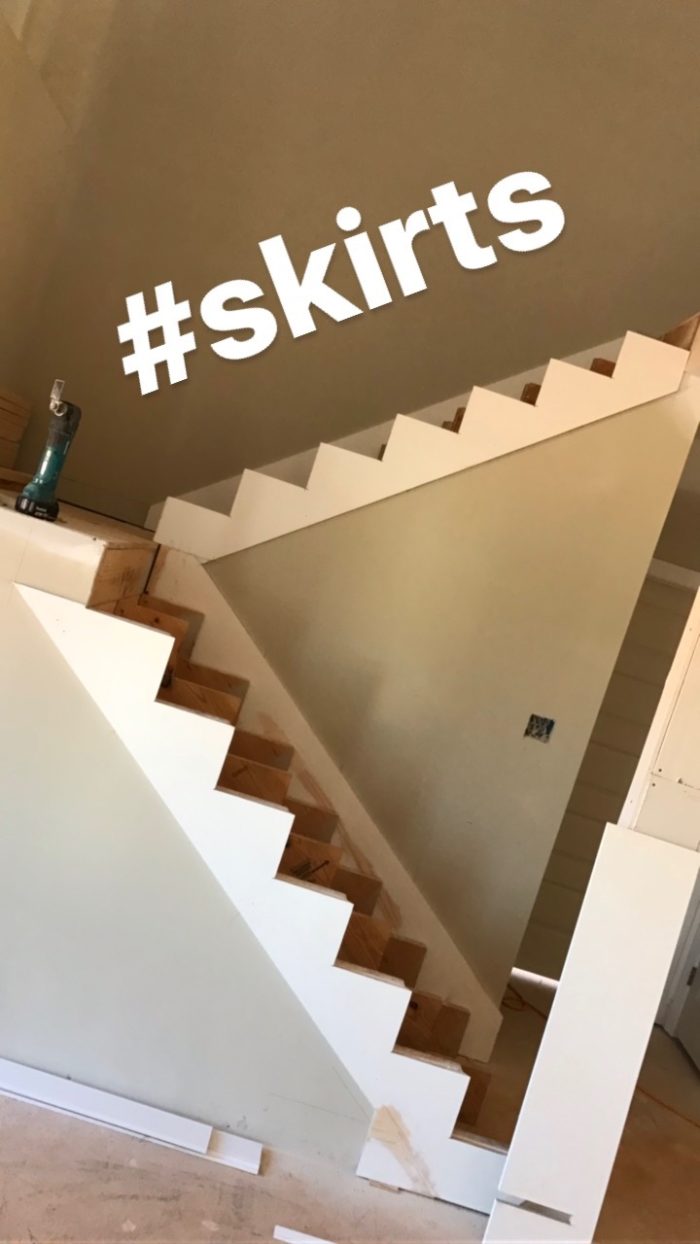
Finish carpenter Andy Moore uses this trade secret for accurately transferring the tread and riser layout to the outer trim when building stairs with open sides.
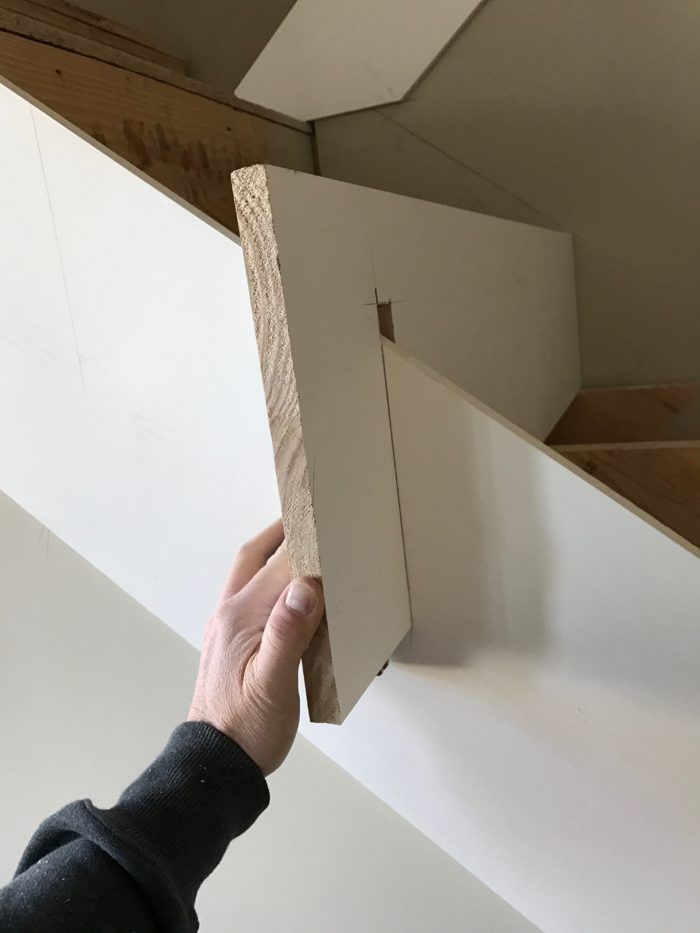
Ever wondered how to lay out an outside skirt board when building stairs? This was one of those processes that was a trade secret when I started. I’ve had a few variations on this over the years, but this is my favorite way to go! This method is the Britches Method.
Most rough framed stringers have a tendency to not be 100% in plane across the riser. By using this method, it helps to get the outside edge of the miter dead on.
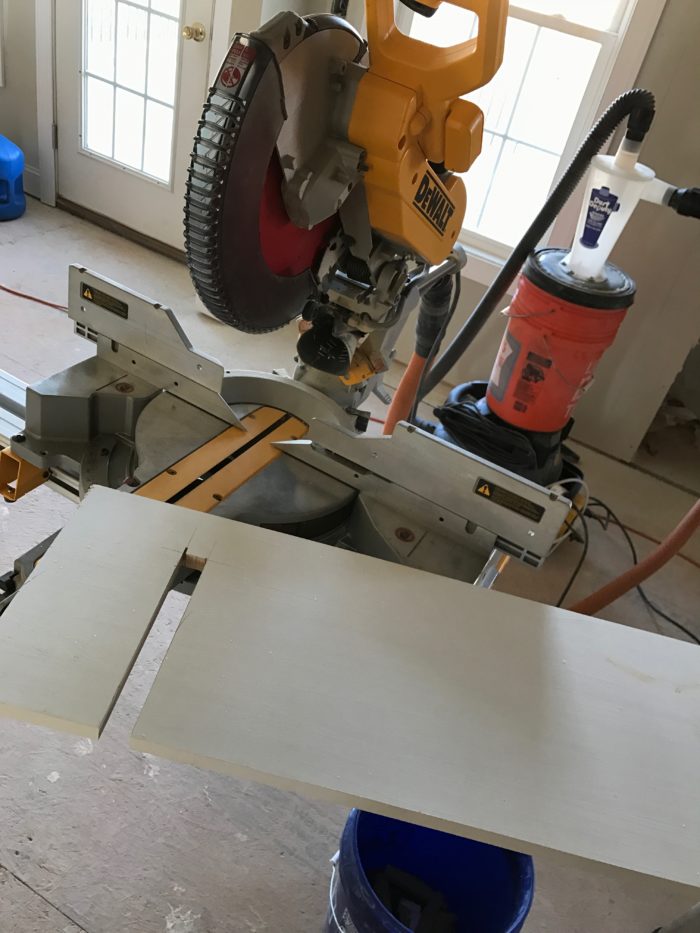
First, I cut a 1 x 12 template (that just so happens to look like a pair of pants or “britches” ?) with a cut out about 1 inch wide and tall enough to fit over the top of the outside skirt board.
Next, I temporarily tack the outside skirt into place so that I can use the template without accidentally shifting the skirt board. One thing to watch out for at this stage is to make sure the outside skirt is high enough that when you are cutting out the triangle shape, you don’t leave a miter corner that is “clipped” at the top. This isn’t usually a huge deal, especially if you will be using a small cove molding under each tread. Nevertheless, this is something to keep in mind.
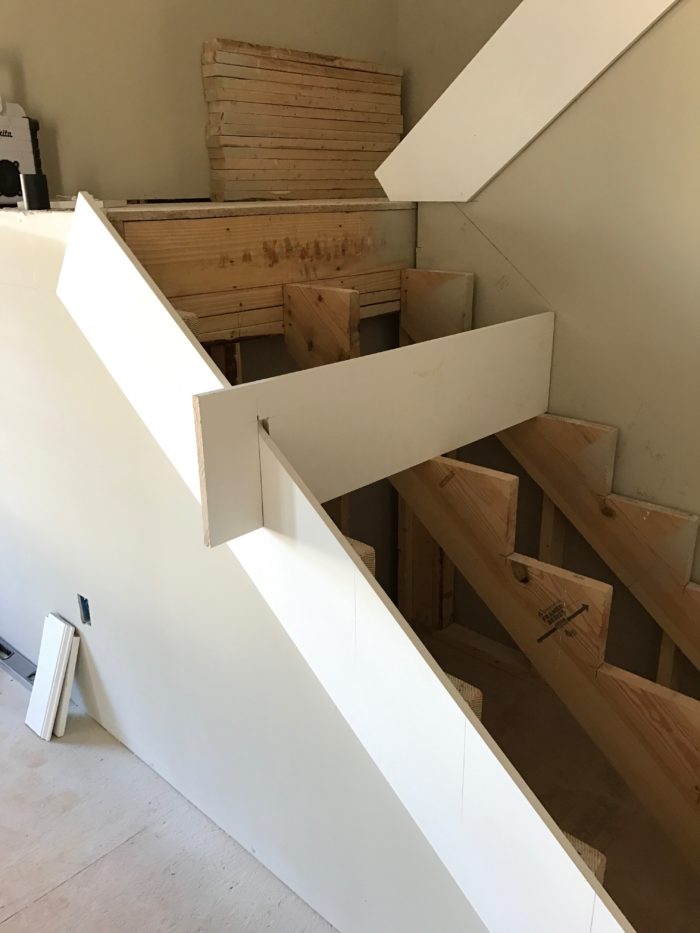
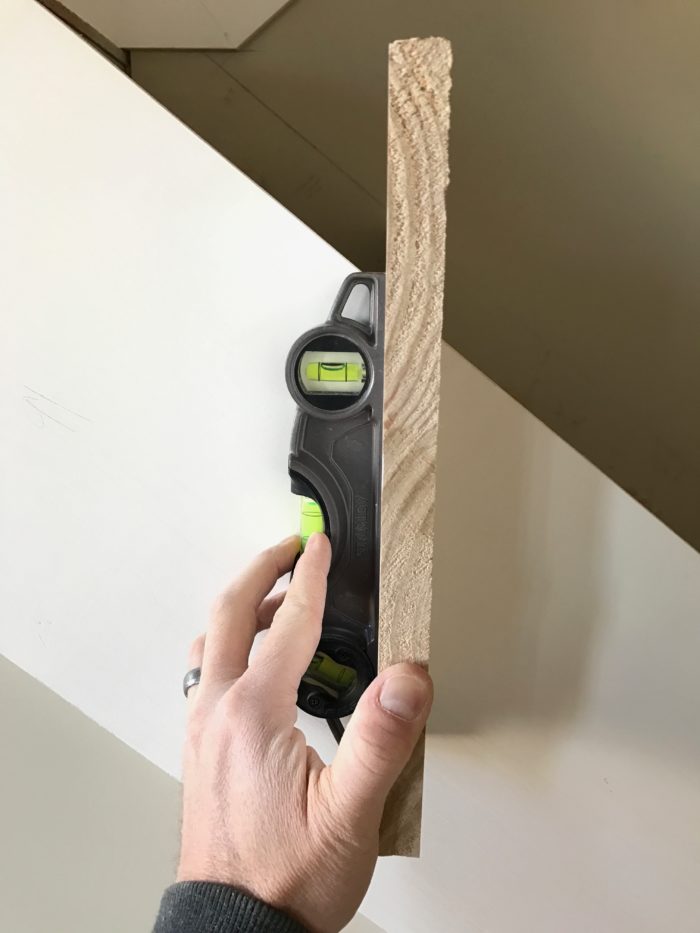
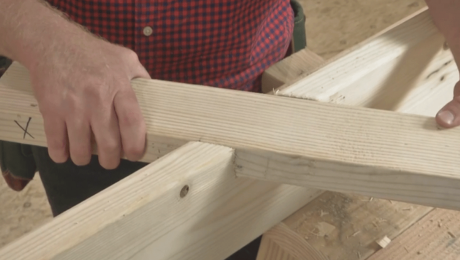
Using the template, I start at the top and work my way down. I first set the template against a riser. Once I like the placement, I will use a torpedo level and mark plumb the outside of the template. This gives me the exact outside miter line.
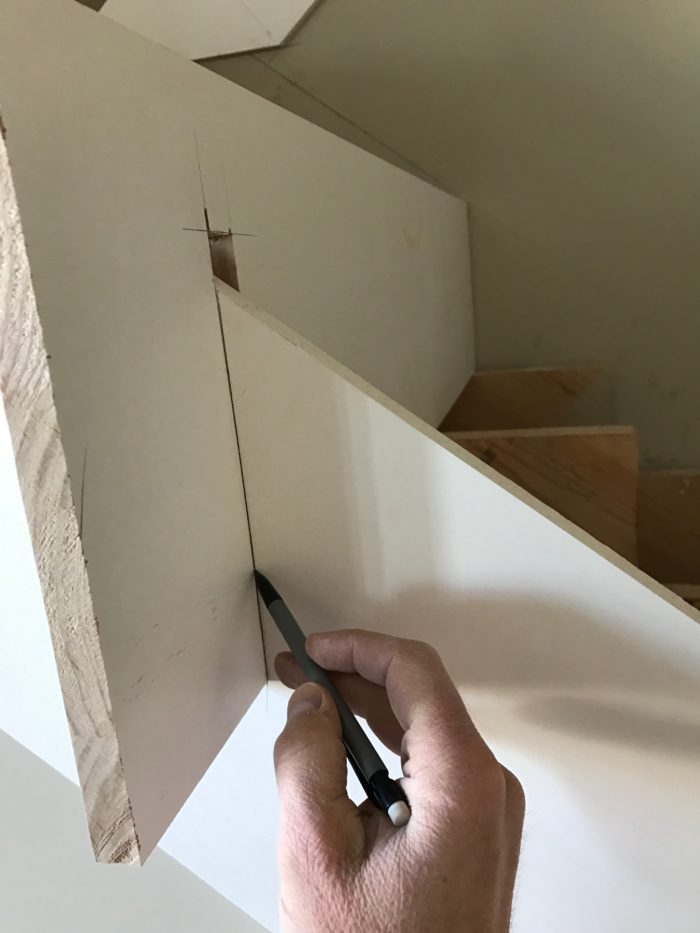
After I have marked the outside mitered riser line, and simple lay the template down to get the horizontal “run” cut line. Mark the bottom of the template since this will be the same surface location as a tread.
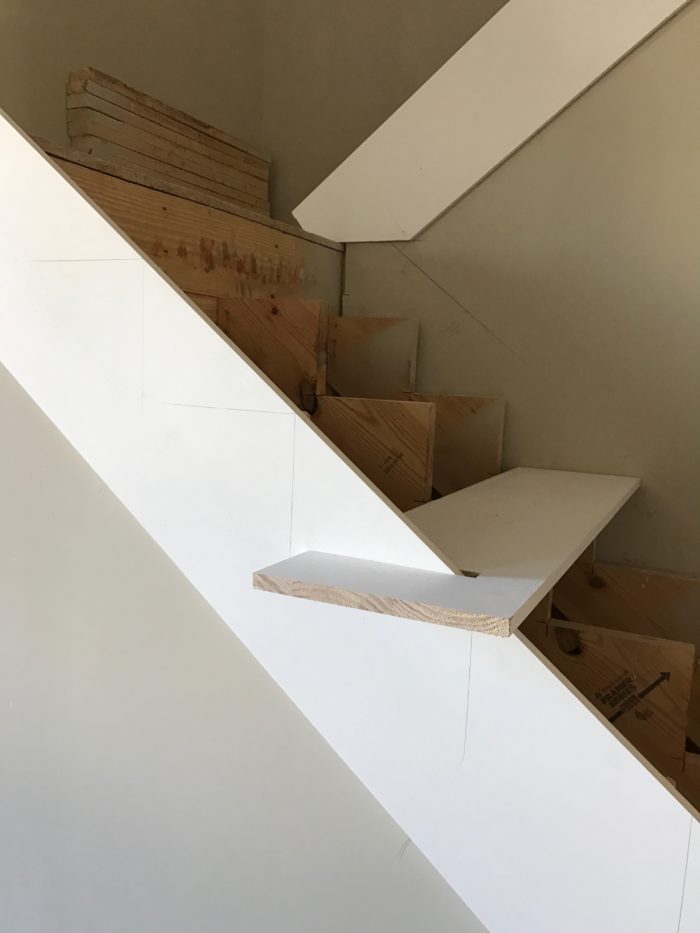
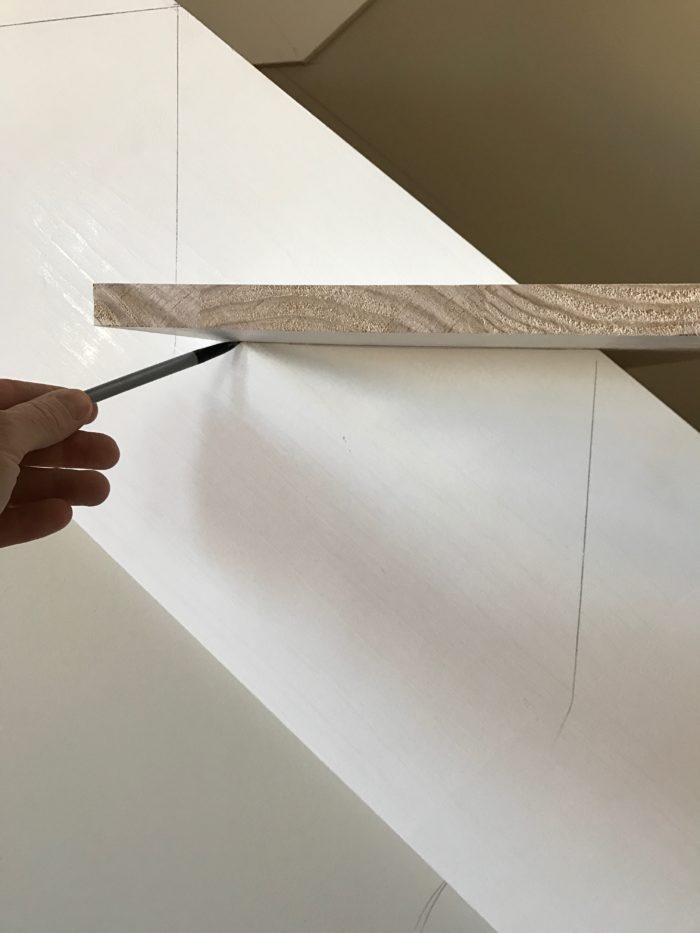
Once you mark all of the outside rise and run locations you can then continue any lines that were left short in the process. I like write both “square cut” and “bevel cut” on the board so I don’t mix anything up when cutting.
TIP: Make some kind of reference mark in two different locations on each end so that you can line up the newly cut skirt board to the exact location you used to lay it off. If you forget it can be a hassle to get it exactly how you had it before.
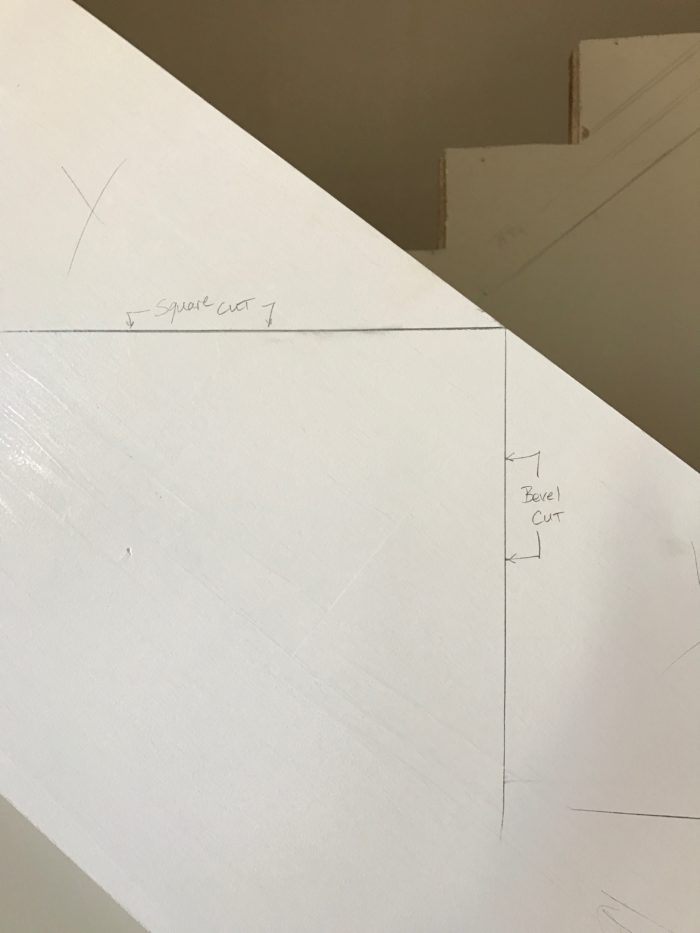
The bevel cut line is usually cut at approx 46º – 47º. This allows for any imperfections in the actual miter and keeps the outside corners in perfect alignment. (Think coping.)
NOTE: The actual outside riser is usually cut at this 46º – 47º bevel as well.
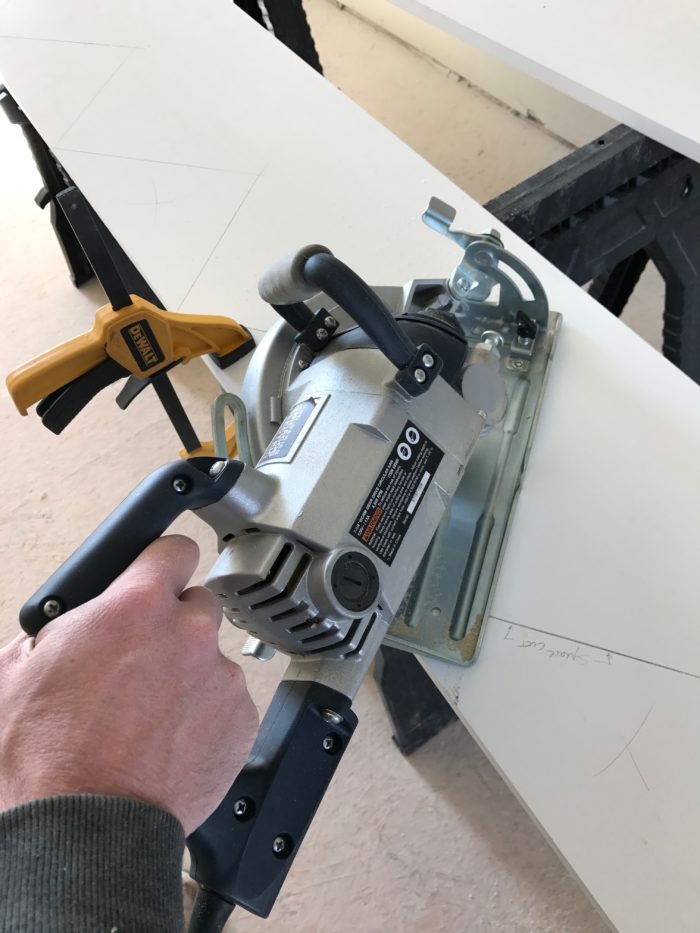
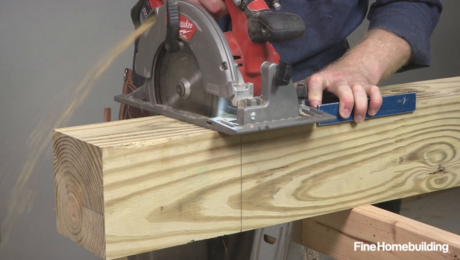
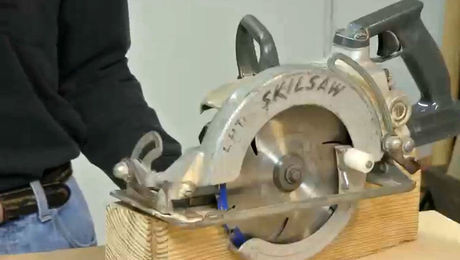
Finally, I cut all of my bevel lines followed by the square cut lines. The manner in which you can cut these is up for debate and boils down to preference. A lot of people use a 12 inch sliding miter saw, but I first learned on a circular saw and worm drive (for those pesky backwards miters, as seen below), and that’s the way I still prefer to cut them. And yes, I have dedicated saws for trim work.
Follow Andy Moore on Instagram @Modern_Oak for more tips and ideas.











View Comments
Any tips on cutting the opposite side miter? I've plung cut with the festool and the guide, and finish with a pull saw, but it's a little scketchy!