Take the Fear out of Brick Veneer
Basic masonry skills are all a remodeler needs to remove and replace bricks and mortar.
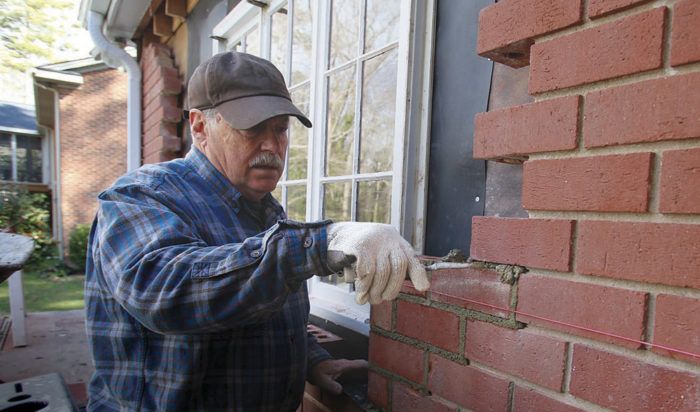
Synopsis: In this article, mason John Carroll explains how to complete a remodel in a brick wall. He explains the importance of matching new brick with the old and choosing the correct mortar color profile. He then gives a step-by-step look at how he replaced the brick on a window remodel. He first breaks the unusable brick and removes the mortar with a drill, grinder, and chisel, and then adds flashing and foam weatherstripping to manage water and movement differentials between the frame of the house and the brick veneer. Carroll then goes through the process of laying new brick, from mixing the mortar and choosing the right-size bricks to setting the lintel and finishing around the renovated window sill. He describes all the tools you need for the job, including a brick spacing ruler, and tips and tricks for removing the excess mortar and finishing the new brick veneer.
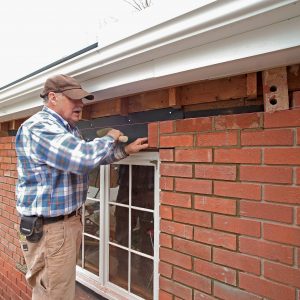
The first step when remodeling an exterior wall is to remove the wall covering. This is simple enough when the cladding is siding, but more complicated when a house is clad in brick. One scary part of remodeling a brick opening is removing the existing steel lintel that supports the brick above. Because brick’s bonded pattern makes a self-supporting corbelled arch, most lintels only support a triangle of brick directly above them. You can often remove the bricks in this triangular area and those above will stay put. Other times, there are so few courses above the lintel that it makes sense to take them all out — in openings of 3 ft. or less, often a few courses above the lintel can be removed and the mortar will hold the bricks temporarily.
In some cases, relying on the mortar or the corbelled arch is not safe. If an opening interrupts the corbelled pattern, there is no self-supporting arch. With wide openings, it might be impractical to remove enough of the bricks above. In these cases, you need a structural engineer to design a shoring plan.
Replacing the brick veneer takes special skills as well. The object is to make the new work match the old. Bricks can be salvaged from the demolition, but that often doesn’t yield enough for the remodeling job and cleaning off the old mortar is time consuming. The best solution is often to take a few bricks to a masonry supply house and see if they can find a good match, but that wasn’t necessary here. These bricks were discontinued decades ago, but when he built this house in 1958, the owner’s grandfather stacked the leftover bricks at the back of the lot.
Mortar accounts for about 20% of the surface of a typical brick wall, and its color and joint profile affect how well new work matches the old. Older mortar tends to be lighter and tanner in color than modern mortars, which are often gray. To match mortar, you’ll need samples. Play around with different cements and dyes and give your samples about three weeks to dry to ensure the closest match.
This process sounds intimidating, but many remodelers already have the majority of the tools to do the work, and just need to learn the right techniques for the job.
Out with the old
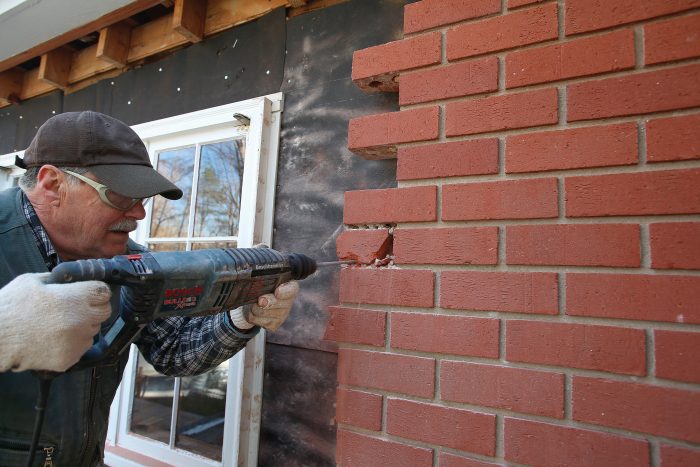
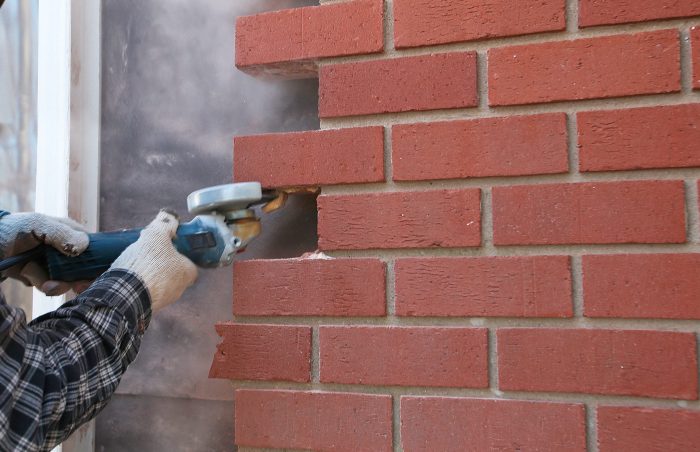
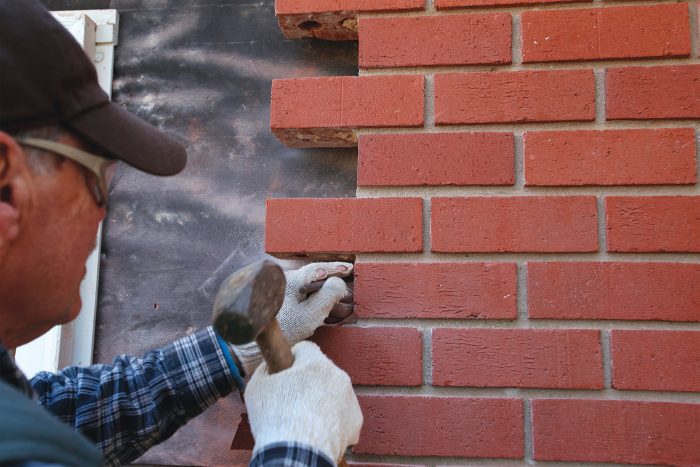
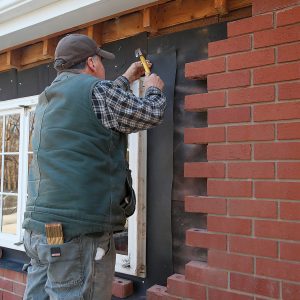
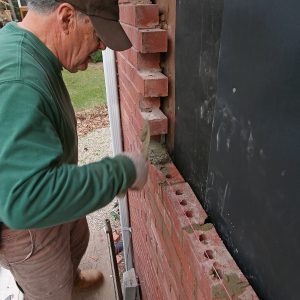
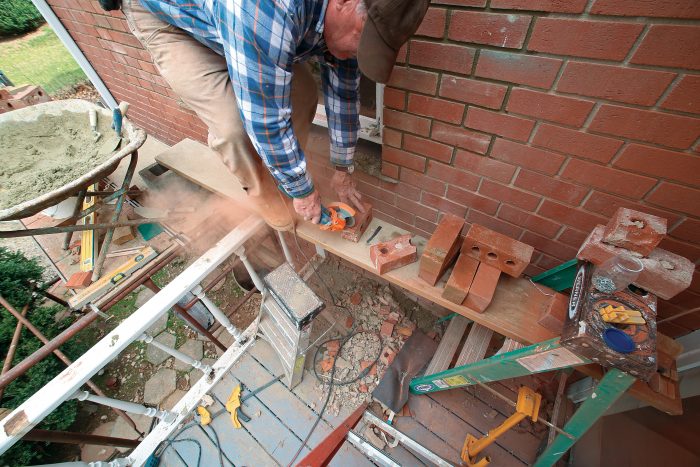
Before laying any new bricks, I had to tooth out the bricks on the sides, which were simply cut back far enough by the carpenter to leave room to install and flash the window. Toothing out bricks is challenging because half of every other brick is unsupported on the top and bottom, and these projecting halves break easily. The main tools I use are a rotary hammer with a 1⁄4-in. masonry drill bit, a masonry chisel, a 3-lb. hammer, and a grinder with a diamond blade. I don’t try to take out whole bricks; instead, I break them into small pieces. As much as possible, I work inward from the ends of the bricks to place less stress on the surrounding brick and mortar.
Manage water and movement
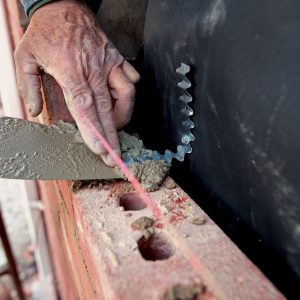
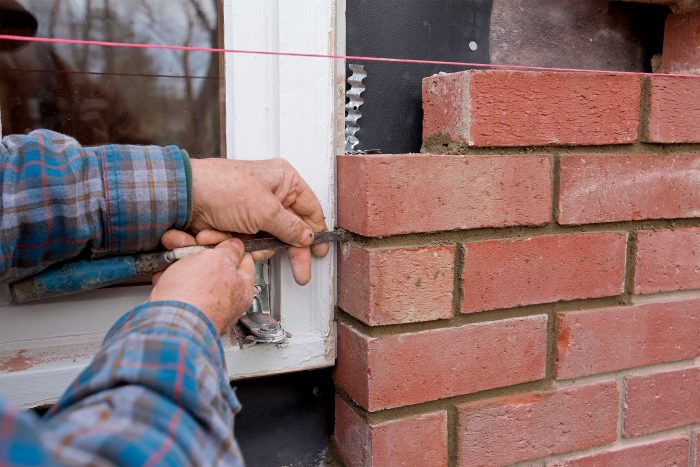
Like all types of siding, brick isn’t waterproof. You have to plan for and manage water that gets behind it. A carpenter usually handles integrating the window flashing with the weather-resistive barrier (WRB) on the sheathing, but with brick you have to go a step beyond and lead water out to the face of the brick below the window. For this I use PVC through-wall flashing, available at masonry supply houses. And because the frame of the house and the brick veneer expand and contract at different rates and for different reasons (the wood frame due to changes in moisture content,
the brick in response to temperature swings), it’s important to keep the two from contacting each other to allow for movement differentials.
Lay some bricks
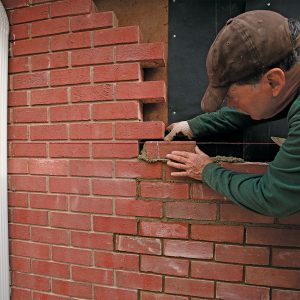
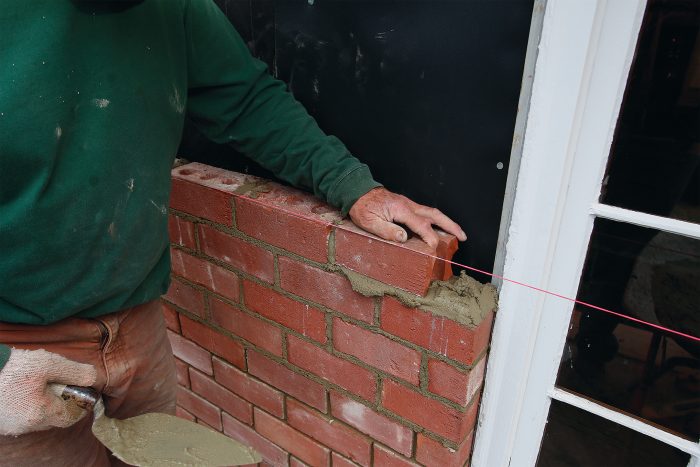
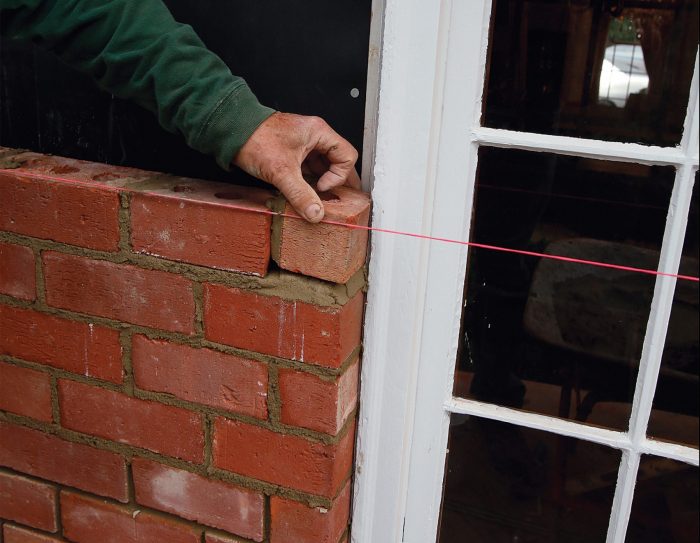
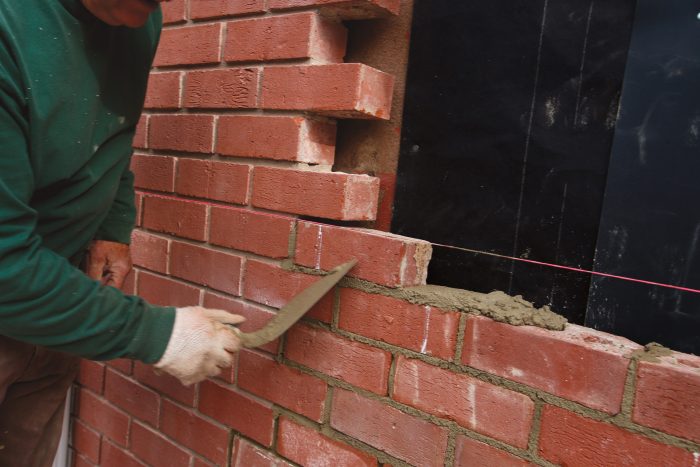
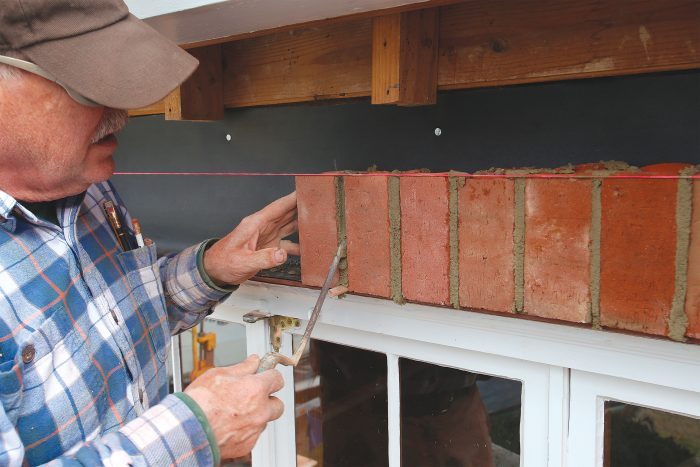
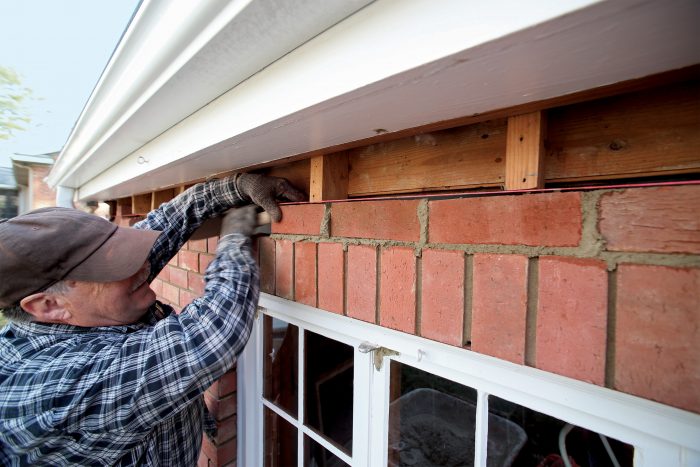
I lay the bricks along a string stretched evenly across the top of the existing bricks, raising the string with each course. To tie brick veneer to the framing, galvanized straps are required every 16 in. horizontally and every sixth course (about 16 in.) vertically. I screw the straps to the studs with 11⁄2-in. galvanized structural screws, which make a strong attachment but don’t go so deep as to puncture a wire or pipe. A common question is whether the weight of additional courses of brick will squeeze out the freshly laid mortar below. Unless there’s a point load—for example, from a lintel—this isn’t a problem.
Mix the mortar right. Mortar consistency makes all the difference. It needs enough body to support the bricks, but must be wet enough to stick when buttering the ends. I make 5 gal. at a time, measuring the ingredients in 1-gal. containers and mixing the dry ingredients with water equal to half the volume of the cement. This produces a stiff mixture, and I add more water to get to the consistency of cake batter. In this case, the total amount of water was about 3⁄4 that of the cement.
Adjust the pattern
I had to cut bricks on both sides of the window on each course. The pattern on the right side worked out so each course abuts the window with a substantially sized brick. On the left side, though, I had to adjust the pattern
to avoid having a 1-in. piece at the end of every other course. Pieces of brick this small look like mistakes and are hard to cut and set. To allow a larger end piece, I shortened the second-to-last bricks in those courses. After reaching the top of the window, I stopped for the day to let the mortar set overnight so I could place the lintel.
Tool the joints
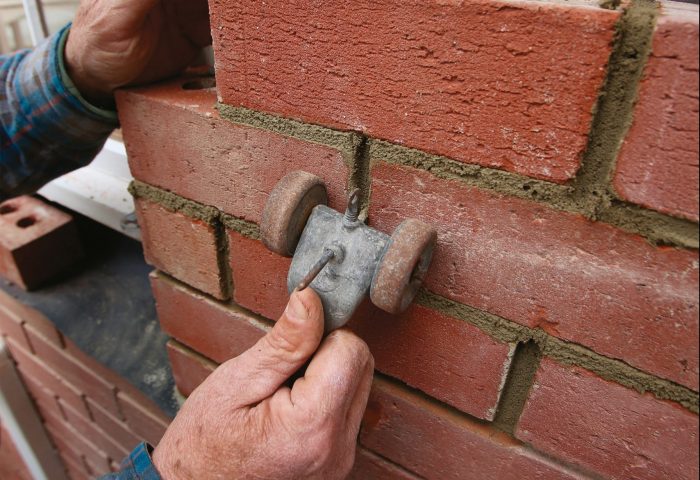
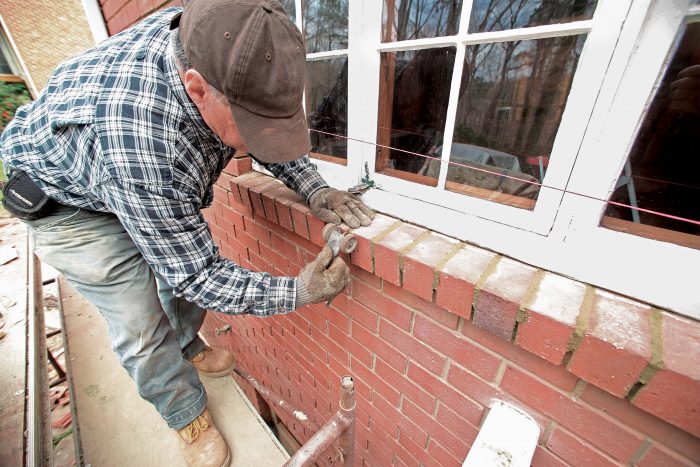
Matching the profile of the existing mortar joints is key when blending new work to old. For this task, a variety of joint tools are available that shape the mortar into different profiles. If your local masonry supply house doesn’t have a joint tool that matches your job, check online. Always wait until the mortar has firmed up before tooling the joints. The wait time depends on the temperature—mortar sets much faster in hot, dry weather than on cool, damp days. The existing joints on this house were simply recessed about 5⁄16-in. deep. To match that joint profile, I used a wheeled joint raker, setting the nail (a regular 10d common nail) to rake out the mortar to the same depth as the joints on the existing brick wall. After raking the joints, I used an old paintbrush to sweep away the crumbs.
Set and flash the lintel
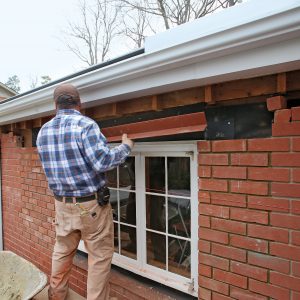
By the next morning, the mortar had set and had plenty of compressive strength to support the lintel. Lintel size and
required bearing area on the brick are governed by building codes and vary depending on the span. In this case, I used
a 31⁄2-in. by 31⁄2-in. lintel bearing 4 in. on each end. Do not fasten lintels to the house frame. The wood frame expands
and contracts more than the masonry and tying the two together can crack the brickwork. To protect it from water
that could cause rust, I covered the lintel with the same PVC flashing used at the sill and added weep holes in the joints.
Brick-spacing rules. The total height of brickwork is adjusted via the thickness of the joints. Thicker joints make brickwork taller (or wider, in the case of bricks laid sideways like in sills or soldier courses), while thinner ones make brickwork shorter (or narrower). A brick-spacing rule provides feet and inches on one side and several scales for laying out courses of varying joint thicknesses on the other. The brick spacing is marked A through K and represents 1⁄8-in. to 3⁄4-in. joint spaces. Each increment on a brick-spacing rule represents the thickness of one brick and one mortar joint. Keep in mind when planning courses between other brickwork (where a soldier course or a sill meets the brick to the sides, for example) that the rule doesn’t account for the last mortar joint. Deduct about 7⁄16 in. from the total to allow for the last joint. Sometimes, shorter distances don’t fall within the rule’s increments. In
those cases, you can use the increments as a starting point, and fudge the joints in the last several courses to make the layout work. Brick rules are available for standard-height bricks (21⁄4 in.) and oversize bricks.
Finish with the sill
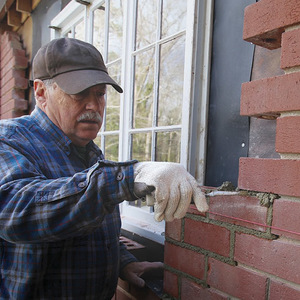
To shed water, sill bricks have to project about 1 in. past the brick below, and they have to slope. To keep the sill straight and at a consistent pitch, a brick is laid at each end and a string stretched across their top outside corners. To allow for a sloping placement, I cut the backs of the sill bricks at an angle. The exact angle isn’t particularly important as long as it provides clearance to slide the brick under the windowsill.
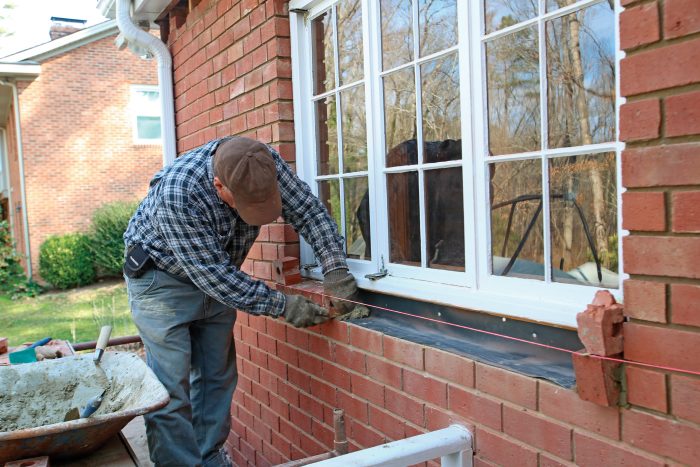
the window sill. The mortar will cover any layout marks, so check the spacing with a brick rule.
Soldier on
The course of bricks above the window is dry-set on the flashing that covers the lintel. To match the rest of the house,
I installed a soldier course here, which butts to the last two courses of running-bond bricks. These two courses stopped even with the courses abutting the window below, with the first brick in the running bond resting partially on the lintel. I cut bricks for the soldier course to match the height of these two courses of running bond. I laid out the spacing for the soldier course with a brick-spacing rule, setting its end in 7⁄16 in. to allow for the final joint.
For more photos, illustrations, and details, click the View PDF button below:
