How to Use a Wet-Film Thickness Gauge
Got runs, sags, or an uneven surface after spray finishing? Then get yourself this simple tool to help you adjust your spray rig settings and painting techniques.
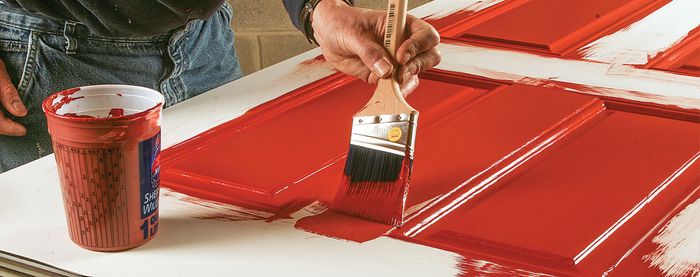
The problem with spray finishing is that you have to get just the right amount of finish on the surface. Too much, and you might get runs and sags. Too little, and it might dry too fast and create an uneven surface. The way to know if you’re putting on just the right amount — the amount the label on the finish tells you to use — is to use a wet-film thickness gauge.
A wet-film thickness gauge isn’t a new tool, and it’s certainly not complicated. But up until visiting Fine Homebuilding ambassador Tyler Grace (@trghomeconcepts) for a recent article and video shoot, I had never seen anybody actually use one. After seeing how handy this little gauge was for Tyler when double-checking his work, I thought it might be worth sharing with a wider audience who might not know about how to use one.
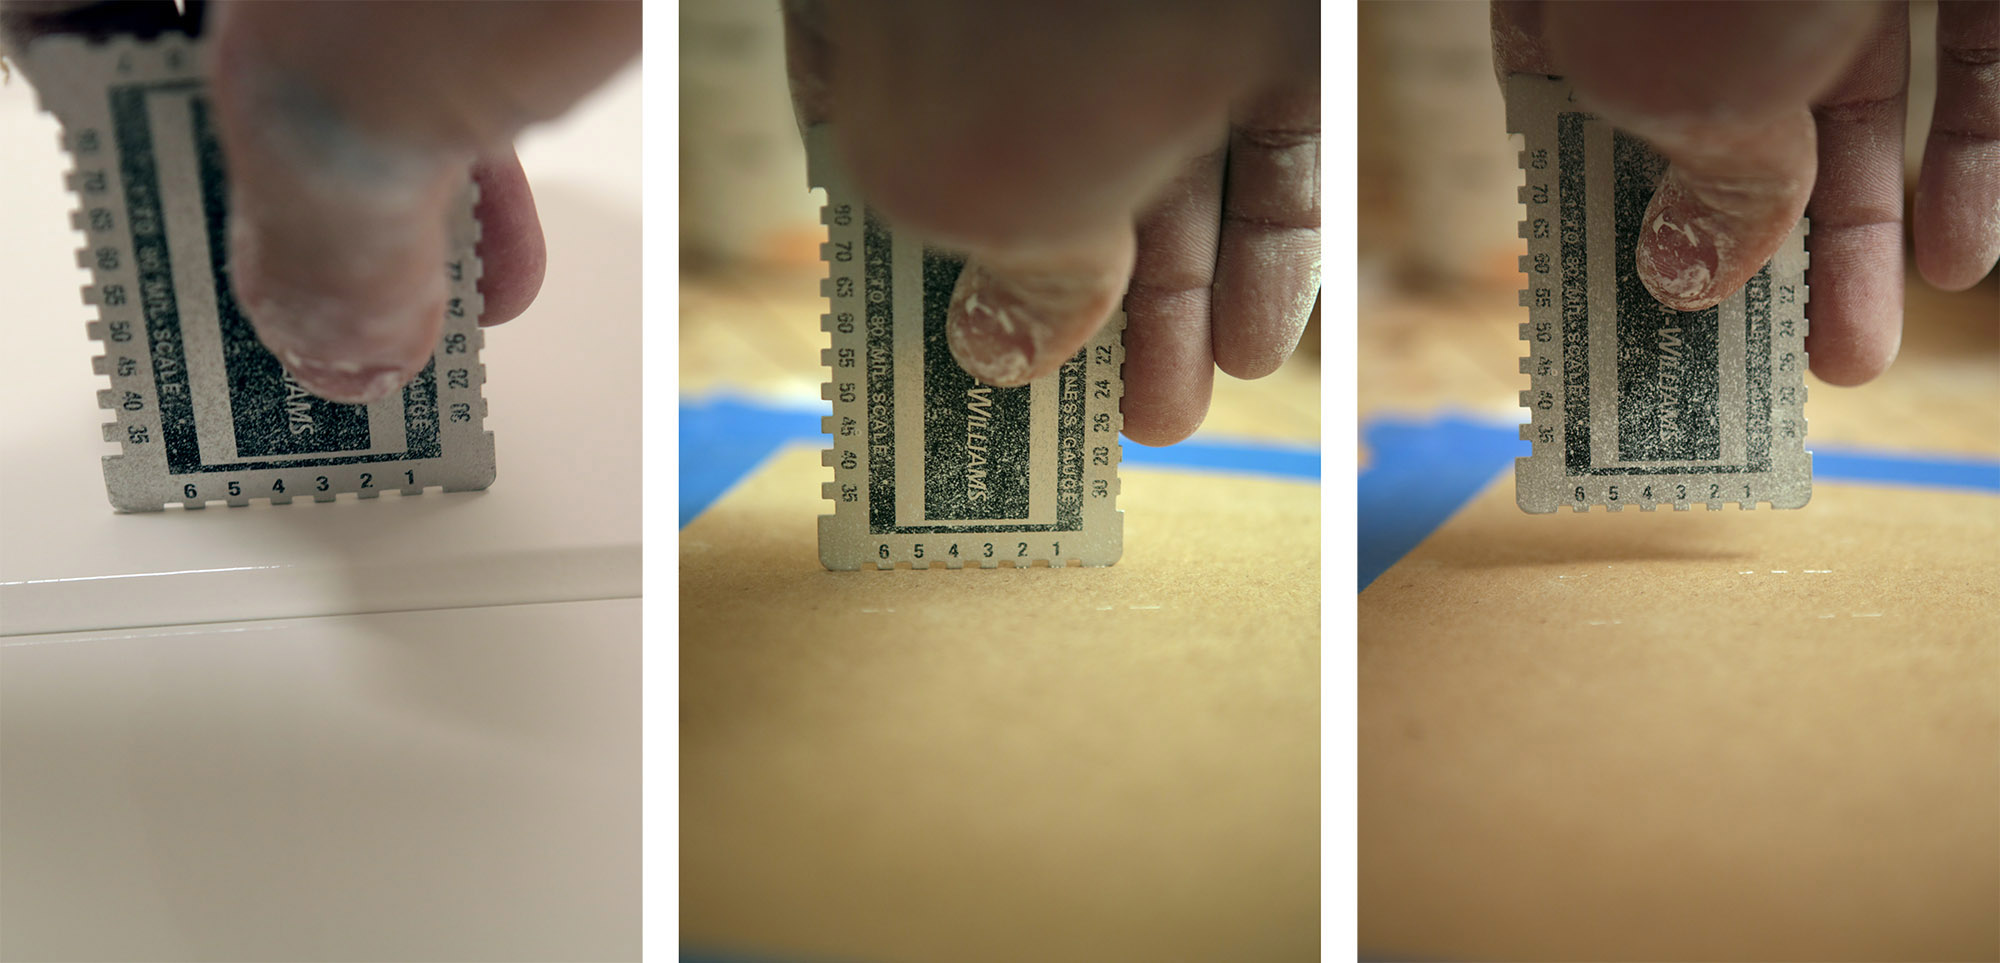
The tool is designed to verify the thickness of a coat of spray-applied paint. Getting the thickness right is crucial, because spraying too thinly will leave a gritty finish that does not level out correctly. Spraying too heavily will lead to sags and runs and lengthen the cure time. But don’t worry if it doesn’t look perfect while wet. The goal, unlike with solvent-based finishes, is to get a heavy enough coat of waterborne finish on the surface that it will level out as intended. Generally, you want to aim for a 2-mil to 3-mil wet-film thickness, which can be checked with a gauge (photos above).
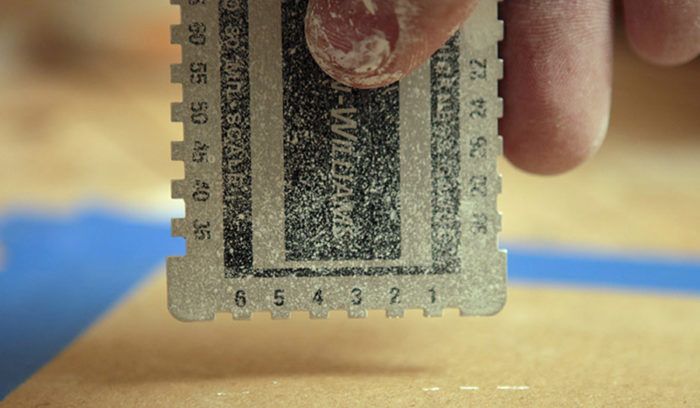
As I said, the tool is simple. This one comes from Sherwin Williams, and it is a thin metal card that is placed onto a freshly sprayed surface to measure the thickness of the wet coating that’s just been sprayed. The two outermost teeth of the card rest on the wood below the paint and act as a datum line for measurement. The smaller teeth between these two outermost main teeth are set at slightly different heights. So, the card is set at a 90° angle on the surface you just sprayed, and then lifted straight back up. Now you can lower the card onto a piece of masking paper or other scrap and the little teeth that made contact with the wet paint will leave marks on the test surface, indicating the thickness of the finish in mils. It’s a great tool to have, and can be used when spraying paint, lacquer, varnish, and other coatings.
For more on spray finishing, check out Tyler’s cover story in FHB #268, and the video of his spray-finishing workflow.
Plus, see what he wrote about his spray rig setup.
Also check out all the stories that Tyler has written for Fine Homebuilding.
Fine Homebuilding Recommended Products
Fine Homebuilding receives a commission for items purchased through links on this site, including Amazon Associates and other affiliate advertising programs.
Metabo HPT Compact Cordless Miter Saw (C3607DRAQ4)
DEWALT Impact Driver (DCF885)
Festool Cordless Track Saw (TSC 55 KeB-F)
