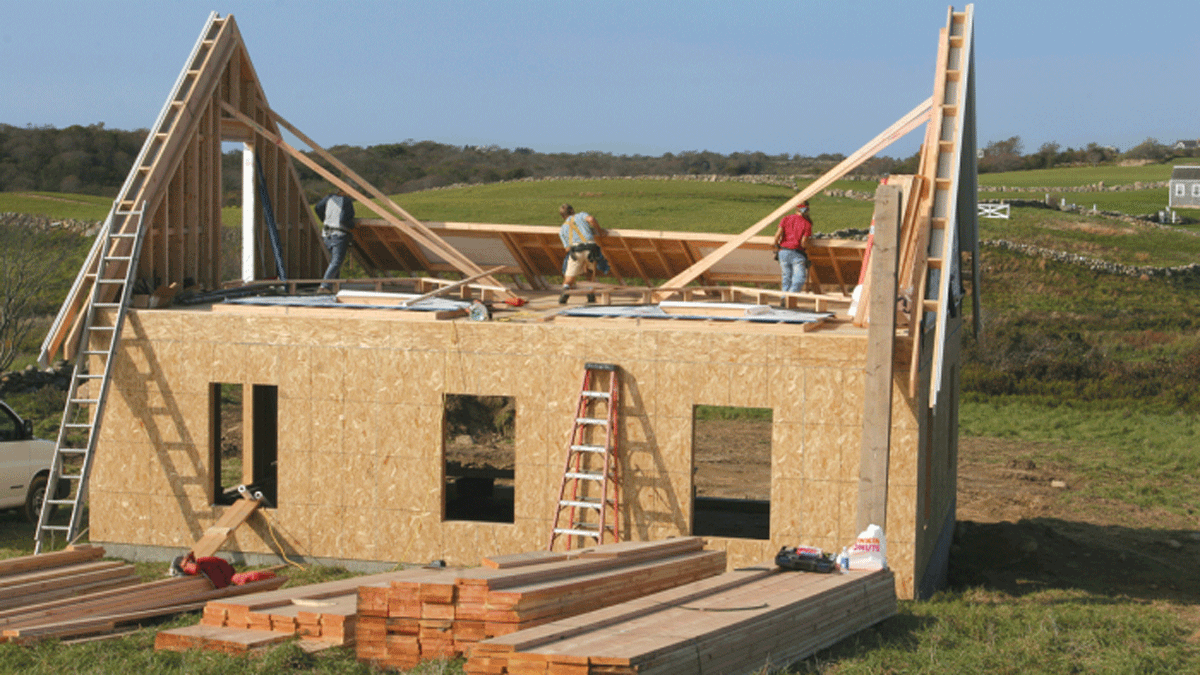
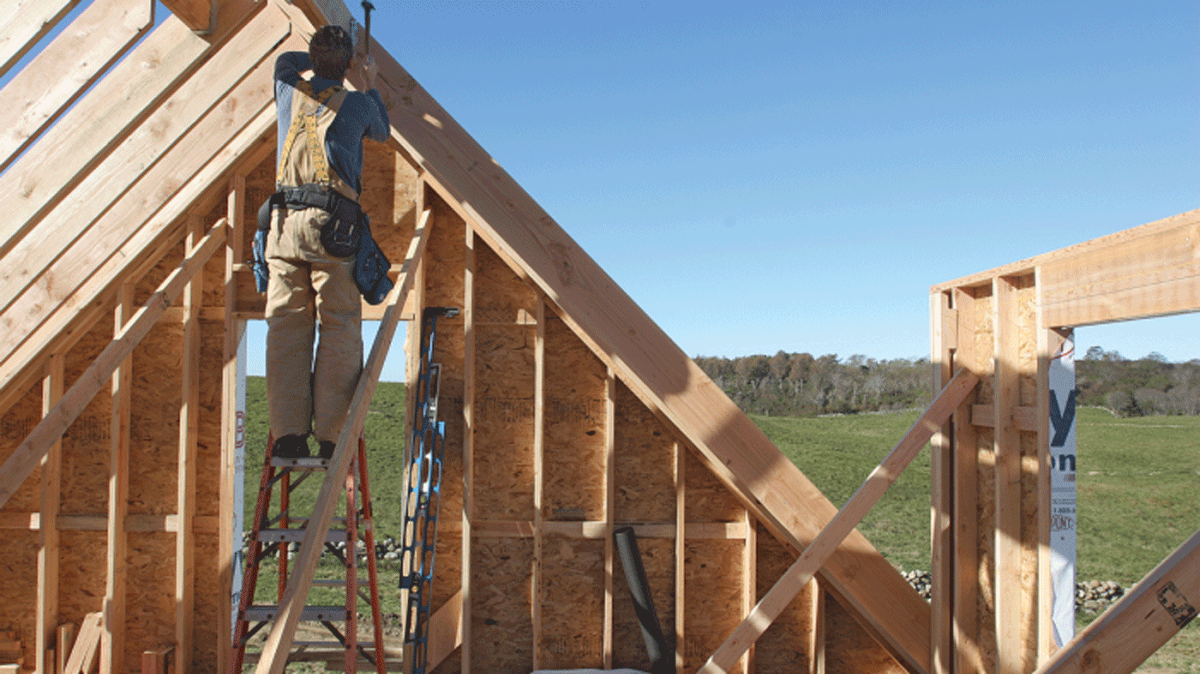
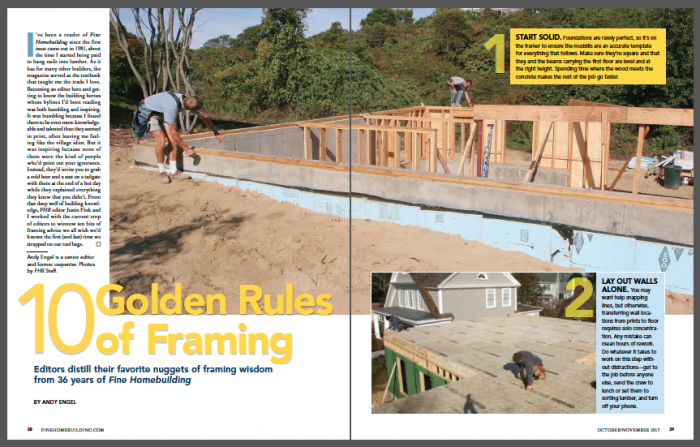
10 Golden Rules of Framing
Bits of framing advice the Fine Homebuilding editors all wish they'd known the first (and last) time they strapped on their tool bags.
I’ve been a reader of Fine Homebuilding since the first issue came out in 1981, about the time I started being paid to bang nails into lumber. As it has for many other builders, the magazine served as the textbook that taught me the trade I love. Becoming an editor here and getting to know the building heroes whose bylines I’d been reading was both humbling and inspiring. It was humbling because I found them to be even more knowledgeable and talented than they seemed in print, often leaving me feeling like the village idiot. But it was inspiring because none of them were the kind of people who’d point out your ignorance. Instead, they’d invite you to grab a cold beer and a seat on a tailgate with them at the end of a hot day while they explained everything they knew that you didn’t.
From that deep well of building knowledge, FHB editor Justin Fink and I worked with the current crop of editors to winnow ten bits of framing advice we all wish we’d known the first (and last) time we strapped on our tool bags.
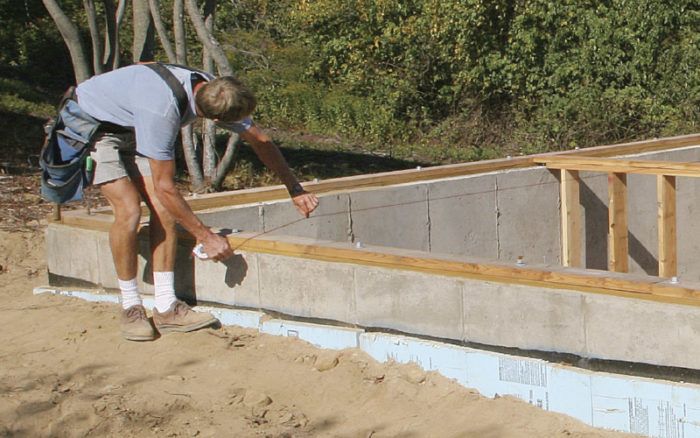
1. Start solid
Foundations are rarely perfect, so it’s on the framer to ensure the mudsills are an accurate template for everything that follows. Make sure they’re square and that they and the beams carrying the first floor are level and at the right height. Spending time where the wood meets the concrete makes the rest of the job go faster.
2. Lay out walls alone
You may want help snapping lines, but otherwise, transferring wall locations from prints to floor requires solo concentration. Any mistake can mean hours of rework. Do whatever it takes to work on this step without distractions—get to the job before anyone else, send the crew to lunch or set them to sorting lumber, and turn off your phone.
3. Waste nothing
Every pallet of incoming lumber should be culled and the straightest pieces set aside for the places where straightness matters most (top plates, king and jack studs, etc.). Crooked, bowed, waney, and knotty lumber has its place too. These defects matter very little when the piece is being cut short for cripples, blocking, or temporary supports.
4. Keep your feet on the ground
If you do a good job following rules 1 and 2, it becomes possible to accurately mark beams and plates—and even to install hardware— for joists, trusses, or rafters before raising them into place. Working on sawhorses, the lumber pile, or the deck are all faster than working on a ladder.
5. Avoid guesswork
There’s more to laying out framing than marking Xs for each stud position. Mark every wall component— kings, jacks, cripples, intersections, point-load posts, and blocking— to ensure you won’t have to waste time later fixing inaccuracies. For complicated assemblies such as rafters or stringers, do a full-scale layout to avoid mistakes.
6. Only measure when you need to
Tape measures are indispensable, but they can also introduce errors. Whenever possible, mark pieces in position rather than measuring them, and cut wall and roof sheathing in place during or after installation to improve accuracy.
7. Efficiency is king
Framing involves repetitive tasks, 7 such as cutting dozens of pieces to the exact same length. Learn to take advantage of situations when it’s easy and convenient to cut several pieces to length in one pass, often before the wood even leaves the lumber pallet it arrived on.
8. Work smart
“Wet” and “heavy” are common themes when working with framing lumber. Avoid the temptation to be a hero by carrying 10 studs or two sheets of sheathing at once. In the long run, your body will lose the battle. If you don’t have diesel-powered machines to help with lifting, at least work smart by tackling heavy lifts with wall jacks or in teams of two or more.
9. Plumb and level aren’t enough
Every wall that is tipped into place should be rigged up with a string that runs from one end to the other so it can be pushed and/or pulled straight along its length. Although the method is different, joists, rafters, and beams must also be kept straight to ease the installation of the next pieces.
10. Know the end before you start
Don’t start setting joists, sheathing, or any other framing components without paying attention to how the pieces will pace out when you get to the other end. A little foresight will help you avoid problems with layout, lead to efficient use of materials, and allow access for convenient, solid fastening.
For more photos and details, click the View PDF button below.
From Fine Homebuilding #270
And for a peek back at some classic advice, here are Larry Haun’s 10 rules for framing from 2003.
Fine Homebuilding Recommended Products
Fine Homebuilding receives a commission for items purchased through links on this site, including Amazon Associates and other affiliate advertising programs.
Speed Square

Tajima Chalk Rite Chalk Line
Short Blade Chisel

