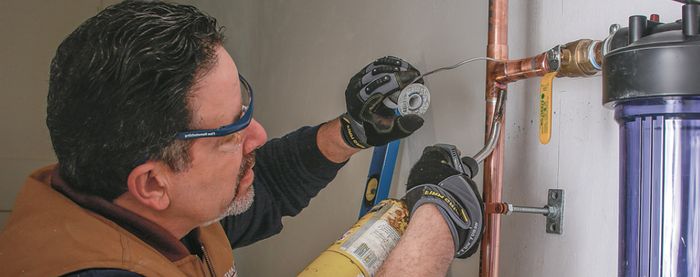
Connect PEX with ASTM F1960 Expansion Fittings and ProPEX Rings
For a connection that gets stronger over time, ProPEX expansion fittings are hard to beat.
When making a PEX connection using ASTM F1960 expansion fittings, start by cutting the PEX tubing square. Then slip a ProPEX ring onto the tubing, making sure it’s fully seated. Use your expansion tool to expand both the tubing and ProPEX ring. Some power tools have heads that auto-rotate to keep the tubing round. If your tool doesn’t have this feature, rotate the tool slightly between expansions to keep from deforming the tubing and ring. After the expansion is complete, immediately insert your fitting, ensuring its shoulder is snug against the ProPEX ring. The connection should be secure within seconds.
For more videos about Connecting PEX fittings, check out:
- Mastered in a Minute: Connect PEX With Crimp Fittings and Crimp Rings
- Mastered in a Minute: Connect PEX With Crimp Fittings and Stainless-Steel Clamps
- Mastered in a Minute: Connect PEX With ASTM F1960 Expansion Fittings and ProPEX Rings
- Mastered in a Minute: Connect PEX With ASTM F2080 Expansion Fittings and Compression Sleeves
- Mastered in a Minute: Connect PEX With Viega PEX Press Fittings
- Mastered in a Minute: Connect PEX With Push Fittings
- Tool Tech: A Rundown of PEX Connection Fitting Systems
Plus, check out Matt’s full article about connecting PEX in FHB #272.


