How to Install Cedar Shingles Over a Rainscreen With an Air Intake System
Backventing cedar shingles helps the siding last longer.
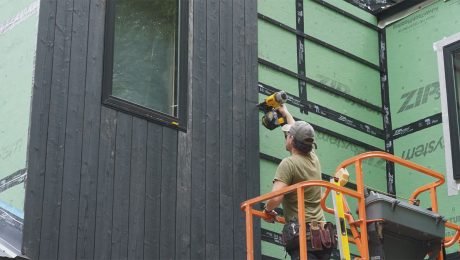
Backventing cedar shingles will help them last longer than shingles applied directly against the housewrap and wall sheathing. The air space behind the shingles allow moisture that soaks in the front of the shingles to dry to the backside as well as the front. We’re using Benjamin Obdyke Home Slicker — a plastic mesh matrix that spaces siding about 1/4 in. off the wall surface.
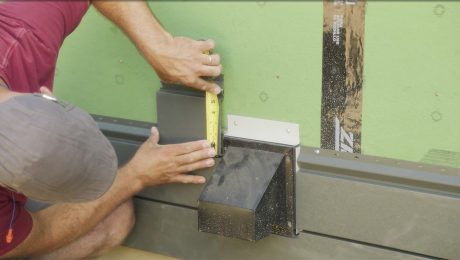
The devil is in the details – in this case the air intake and flow behind the skirt board. I spaced the Boral skirtboard off the wall with 7/8 in. rips of pressure treated lumber. The spacers are set at 24 in. oc – directly over the studs. The tops of the spacers run slightly higher than the top of the skirtboard and are cut at a 15 degree angle. The drip cap flashing slope matches the angle on top of the spacers and is supported by them. Between the spacers I installed DCI Products CedarVent Plus. The corrugated plastic strips have a non-woven mesh screen over one edge to keep bugs out but let air flow through. I used the 1 in. depth strips so the skirt board presses tight against them since the spacers are slightly narrower.
The cap flashing is designed with the wall leg spaced off the wall surface so air can flow freely between the CedarVent intake and the Home Slicker. To provide full support for the flashing wall leg I installed a 3/16 in. strip of CedarVent first. The CedarVent prevents the flashing wall leg from bending in and closing off the vent space; and it acts as a support for the bottom course of shingles.
The Home Slicker is just tack-nailed on the wall. As the shingles are installed, hundreds of nails that fasten the shingles to the wall will also hold the Home Slicker in place.
At the top of the wall we’ll install an air outlet behind the frieze board.
www.mikeguertin.com @mikeguertin
Learn more about durable siding installation techniques:





View Comments
Some good ideas but the video just skips too many details to be really useful. The spacers/cedar-vent shown are 1/2" thick products and yet the video shows the 3/4" vertical trim sitting more-or-less flush with the base trim. How is the trim shimmed/vented from the sheathing? The video ends saying he'll 'figure out' venting at the top of the wall but there's no follow up.