How to Install an Electrical Subpanel
A neatly wired electrical panel is safer and easier to troubleshoot.

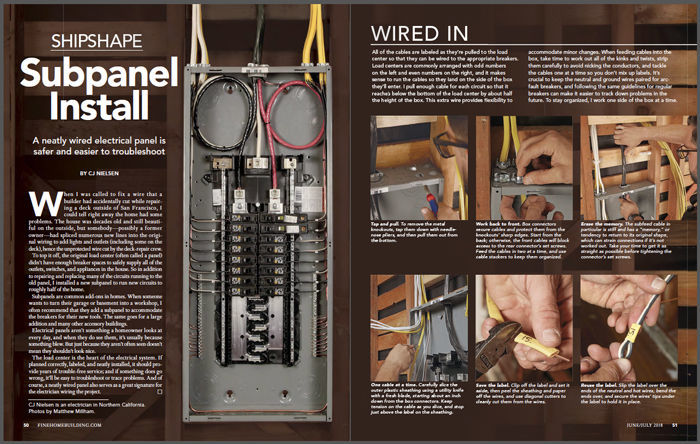
Synopsis: Electrician CJ Nielsen describes how to correctly wire and label an electrical subpanel. He begins with how to pull the cables to the panel, or load center. He then works step by step through landing the grounds, the subfeed, and the neutrals, before installing the breakers and landing the hots. A series of photos show the systematic process and how to keep the subpanel organized with zip ties and labels.
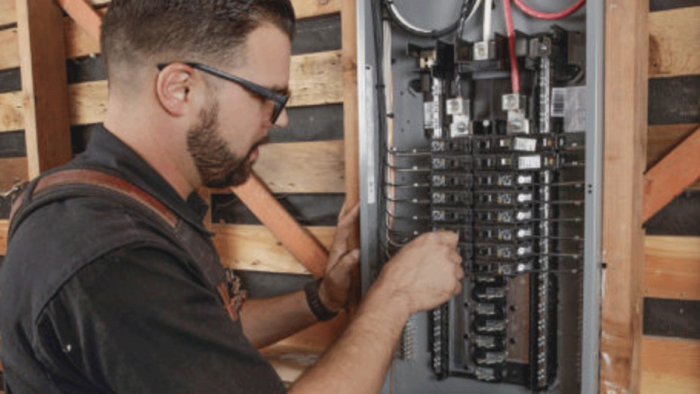
 When I was called to fix a wire that a builder had accidentally cut while repairing a deck outside of San Francisco, I could tell right away the home had some problems. The house was decades old and still beautiful on the outside, but somebody, possibly a former owner, had spliced numerous new lines into the original wiring. The purpose was likely to add lights and outlets (including some on the deck), hence the unprotected wire cut by the deck-repair crew. To top it off, the original load center (that is, the electrical panel) didn’t have enough breaker spaces to safely supply all of the outlets, switches, and appliances in the house. So in addition to repairing and replacing many of the circuits running to the old panel, I installed a new subpanel to run new circuits to roughly half of the home.
Subpanels are common add-ons in homes. When someone wants to turn their garage or basement into a workshop, I often recommend that they add a subpanel to accommodate the breakers for their new tools. The same goes for a large addition and many other accessory buildings.
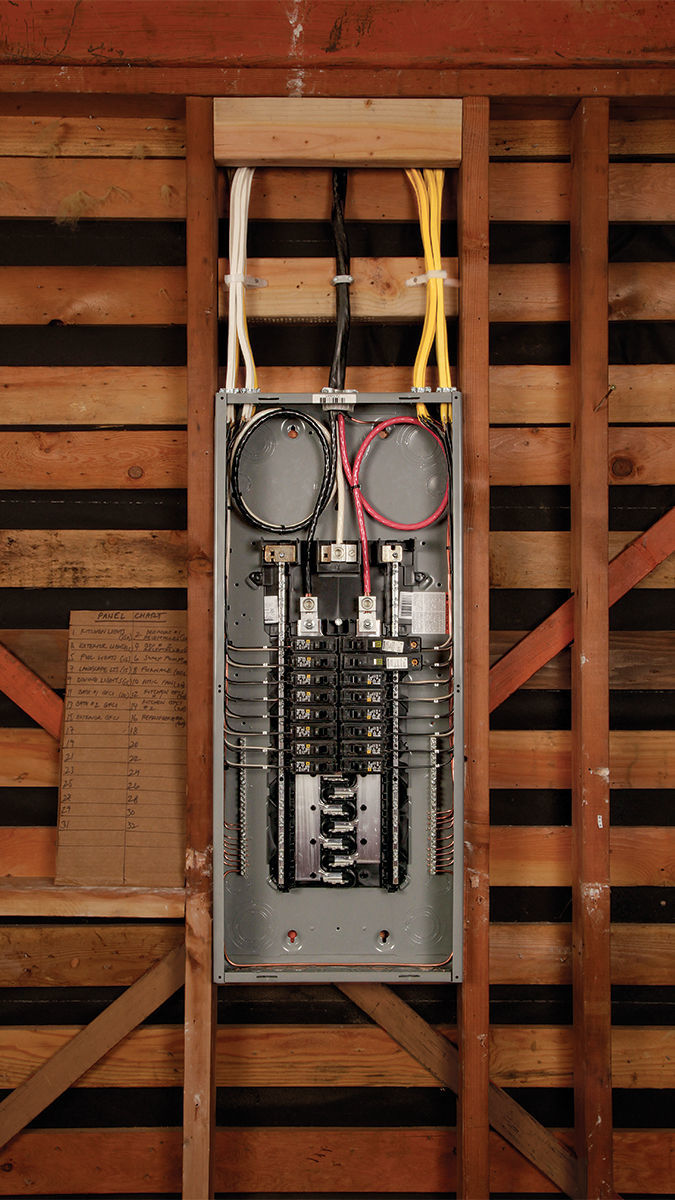
Electrical panels aren’t something a homeowner looks at every day. When they do see them, it’s usually because something blew. But just because they aren’t often seen doesn’t mean they shouldn’t look nice.
The load center is the heart of the electrical system. If planned correctly, labeled, and neatly installed, it should provide years of trouble-free service; and if something does go wrong, it’ll be easy to troubleshoot or trace problems. And of course, a neatly wired panel also serves as a great signature for the electrician wiring the project.
For other related articles, please check out these links:
- Running New Wires through Old Walls.
- How it Works: Electrical Breaker Panels.
- Wiring Your House for Today and Tomorrow.
- Installing a Circuit Breaker in an Existing Panel.
- Working With Old Wiring.
- Installing An Electrical Service.
- Crash Course in Conduit.
Please click here to check out a video created to complement this article.
From Fine Homebuilding #276
For details and many more photos in this article, please click the View PDF button below.


View Comments
Conductors bundled for 24” or more have to be derated so even if it doesn’t look as pretty, not a good idea to bundle like shown. Also author didn’t use properly calibrated tool to correctly torque the various conductor connections. And many panels don’t have room for those big loops in the feeders. Even in the panel shown, that extra wire would just get in the way and would only be useful for a repair or replacement very far in the future. And finally (at least from me) doubling up cables in connectors can only be done if connectors are specifically listed and labeled (at least on box) for such use.
his panel is fine. The torque tool of choice, the best, is made by precision instruments out of Illinois. the bundling of 24 inches has zero effect. there is still tons of air to release this supposed (non-existent) heat. lol
Beautiful wiring. But I will withhold my judgement until I see an electrician actually produce a legible panel label schematic that a home owner can read.