Siding to Last a Lifetime
Builder John Constantini outlines rainscreen details that improve the durability of any lap-siding installation.
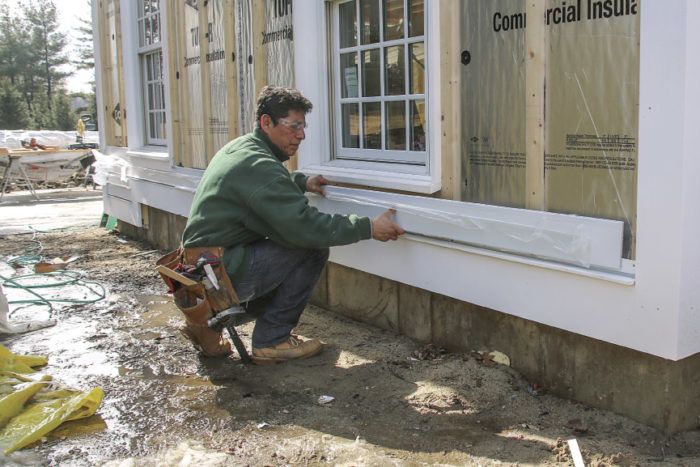
Synopsis: In this article, a builder and remodeler outlines siding details that prevent leaks, rot, and structural damage. He installs a rainscreen detail, or lap siding over an airspace—siding nailed to 3/4-in.-thick furring strips. Vents at the top and bottom of the wall allow any water that gets behind the siding a chance to get back out, and the air gap promotes fast drying. The author describes the layout of the siding, the installation of each course of siding, and the watertight details above and below windows (with detailed illustrations). The article includes a sidebar showcasing the author’s favorite fasteners.
My partner, Joe Filanowski, and I have been working together for almost 20 years. He handles the business side of our custom-home-building business and I run the job site. Most of our work is along the western Connecticut coastline, where homes are routinely pounded by coastal storms packing savage winds.
Through our remodeling work, we came to the conclusion long ago that even the best siding jobs leak when subject to gale-force wind and rain. We’ve seen firsthand the rot and structural damage that occurs when rain is forced behind siding and can’t get out. The stakes are even higher with modern insulation and air-sealing requirements, because there’s often very little drying potential when the inevitable leak occurs. For all these reasons, we now insist that clients install lap siding over an airspace on major remodels and new builds.
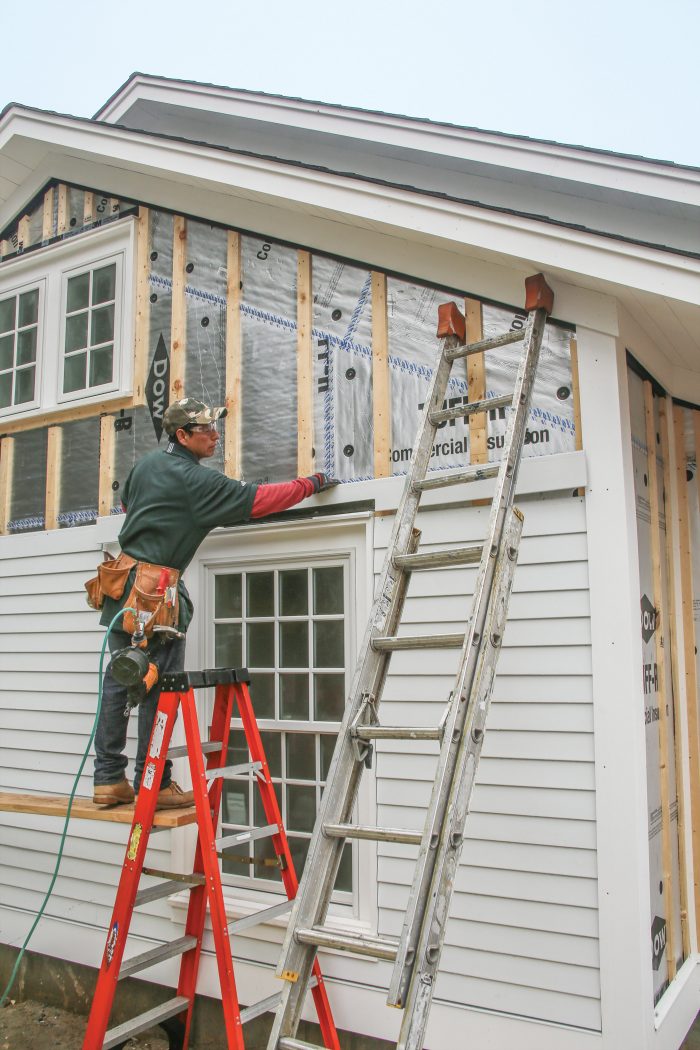
We nail the siding to 3⁄4-in.-thick furring strips, and assembly often described as a rainscreen. Vents at the top and bottom of the wall allow any water that manages to get behind the siding a chance to get back out, and the air gap eliminates pressure differentials—which can cause water to be sucked inward—while also promoting air circulation for fast drying. The home shown here has prefinished fiber-cement siding from James Hardie, but the installation methods are virtually the same for every type of lap siding.
Where to Start?
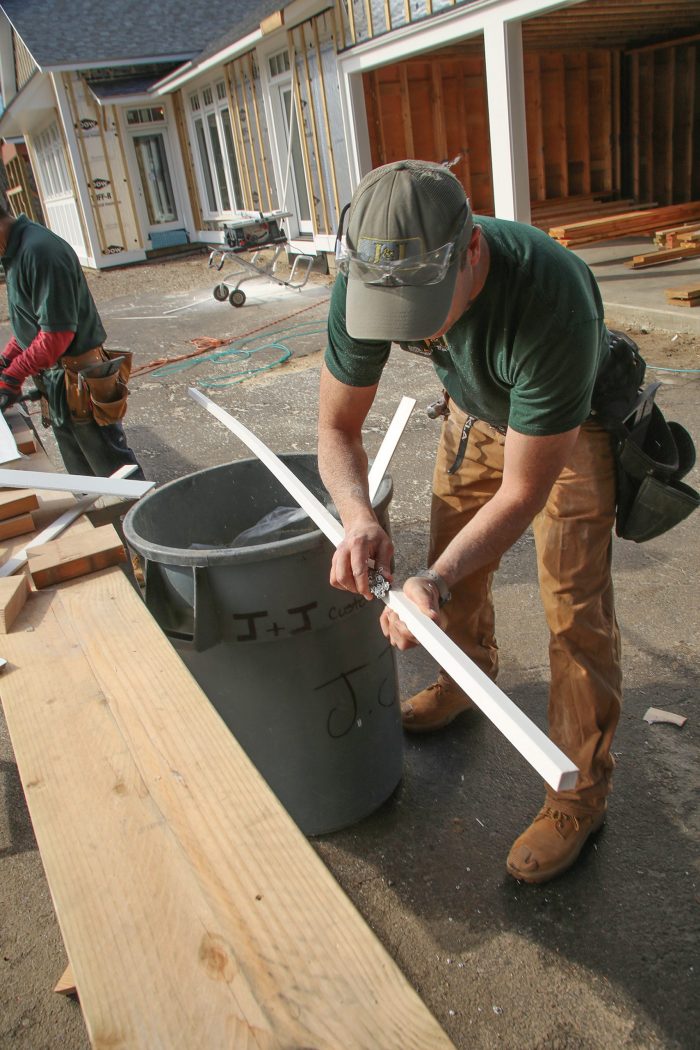
Before we can install the siding, we have to install the trim. On this project, and on most others, we used PVC trim fastened with a combination of stainless-steel screws and 15-ga. stainless-steel finish nails. We use the finish nails on small and relatively short pieces of trim, and the screws on larger, longer elements like frieze boards and water tables. The screws are a must for those pieces in order to minimize the problems associated with the expansion and contraction of PVC. We prefer Cortex screws and their premade plugs, and we leave the plugs out until the siding is installed so we can remove the trim if it’s necessary.
Even though this house is all on one level, the siding follows several grade changes and the windows and doors are different sizes and at different elevations. In traditional New England carpentry, the mark of a good siding job was full courses at both the tops and bottoms of doors and windows. Carpenters would adjust the siding’s exposure to ensure things lined up. This is easy with consistently-sized windows and simple architectural forms like capes, center-hall colonials, and saltboxes, but it’s impossible when you have a house like this one.
We decided that having the courses line up at corners was more important than having full courses above and below windows, so we kept the 4-in. exposure consistent on all the elevations.
The west side of the house that’s shown in these photographs is near the driveway—and it’s the first side you see when arriving. It also has several corners close together, so it made sense to start the siding there. This is also one of the elevations with a step in the foundation. We adjusted the location of the water table by varying the amount it overhangs the foundation so there would be full courses at as many of the stepped elevation changes as possible. To ensure the courses of siding lined up from one side of the house to the next, we made story poles that referenced off the top of the water table.
An Airtight, Durable Assembly
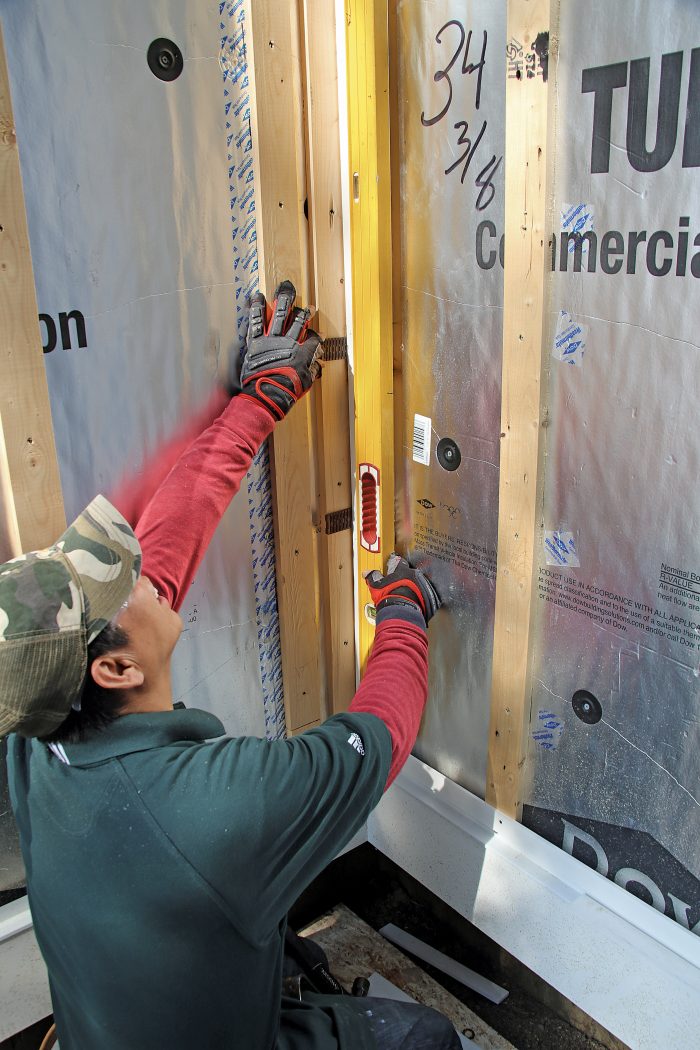
On this project, the clients are aiming for net-zero performance, so to minimize thermal bridging, the exterior is skinned with 1-1⁄2 in. of foil-faced polyiso insulation. A layer of 1⁄2-in. Zip System sheathing with taped seams is behind the polyiso. The sheathing is nailed to the framing with 2-1⁄2-in. nails and the foam is secured to the sheathing with 2-1⁄2-in. screws set in Thermal-Grip washers. I like these screws for fastening rigid insulation because their slightly conical washer flattens as the screw is driven. When you use metal roof tins or cheaper washers, the edges tend to curl up, so any furring strips that land on a screw are more difficult to get tight to the sheathing.
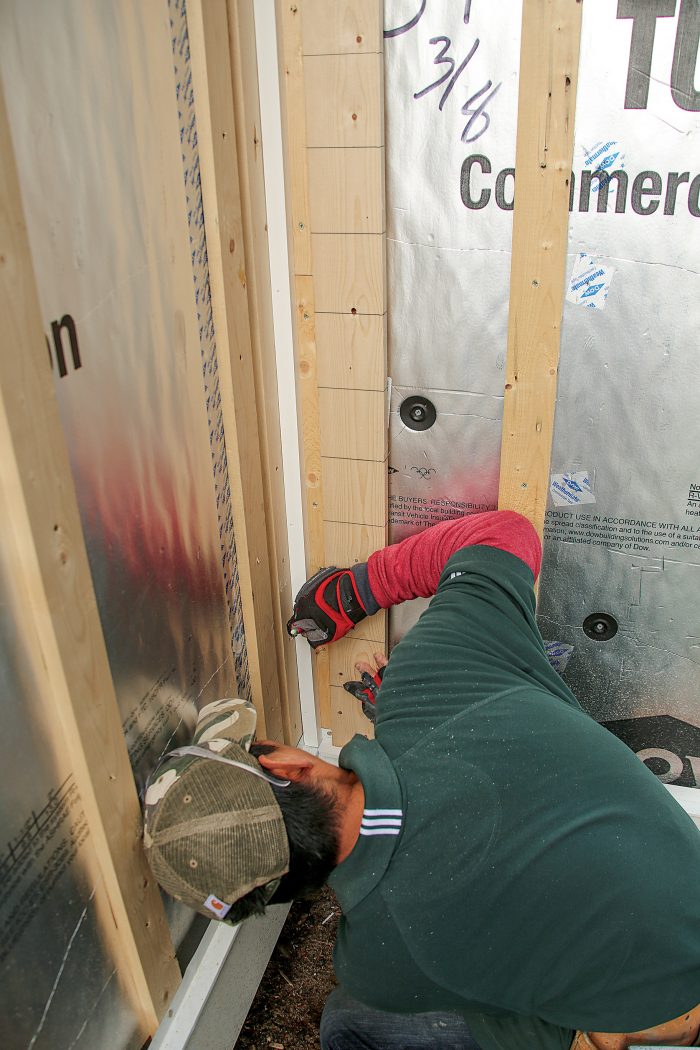
We also splurged on the 3⁄4-in. by 3-in. pine furring because it better resists cupping and twisting than less-expensive and more commonly used spruce strapping. The result is flatter siding that’s easier to install. The furring strips are fastened to the studs with 4-1⁄2-in. structural screws. To locate the studs through the polyiso insulation, we station one carpenter inside the house to shout distances from windows, doors, or corners to another carpenter outside the house who marks the stud locations on the foam with a felt-tip marker.
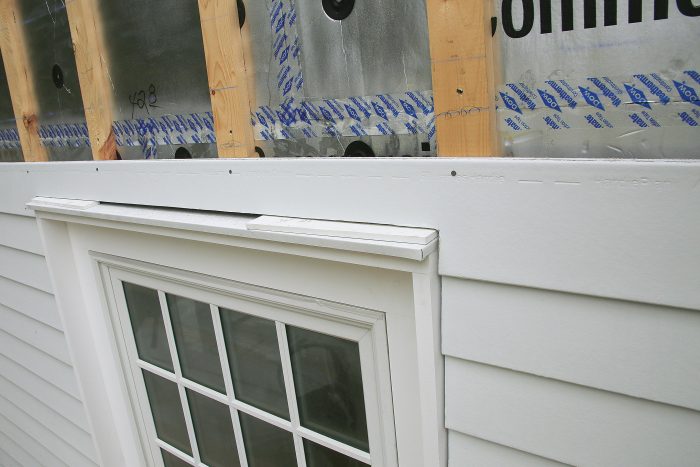
To accommodate the walls’ extra thickness on this house, the window casing has 3⁄4-in.-thick stock applied to the outside perimeter with 2-in. screws. At the tops of windows and doors is a PVC drip cap that’s covered with a secondary aluminum drip cap with hemmed ends. We make the aluminum cap on site with a metal brake.
Details to Promote Drying
To enable drainage and drying, we install the water table on Cor-A-Vent SV-3 vent strips, which match the thickness of the furring strips. This corrugated plastic vent is sturdy enough to resist crushing when we screw trim over it and it does a good job keeping out pests. We also install Cor-A-Vent at the top of the wall, behind a frieze, which is packed out 1 in. at eaves and rakes (see drawing p. 35). We do this so the siding can be slipped behind the frieze for better water shedding and to conceal the gap left for air circulation. We paint the bottom of the packout material with black spray paint so the gap is as unobtrusive as possible.
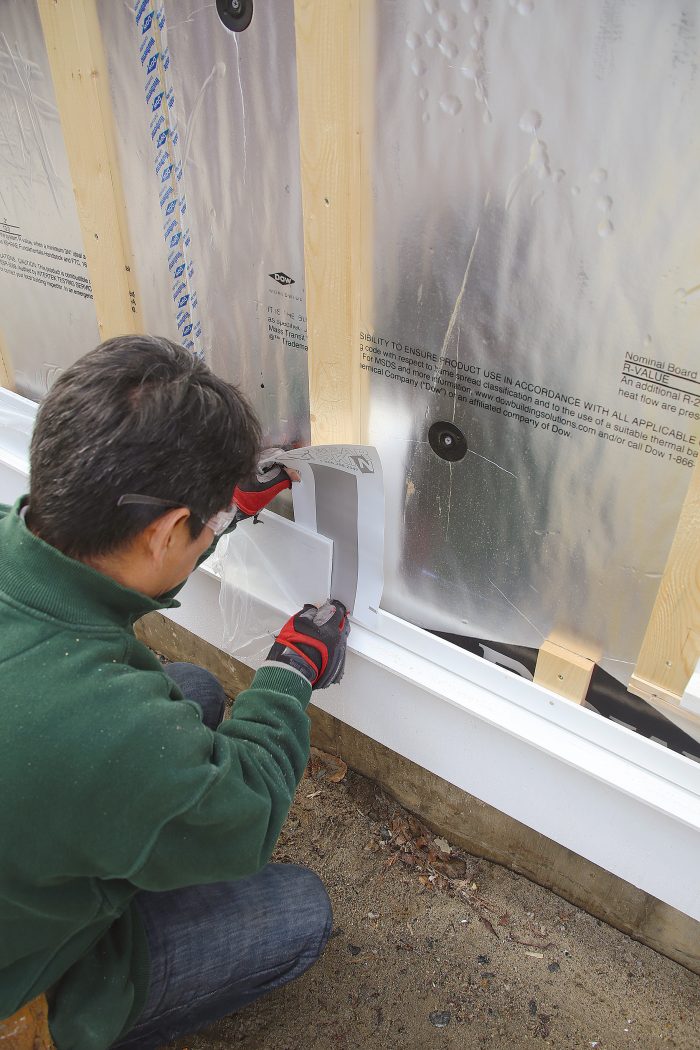
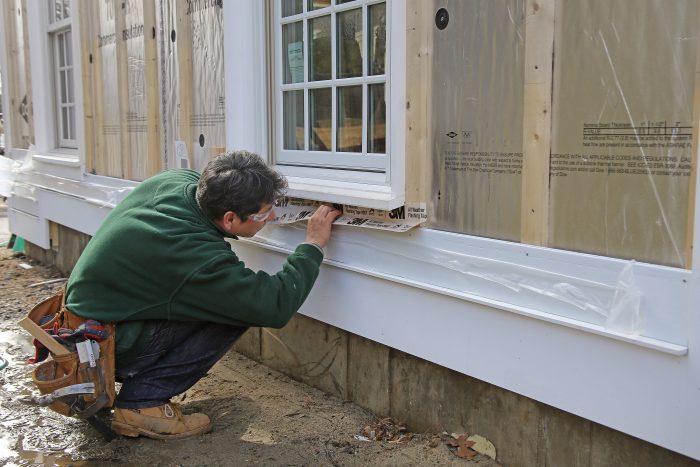
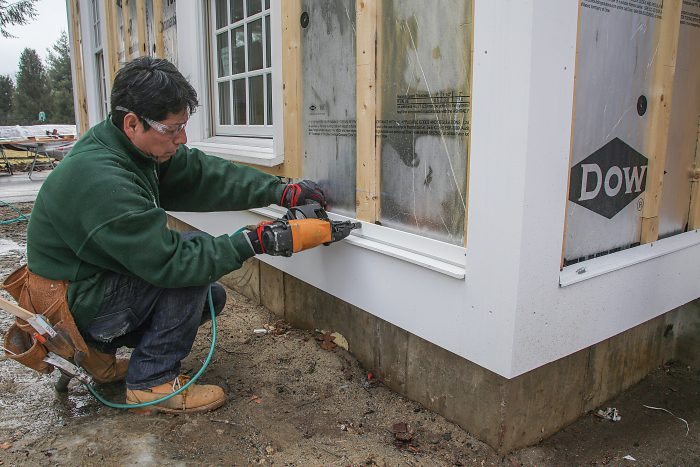
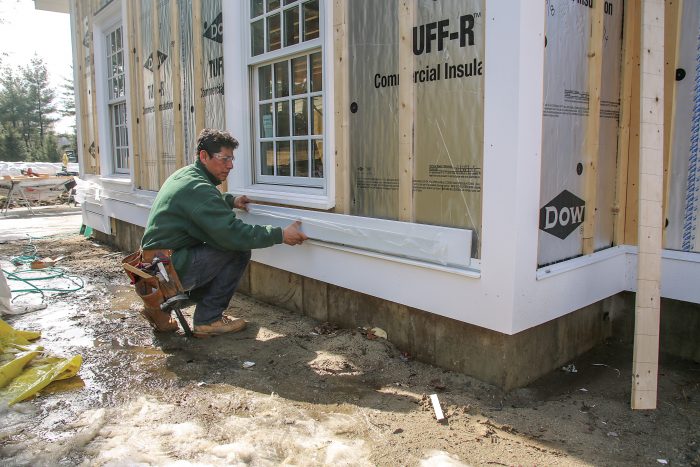
Although some builders don’t bother ventilating above and below windows, we install the Cor-A-Vent at the tops of windows, too. The siding manufacturer requires a gap between the window’s or door’s drip cap and the siding to promote drainage and drying. We exploit that gap to introduce airflow as well. Underneath windows and doors, we use a sill pan that drains on top of the insulation layer. An additional layer of 6-in.-wide 3M All Weather Flashing Tape attached to the sill nosing and lapped over the top edge of the siding prevents wind-driven rain from finding a way in. On top of the flashing we install a PVC apron with a notched back cut so that it follows the siding contours.
Is All of This Really Necessary?
Builders in other areas of the country may ask, is all this extra work really worth it? In our climate, with our clients, it absolutely is. They expect the best exterior details and are willing to pay for them. When we started our business, we committed to doing the best possible job for our customers, and we won’t work for clients who are unwilling to let us do that.
In recent years, we’ve had the opportunity to work for repeat clients. When we’ve opened up walls that we’ve worked on previously, they’re dry and in good shape, which only reinforces our belief that we’re doing things the right way.
Trim and Layout
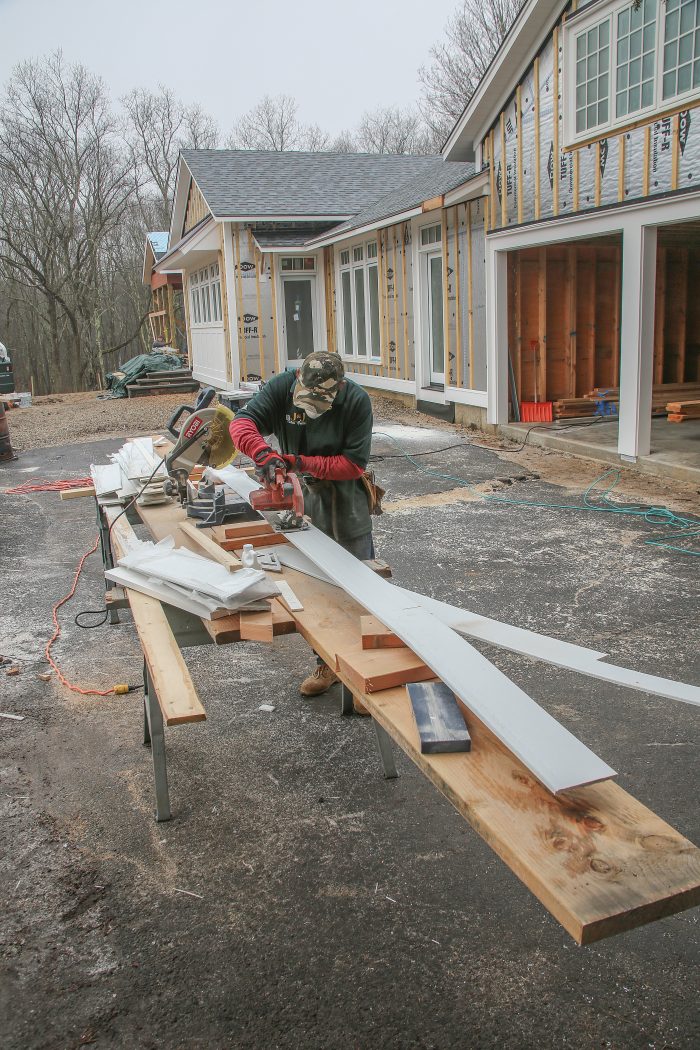
Meticulously installed trim doesn’t just look better, it also makes it easier to install the siding. Aim for level, plumb, and square and the payoff is less time spent laying out and fitting siding.
 |
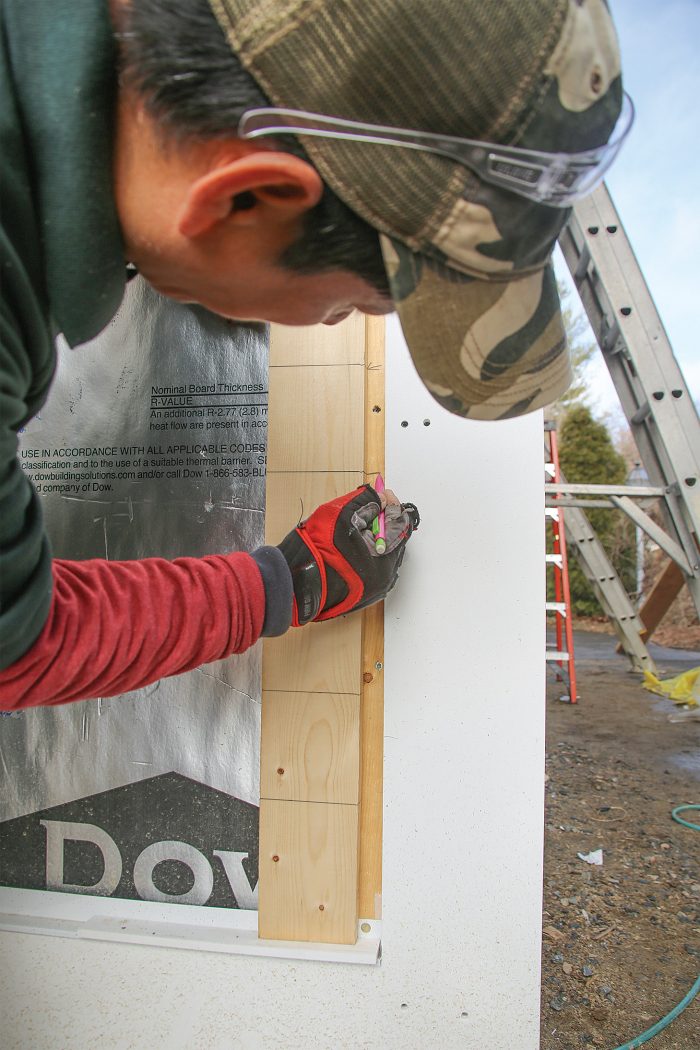 |
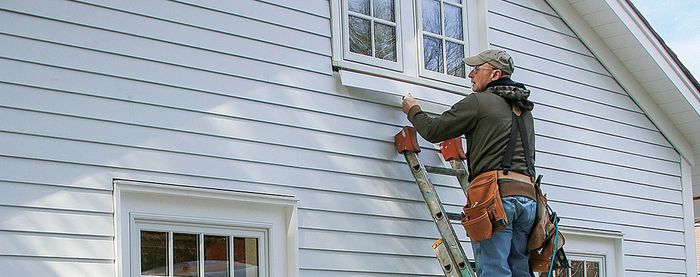
Mark Both Ends: Place the story pole, marked with a 4-in. siding exposure, on top of a 1⁄4-in. shim that creates the manufacturer-required gap above the water table. Once in place, transfer the siding courses from the story pole to the furring strips at both ends of each run. Snap chalklines between the marks so the siding can be easily aligned for its entire length.
The First Course
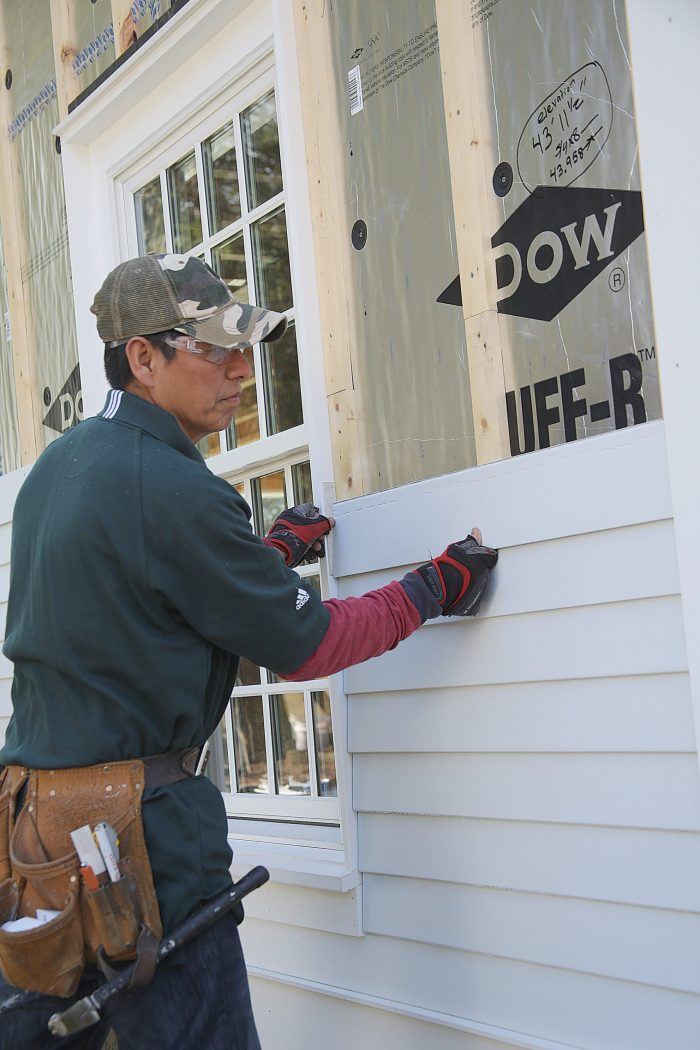
The first piece of siding sets the stage for everything that is fastened above it, so be sure the water table is level, the starter strip is in place, and the first course is fit and fastened according to manufacturer instructions.
Watertight Details Under Windows
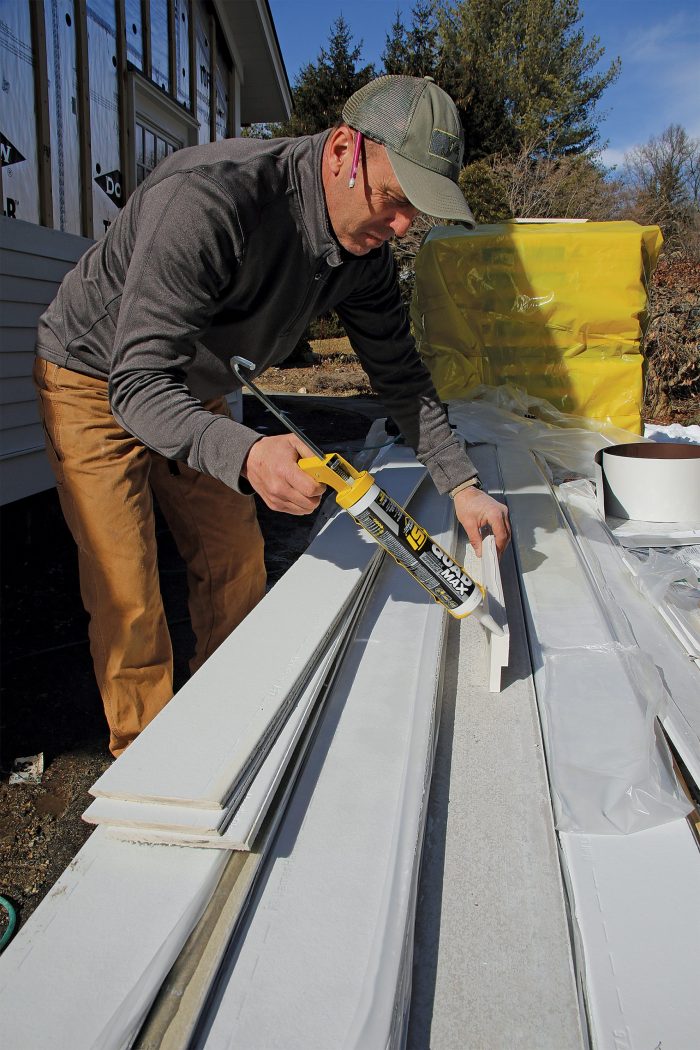
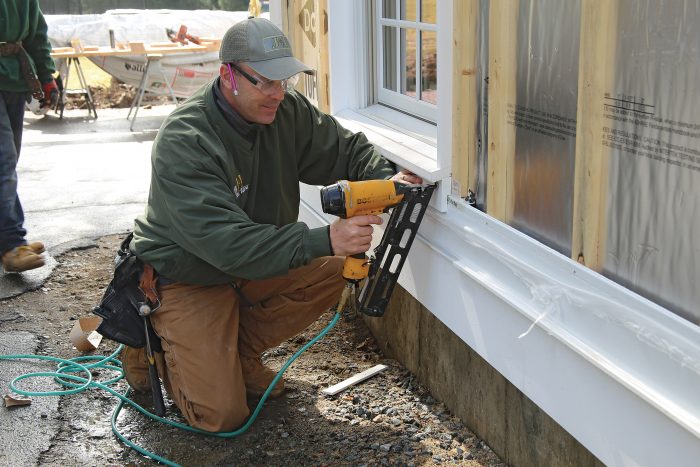
Fit and Fasten
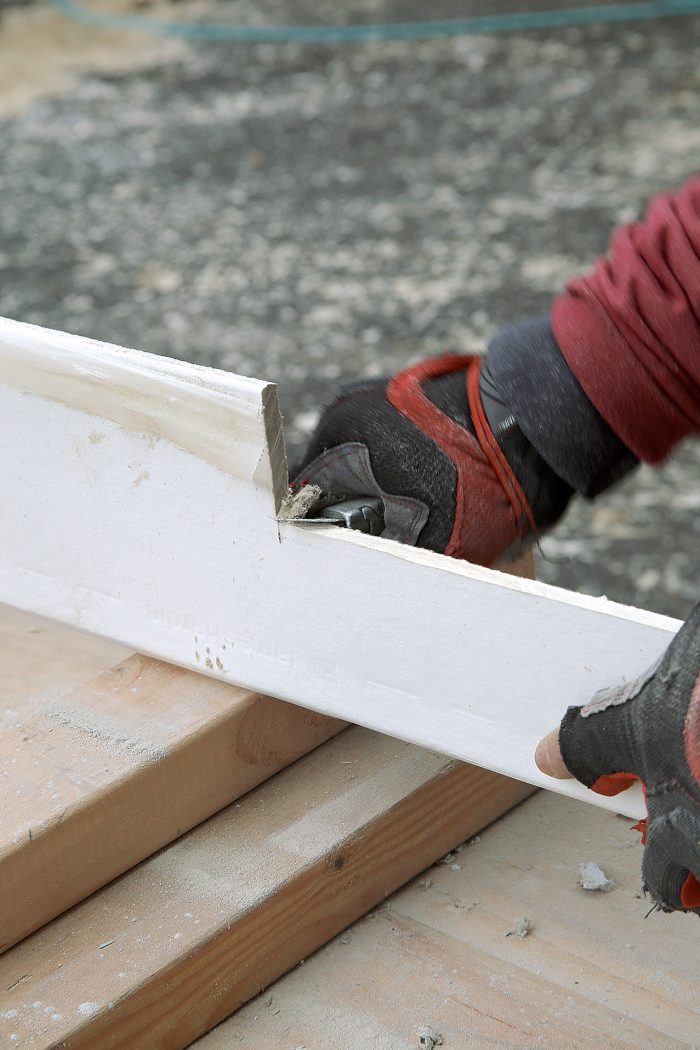
Watertight Details Above Windows
Finishing Up
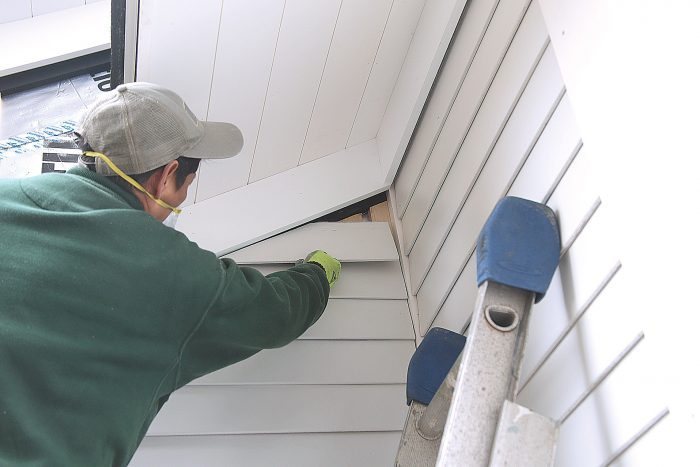
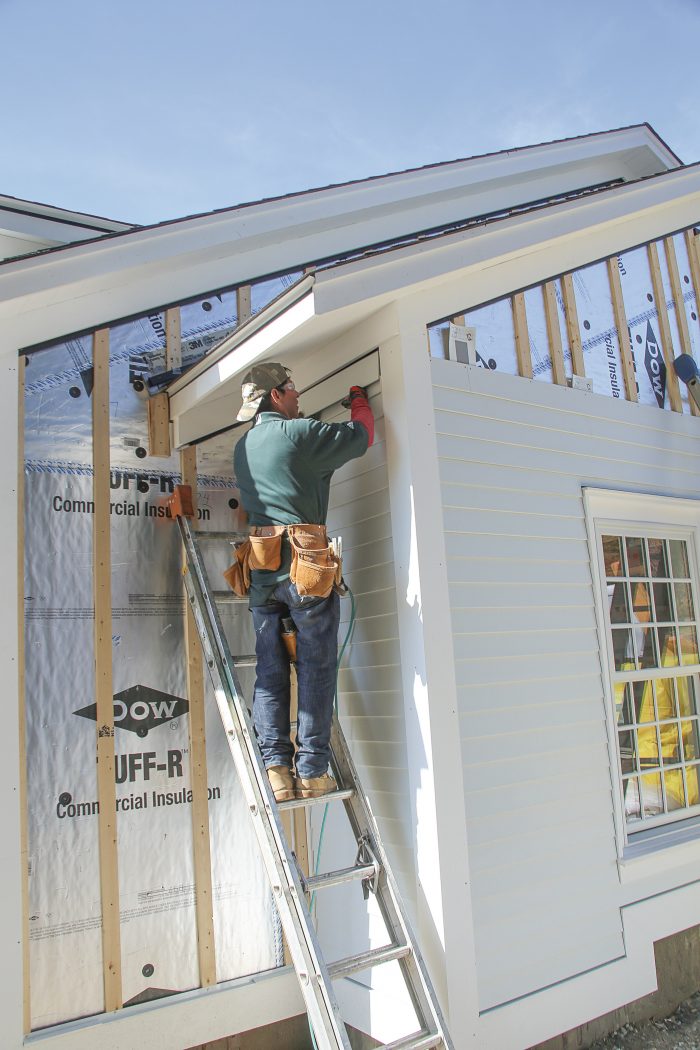
By padding out the frieze board 1 in., we’re able to fit the siding behind the frieze for better water shedding. The gap also creates the rainscreen’s top vent, so the furred cavities can dry when wind-driven rain is forced behind.
 |
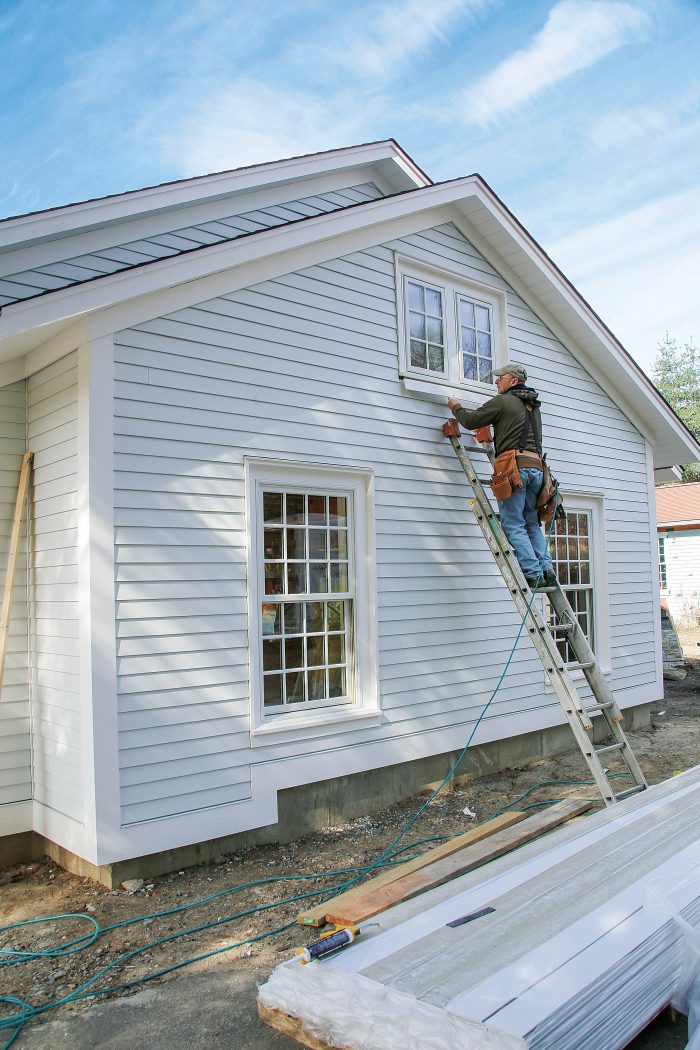 |
Frieze Overlaps Siding: The final course of siding at eaves and gable ends is pretty forgiving to install thanks to the packed-out frieze, which allows pieces to be slipped into place.
Click here to check out a video about this topic.
For photos, diagrams, and info, please click the View PDF button below.


View Comments
I use a very similar system with PVC trims. This is a really great article! The devil is always in the details with getting the shadow lines and reveals on window trims, door trims, etc. while maintaining air flow and correct drainage patterns. I am a huge believer in a rain screen behind siding. We are in the Northwest (Oregon Willamette Valley) and it rains all winter. We have a mild temperature in general, but things get wet for months. I like Roxul for insulation, if we add some to the outside of a wall, as it has really interesting advantageous characteristics. I would love to hear from others that are solving the details of doing rain screens on residential. My compliments to the author and crew.