Hand-Nailing Tricks
Building Skills: Tips for better driving and for a finished look.
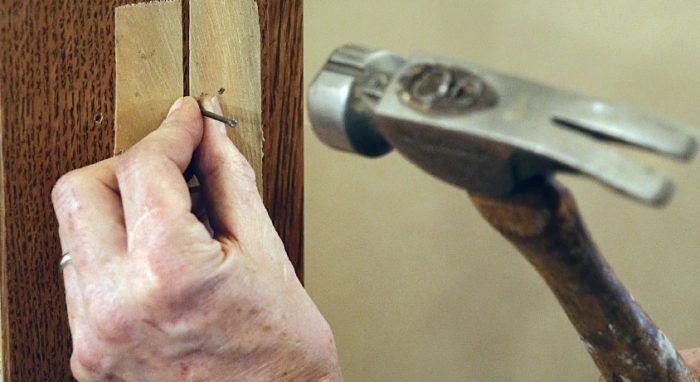
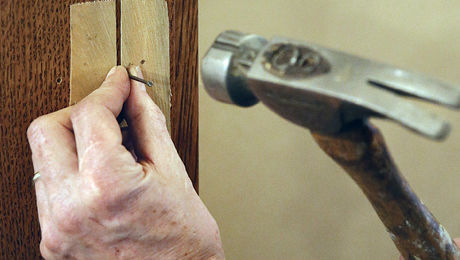
I own half a dozen pneumatic nailers in various gauges. They’re my go-to tools for slamming nails into framing lumber and for installing trim quickly and without leaving what my old helper Rob used to call “elephant tracks” from my hammer on the wood. But I still pull the hammer out of my tool belt to hand-drive nails on occasion. Sometimes it’s the best or even the only way; for example, when working with hardwood trim, a nail gun can get you into trouble. More than once, I’ve had those thin pneumatic nails follow the grain of, say, really expensive quarter-sawn white oak, and blow out through the face of the jamb to which I’m nailing casing. With a hand-driven nail, I’d have noticed the angle of the nail changing as it began to follow the grain and would have been able to prevent that disaster.
Other times, it’s less trouble to hand-nail a small job than to haul out the nailer, compressor, and hose, and then put them all away again. And finally, particularly when working on my own house, I sometimes hand-nail just because I like to swing a hammer. If work isn’t inherently satisfying, you’re doing something wrong.
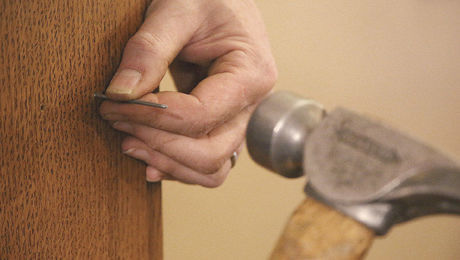
The key factor in driving any nail is to swing the hammer so that the shaft of the nail is tangent to the hammer’s arc. If you paid attention in high-school geometry, you’ll remember that when a circle’s tangent line intersects with its diameter, they are perpendicular. That means that when the head of your hammer strikes the nail, the nail’s shaft should be at a right angle to the hammer’s handle. Get this wrong, and the nail bends.
In order to get this right, keep your eye on the head of the nail and hold the hammer a comfortable distance down the handle. Sometimes the nail bends anyway, but you can usually just tap it straight. For minor bends, simply adjusting the hammer swing to be tangent to the bent nail is often enough to continue driving without interrupting the rhythm of the work.
Choosing a hammer
When I first framed a house, we hand-nailed everything. I used a 22-oz. waffle-head hammer with a long handle that would sink a 16d common in two or three shots. It had a straight claw that could be driven into the end of a piece of lumber to aid in picking it up. When trimming, I switched to a 16-oz. smooth-faced, curved-claw hammer. The main advantage of the curved claw, if you ask me, is that it’s less likely to ding up something that it brushes against while hanging from my belt. But today, I use a 12-oz. smooth-faced titanium hammer for everything. There’s an advantage to only having to be familiar with one hammer. Still, hammer technology is always improving, and there are options aplenty. For more on choosing, click to check out “Hammered” in FHB issue #248.
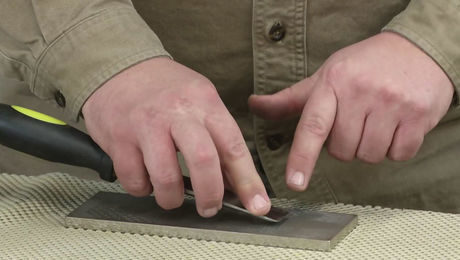
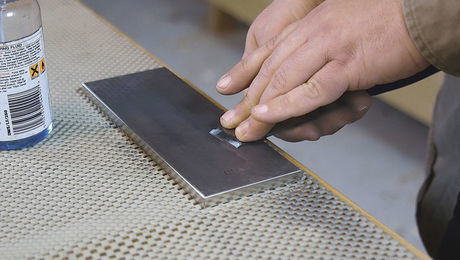
Click here for a video showing these techniques.
For photos and tips, please click the View PDF button below.
