Two Ways to Cut Jack Miters
Part miter, part butt joint, this hybrid joint for beaded casing is elegant and stable.
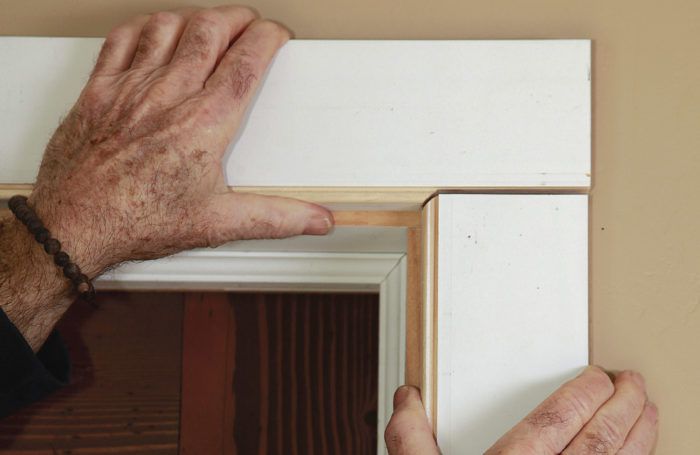
Synopsis: Finish-carpentry specialist Gary Katz describes the usefulness of jack-miter joints for casing, which allow the head and leg casing to move independently while the joint stays closed in comparison to a regular miter joint, which will often open along the face of the joint with changes in temperature and humidity. In a series of step-by-step photographs, he walks through the process of creating a jack miter, first by measuring the head casing and measuring and cutting the casing legs. He then gives two options for handling the head casing—using a pull saw and a jigsaw if working only on one or two doors, or using a router and a jig for a bigger project. The article includes a drawing of the jig and steps for creating the template.
Jack miters are a hybrid joint, combining a small miter with a much longer butt joint. They’re commonly used on quirk-and-bead casing. As Jim Chestnut, a seasoned New England carpenter, explained to me, before modern miter saws were available, cutting a long miter was a tough task. And miters in wide moldings tend to open, sometimes a lot, when moisture levels change. During the winter, when the weather is cold and dry, wood shrinks and the short point of a miter opens. When the humidity and moisture content rises in the summertime, the long point often pulls apart. Butt joints are a lot less susceptible to problems from wood movement, and if they do move, the joint doesn’t open across the face like a miter, it just cracks the paint a little along a line of no visual importance.
That makes it sound like every carpenter should be an expert at cutting jack miters. But in California, where I spent decades trimming houses production-style, I’d never seen or heard of the joint. I’ve nailed up miles of quirk-and-bead casing, but I always mitered the corners. After all, casing is casing, and as a production finish carpenter, if I couldn’t do the job with a tablesaw, miter saw, and nailer, I was lost. Then Jim taught me the advantages of cutting jack miters, which go beyond creating a joint that will stay closed.
How many times have you installed casing around a door near a corner, and there isn’t enough room for the full width of casing between the jamb and the adjacent wall? Scribing a bit off the back of a piece of casing doesn’t look so bad, but scribe more than 1 ⁄ 2 in. and you begin to see that the miter’s been chopped, and it looks silly—like someone made a big mistake. If you use a quirk-and-bead pattern and jack-miter the casing, you can scribe any amount you want off the corner legs, and the joinery still looks good.
And how many times have you had two doors or windows so close to each other that you can’t install two pieces of casing, one on each jamb? If you use a quirk-and-bead casing, you can run the legs and head casing around the group and rip mull casing to any width you want to bring it all together.
Making a jack miter is somewhat more involved than making a miter or butt joint, but once you get a system down, it can still be done with a fair level of efficiency. The casing legs take two cuts on the miter saw and the head casing can be cut with a handsaw—if you only have a few joints to make—or with a router and jig if you’re trimming a whole house.
Part miter, part butt joint
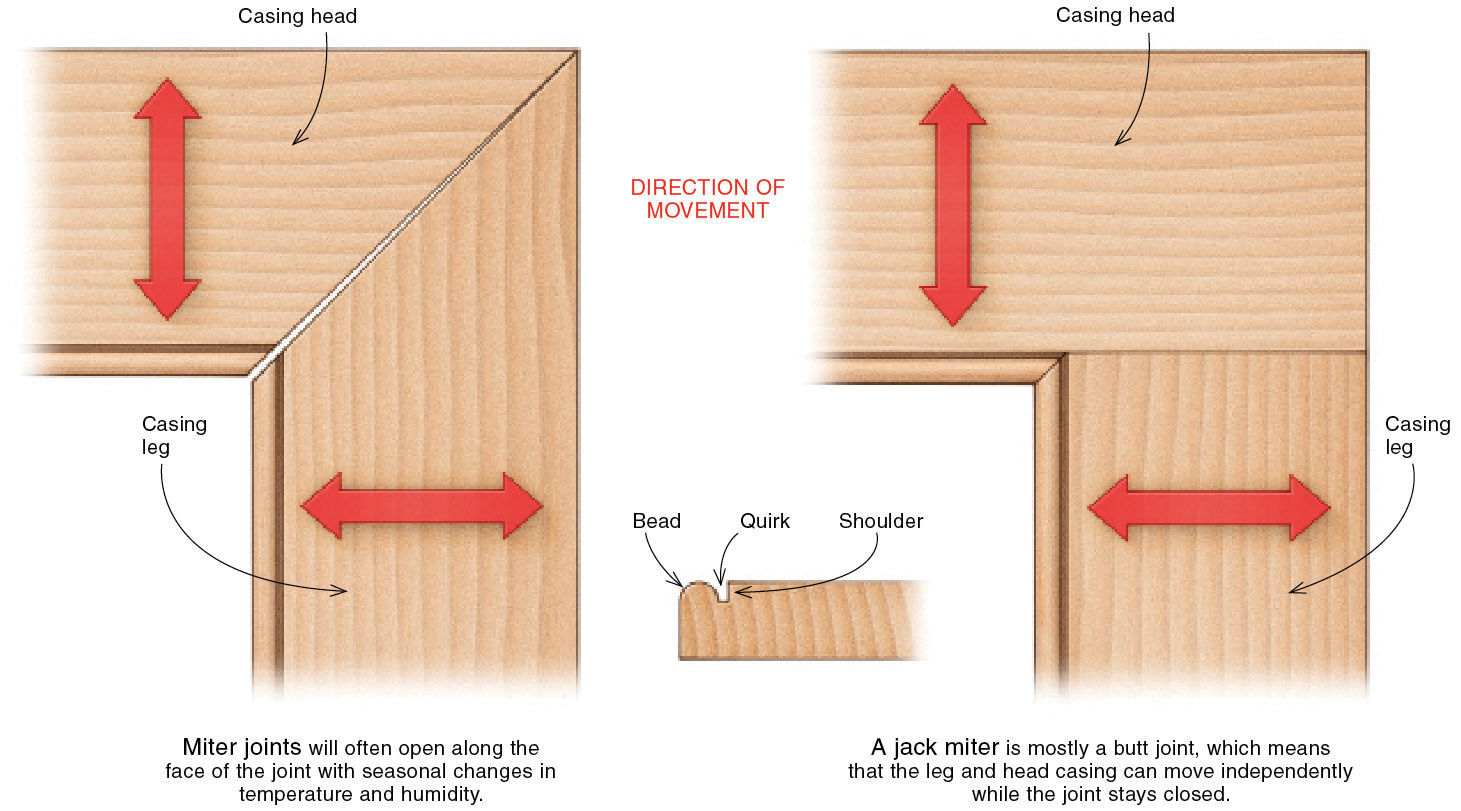
For both methods, measure first, then cut the casing legs
Whether you cut the jack miters by hand or with a router and template, start by measuring the head casing.
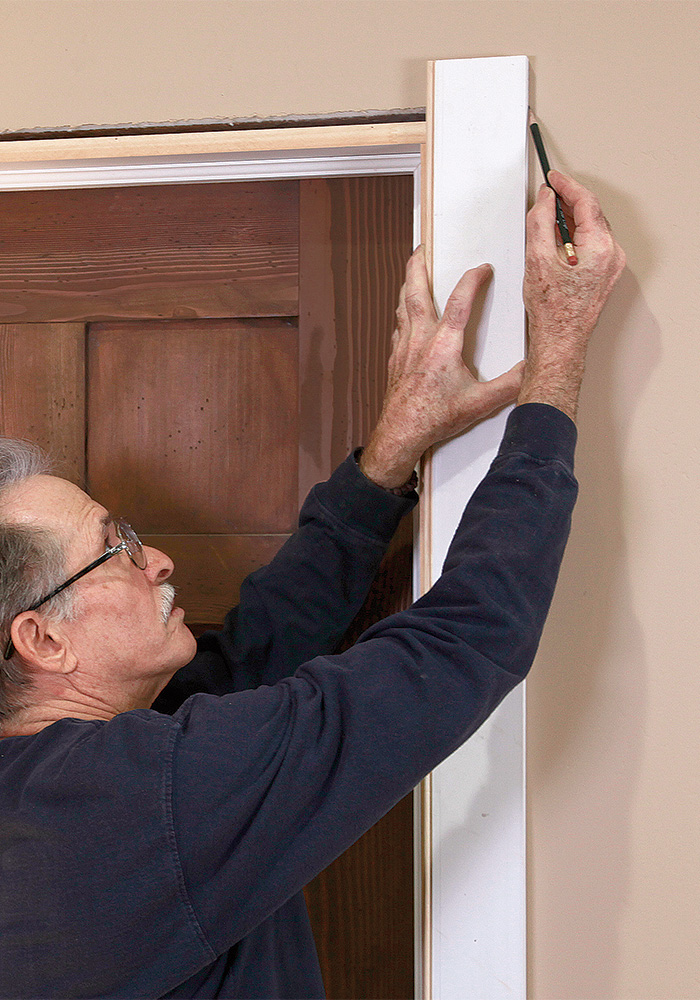
1. Using a piece of casing or a tape measure, make a light pencil mark where the outside edge of the casing legs will land on the wall on each side of a door jamb.
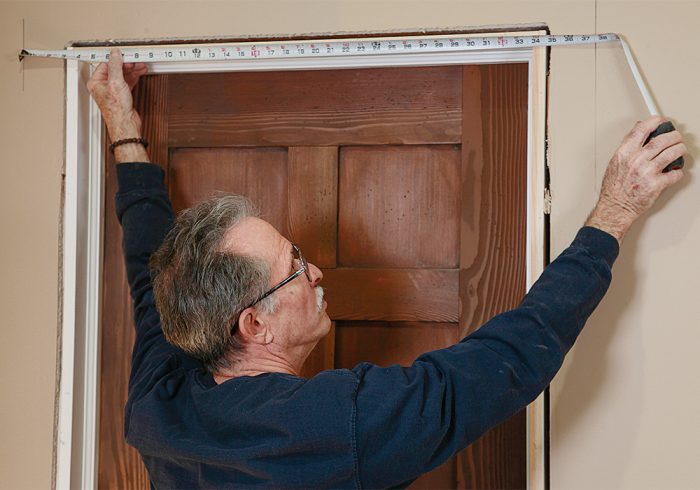
2. Measure the distance between the marks to get the length of the head casing. You can also do the math: measure the casing width, add 1 ⁄4 in. for the jamb reveal, double that number, and add it to the width of the inside of the door jamb. To find the length of the casing legs, measure the inside surface of the jamb leg and add 1 ⁄ 4 in. for the jamb reveal. Cut the 45° miter on the casing legs with the short point at this marked length.
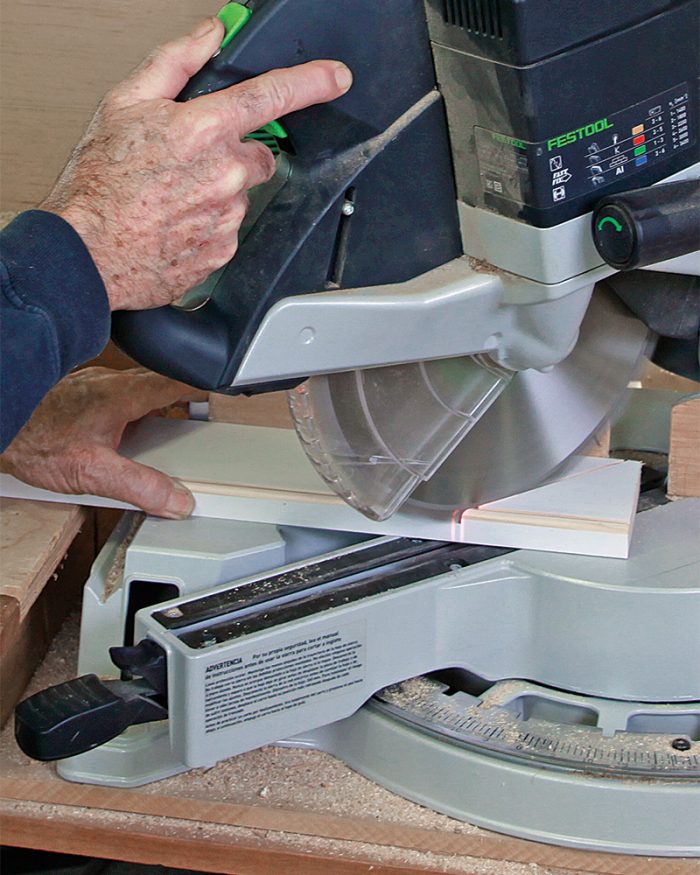
3. Cut the 45° miter on the casing legs with the short point at this marked length.
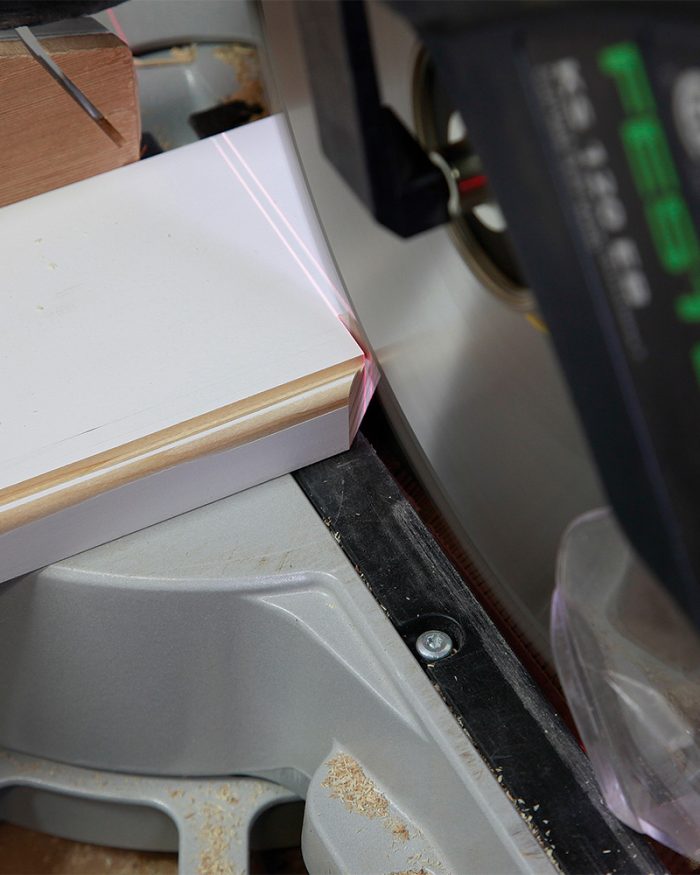
4. Swing your saw to 90° and make a second cut, daylighting at the location where the miter and the shoulder of the quirk intersect. From here, you can handle the head casing in one of two ways.
Method 1: Use a pull saw and a jigsaw
If you’re working on only one or two doors, cutting a jack miter by hand with a Japanese-style pull saw and a jigsaw is definitely the way to go. A Japanese-style saw works much better than a backsaw for several reasons. A backsaw has a metal rib at the top of the blade, so you can’t hold the saw flat against a guide block. A backsaw also has a narrower blade than a Japanese pull saw, so there isn’t as much surface area to rest against the guide block. And a Japanese-style saw cuts on the pull stroke, which helps to eliminate tearout at the quirk-and-bead profile. To make the cut, clamp the stock for the head casing—already cut to length—so that it’s standing on the back edge.
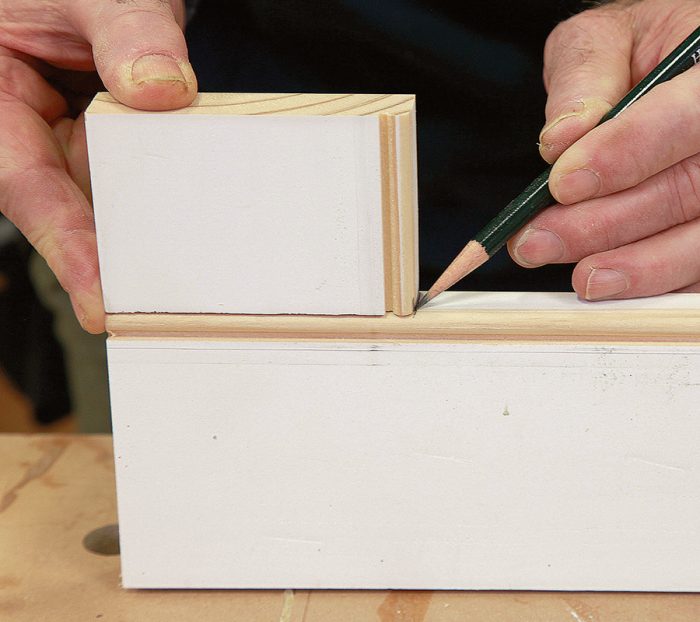
1. Using a small cutoff of the casing, mark the short point of the miter on each end of the casing.
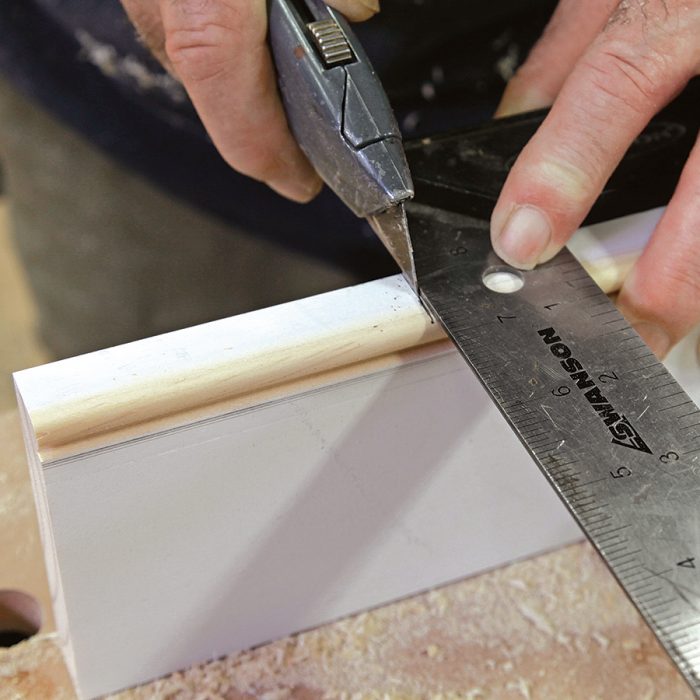
2. Use a square and a utility knife to score the cutline, which will prevent tearout from the saw.
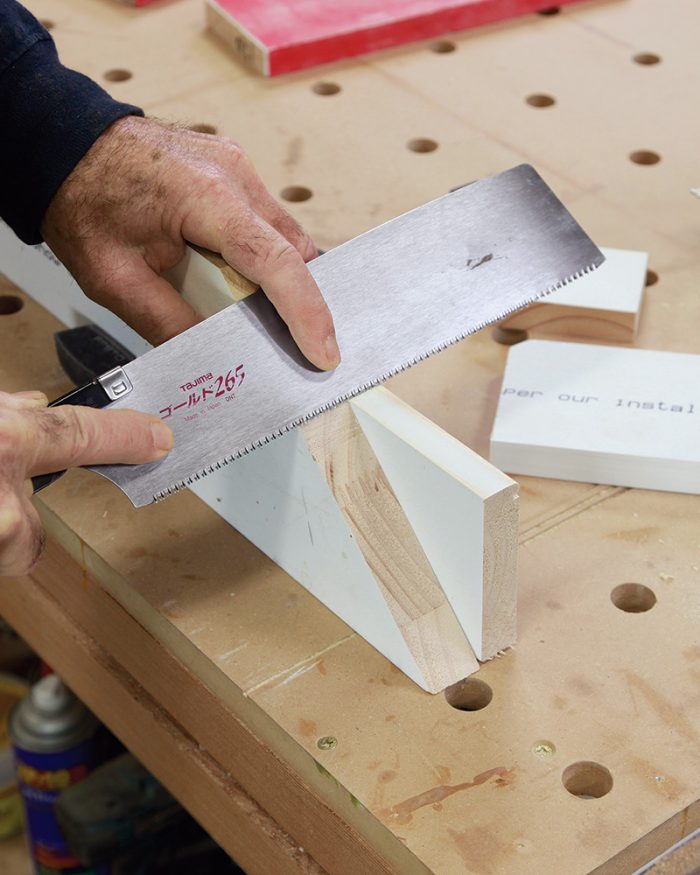
3. A piece of 5/4 material cut at 45˚ provides a wide, flat surface for the saw to ride against. Position the guide block a hair inside the measurement mark— you can always take a bit more off if needed. Hold the block with your thumb and fingers, and use your index finger to hold the blade flat against the block.
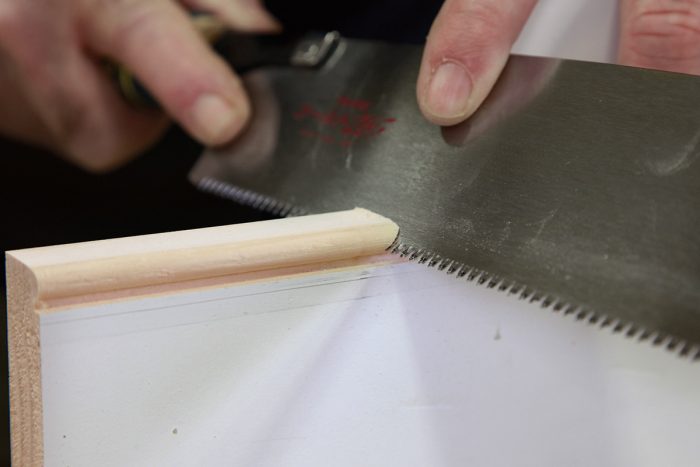
4. The miter must be cut right down to the shoulder of the quirk. Once you get close with the saw, check the depth of cut after each stroke.
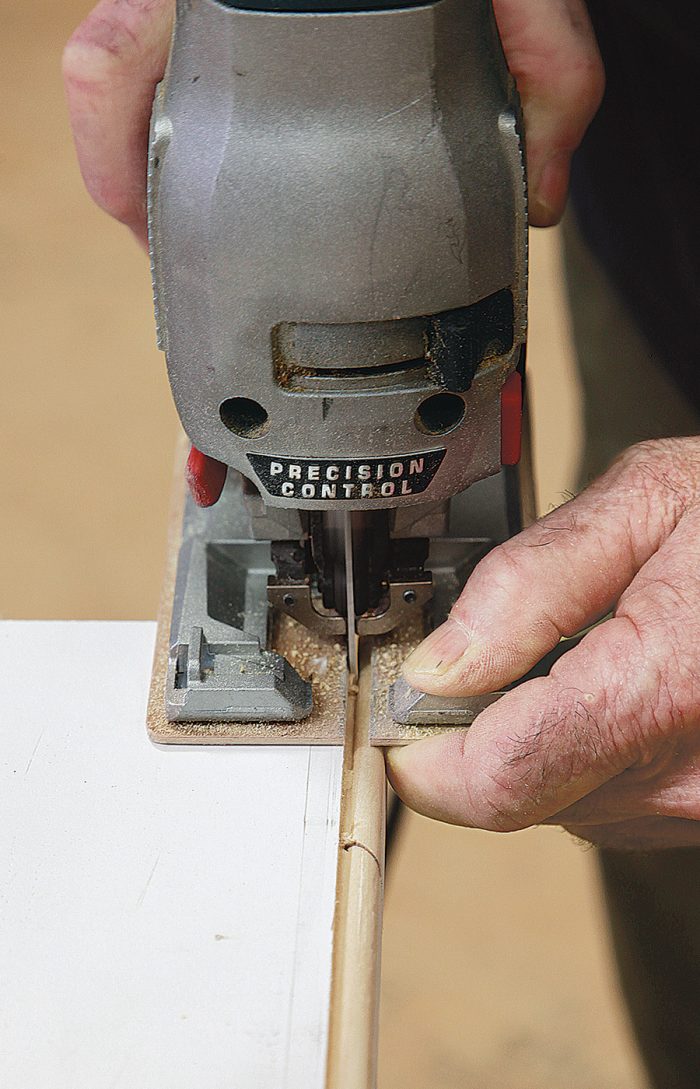
5. Finish the joint with a jigsaw, guiding the blade right up the quirk and staying a shade away from the shoulder. You can sand a little if necessary, but don’t risk nicking the shoulder by trying to cut too close. A 1 ⁄ 8-in. scrap of plywood glued to the base of the jigsaw makes it much easier to stabilize the saw when it’s half on and half off the workpiece.
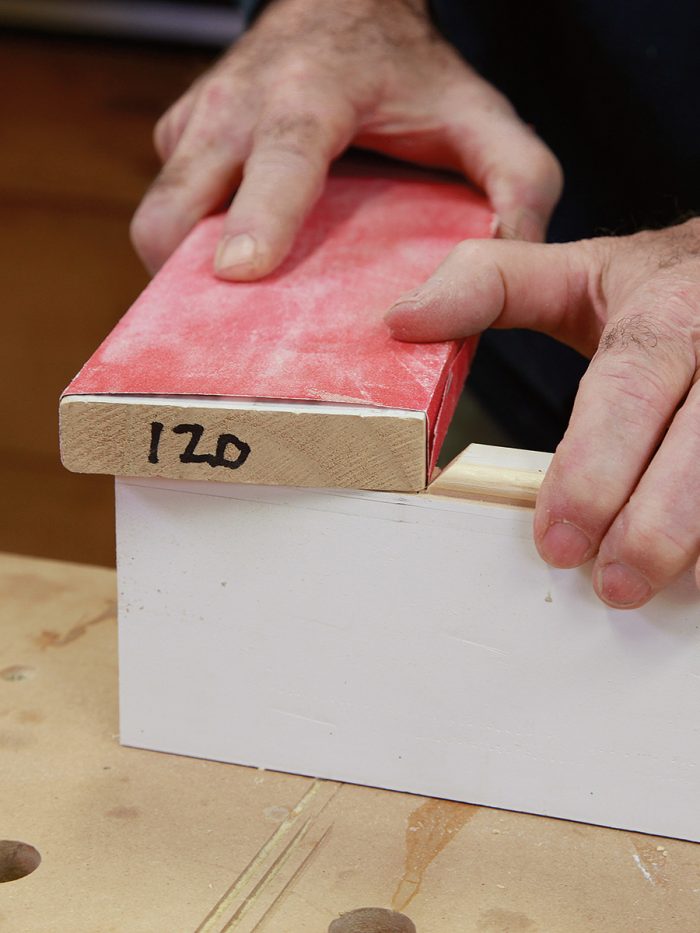
6. Use a sanding block to smooth the jigsaw cut and remove any additional waste to finish the joint.
Method 2: Use a router and a jig
To make jack miters efficiently for a bigger project, a router jig is a must. To use this jig, you’ll need a plunge router fit with a template guide and a flat-bottom chamfer bit. One of the nicest things about this setup is that when you make your first jack miter using the jig, you will bevel the edges of the stops and create a point of alignment for all your future cuts.
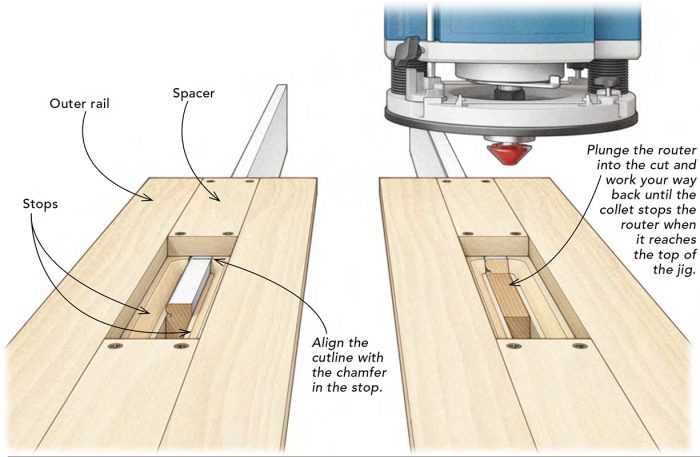
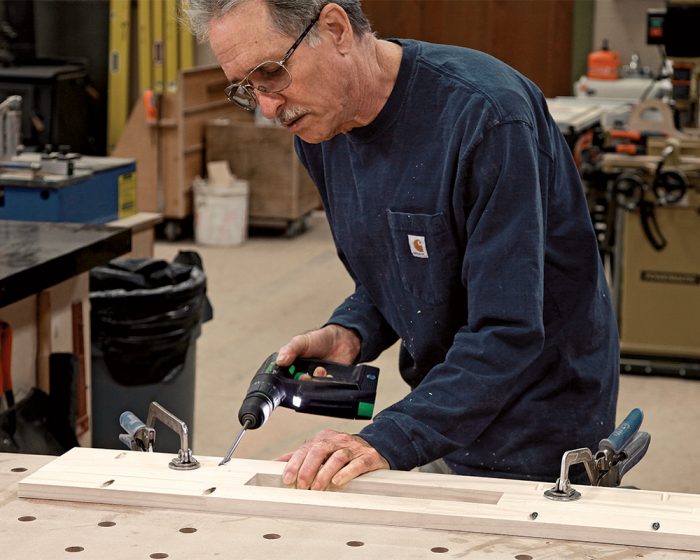
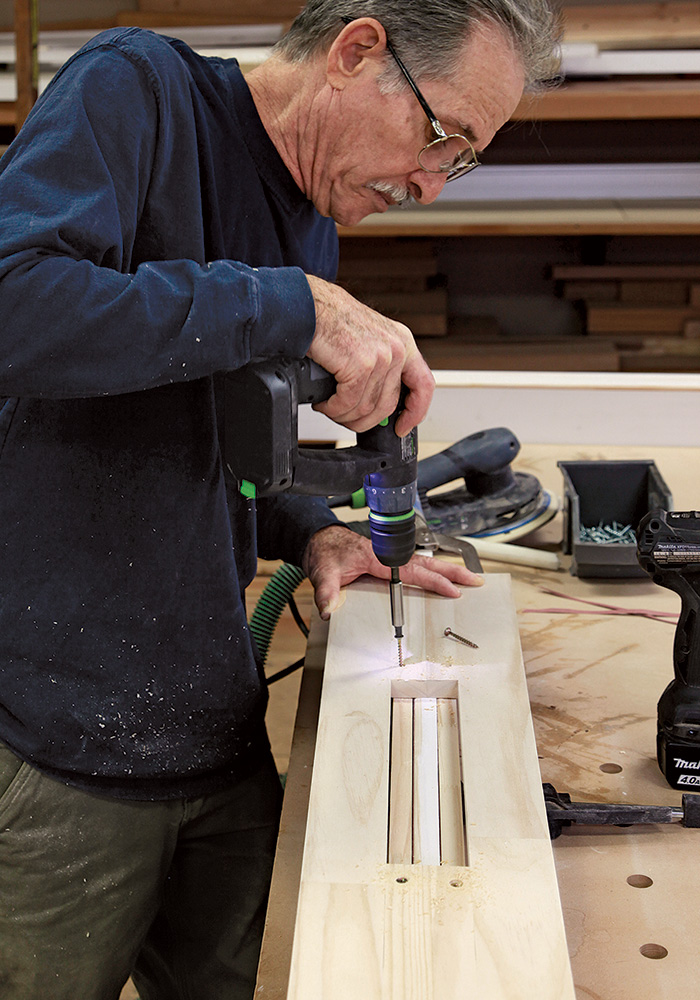
1. To make the template, pocket-screw the two 2-1 ⁄ 4-in. outer rails and two 2-1 ⁄ 4-in. spacers together. The rails are 30 in. long and the spacers are 10 in. long, which leaves a 10-in. opening in the template, big enough for any jack miter. Two stops secure the template to the casing. Also cut 2-1 ⁄ 4 in. wide, the stops are easy to clamp to the casing, but don’t interfere with the worktable clamps.
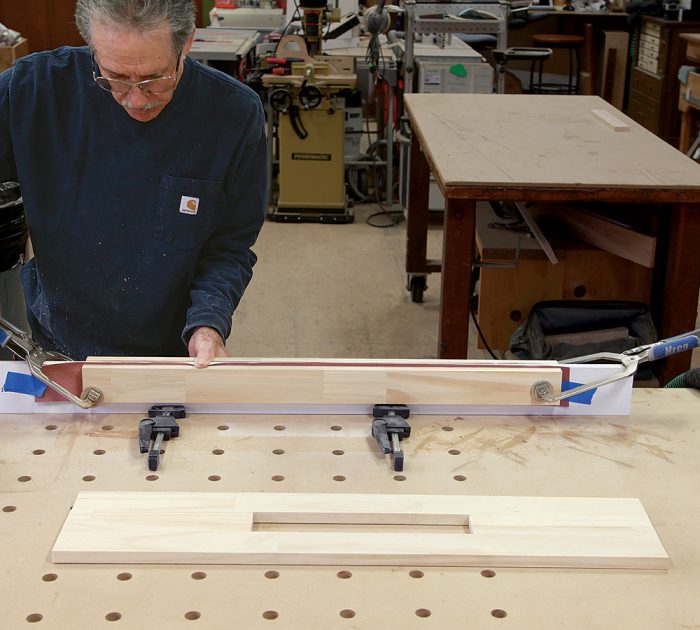
2. Before fastening the stops to the top of the jig, clamp them to a piece of the casing wrapped in rosin paper so the template will be snug to the casing but still easy to position and remove.
3. With the stops clamped to the casing, position the jig so that it’s centered on the stops, then fasten the top to the stops with screws at both ends. A word of warning: if the stops aren’t fairly snug to the casing, the router bit might tear out the edge of the casing. Before fastening the stops at the center of the jig, it’s a good idea to remove the whole setup from the table clamps, squeeze the stops against the casing right near the opening of the jig with additional clamps, and then drive four more screws through the top and into the stops, right near the opening.
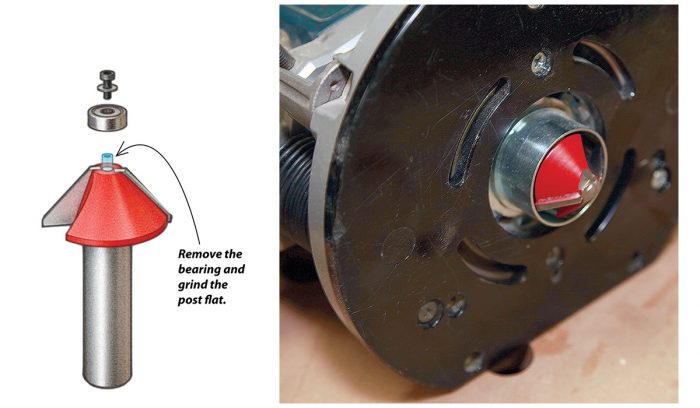
4. A 1-5 ⁄ 16-in. chamfer bit will work with the template guide, but none are available without a bearing guide, so you’ll have to customize the bit by removing the bearing and grinding off the stud so that the bit cuts a flat-bottomed joint.
5. Before plunging your router into any casing, take a few minutes to be sure it’s set up precisely. When you set the depth of cut, keep
in mind that it’s better to leave a paper-thin high spot than to cut too deep. You can always sand off a high spot, but you can’t fix a cut
that’s too deep—the miters will never mate. since the distance from the edge of the casing to the shoulder of the quirk is exactly 3 ⁄ 8 in.,
you can use a spacer to set the depth of cut (the brass spacer shown here is available from Rockler). Because there is often a little play in the router’s turret stop, when you use a spacer to set the depth of cut, be sure to press down firmly on the depth-of-cut rod, and then tighten the wingnut, otherwise you might end up cutting too deep.
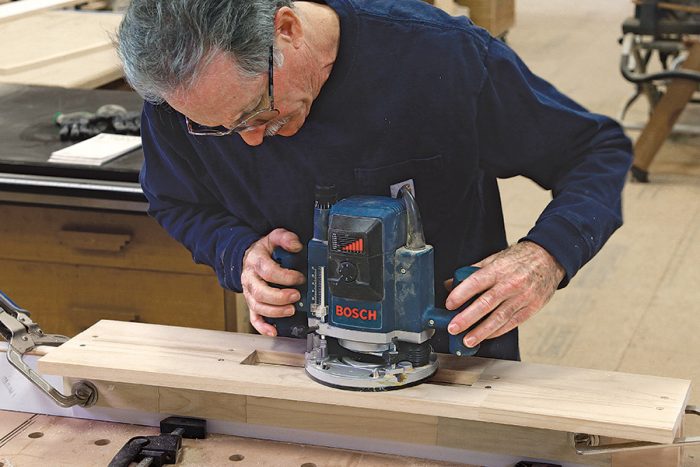
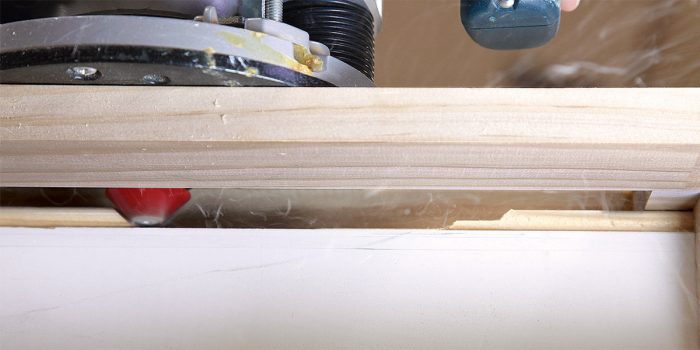
6. With the depth of cut set, make several passes on a scrap piece of casing to check your setup. Plunge the router slowly into the workpiece until you reach the precise depth.
7. Rout the scrap until the template guide on the router reaches each end of the jig. Now, it’s easy to cut jack miters that fit perfectly every time. simply mark the location of the short point of the miter with a scrap piece of casing, just like when cutting by hand. Set the jig on the edge of the workpiece, aligning the chamfered stops with your mark, and secure the jig to the casing with clamps at both ends. use a sanding block to remove any additional waste and finish the joint.
One more tip
If you’re working on the end of a casing head, and the template extends out beyond the workpiece, place a short piece of casing inside
the empty end to support the template.
The two methods detailed in this article are (1) use a pull saw and a jigsaw, and (2) use a router and a jig.
Gary M. Katz is a finish-carpentry specialist, publisher of THISisCarpentry.com, and producer of The Katz Roadshow.
Follow him @garymkatz1 on Instagram.
Photos by the author.
From Fine Homebuilding #277
To see the magazine version of the article, click the View PDF button below.
Also check out this associated video: A Better Joint for Beaded Casings

