Sharpening Chisels
Building Skills: Stay sharp for under $200 with the right process and materials.
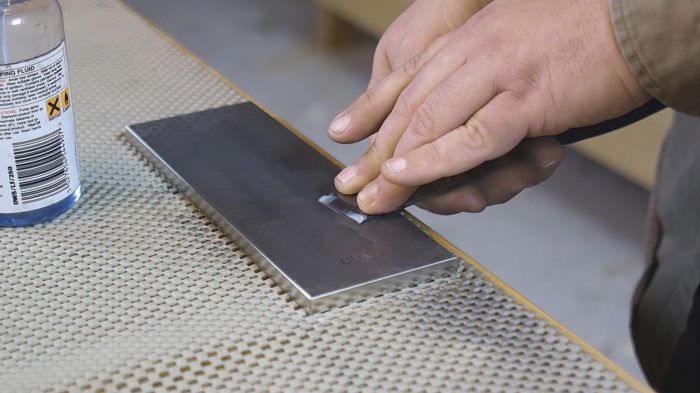
Synopsis: Woodworker Ben Brunick gives a step-by-step tutorial on keeping chisels sharp in the shop and on the job site using a diamond stone and a compound kit. The diamond plate flattens the back of the chisel and cuts a sharp microbevel on the front side, and won’t wear out the way a water stone will. A series of photographs show the process of preparing the polishing blocks, flattening the chisel, and sharpening the bevel.
I get no joy from sharpening. It’s just something that I sometimes have to do before I can get to work. In the best of circumstances, sharpening is happening in the shop where it’s warm and water is available. But that’s not always the case.
The last job site I worked on had no heat and no water when I started. I was building and restoring windows, work that required sharp chisels. With no water and in freezing winter temperatures, my water stones were useless and couldn’t be stored on site even if I did bring my own water—when water stones freeze, they break. I decided to look into a new system that was less fussy. I also wanted it to be portable and affordable. And of course it had to get my chisels as sharp as I needed them to be.
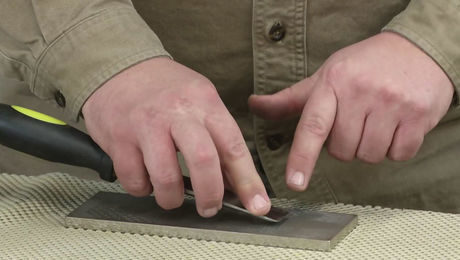
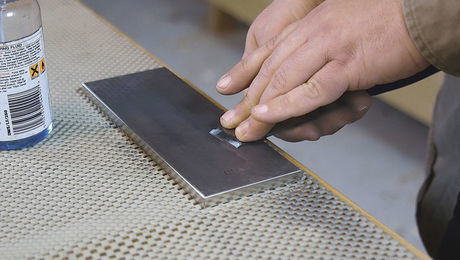
After experimenting with a few different methods, I settled on the system shown here, which starts with a double-sided diamond plate. This one is from Trend and it has a 300-grit side and a 1000-grit side. I use Lapping Fluid, also made by Trend, to lubricate the plate. The diamond plate flattens the back of the chisel (if necessary) and cuts a sharp microbevel on the front of the chisel. Not only are these diamond plates more durable than water stones, they don’t require flattening or other maintenance.
It’s worth noting that when the diamond plates are new, they cut very fast. Sometimes it takes only a couple of passes to sharpen a blade (this is a good time to flatten backs if you have any tools that need it). With use, the plates begin to cut slower until they plateau and it takes 10 to 20 passes to sharpen a chisel. But unlike a water stone, you likely won’t wear a diamond plate out altogether, unless you do a lot more work with your hand tools than I do.
The next part of the system is a Dia-Paste Diamond Compound Kit. The kit comes with 1-micron, 3-micron, and 6-micron pastes. These pastes are often applied to a leather strop or a small steel plate, but I find that they work really well when applied to a piece of MDF. The paste imbeds nicely into the porous material, and I can always find a useable scrap of it lying around the job site or my shop.
This method of sharpening keeps my tools tuned on a day-to-day basis. If a blade gets nicked or damaged, I’ll have to grind out the damage on a bench grinder before sharpening. And without a honing guide, this system can lead to an out-of-square blade over time, which will also require an additional presharpening tune up. But this is true of other sharpening methods as well.
Although this method arose from a need for on-the-go sharpening, I now use it in the shop, too. It keeps my tools plenty sharp for all of the carpentry and woodworking tasks that come my way.
Click here to see a video of the sharpening process.
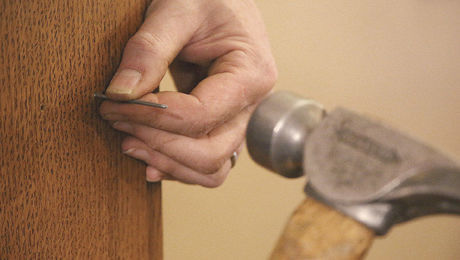
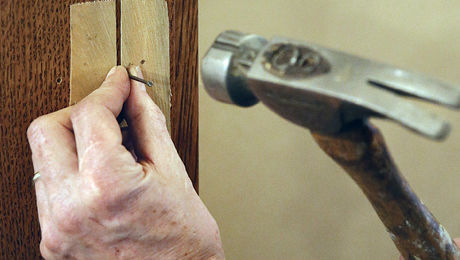
To see this precision method demonstrated in eight steps, with photos and instructions, please click the View PDF button below.
Fine Homebuilding Recommended Products
Fine Homebuilding receives a commission for items purchased through links on this site, including Amazon Associates and other affiliate advertising programs.

Reliable Crimp Connectors
Milwaukee Cordless Shop Vac (0880-20)
DEWALT 2 1⁄4-hp Router Combo Kit (DW618PK)
