Shop-Built Housed-Stringer Stairs
Building in the shop makes assembly easier on the carpenter.

Synopsis: Carpenter Andy Engel gives in-depth instructions for building housed-stringer stairs, beginning with laying out the stringers, then building the template for routing mortises in the stringers, positioning the template and routing the stringers, setting the treads, assembling and trimming the risers, and finally adding cove molding. The article includes details for special treatment of the top tread and riser at the upper-floor landing, in-depth drawings that showcase stringer layout, and a sidebar on determining riser height, tread depth, nosings, and stair width according to code requirements.
Forgive the pun, but housed-stringer stairs are a step up from standard notched-stringer stairs. Not only are they stronger and less likely to squeak, they’re essentially finished as soon as they’re assembled.
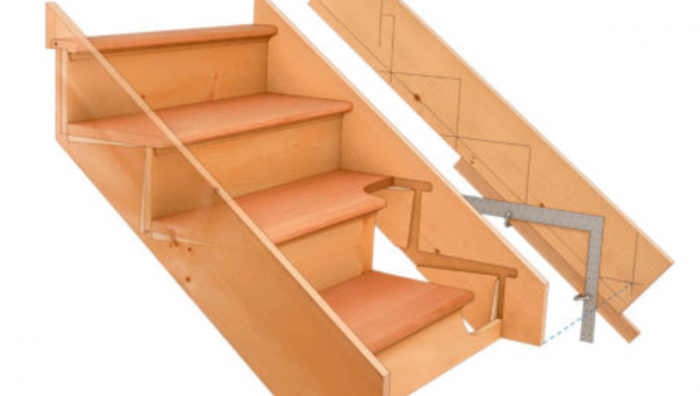
Housed-stringer stairs rely on mortises cut in the stringers to support the treads and risers. The backsides of these mortises taper, and wedges that match the taper are glued and driven in to lock the stairs into a cohesive unit. From the topside, the assembly looks like it grew together.
I usually build housed-stringer stairs in the comfort of my shop, where I can assemble them on a pair of sawhorses. With the stringers oriented face down at about waist height, it’s easy to control glue drips, and everything is reachable from a standing position. When assembling the same stairs in place on site, I have to work from below, which is especially uncomfortable for the lower treads and risers, and it’s usually not long before I’m spattered in glue drips.
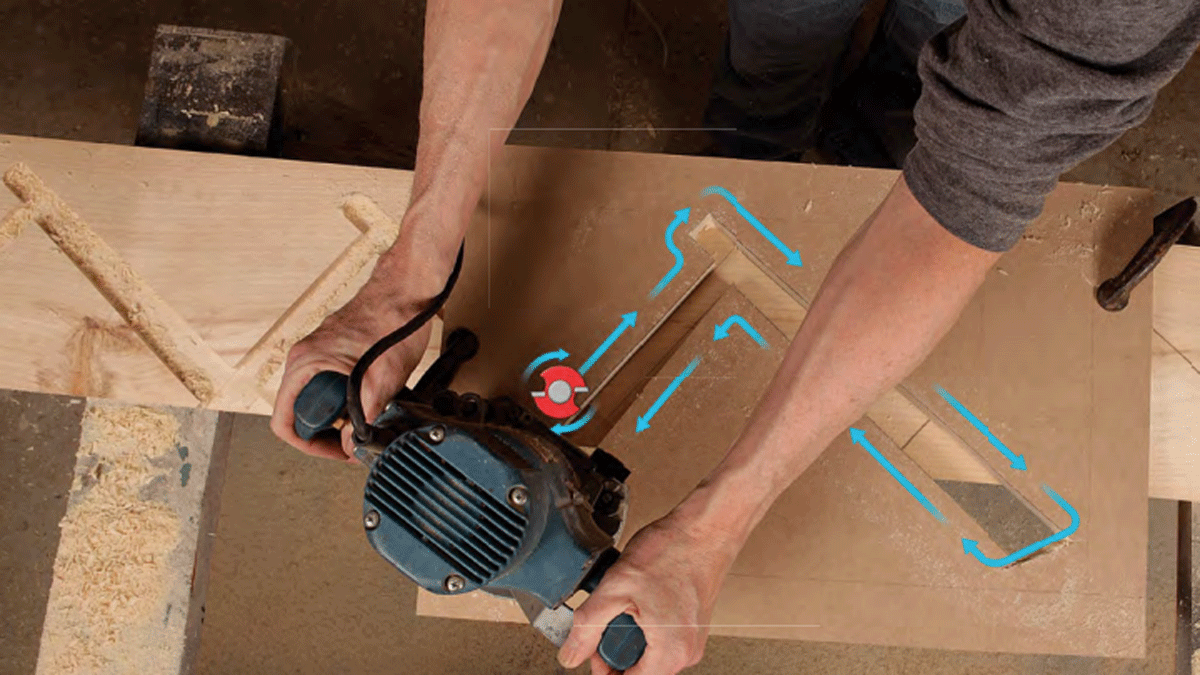
The keys to the process are a simple router template and a bearing- guided bit. You can make the template, and the 3⁄4-in. pattern router bit is commonly available.
Stringer layout
I usually use 5/4×10 stock for the stringers, but 2x material also works. When I lay out the treads and risers, I try to locate defects such as knots where they won’t show in the completed stair. I usually use commercially available treads, but they’re easy enough to make. If you make your own, round the tread noses using a 3⁄8-in. roundover bit so the radius matches that from the 3⁄4-in. pattern bit. Risers are almost always cut from 1×10 boards. That said, the treads and risers can be almost any thickness—you just have to make a template to match.
The basics of rise and run don’t change from the more familiar notched-stringer stair. Measure the overall rise from finish floor to finish floor. If those aren’t installed yet, measure from subfloor to subfloor, then add the thickness of the upper flooring, and subtract the lower. To determine the number of risers, divide the overall height by your desired riser height, round to the nearest whole number, and then divide the overall height by that number to find the exact riser height. Then check that this height is code compliant.
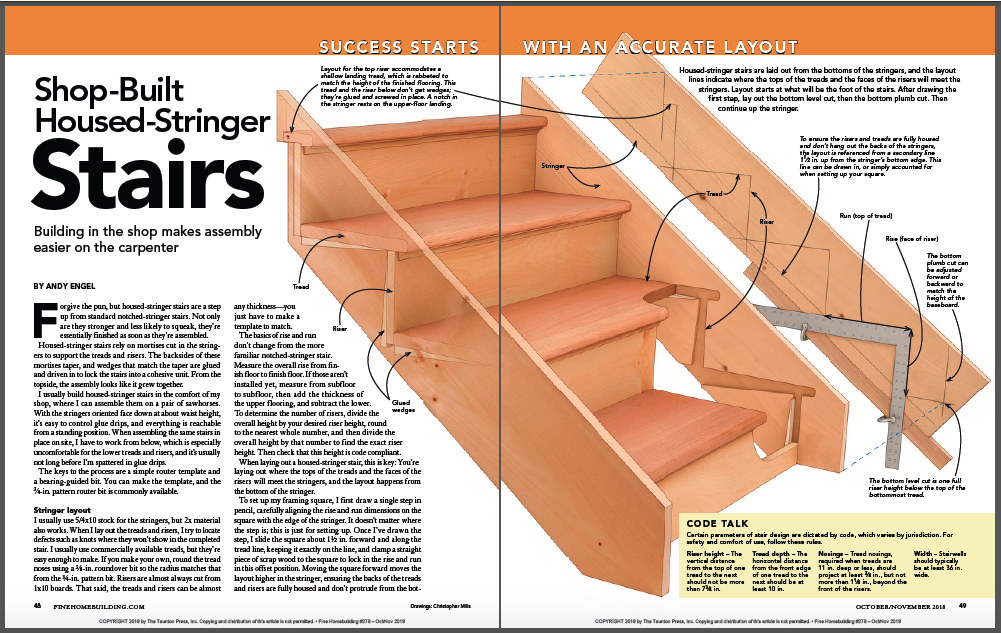
When laying out a housed-stringer stair, this is key: You’re laying out where the tops of the treads and the faces of the risers will meet the stringers, and the layout happens from the bottom of the stringer.
To set up my framing square, I first draw a single step in pencil, carefully aligning the rise and run dimensions on the square with the edge of the stringer. It doesn’t matter where the step is; this is just for setting up. Once I’ve drawn the step, I slide the square about 1 1⁄2 in. forward and along the tread line, keeping it exactly on the line, and clamp a straight piece of scrap wood to the square to lock in the rise and run in this offset position. Moving the square forward moves the layout higher in the stringer, ensuring the backs of the treads and risers are fully housed and don’t protrude from the bottom edge of the stringer. To avoid confusion, erase that first step before proceeding.
Before laying out the treads and risers, I check the crowns of the stringers, and face them both up. Then, layout begins at the bottom. After drawing the first tread and riser on the first stringer, I lay out the level cut at the bottom, which is essentially what would have been the top of the next tread down. I lay out the plumb cut about 4 in. in front of the bottom riser, but that can vary if, for example, you want to match its height with the house’s base molding. Then I continue moving up the stringer, aligning the rise dimension on the square with the line I drew for the tread below. At the top, I draw plumb cuts flush with the back of the top riser, and with the back of the landing tread. A level cut along the bottom of the landing tread leaves an ear on the stringer that will extend onto the upper floor landing.
With the first stringer laid out, I place its bottom against the bottom of the second stringer, and use a square and a pencil to draw lines transferring the intersections of the backs of the treads and risers on the laid-out stringer to the blank stringer. These lines help keep the layout consistent between stringers. Then I repeat the layout process on the second stringer.

From Fine Homebuilding #278


