Starting Steps
How a stair-parts salesman, some classic how-to books, and steely determination helped one carpenter hone his stairbuilding and handrailing skills.
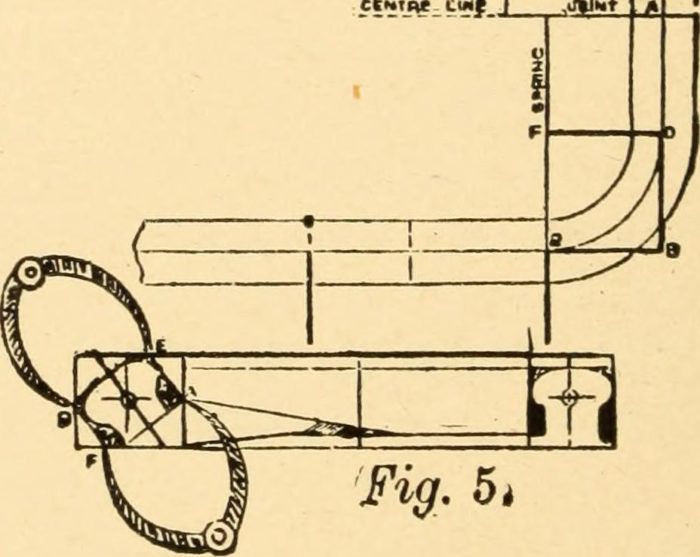
In the mid-1970s, I teamed up with a buddy doing lump-sum trim work in a subdivision of modest entry-level homes. The builder’s menu consisted of three models: a split level, a raised ranch, and a colonial. The split level and the ranch had wall-mounted handrails, which were easy to install, but the colonial had an oak handrail in the foyer with turned newel posts. The staircase featured a quarter turn with winders between two short flights, plus a railing around the stairwell in the upstairs hall.
At this point in my career I was comfortable running trim and hanging doors, and I had even built a few simple stairs, but I knew next to nothing about the science of handrailing. Nevertheless, there were the stair parts lying on the floor of the garage, and I wasn’t about to let a mere lack of knowledge come between me and the $700 check we typically received for trimming out an entire house.
Like a paleontologist examining the bones of some unknown dinosaur, I scrutinized the newel posts and balusters, which came in three different lengths. I went over to the builder’s model home to see the finished product. Ah, the long one goes where the stair rises sharply at the winders, the short one goes at the starting step, and the medium-length one goes at the top of the stairs. Each step gets a long and a short spindle. Got it.
My first few installations were pockmarked with bent nails and marred by ill-fitting joints. My newels also exhibited a disconcerting wobble, like a slightly inebriated partygoer. It didn’t help that we were using hand-drive finish nails and an old-fashioned Millers Falls miter box with a 12-point handsaw. The builder didn’t fire us, however, so I soldiered on. Meanwhile my partner got a little peeved about the amount of time the stairs were taking. While I tinkered with the railing, he was banging out the rest of the trim package, which included cabinets and closets as well as trim.
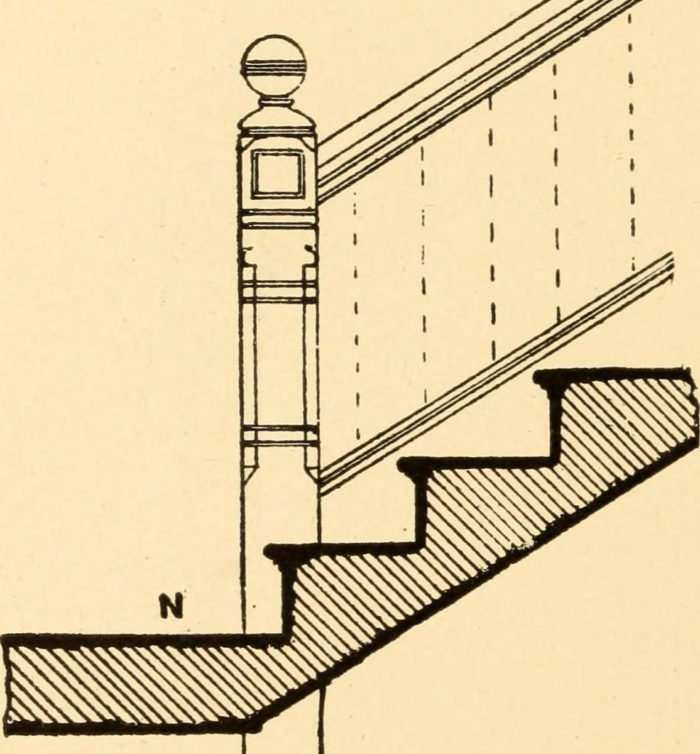
My struggle with the railings might have ended in defeat had it not been for an unlikely angel sent my way. The salesman who furnished stair parts to the builder was a taciturn but likable gentleman named Hyman Volaski. Hy had been in the New York stair business since forever, so I picked his brain whenever he was in the subdivision measuring houses.
“Yo, Hy!” I would call out in my best Bronx accent. I had adopted the “Yo” salutation because calling out “Hi, Hy” or even “Hey, Hy” sounded ridiculous.
“Oh, it’s you again,” Hy would answer, looking up from his notepad. “Whadya wanna know now?”
“So Hy, how come my starting newels are so wobbly?” I asked, my brow furrowed in consternation.
Hy paused a moment, tapping the ash of his plastic-tipped cigarillo onto the subfloor. “Have you been sinking ’em into the finish floor?” he asked, as if stating the obvious. “If you get there before the floor guy, he can lay his oak tight around your post. Otherwise you gotta chop it in wid a chisel.” I followed Hy’s directive on my next newel, and it stood as rigid as a marine sentry.
Or another time: “Yo, Hy, these bent nails are killing me.” Hy clamped his Tiparillo between his teeth and extended a palm. “Gimme a nail, kid.” I handed my mentor a 6-penny finish nail, whereupon he picked up my nippers and neatly clipped the point off the nail. Then he twirled the nail once against the side of his shiny nose and handed it back to me. “Try this.” I drilled a little starter hole and gave the nail a whack with my nail set. Bingo! Blunted and oiled, the nail drove straight home in the oak post.
Another time, Hy saw me struggling to mark the angle cut on a sloping rail. The rail was meant to fit between the upper flats of two turned newel posts that were already standing upright. In spite of all the clamps I had rigged up, I still needed three hands. Without a word, Hy took the rail and laid it diagonally along the nosings of the steps, then scribed against the lower flats of the newels. A seldom-seen grin crept across his craggy face. “Same distance, wise guy.”
Hy wasn’t my only teacher. Having gotten a taste of hands-on stair work, I hungrily pursued the subject in books and magazines. One of the most helpful items was a concise eight-page article published in the fall of 1981 in a young magazine called Fine Woodworking. (Fine Homebuilding, launched the same year, would soon take over as Taunton’s venue for architectural subjects.) The article was written by Harry Waldemar, a retired veteran stairbuilder who recorded his knowledge for posterity by writing, teaching, and building scale models for museums. Reading Waldemar’s overview was like finding the Rosetta Stone. Having struggled without any training to make sense of all the parts of a basic wooden staircase, I was thrilled to find the rules set out in plain English with lucid illustrations.
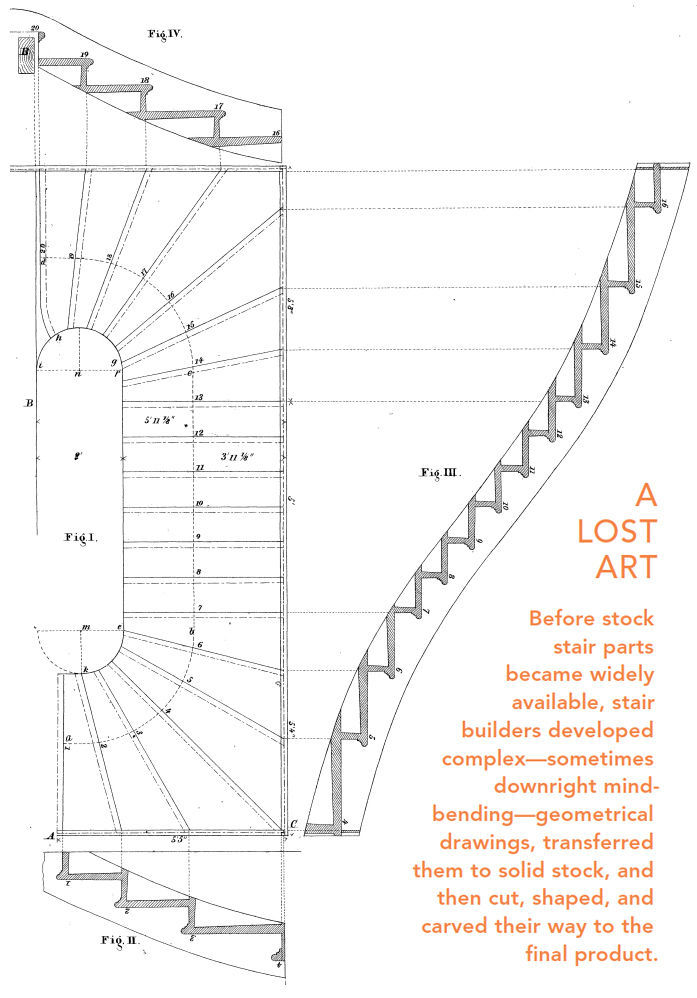
I also investigated two classic works that had recently been reprinted: A Treatise on Stairbuilding and Handrailing by William and Alexander Mowat, and Modern Practical Stairbuilding and Handrailing by George Ellis. These books were originally published in the days before stock stair parts, when all staircases—from the mundane to the elegant—were built from scratch. At that time, premium old-growth timber was still plentiful and power equipment scarce, so railings and stringers of double curvature, known as wreaths, were carved out of thick solid planks rather than being laminated. To guide the fabrication of these complex forms, patterns were developed on paper and applied to thick timbers. All of this was fascinating but of little use to your average trim carpenter working at the close of the twentieth century. By then, stock stair parts had been substituted for custom work on all but the highest-dollar projects. As for double-curvature work, access to power tools such as tablesaws and heavy-duty routers meant that laminated parts could now be built up on cylindrical forms and shaped without mastering the mind-splitting theoretical geometry that Ellis and the Mowat brothers attempted to explain in their books for the making of patterns.
Like many trim carpenters, I would have liked to have done more stair work in my career, but the builders I worked for mostly opted to hire dedicated stair crews. It’s hard to compete with a specialist who knows all the moves, is connected to all the sources of supply, and knows his costs to the dime. But occasionally a special assignment would come along and I would get a chance to stretch out.
I once built a set of closed stairs with a U-shape plan, sometimes called a “dog-leg” stair for the way the lower and upper flights zigzag in elevation. Instead of a landing where the flights reversed direction, this stair featured four consecutive 45-degree winders. The winders collectively constituted a plunging 180-degree turn, and their narrow ends converged around the end of a partition that separated the upper and lower flights. The railing, which had a cylindrical rather than a molded profile, was to be wall-mounted to opposite sides of the partition. The challenge was to fabricate a wreathed section of railing, or easing, to connect the upper and lower flights without interruption. This was a practical consideration as well as an aesthetic one, since tripping on winder steps is a common cause of accidents.
I used a footing tube as a cylindrical form, around which I laminated a blank for the easing. The laminations were strips of cherry 1/16 in. thick by 2-1/2 in. wide. I used plastic resin glue for its extended open time and minimal creep. To clamp the bundle of strips around the footing tube, I made clamps similar to ones we had used in a college furniture-making class for laminating chair parts. Each clamp consisted of a pair of horizontal threaded rods with vertical hardwood yokes at both ends. After plotting the correct helix on the footing tube in accordance with the stair’s height rod, I drilled pairs of holes for the threaded rods. Then I reached inside the footing tube with a yoke in my left hand and inserted the threaded rods from the outside with my right hand. After prepping all the clamps, a helper and I glued up the bundle of strips and lightly clamped it at the top of the twist. Working from the top down, my buddy coerced the wet bundle around the tube like a reluctant python as I slipped on the outside yokes and tightened the nuts with an impact driver. When the blank was dry, I shaped it with a spokeshave, rasps, and sandpaper. The acid test was the first trip down the stairs with my hand gliding over the polished railing. It felt just right—like a fireman dropping down a fire pole, only a bit more civilized.
More from FineHomebuilding.com:
- Bomb-Proof Baluster Attachment
- Quick Tip: Pinpoint Stair-Rail Accuracy
- Master Carpenter: How to Carve a Stair-Rail Easement
Drawings: Common-Sense Stair Building and Handrailing by Frederick Thomas Hodgson
Fine Homebuilding Recommended Products
Fine Homebuilding receives a commission for items purchased through links on this site, including Amazon Associates and other affiliate advertising programs.

Handy Heat Gun

Reliable Crimp Connectors

Affordable IR Camera
