How to Apply Wallpaper Over Cover Plates
Professional paperhanger John Clift demonstrates the process of matching, cutting, and gluing wallpaper scraps to blend cover plates into papered walls.
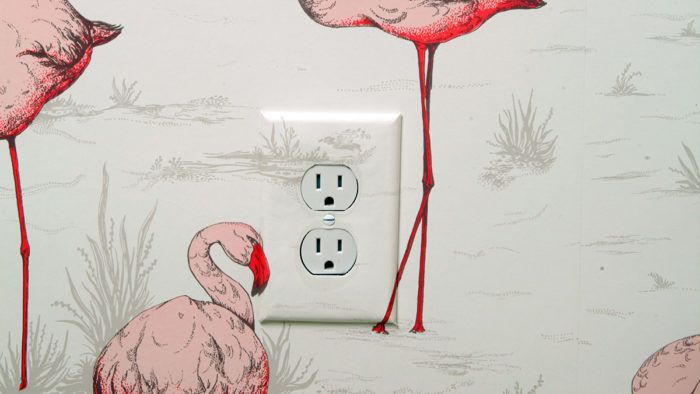
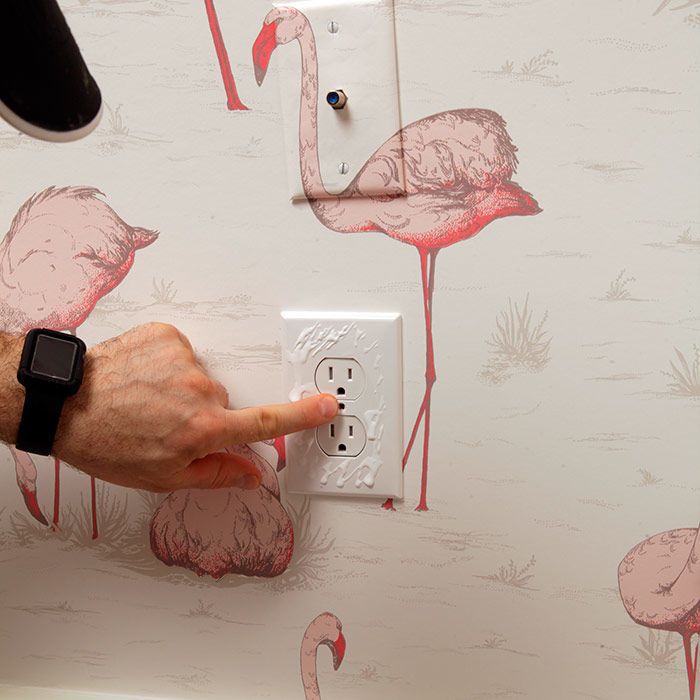
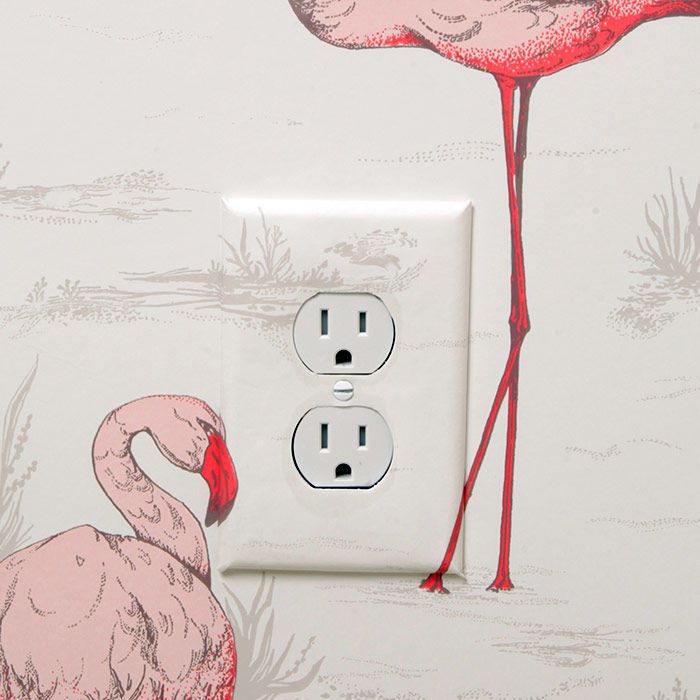
Cover plates for switches and outlets can stick out like a sore thumb on papered walls. For a more seamless look, it’s relatively easy to paper over the cover plates. See slideshow below.
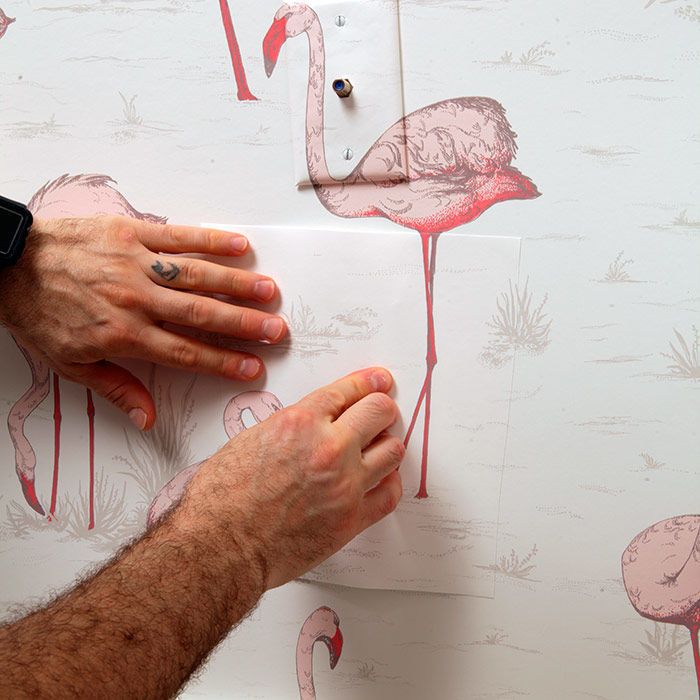
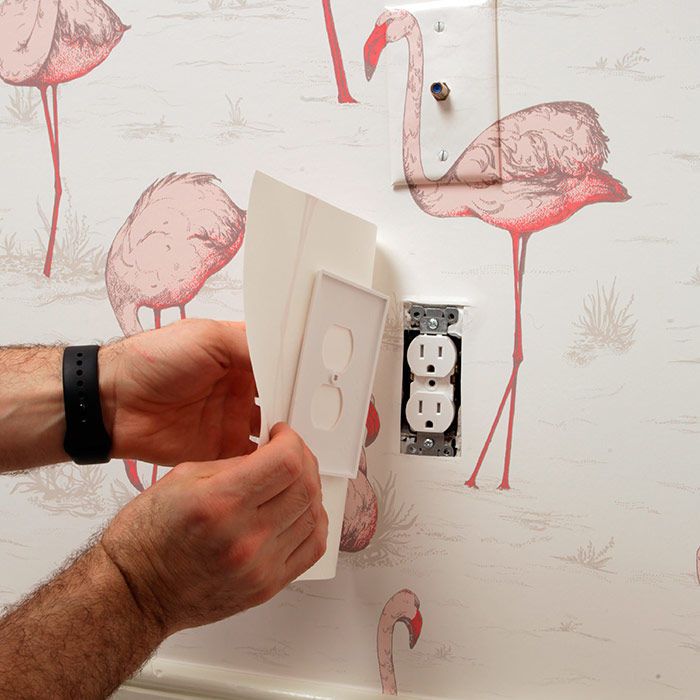
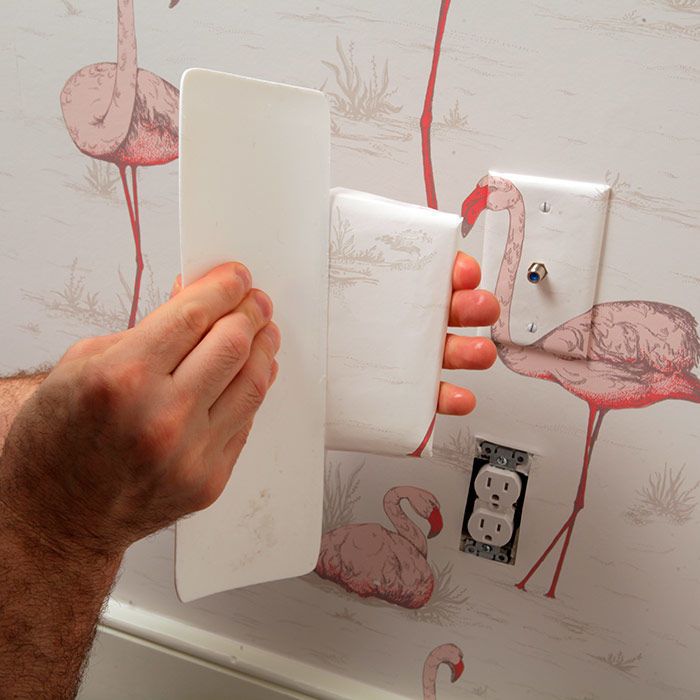
First, cut a piece of wallpaper that matches the pattern at the junction box, leaving at least a couple of extra inches of paper all around to fold around the cover plate. Usually there are plenty of scraps left over from cutting out for windows and doors that will work fine for this.
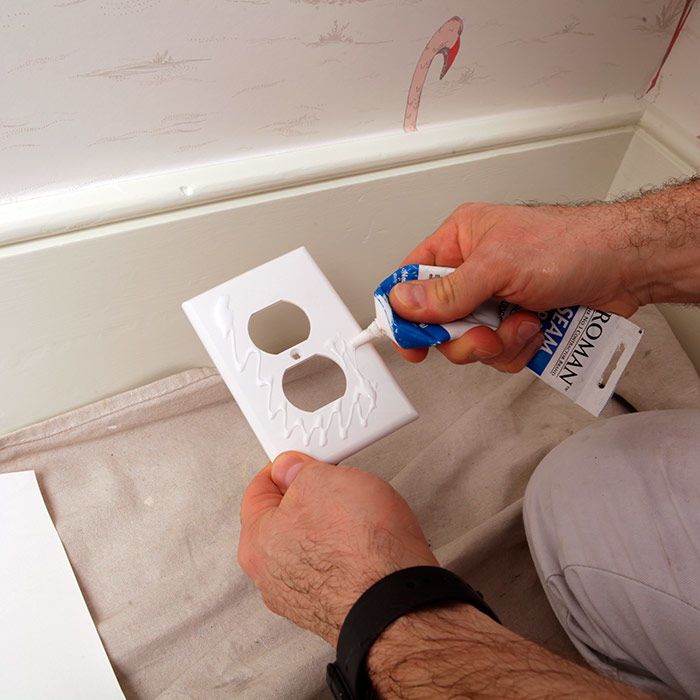
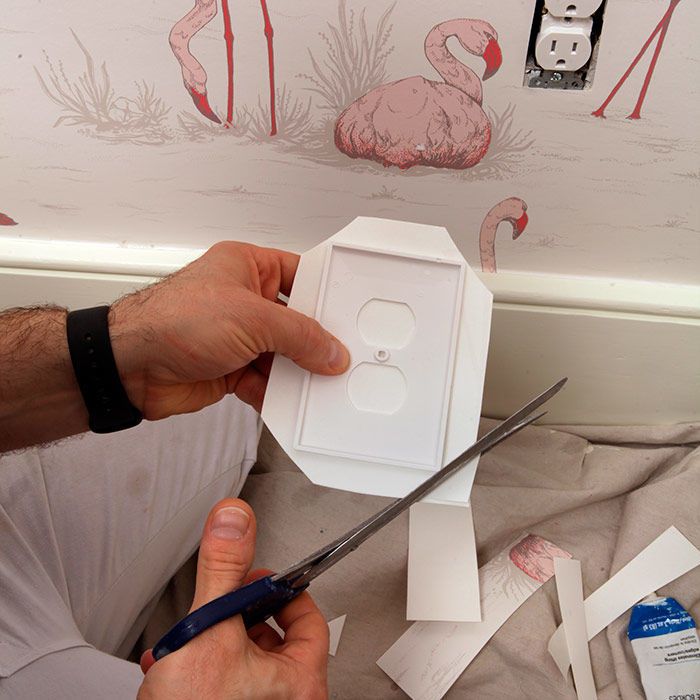
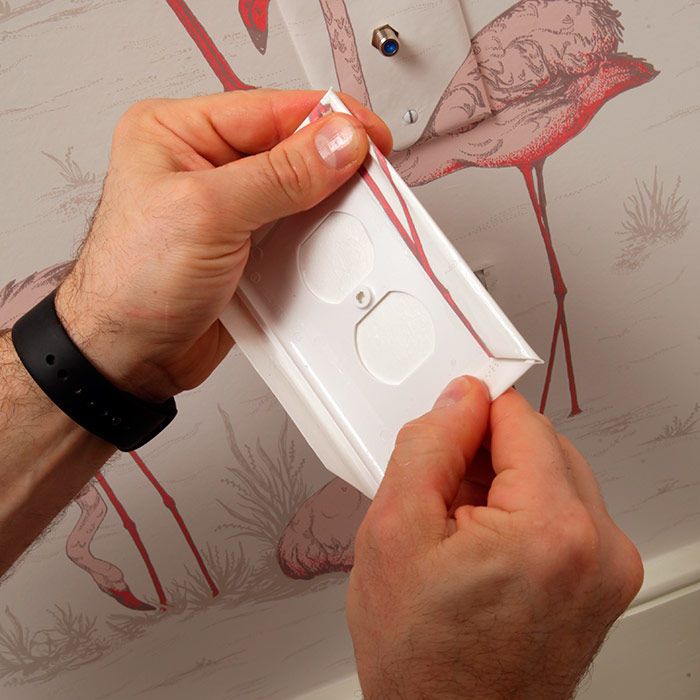
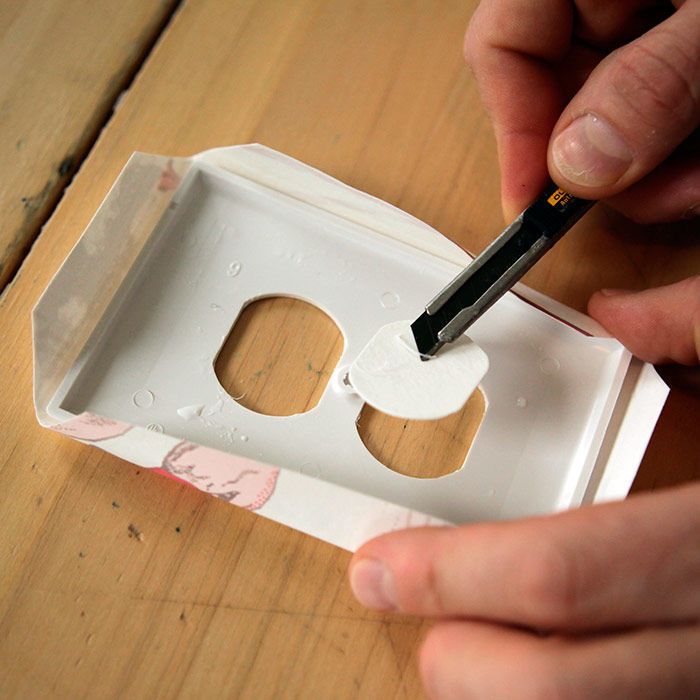
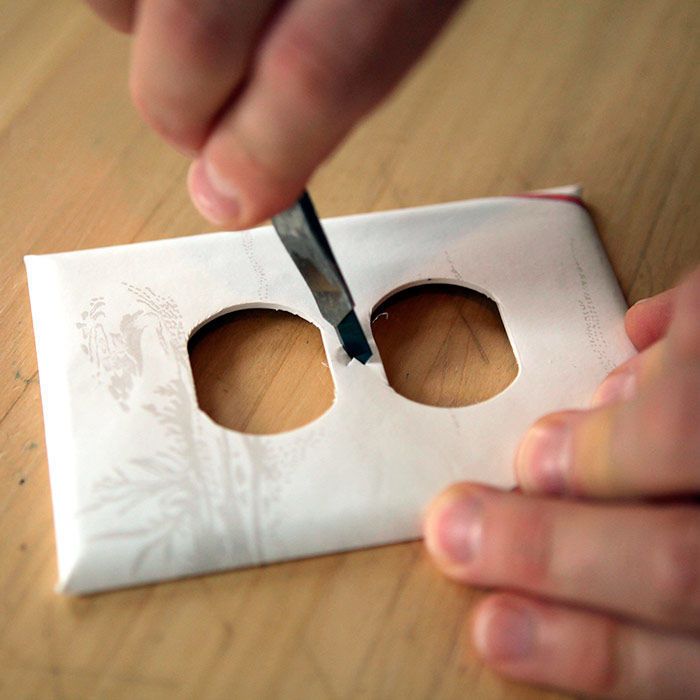
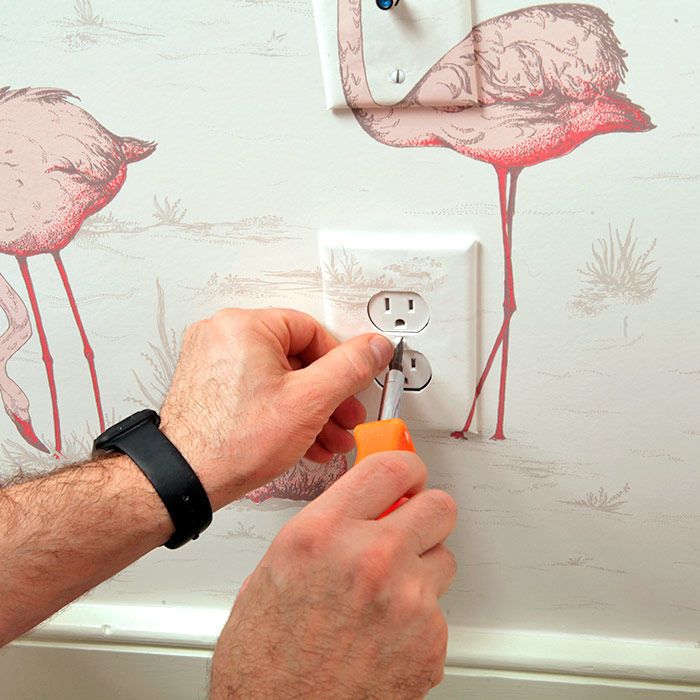
Once you’re satisfied you have a good match, paste the back of the paper, and put a generous amount of seam adhesive on the cover plate. Temporarily position the plate on the box, then position the paper on the plate, adjusting until it matches the pattern on the paper behind it perfectly. Carefully remove the plate and paper together, and use scissors to trim the paper back to within about an inch on all four sides of the cover. Then lop the corners of the paper to within about 1/8 in. of the corners of the plate, and fold the remaining paper around the back of the plate. Use a smoothing tool to smooth the paper onto the front of the plate and to remove any air bubbles. Use a sharp utility knife to cut holes in the paper for receptacles, switches, and other connections, and cut an X in each screw hole. Finally, attach the paper to the box and wipe it down with a clean, damp cloth.
Part of “Wallpaper the Right Way” from the 2018 Dec/Jan issue of Fine Homebuilding magazine.


View Comments
Thanks for sharing