Best Practices for Installing Wallpaper
Installed correctly, this wall covering should last a lifetime and come off easily once it has worn out its welcome.
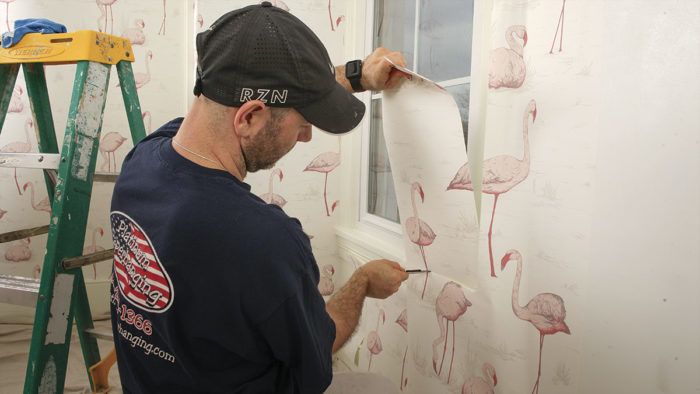
Synopsis: With wallpaper experiencing a resurgence, it’s a good time for a guide to paperhanging. John Clift, a professional paperhanger, shares his techniques for every step of the process: preparing the room, estimating and planning, hanging and smoothing the paper, dealing with out-of-plumb walls, handling inside and outside corners, and cutting around trim and junction boxes.
Wallpaper is trendy again, both with designers, who are speccing it more often, and with homeowners, who are drawn to the ever-growing range of designs, colors, and types popping up on home-improvement shows and social media. But hanging wallpaper isn’t a quick and easy job, and because today’s wallpapers are more expensive than the DIY products of decades past, making mistakes is costly. Too often, homeowners call me only after their project has gone south.
This isn’t to say that hanging wallpaper is out of the average person’s reach; it’s just more involved than many people realize. Along with an eye for detail, it takes preparation and planning to ensure that the job looks good and that it lasts. And if the paper is ever going to be removed or replaced, this prep work will make that future removal easier as well.
With so many different products available, it’s impossible to cover all of their various installation quirks in one fell swoop. But in 20 years of hanging wallpaper, I’ve found that some basics—things you need to do in order to do the job right—apply almost universally.
Ready the room
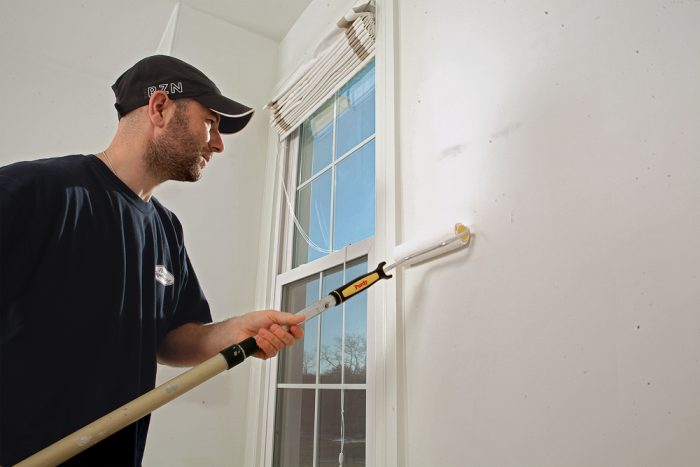
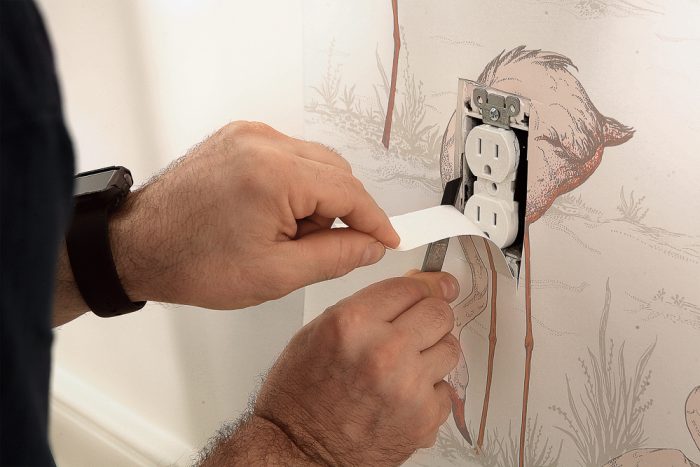
A key to good-looking wallpaper—and to ensure its future removability—is wall preparation. Wallpaper can’t hide irregularities in walls, so repair any imperfections to provide a smooth plane for the paper to cling to. Walls must be clean, dry, structurally sound, and generally free of stains. Remove all switch and outlet covers, as well as wall-mounted fixtures. Lightly sand painted or primed walls with 120-grit sandpaper to rough up the surface and remove any small bumps.
To help the paper stick and aid its removal down the road, the next step is critical. Sizing—or priming—the walls creates a better bond between the paper and the wall and makes wallpaper removable. For walls that are damaged—say, from the removal of old wallpaper—I like to use Gardz Problem Surface Sealer. When the walls are in good shape, as they were in this house, I prefer Roman Rx-35.
Roll and brush the sizing on just as you would do with paint to get an even, thin coat over the entire surface, and let it dry completely before hanging the wallpaper. Sizing feels slightly tacky when dry.
Determine the layout
It’s rare that the last strip of wallpaper will fit perfectly between those on either side of it. With patterned wallpapers, one seam is likely to be unmatched, and it’s important to decide where this irregular seam will land before you start. Place it in the least conspicuous spot possible, which is often over a door, where it will be short, or in a corner behind you as you enter through the door.
Measure each wall to determine how many strips are needed to complete the room and to determine a starting point. You want to avoid having thin strips of paper (as may happen at inside corners, where the paper is cut and readjusted on the intersecting wall), and it may be possible to avoid a sliver in one corner by starting in another.
To find a starting point, I lock in the paper’s width on my tape measure and step off measurements from various places until I find the layout that results in the fewest seams and narrow strips.
Cut, paste, rest, and repeat
For efficiency and to ensure that each strip matches up correctly, cut all of the strips of paper for a given wall or room before you start hanging. Cut the strips long—a couple of extra inches at the top and bottom—to allow for minor adjustments and so that you can cut the paper flush with the ceiling and the base trim. Except at openings and built-ins, all strips should be continuous from floor to ceiling.
Label the back of each strip at the top with its length and, if the paper has a drop match, a number that indicates its place in the sequence. The pattern on the half-drop-match paper used in this room, for example, repeats every other strip, so each was labeled with either a 1 or 2 to show its place in the sequence.
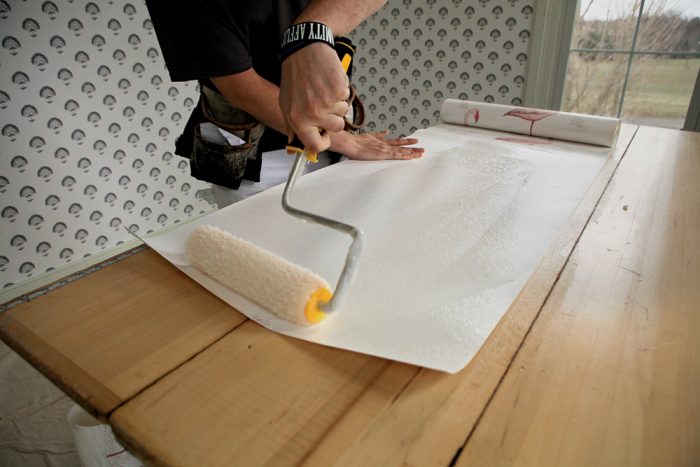
I prefer using unpasted paper because it gives me total control over the adhesive, which I can match or thin to work with the paper I’m using. For most jobs, I recommend Roman Pro-880 wallpaper adhesive, which is a pro-grade product that works well right out of the bucket with many traditional and newer nonwoven wallpapers. Use a paint roller with a 1⁄2-in. nap to apply an even coat of adhesive—about as thick as a heavy coat of paint—on the back of one-half of the paper’s length. Then lightly fold the pasted end toward the center, without creasing it, and repeat the process for the other end. Always wipe down the work surface you’re pasting on between strips to avoid getting paste on the face of the sheet that you’re applying glue to next.
Most traditional wallpapers expand a bit after they’re pasted and so need to be “booked”—or given time to expand to avoid wrinkles and bad seams. The required booking time is typically printed on the wallpaper packaging. Nonwoven wallpaper, such as the one used in this room, is dimensionally stable and doesn’t require booking, so it is hung immediately after it’s pasted. It’s also possible to paste the wall and hang nonwoven papers dry.
The tricks to plumb paper and match patterns
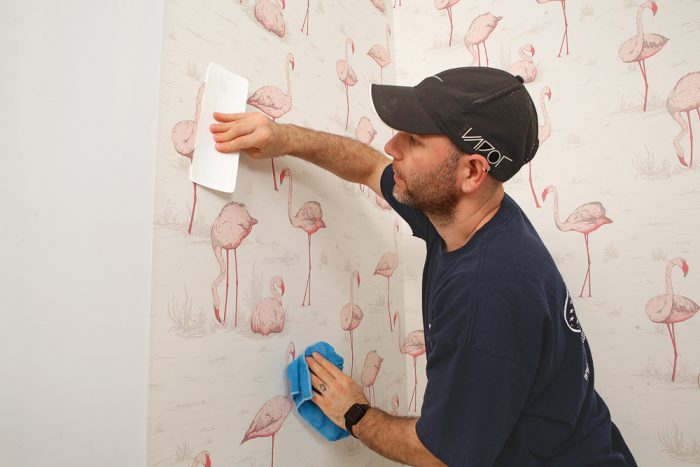
To clean and lubricate the paper during installation, have at the ready at least a couple of buckets of clean, warm water and some sponges or cloths. I wipe each strip down continuously as I install it, and I like to use microfiber cloths because I can feel air bubbles through them, and finding and removing air bubbles is part of the process.
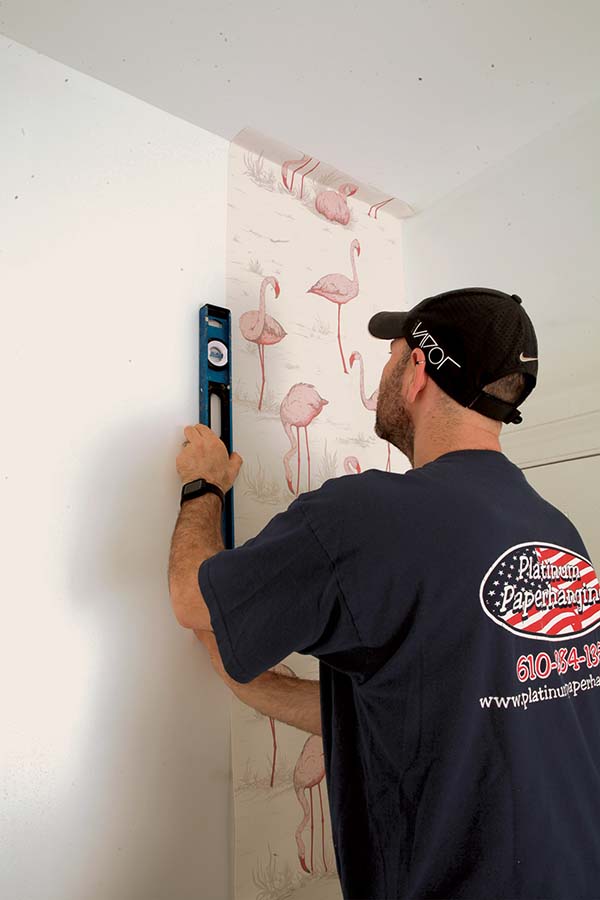
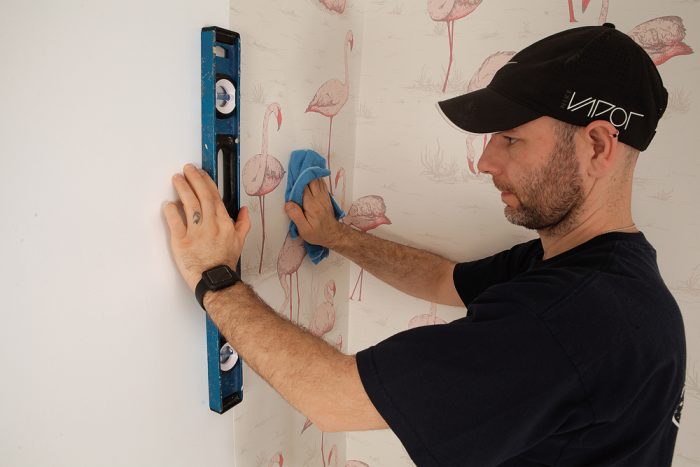
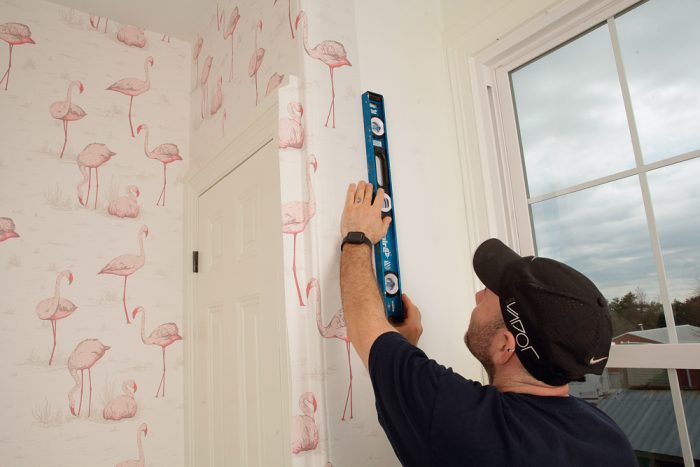
Wallpaper should be hung plumb; otherwise, the pattern will creep up or down the wall from one end to the other. It can help to draw plumb lines in pencil on the walls beforehand, but these can show through light-colored paper. Often I just use a level to set the first strip on each wall and then check plumb every so often along the way.
Generally, start hanging at an inside corner. If the corner is plumb, set the paper tight into the corner and use a level to check that the other edge is plumb. If it’s out of plumb, lap the paper slightly onto the opposing wall at the top or bottom so that the other edge of the strip is plumb. Trim away whatever laps onto the opposing wall, and do your best to match any pattern when going out of the corner in the opposite direction, again lapping and trimming as necessary.
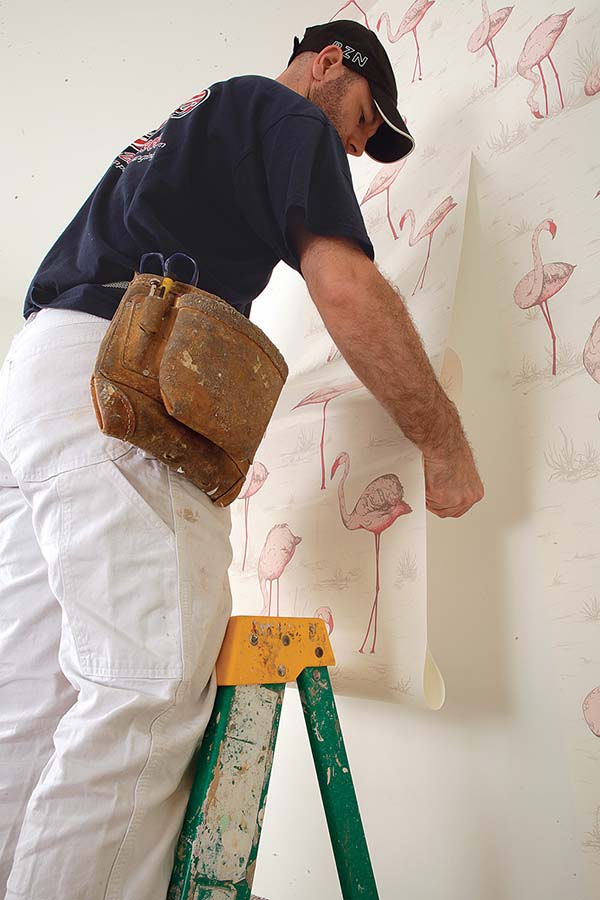
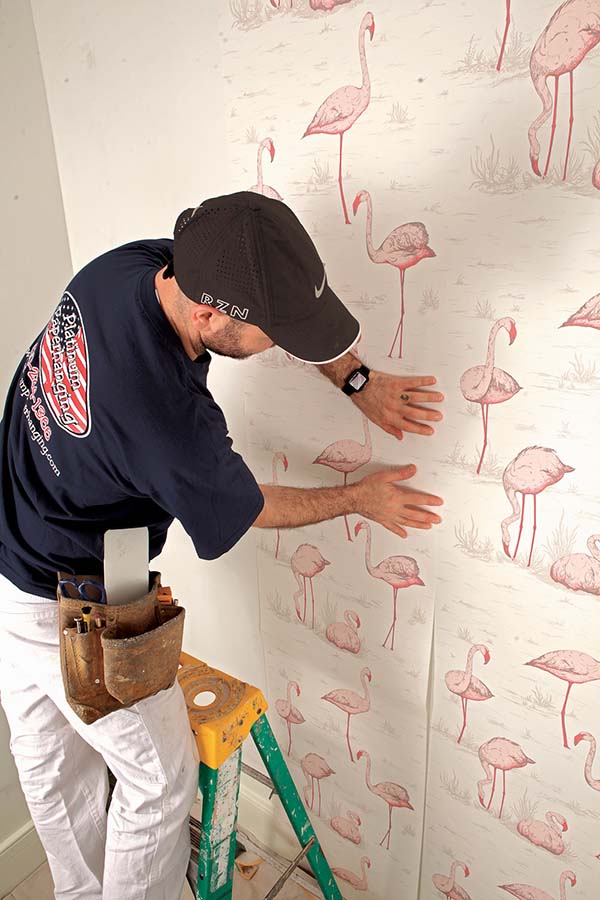
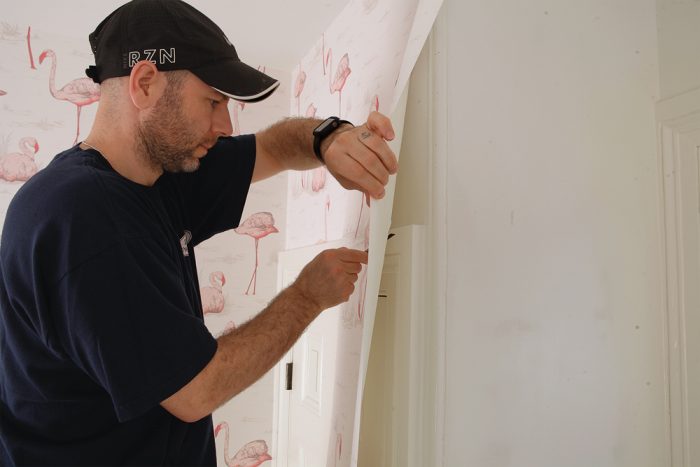
Always hang strips starting from the top and work down. When starting with a booked strip, unstick the top of the strip from the back—leaving the bottom folded up—and position the strip on the wall. Once it’s plumb, use a smoothing tool to push out air bubbles and create a good bond with the wall. Small paste bubbles behind the paper are fine; they’ll suck the paper back to the wall as they dry.
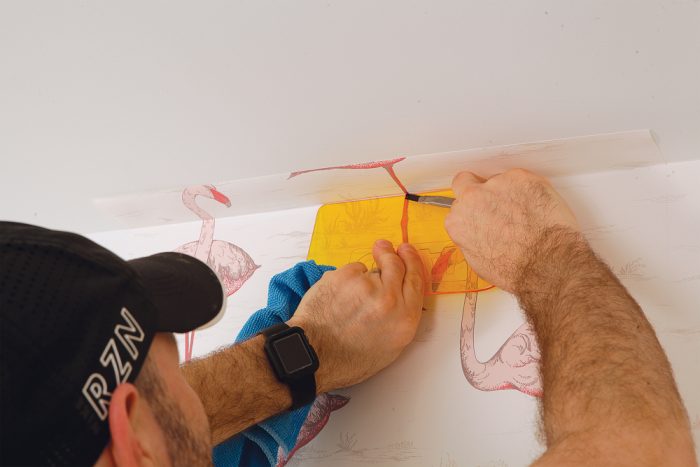
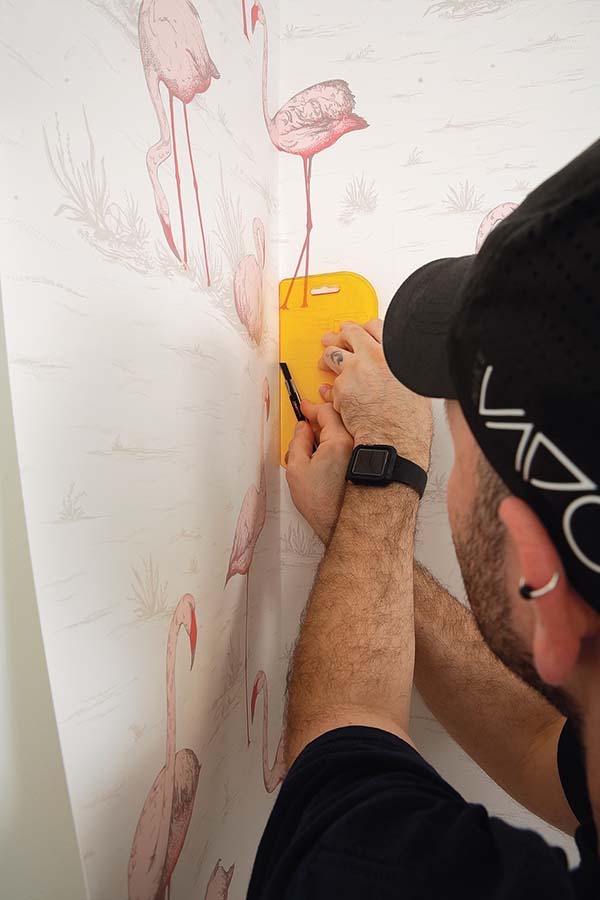
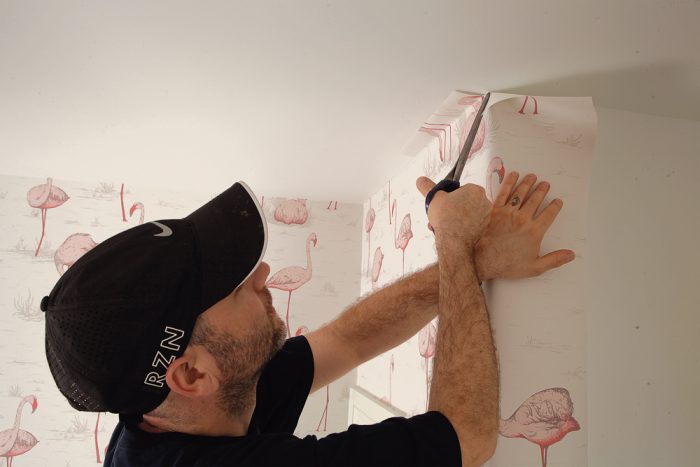
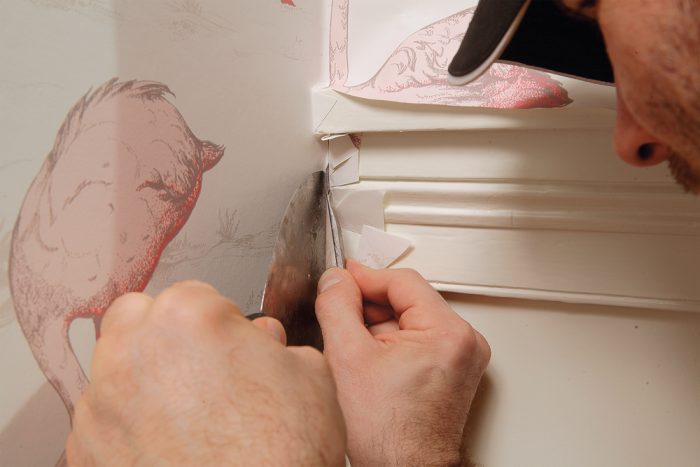
Once the top of the strip is set, unstick the folded bottom of the strip from the back and set it the same as the top. Once the strip is smoothed in, trim the excess from the top and bottom using a utility knife and a straightedge to guide the cuts. Keep the knife on the waste side of the cut—toward the ceiling at the top, toward the trim at the bottom, and toward the opposing wall at corners.
I use snap-off utility blades, and I start with a new section of blade for nearly every cut to ensure that it’s clean and to prevent accidental damage to the wallpaper. It may seem crazy to go through 10 or more blades on a job like this, but with wallpaper costing about $100 per roll on average, it’s worth the extra cost to avoid an expensive mistake.
With the first sheet hung, continuing along the wall is simply a matter of lining the next sheet up with the last. Don’t overlap seams; just butt each sheet tight to the last, making sure to line up any patterns precisely. Take a step back from time to time to check that everything looks right. If a pattern is off, it’s usually obvious.
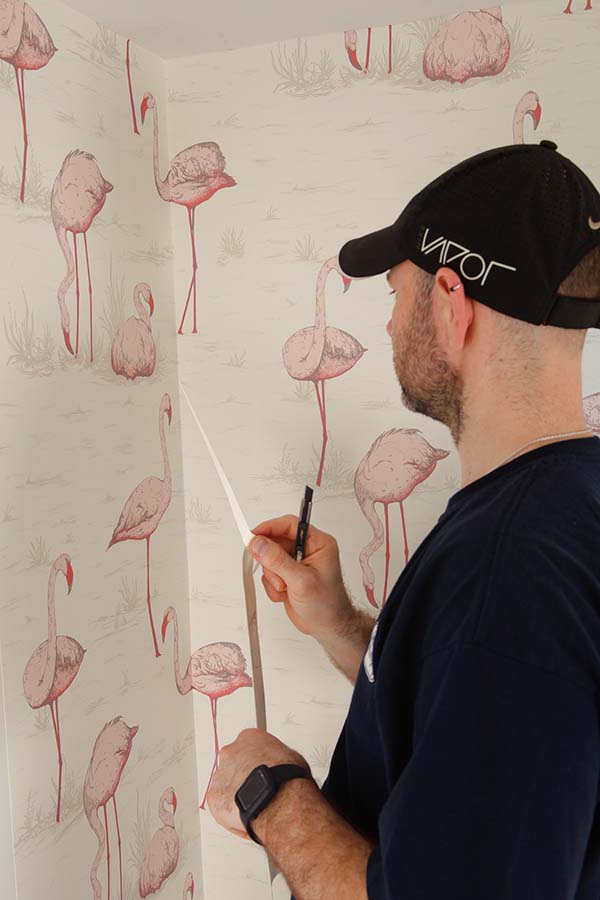
At inside corners, smooth the paper onto the first wall and into the corner, but leave it largely free of the intersecting wall. Once it’s set, cut the strip at the corner from top to bottom, and reset the cutoff on the intersecting wall, making sure it’s plumb. When corners are out of plumb, lap the paper onto the preceding wall as described above, plumb the strip’s remaining factory edge, and trim any overlap. Outside corners are typically wrapped without cutting. As long as the edge of the paper remains plumb after wrapping the corner, smooth it in and continue down the wall. If it’s out of plumb, bring everything back in line with a “double cut.” Begin by hanging the next strip plumb and overlapping the previous strip close to the corner. Align any patterns to match the previous strip as closely as possible. After smoothing in the new, plumb strip, cut through both strips where they overlap, avoiding any graphical elements. Remove the excess paper from both sides, leaving a tight seam without any overlap.
After all the paper is hung, wipe it down again with a clean, damp cloth or sponge. Everything should be dry and set within a few hours to a day and should look good for many years to come.
Estimating Wallpaper
Online wallpaper calculators aren’t accurate enough for determining how much wallpaper is needed for a given room. There are just too many factors—pattern size, pattern match, roll length, wall height, and more—that complicate estimating. Wallpaper is printed in batches, and for a good color match, all the paper for a given room should have the same dye lot. If you’re going to supply your own paper, buy more than you think you need, and return unopened rolls.
Pattern matches
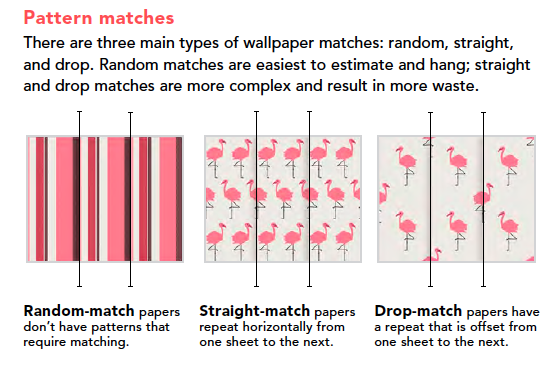
There are three main types of wallpaper matches: random, straight, and drop. Random matches are easiest to estimate and hang; straight and drop matches are more complex and result in more waste.
Paper prep
Cut all of the strips for a given wall or room to rough lengths, leaving a couple of extra inches at the top and bottom. If the paper has a drop match, you may get more usable material by alternating between two rolls for successive strips. It can help to back roll the paper slightly so it doesn’t curl as you paste. Paste the paper on an easy-to-clean surface, such as a pasting table (photo above), and allow time for the paper to expand if necessary after it’s pasted.
Paper the walls
Cutting Corners
Inside corners
Outside corners
Trim detail
Photos courtesy of Matthew Millham.


View Comments
Yay ! We're back on trend !