Must-Have Router Jigs: Mortise Door Hardware With This Custom Guide
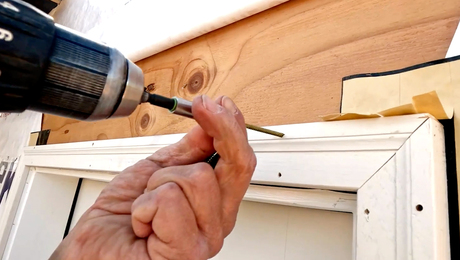
I’m Gary Striegler. I want to share with you something that will make your life a lot simpler any time you’re working with door hardware. This is probably the most common door hardware that you need to have a jig to rout because you certainly don’t want to be taking that out with a chisel. Here’s the very simple template we’ve made to rout this and the part about this I love the most, but it is so key, is this jig is exactly the size of what I want to rout out. the router bit that I’m going to be using is this one. Now this is a 1/2 inch outside diameter router bit with a 1/2 inch bearing above it. Now you want to be cautious when you go to buy a bit like this this because sometimes there are some that this bearing is bigger than that and that just makes it really complicated and you have to think about making this cut out in your template bigger than you need to. So always get you a 1/2-inch diameter bit with a 1/2 inch bearing above it and then everything will work out great. This striker plate does come with 1/4-inch radius on it, some of them are square cornered. If you’re going to want those just use a chisel to square the corners out. Now one other thing, you can also get- bits like this are actually a lot easier to come by at most stores and if all you can do is find one like this that’s deeper, don’t worry, you can still make the template. Basically, you just have to put 2 of these together, it’s an inch and 1/2 and then you have something for the bearing to ride on and it’ll still cut. The best thing to do if you can do it is to get the shorter one. Alright, we talked a whole bunch about bits and things, now how does this work? Again, it’s really really simple. All I have to do is lay the jig onto of the door jamb where I want to rout the strike, and I’m going to flush the edge up with the edge of the door jamb and then I’ll use this headless pinner, just a couple headless pins, to hold my template in place. Headless pins are so small you’ll hardly even notice that they’re there and what I’ll actually do is wiggle that headless pin back and forth and break it off so it’ll break off below the surface of the template. Don’t cut it off or else you’ll get something that’ll really cut your finger up. If this was stain grade you might not want to use the headless pin. personally, I think the pin is so small it doesn’t make any difference. But if you want to clamp it and make your life more difficult, go ahead.
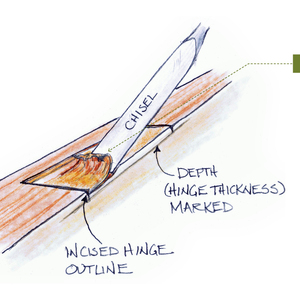
It’s just that simple. All I’ve got to do now is pry this off, I’ve got the perfect rout. If I had the hole drilled it would drop right in there. So, you can use this very same principle for things like mortising the hinges for the door, or a little bit different to do the latch plate. But the principle is just make a cut out in a piece of wood that is exactly the size that you want to rout. I’ve even made templates where we do all 3 or 4 hinges at the same time and the great thing about that is that it takes out that margin of error where you might have to measure from hinge to hinge to hinge. So, you could make 3 notches in one piece of plywood, do the whole door at one time. It’s a great but simple jig to have.
More Must-Have Router Jigs:
- Mortise Door Hardware With This Custom Guide
- Make any Inset Frieze or Panel Pattern with a Shop-Built Template
- Make Complex S-Curves With This Flexible Template
- Mill Arched Trim With a Homemade Compass
- Cut Clean, Straight Dadoes With this Simple Guide
Read Gary’s article Job-Site Router Jigs from issue #280


