Installing Standing-Seam Roofing and Cladding
Carpenters adapt their tools and water-shedding strategies to work with standing-seam steel panels.
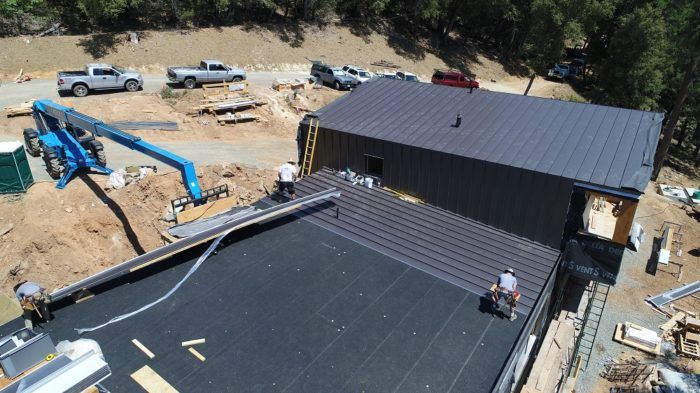
We love the durability and look of steel, and so we used Bridger Steel standing-seam panels for roofing and cladding. But we hate the sound it makes when you cut it with a circular saw and the blood it draws from your skin. Nonetheless, it is satisfying to step back and look at the lasting installation of well-crafted job.
Although metal roofing and cladding is fairly common in our area, we have had a hard time finding the right subcontractor, so we have taken it on ourselves. It is a good fit for us because we are incorporating it more and more as cladding, too. And with our exterior insulation, we have custom flashings to design and install on most jobs. As a result, our carpenters have become metalworkers, so we are no longer intimidated. Training our crew to do steel has allowed us to maintain quality on our projects. Moreover, it adds job security and saves the client on costs.
To learn how to work with metal, you must have the tools and an experimental “bend.” Figuring out the 3D shapes of complex flashing intersections at first is a trial-and-error adventure. One must simply adhere to the age-old rule of weather boarding or shingling with the metal so as to divert the water out of the building assembly.
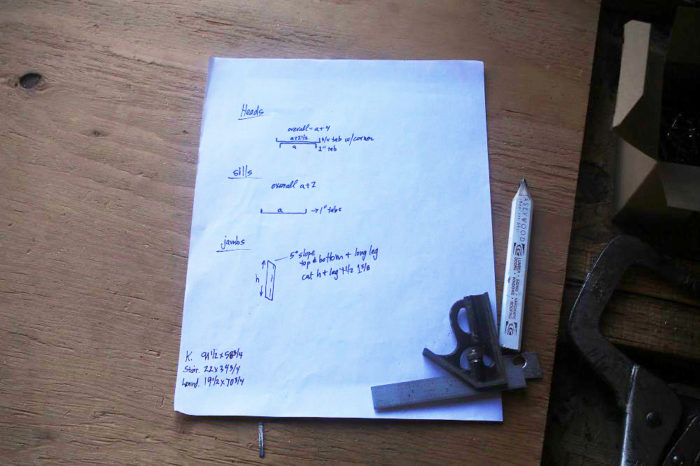
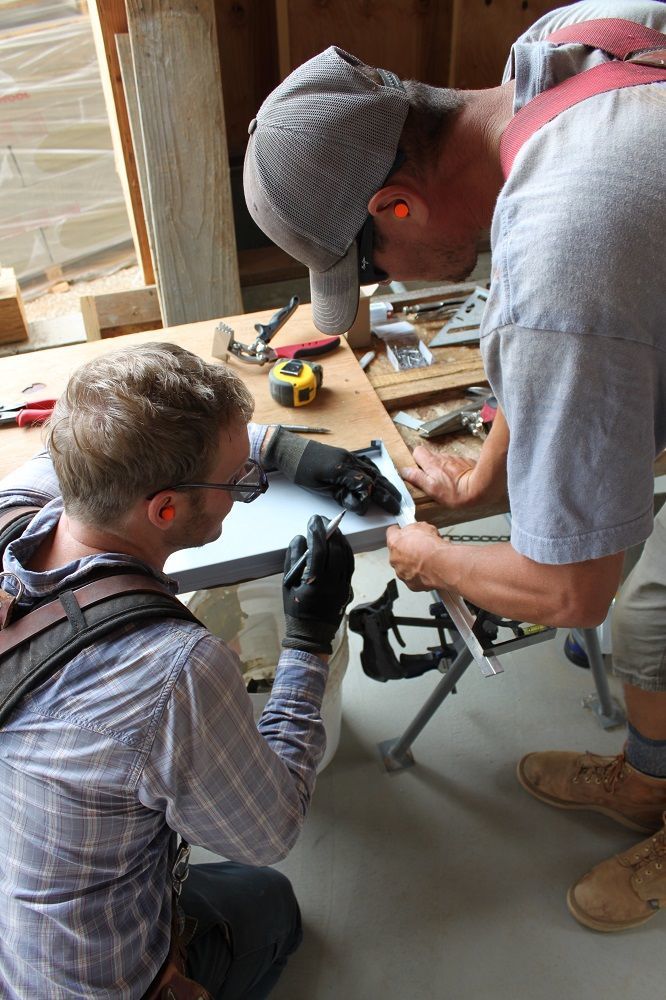
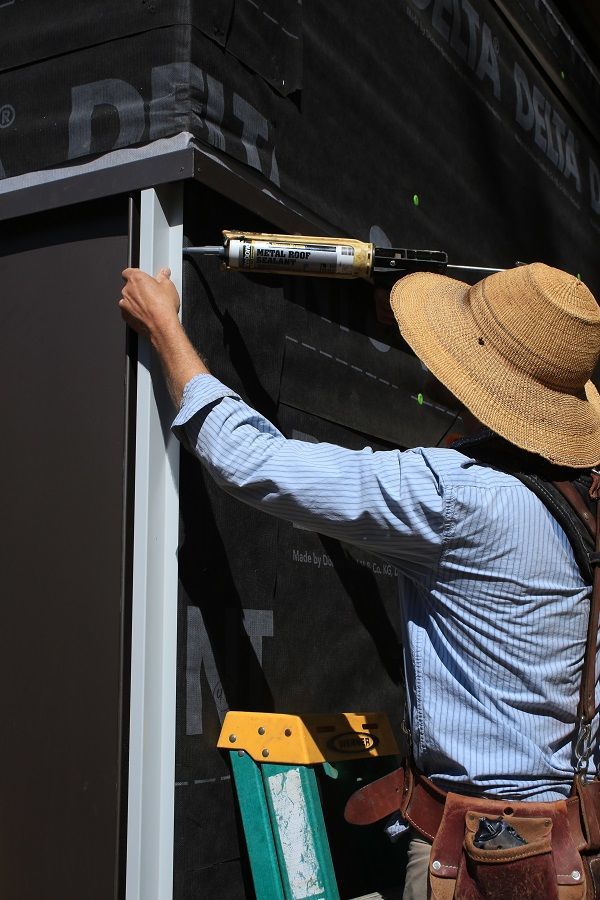
We like clean, tight joints, and we often butt factory edges by stitching a splice behind that is riveted and sealed. The splice fits into the hems of the two adjoining pieces; although this is not proper weather boarding, it is only incorporated on trim. We had two excellent sealants for the steel on the Goodhaus—Titebond’s Weathermaster Metal Roof Sealant and Delta-Than. (Vulkem has also worked well for us on other jobs.) Copious amounts of sealant is often a feel-good insurance, and we use it in multiple layers to counterflash and divert. We make a virtual roof jack of sealant on penetrations before covering them with a real boot, and we seal down mini diversion dams of metal at roof-to-wall locations where needed.
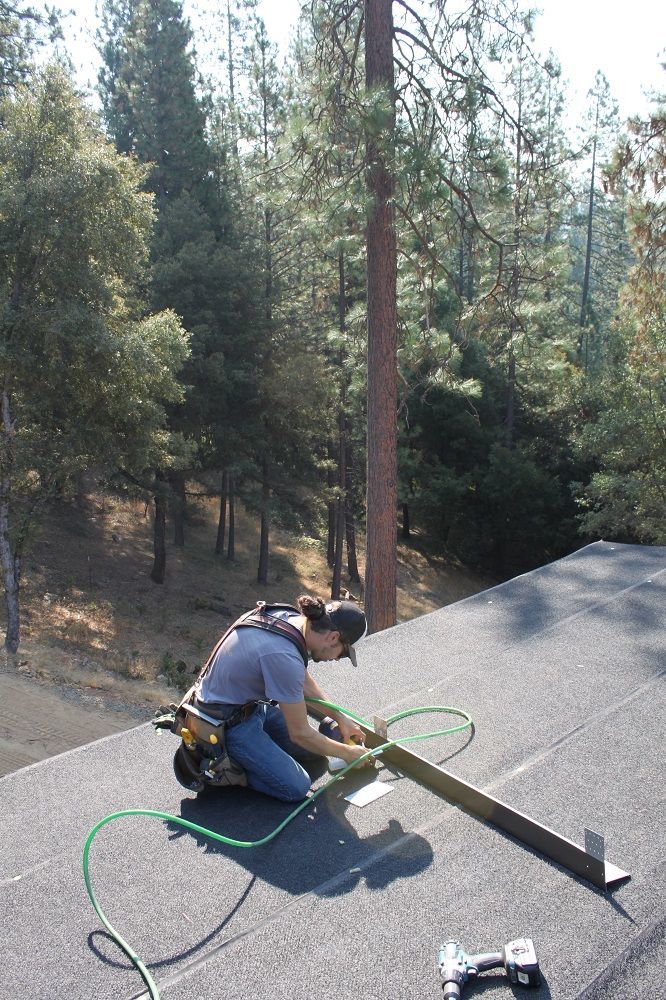
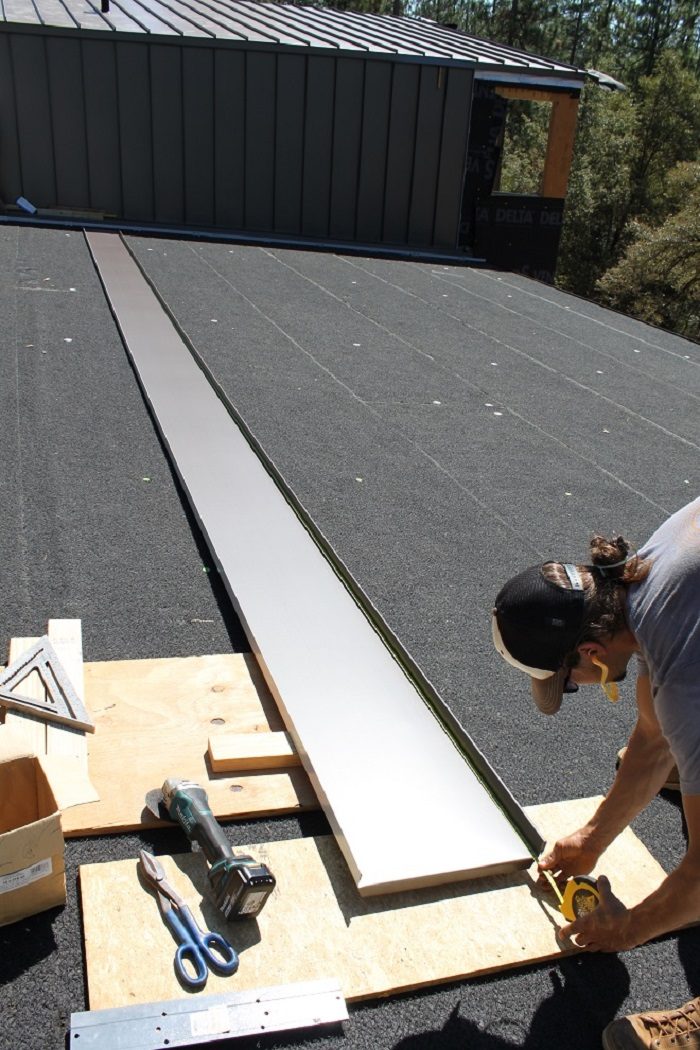
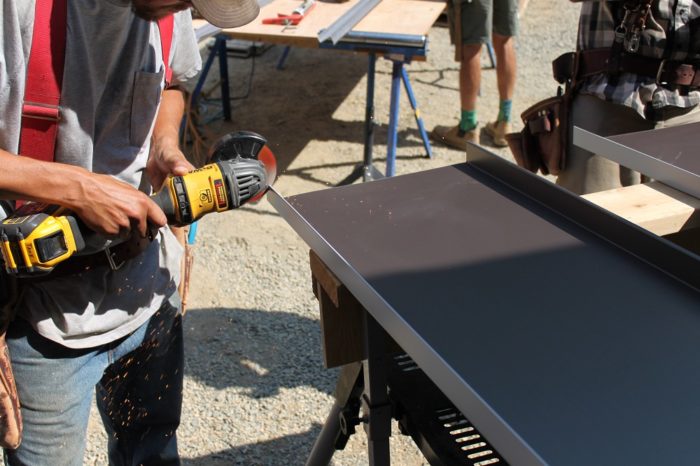
Our favorite tool for cutting flashing and trim is a brushless grinder with a thin, abrasive cutoff wheel. We lay out cuts and bends with a combo square and mark them with a knife. Cutting sheets of standing-seam material is best with a circular saw and the right metal blade. We made cutting guides for the rake cuts. A nice pair of shears in the belt at all times is needed for easy nips and adjustments.
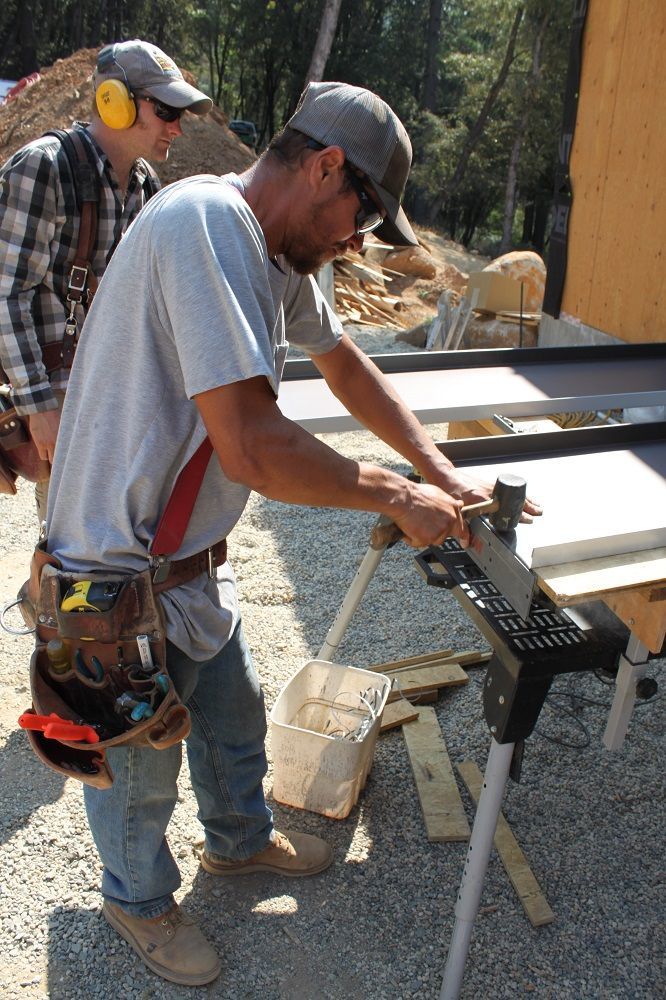
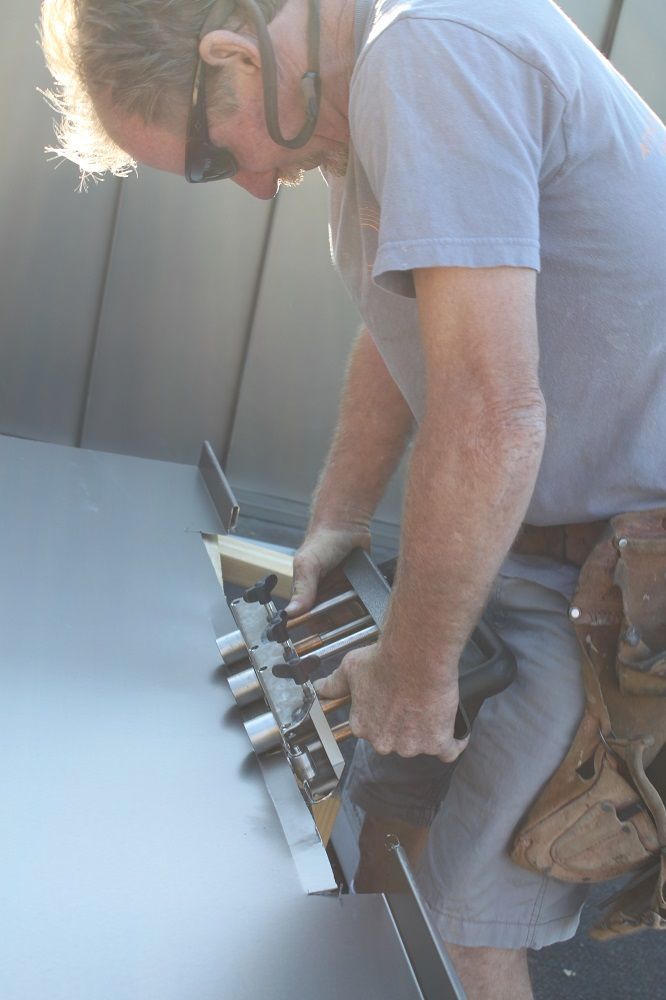
Most small bends are done with a hand seamer or folding bar. We invested in a Malco ER3 roller bender as well, and it is imperative for long bends on ripped standing-seam panels. The roller bender also made us some custom flashings on-site out of scraps and leftovers.
More from the California FHB House project
- Air-Sealing a High-Performance House
- Windows and Doors Are Critical to a Tight House
- The California FHB House Framing in Pictures
Fine Homebuilding Recommended Products
Fine Homebuilding receives a commission for items purchased through links on this site, including Amazon Associates and other affiliate advertising programs.
Fall Protection

Handy Heat Gun
Flashing Boot Repair


View Comments
Thanks for sharing this post!