Finish Fix for a Varnished Door
Expert wood-finisher Peter Gedrys offers advice for maintaining and refreshing aging spar varnish on an exterior wood door.
Several years back you did a feature and video series on finishing an exterior door by Peter Gedrys (FHB #257). I followed the instructions step by step and was very happy with how it turned out, but I’m now at the point where some maintenance is required. The spar-varnish top coats are starting to show some cracks, and in a couple of spots the cracks have lifted a bit, mostly over joints in the wood. I know that spar varnish is meant to be recoated, but I’m not sure how to deal with spots like these lifts and cracks. Can you offer some guidance?
—John B. via email
Wood-finisher Peter Gedrys responds: Kudos on two fronts: doing a more complex finish, and staying on top of the maintenance. There are a few factors at work—the age of the finish, the amount of direct sunlight it receives, and temperature swings. Seasonal wood movement, in my opinion, is what’s leading to the ridges where the rails and stiles meet. This can also answer for the cracks in the surface. Spar varnishes are built to deal with this by producing a more flexible film, but after a while they too have their limits.
For any wood, here’s a sound maintenance schedule:
First, wash the surface using a mild cleanser like dish soap, and then dry it off.
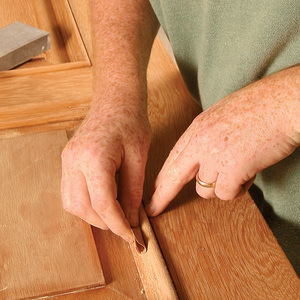
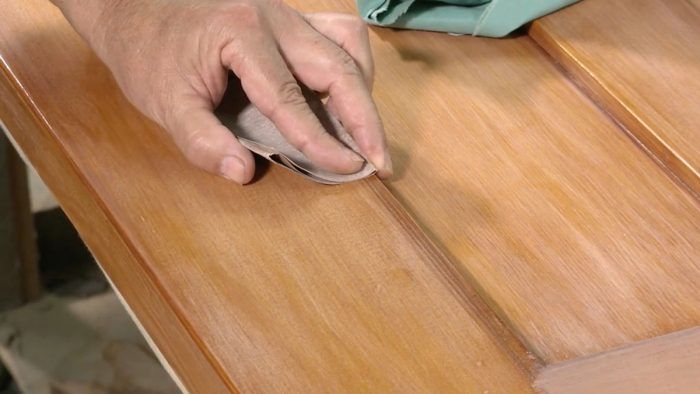
Next, sand the surface well with 220-grit or 320-grit stearated sandpaper. if the finish is relatively thin, use the less- aggressive 320 grit. if the finish is full- bodied, you’ll find 220 grit a better choice. pay a little extra attention to the raised areas. Whether you do this sanding by machine or by hand is up to you. personally, i’d do it by hand. There’s less chance of cutting through the coating and producing a witness line, plus it’s easier on the edges, where sand-throughs are most likely to occur.
When you’re done sanding, vacuum and wipe off all the dust. Compressed air is handy if you have it.
Then, use a maroon scotch pad to rub the surface down one more time. This step gets into all the shiny areas or valleys left after sanding and will leave a smooth and well-toothed surface for the varnish to adhere to. Repeat the step of vacuuming and wiping the dust.
Finally, using a damp rag wet with a 50/50 solution of denatured alcohol and water, wash the surface, drying as you go. Now you’re ready to recoat as needed.
I know it sounds like a lot of work, but done right, maintenance like this pays dividends in longevity. Good luck.
