How to Make a Crosscut Sled for Your Tablesaw
Use job-site scraps to build a simple, no-fuss sled for making safe and accurate crosscuts on your tablesaw.
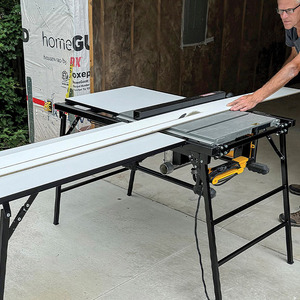
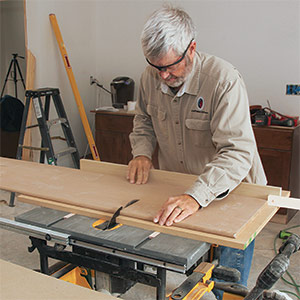
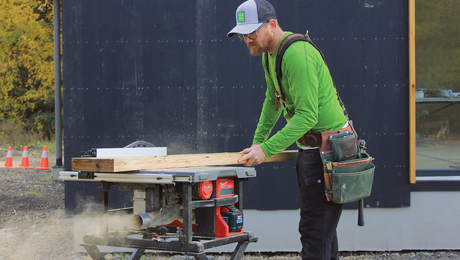
A crosscut sled is a great jig for making safe, accurate crosscuts on a tablesaw. They come in handy for cutting material wider than the capacity of a miter saw, and for making clean, repetitive cuts by clamping a stop to the sled. This video demonstrates a quick way to make one using scrapwood.
Note: the project in this video is a down-and-dirty job-site project for when you need a crosscut sled in a pinch; if you have the time, tools, and materials to build something more refined, read the article “Build a Tablesaw Crosscut Sled” from Fine Homebuilding issue #180.
What you will need
- A scrap of plywood about the size of your tablesaw’s table
- Cyanoacrylate (CA) glue plus CA activator spray (Fastcap 2P-10 Super Glue or similar)
- Two (2) scraps of 2×4 or similar boards as long as your tablesaw is wide (use the straightest boards you can find)
- Two (2) thin strips of wood as long as your tablesaw table and as wide as the miter-guide grooves in the table
- Screws of varying lengths (for fastening the thin strips and the 2×4 scraps to the plywood base of the sled)
How to make the sled
Start by ripping two scraps of wood into rails as wide as and about 1/32 in. taller than the depth of the miter-gauge slots on your saw.
Then cut a scrap of plywood roughly the size of the saw’s tabletop. Lower the saw’s blade, square the piece of plywood up on the table, then mark the miter slot locations.
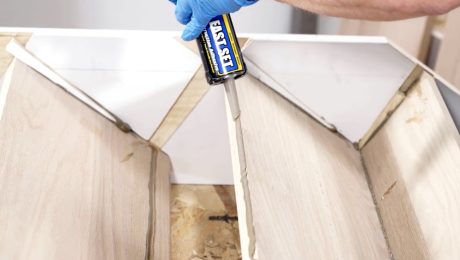
Put the rails into the miter slots, and apply beads of CA glue along the entire top of each one.
On the plywood, spray a quick-curing agent on the miter slot locations, then carefully lower the plywood square onto the table’s deck, and press and hold it firmly over the rails. Check to make sure there’s a good bond between the strips and the plywood, then return the assembly to the saw.
Hold the assembly down firmly—keeping your hands clear of the blade—then turn on the saw, and slowly raise the blade to full height so it cuts through the plywood. As soon as the blade tops out, turn off the saw and lower the blade.
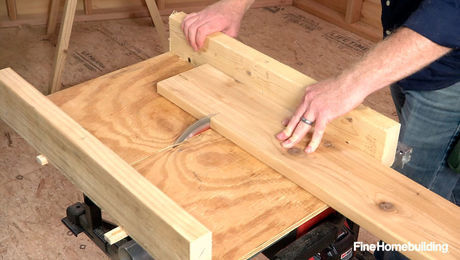
Now cut a piece for the fence at the rear, and another for a rail for added strength at the front of the sled. The fence, at least, should be tall enough that the blade can’t cut all the way through it when it’s fully raised.
Tack the fence from beneath using a single screw on one end. Then return the assembly to the saw, and use a framing square to square the fence to the blade slot. This step is critical—if the fence is attached out of square to the blade, your cuts won’t be square. Once the fence is square to the slot, clamp the free end of the fence to the plywood, then flip the assembly back over and drive a screw into the clamped end of the fence to lock it in position.
Then, screw the rail to the front of the sled. I like to drive two screws on either side of where the blade will track, just in case the blade cuts all the way through this rail (that won’t be a problem with this 2×4). Finally, drill pilot holes through the bottom rails and into the fence and front rail, then drive screws to firmly attach the bottom rails in place.
More about job-site safety
Avoiding Accidents on the Tablesaw – Here’s how to get the most from your saw without getting hurt.
Cutting With a Worm-drive Saw – The secret to making accurate cuts while preventing kickback is letting the saw do half the work.
Danger Can Be a State of Mind – When it comes to job-site safety, your emotional well-being is as important as earplugs and safety goggles.
Building a Crosscut Sled for a Tablesaw – Making square cuts on wide stock is quick, safe and easy with this simple jig that you can build in a day.








View Comments
Awesome, thanks.
Very nice!
Great, Thanks!