Flawless Frameless Shower Glass
Learn how to order, fit, and install glass panels and doors for a truly custom shower.

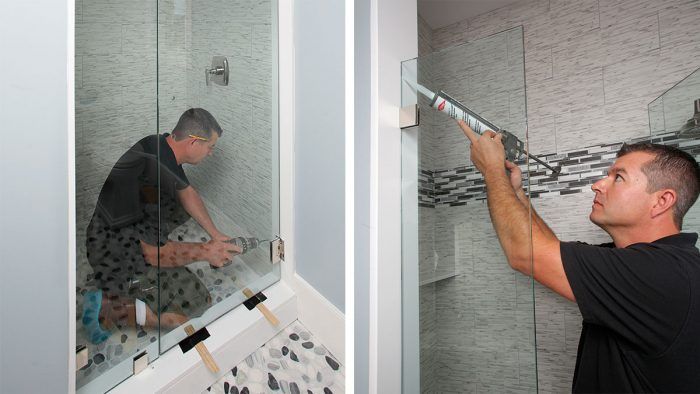
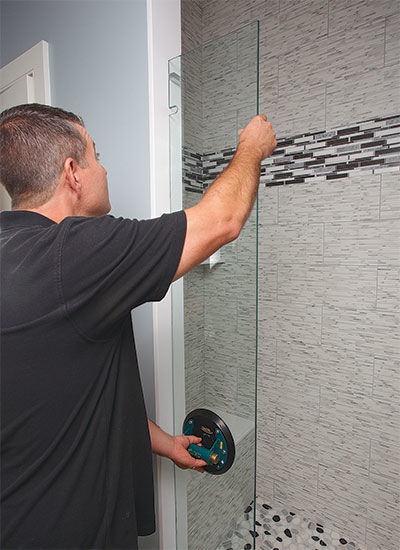
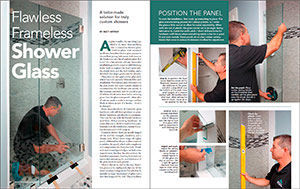
Synopsis: Professional glass installer Matt Bryant walks through the process of installing frameless shower glass, beginning with the critical first step of choosing and ordering the glass, where there is little room for error. He describes how to measure and order the glass with the right tolerances, and then uses a series of photographs to show the process of positioning the stationary panel and dry-fitting the door through to installation of the panel, door, and glass hardware.
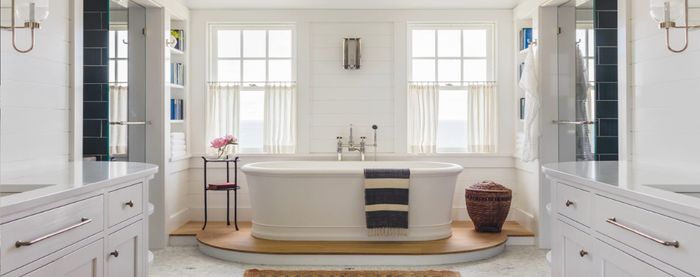
As a glass installer, the one thing I get asked to do more than anything else is frameless shower glass. Held in place with minimal hardware, frameless shower glass appears to almost float, giving bathrooms with stone or tile finishes an extra bit of sophistication. But it can’t be a last-minute add-on. Successful installation generally requires solid blocking in the walls to support the heavy glass panels, plumb walls and flat wall finishes, and a threshold that slopes gently into the shower.
Then there are the quirks of the glass itself, which has to be specially fabricated for each installation. Professional glass fabricators cut the glass to size and make custom cutouts to accommodate the hardware you specify in the locations you need, and it’s crucial to get all of these details set in stone before ordering glass. Once the glass is tempered—done after all cuts are made to make it stronger and less likely to injure people if it breaks—it can’t be changed.

Many manufacturers of frameless-glass hardware only sell their products to glass-shower businesses, not directly to consumers. That was the case with the Portals hardware used here. When selecting hardware, be aware that you’re likely to need to hire a professional to do the installation; custom frameless showers aren’t DIY projects.
Frameless shower doors are usually hinged off the wall for strength, durability, and a cleaner look. When doors hinge off a glass panel, additional hardware is often required to stabilize the panel, which adds complexity and compromises the frameless look. Plastic seals used around panel edges can hide some imperfections, but they also detract from the frameless appearance. Leaving these seals out means that measuring for and fabrication of the glass has to be quite precise.
There’s almost no end to the way frameless glass can be configured, but one of the most common arrangements I’m asked to do includes a single fixed panel of glass and a door that hinges off the wall. The procedures for installing this assembly carry over to both simpler and more complex installations.
Before installation
One of the most critical steps in the process is ordering the glass, which can’t be done until all of the finishes are in—there’s too little room for error. I use a level long enough to span the full height of the glass panels to check the walls and jambs. If they’re out of plumb, the glass can be cut at an angle to accommodate; I shim the level until it’s plumb and note how much it’s out top to bottom. But glass can’t be scribed to fit a wavy wall. The installation of the shower-pan liner and wall waterproofing often results in the tiles at the bottom of the shower kicking out slightly—this should be avoided if possible…
From Fine Homebuilding #287

To read the entire article, please click the View PDF button below.
More on showers:
Master Shower Glass – A frameless glass enclosure is the finishing touch.
A Suite Bedroom with a Luxurious Bath – Stunning finish materials transform the suite bath into a spa-like experience.
Master Carpenter: Old-School Path to a Wide-Open Bath – A classic mud job forms the tile base for a modern curbless shower.


