Dead-Flat Bathroom Floor
When the floor has to look perfect, but existing conditions are anything but, a dry-pack mortar bed can save the job.

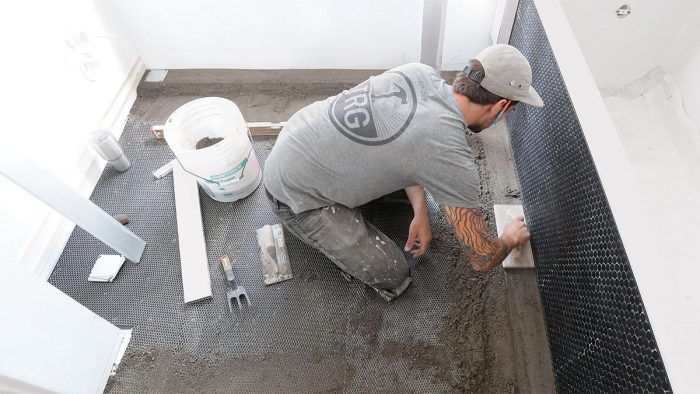
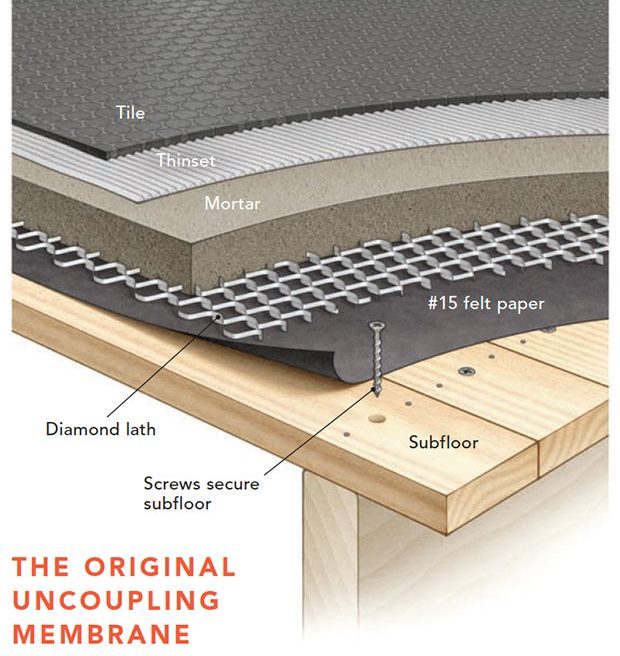
Synopsis: Remodeler Tyler Grace describes a bathroom remodel in which the floor was almost 2 in. out of level, and not at all flat. In order to establish a flat floor without self-leveling compound as an option, he used dry-pack mortar installed on top of felt paper covered by wire lath. He describes the tools, dry-pack mortar mix, and method necessary for the process, and then establishes the sequence of creating piers and filling in between with the dry pack, fixing low spots and voids, and working his way out of the room. In the end, he was able to lessen the amount the floor was out of level and achieve a perfectly flat floor for installing tile.
 Going in, we suspected that this bathroom remodel would have plenty of deficiencies, but none as bad as what we uncovered during demolition. After stripping layers of walls, flooring, and ceiling, we found out that nothing was close to plumb, level, or square, which are basic conditions for our work. Knowing this house was 130 years old, we were not surprised at what we found, but we still had to come up with a plan to remediate, or at least camouflage, the issues without creating unnecessary work.
After demolition, we assessed the condition of the existing structure and found a 11⁄2-in. height discrepancy in the floor framing within a 5-ft. run. As always, the floor framing near the exterior walls (supported by the foundation) remained sound, while everything else sagged toward the interior of the room. We weren’t able to jack the floor from below, but even if we had been, correcting that amount of sag coupled with an additional layer of subfloor, underlayment, thinset, and tile would have made for an extremely large transition at the door, which we did not want.
Dry pack is an easy choice
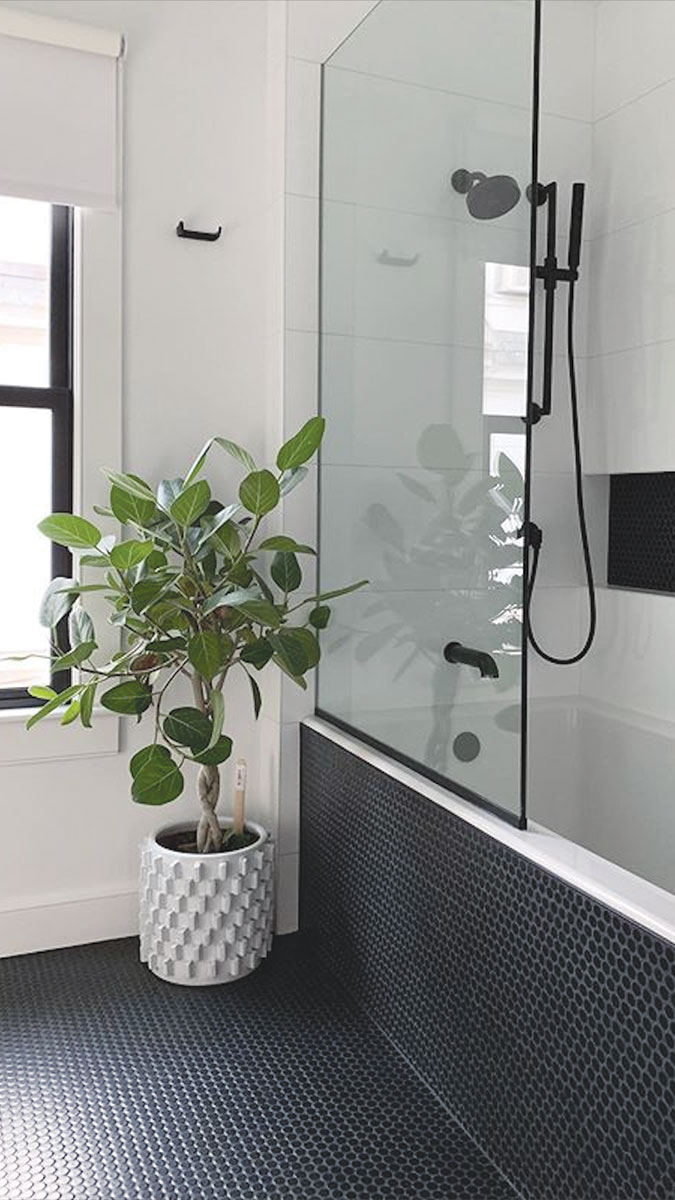
For a lot of remodelers aiming to establish a flat floor, self-leveling compound is the first choice. I don’t like this approach for a lot of reasons, not least of which is the high cost of the product and its tendency to not actually come out flat. But even if I’d wanted to use it on this project, it wasn’t a feasible option. With the floor 13⁄4 in. out of level from one side of the room to the other, we had to throw “level” out the window. Plus, self-leveling compounds are best topped with an uncoupling membrane, and many of the membranes that are on the market today do not allow for tiles smaller than 2 in. to be installed on top, which would be a problem with the penny tile spec’d for this job.
More about dealing with uneven floors:
Clever Fix for a Sagging Floor – Learn how to level floor framing in an old home by lifting joists with temporary walls, installing a midspan beam, and adding new studs to distribute the load down the the foundation.
Tying in an Addition to an Existing Home – Use these tips and tricks to match new floor heights to old and get everything square.
From FineHomebuilding #289
To view the entire article, please click the View PDF button below.


