5 Steps to Laying Out Concrete Piers
Use some easy math and common measuring tools to get your deck foundation in the right place.
The first step is to locate and dig holes for the four piers that support the beam, then to lay out and attach the ledger to the foundation. The finished height of the piers was determined by the height of the ledger. The location of the four piers was determined by subtracting the amount of joist cantilever (about 18 in.) from the overall width of the deck. When the pier locations were marked, Chris and Justin began to dig.
Layout in five steps
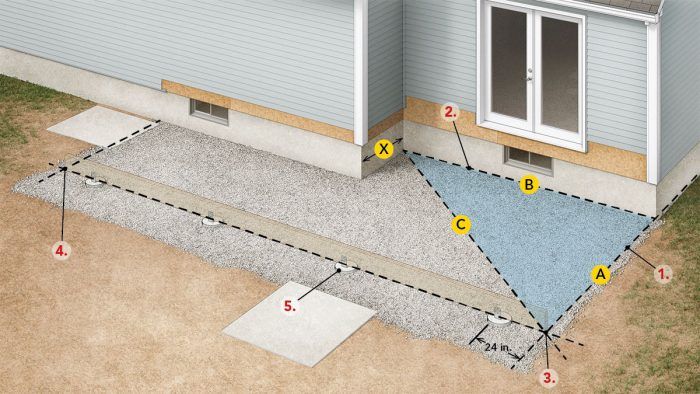
1. Using the dimension from the plans, measure out from the foundation to the centerline of the beam on the right side of the deck. This is distance A.
2. Measure the length of the foundation of the house from the corner to the jog to find distance B.
3. Use a calculator and the Pythagorean theorem (A² + B² = C²) to find distance C. Where A and C intersect is the end of the beam. Drive a stake in the ground to mark the intersection.
4. Subtract the foundation jog distance X from distance A to find the centerline of the beam at the left side of the deck. Measure the width of the deck from the stake in step 3, and drive a second stake on the left side of the deck.
5. Inset the end piers 24 in. to conceal them, and find the remaining piers’ spacing by dividing the distance by the number of footings minus one.
Which came first, the piers or the beam?
Deciding how many piers a deck needs, and how far apart they’ll be, depends on the maximum total load on the deck, which is determined by multiplying the code-assumed per-sq.-ft. load of 50 lb. (at a minimum) by the size of the deck. Half of that load is supported by the ledger, and half by the beam and piers. The maximum span of the beam is determined by both the depth of the members—2x10s can span a greater distance than 2x8s—and the number of plies in the beam. In this case, a double 2×10 was used. The maximum span of that beam meant that four piers were needed. Each pier carries a portion of the load based on the area of the deck it supports. The size of the pier is based on that load divided by the bearing capacity of the soil (the default value in the code is 1500 lb. per sq. ft.). In short, there are a lot of calculations you can do. Or you can simply go to table 4 in the DCA 6-12, where most of the work has been done for you.
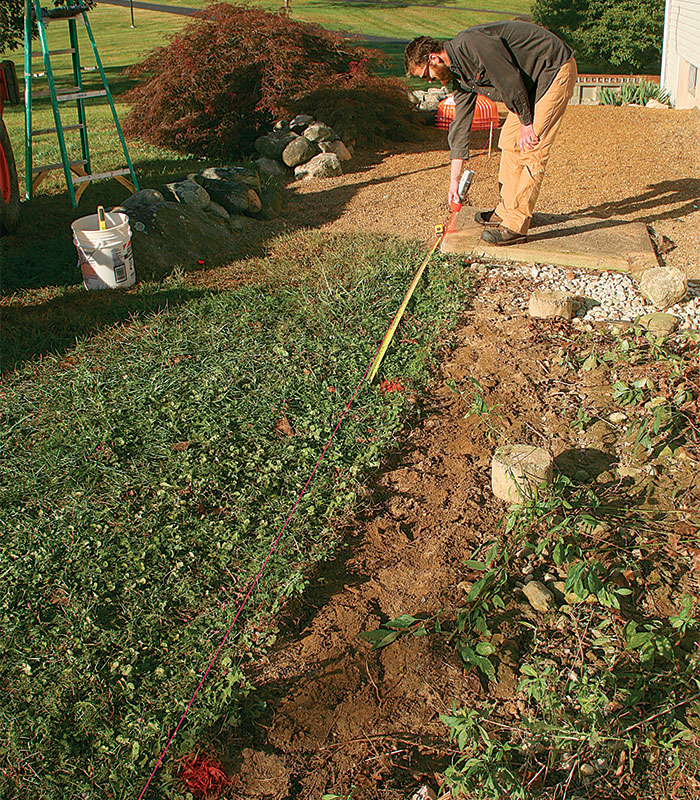
High-definition layout. After marking the deck’s outer corners with stakes and connecting them with a stringline, locate the pier centers and mark them with bright spray paint.
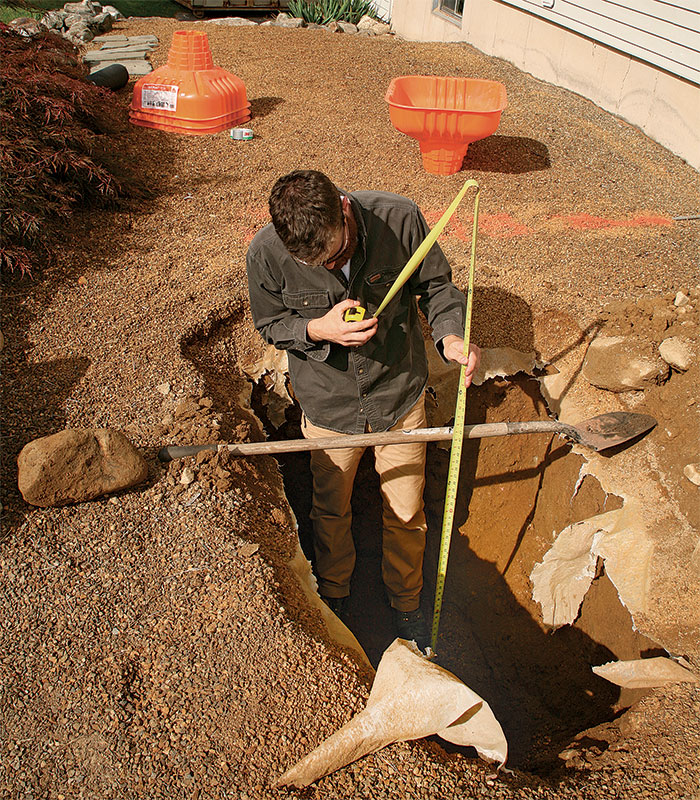
Check the depth. Pier holes must be dug to a depth determined by the regional code. Be sure to make the holes big enough to adjust the position of the piers.
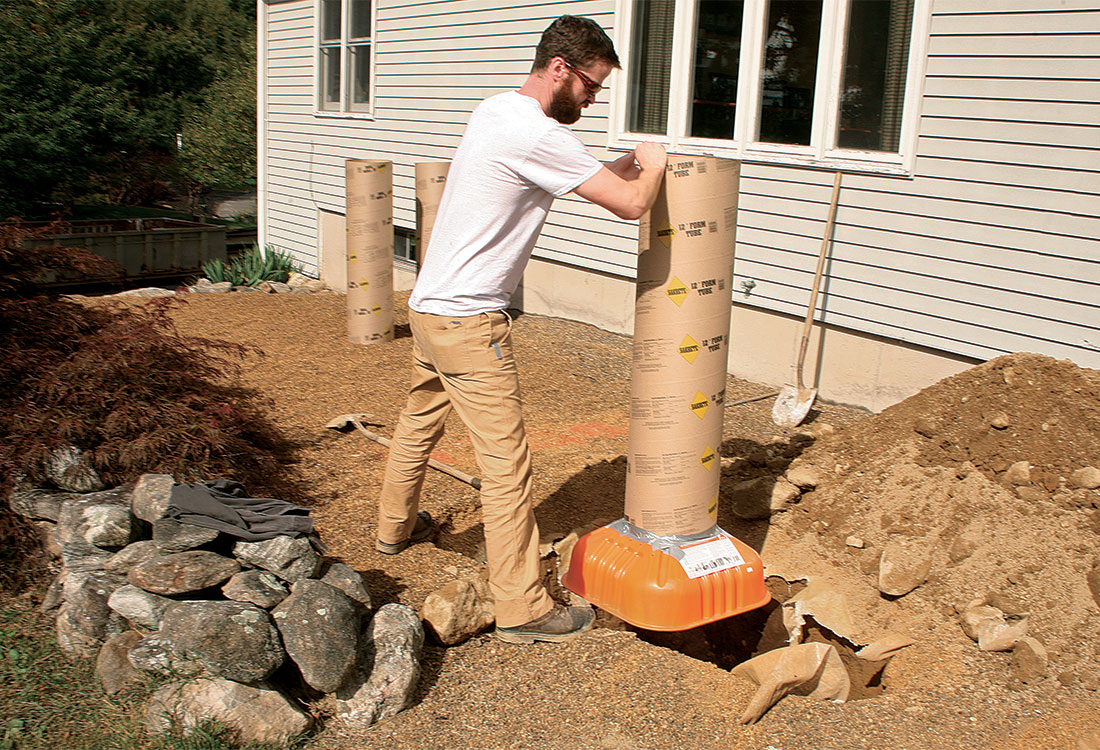
Big-base hybrid. Tape larger plastic bases onto cardboard tube forms to increase the size and carrying capacity of the piers.
Check Code: The number, size, and depth of deck piers depend on the deck design, local climate, soil type, and whether the deck is supported by the house or is self-supporting. Check your local building code for guidance.
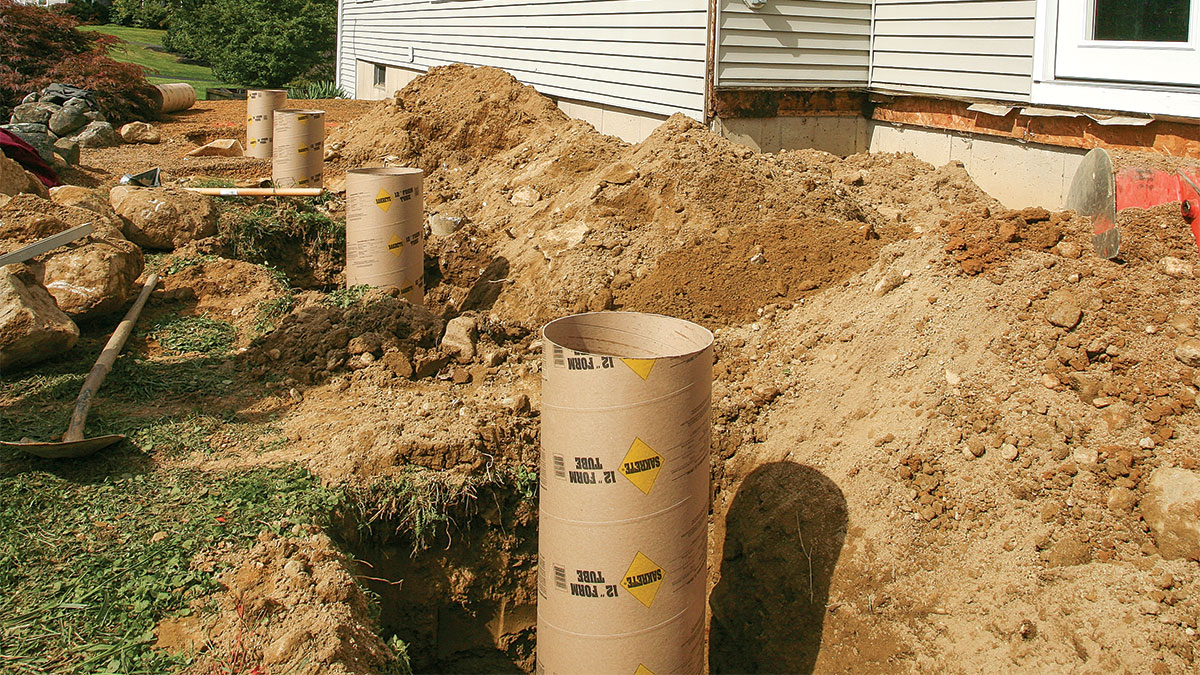
Check the work. After placing the forms, make sure they are plumb, and confirm their locations with a stringline before backfilling around them.
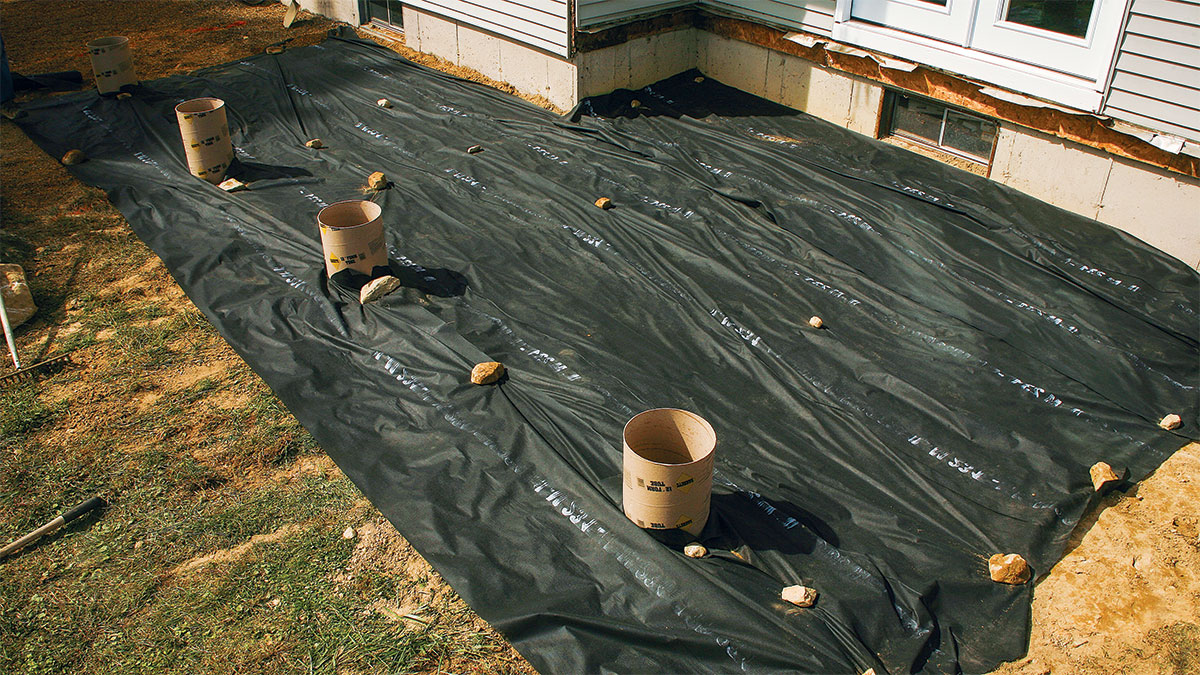
Under-deck prep. With the piers backfilled, install a layer of landscape cloth followed by a layer of gravel to prevent weed growth and to control moisture beneath the deck.
Fine Homebuilding Recommended Products
Fine Homebuilding receives a commission for items purchased through links on this site, including Amazon Associates and other affiliate advertising programs.
Cepco BoWrench Decking Tool

Flashing and Joist Tape

Angel Guard Deck Demon

