Installing a Cable-Rail System
Cables and intermediate aluminum pickets create a taut, clean-looking railing.
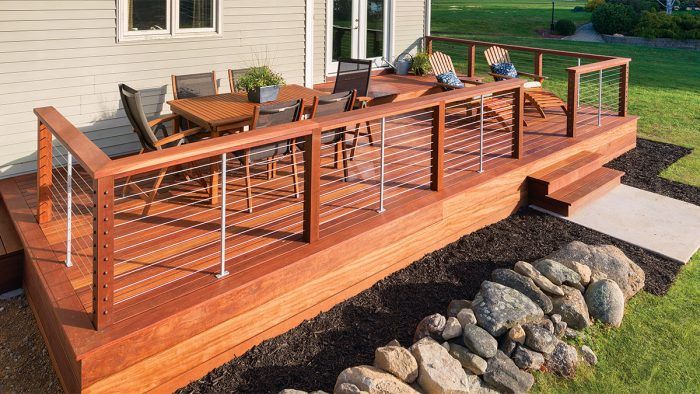
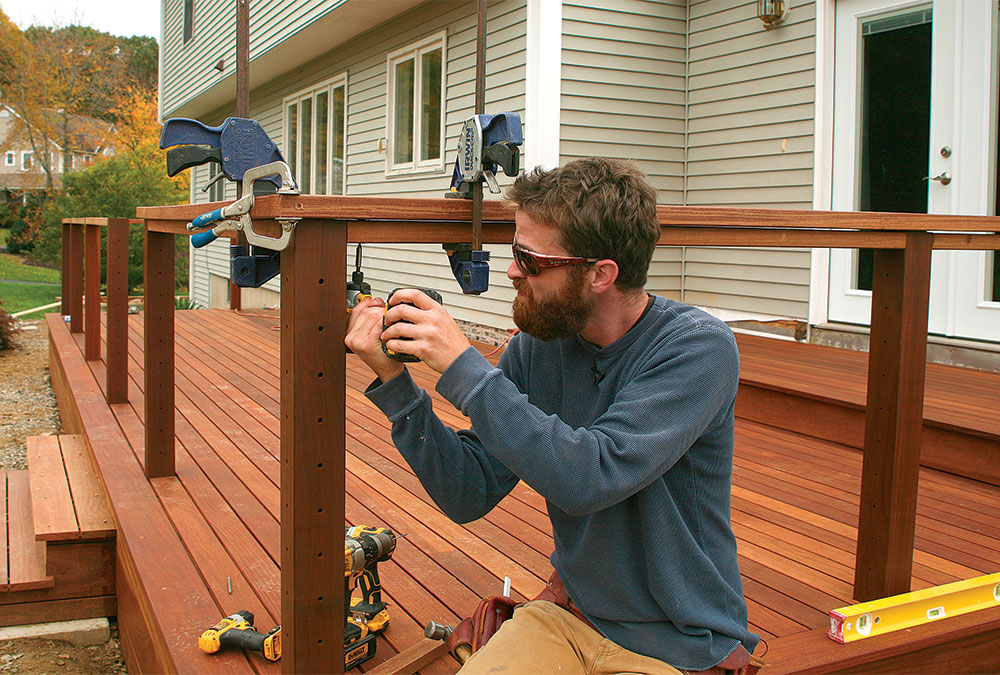
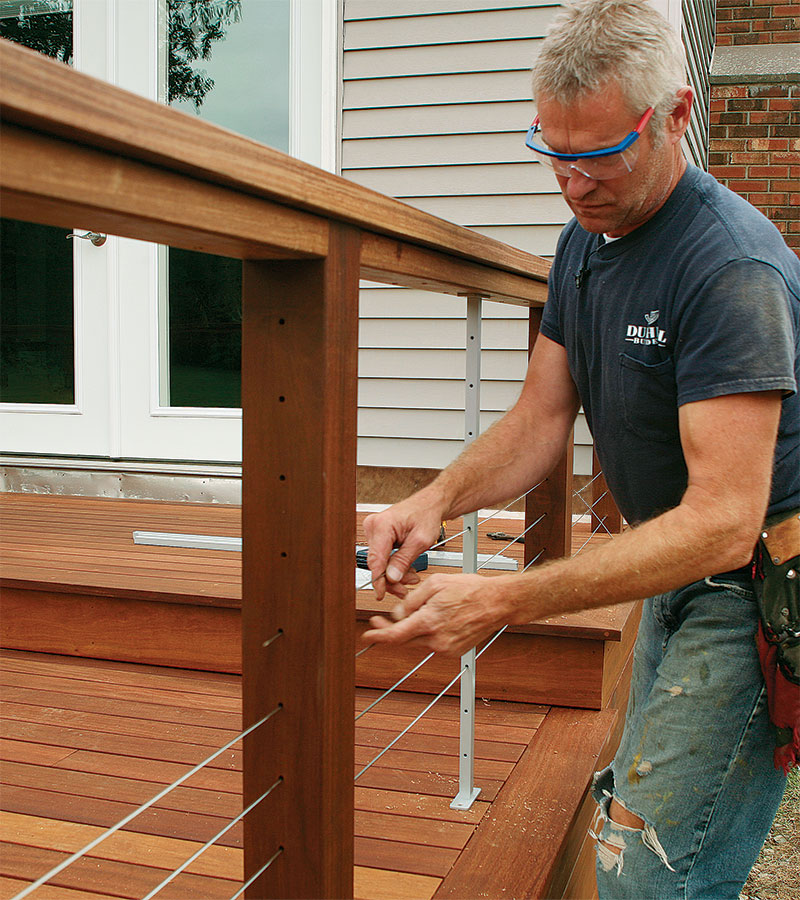
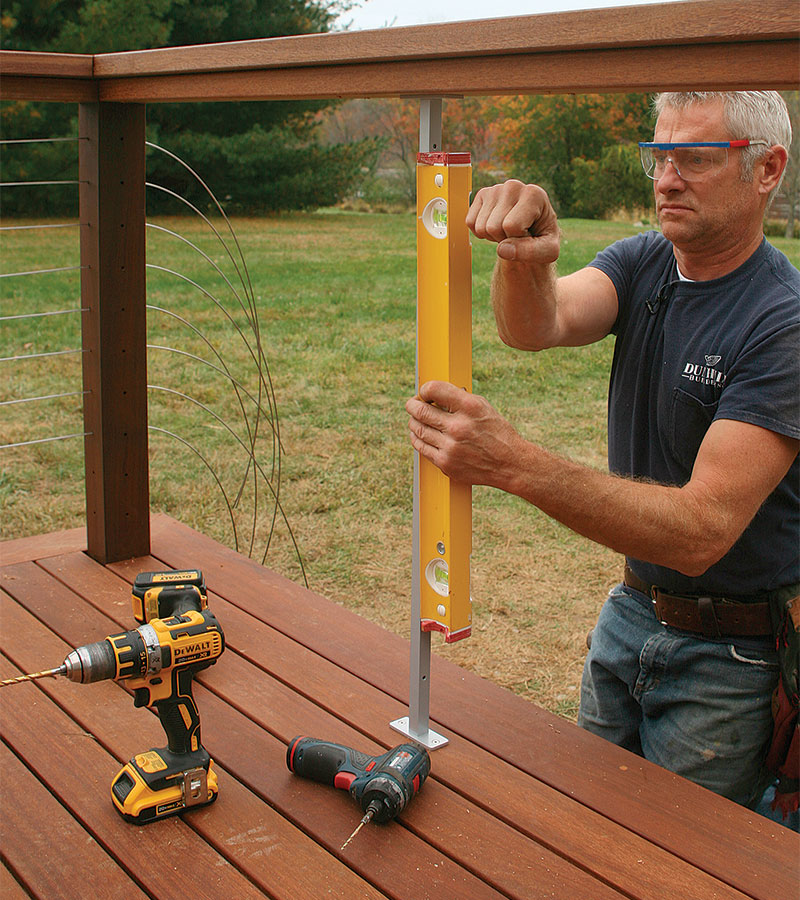
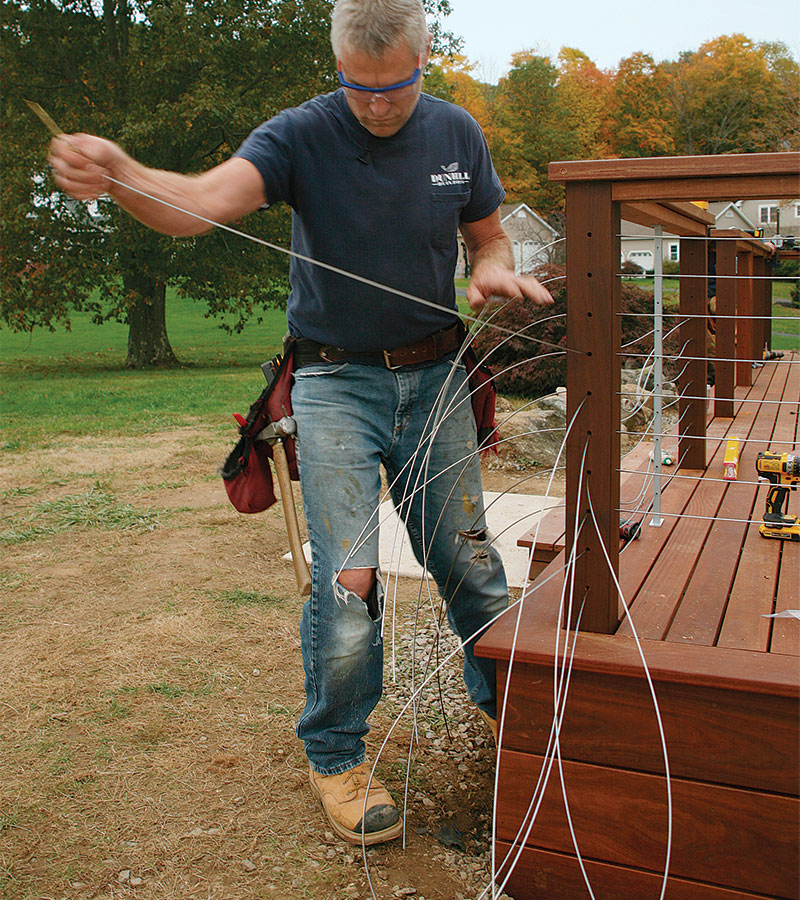
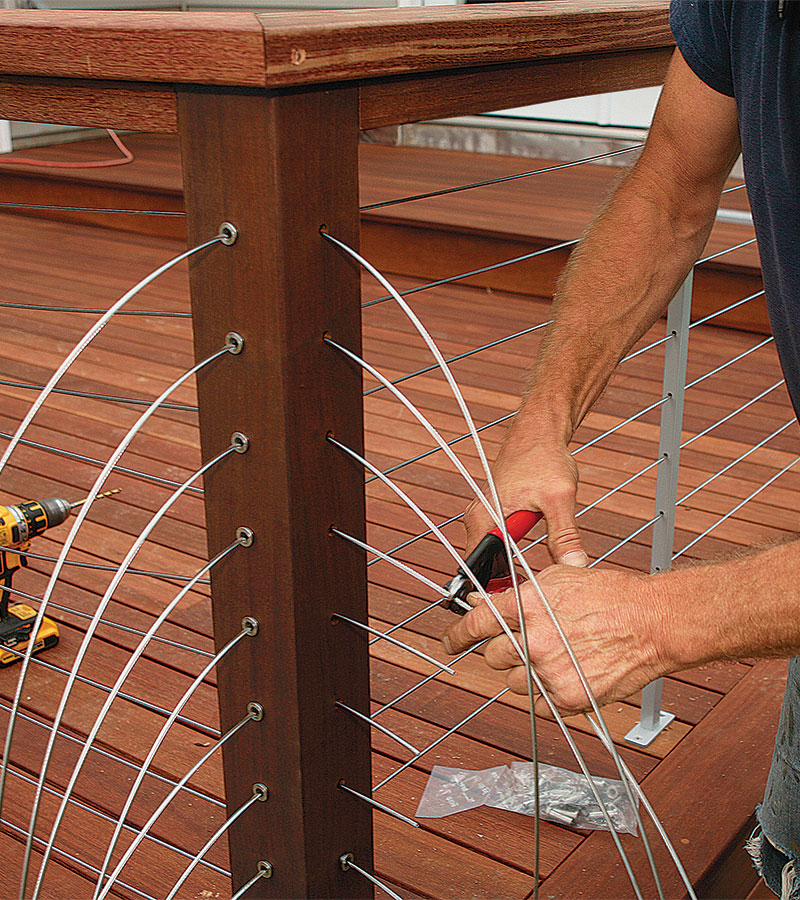
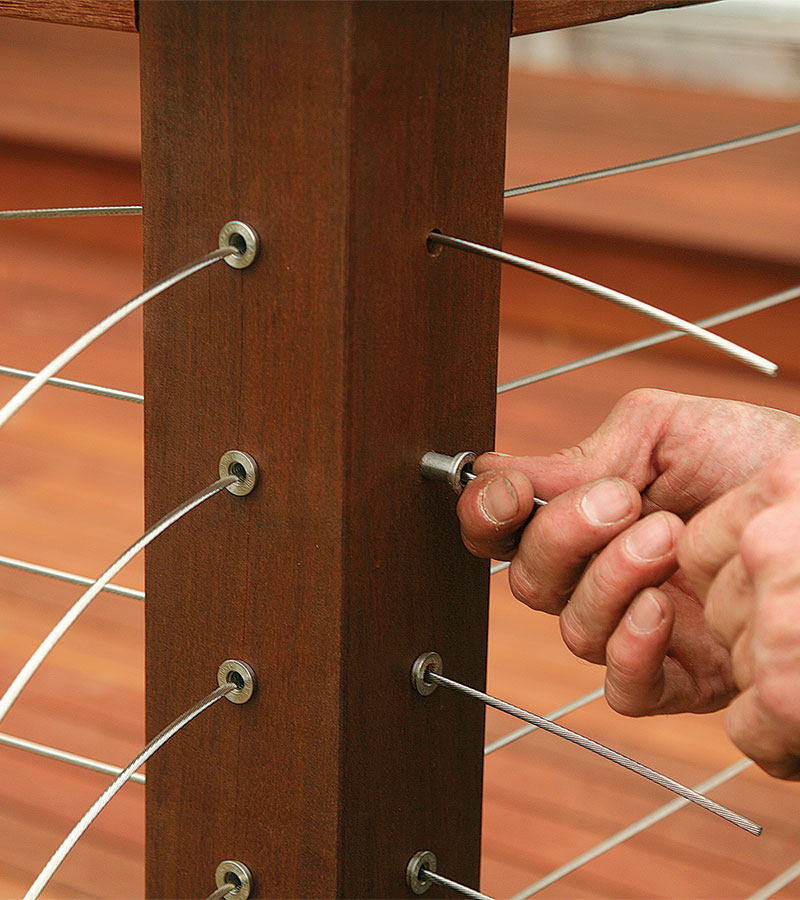
The final component to be installed on this deck was the cable railing from Feeney. With the railing posts already drilled and in place, Justin began by cutting and fastening the lock rails and cap rails that connect the posts. Chris followed closely behind, cutting to length the aluminum intermediate pickets that support the cables between the posts. The final step was threading the cables themselves through the posts and locking them into tension. The defining feature of this system is its clean look, so hidden fasteners and tight joinery are important.
Check Code: Even under pressure, the space between railing cable must remain less than 4 in. That’s why they’re spaced at 3 in. and stretched tight.
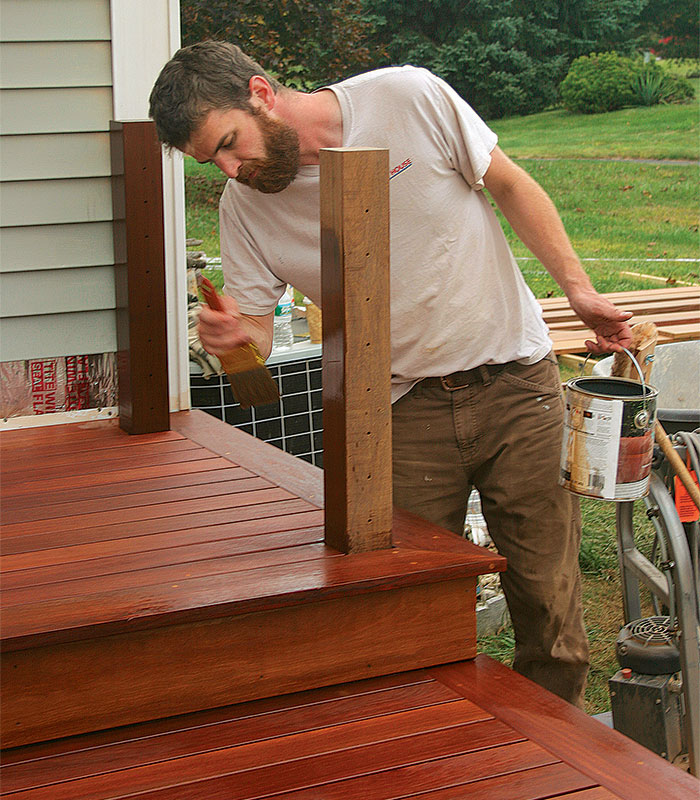
Last chance for finish. It’s easier to apply finish (in this case, Ipe Oil) before the cable is installed.
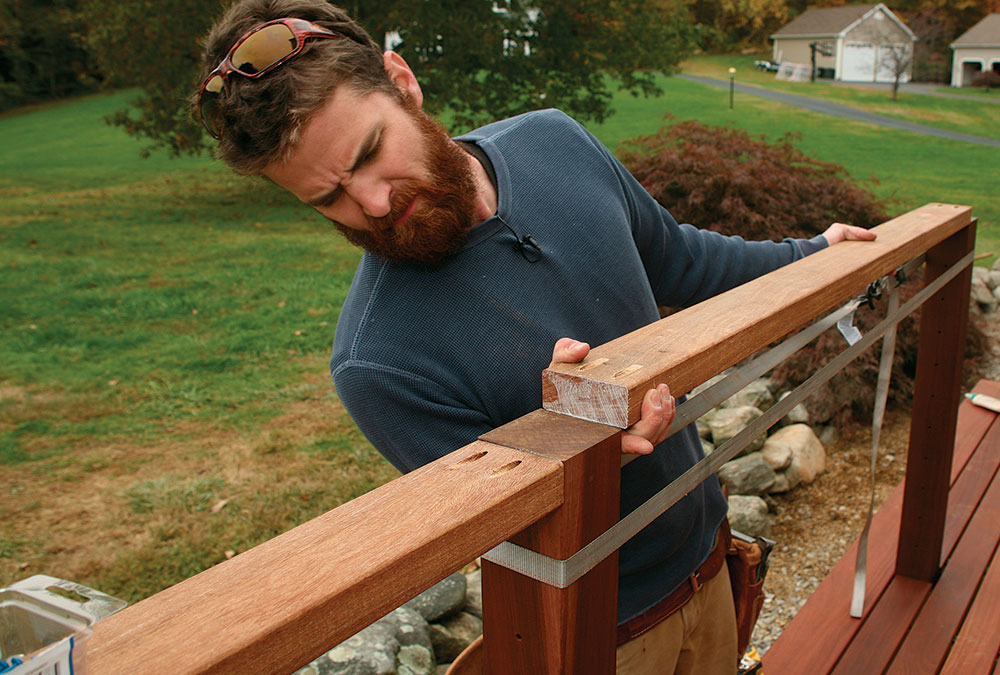
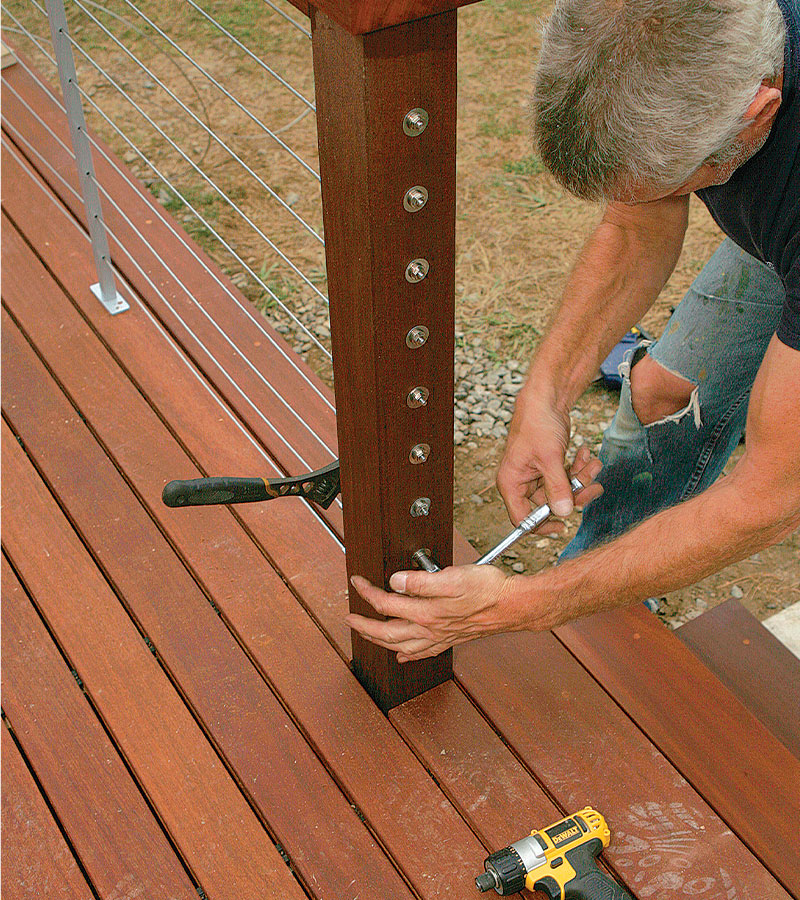
Lock rails resist the cable tension. Measure and cut to length the 2×4 lock rails, then paint the end grain with a wax-based preservative. Attach the lock rails to the posts with pocket screws, using a strap clamp to draw the posts together.
Keeping it clean. After fitting and securing the cap-rail miter, attach the lock rail to the cap rail with deck screws from underneath.
Fine Homebuilding Recommended Products
Fine Homebuilding receives a commission for items purchased through links on this site, including Amazon Associates and other affiliate advertising programs.

4-Gallon Piston Backpack Sprayer
FastenMaster Screw Bolt Fastening System
Flashing and Joist Tape




View Comments
The wood is beautiful. The information on the need for steel straps is very valuable. For my taste the design is overly complicated. No railing is required around most of this deck. Three risers, 7.5x3=22.5. At the door to the house there is one more riser, 30 inch maximum height. Only the the first section of railing near the door is required by code. Google Japanese engawa veranda for examples.