Installing Deck Railing Posts
Lateral-tension hardware provides a rock-solid connection for your deck posts.
The most readily available railing system is one that you build on site. You can either use parts purchased at the local lumberyard or fabricate some of the parts yourself. The railing assembly process outlined here uses a combination of hardwood balusters that match the decking material and cedar rails, posts, and custom cap.
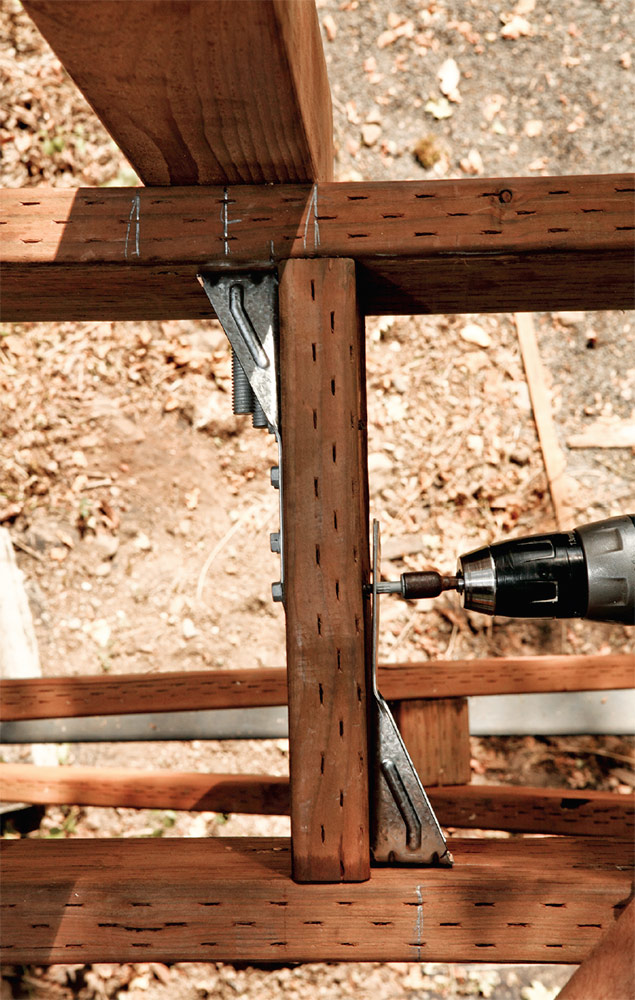
The first step in building the railing is to install the posts. Post installation uses the same lateral-tension hardware as for connecting the joist assembly to the house framing. The hardware relies on a bolt passing through the post and rim for half of the connection. The other half of the connection is secured to blocking or the joist framing. The easiest way to align the hardware bolts with both the posts and the deck framing is to start by boring the post and working back to the framing.
Preparing the post
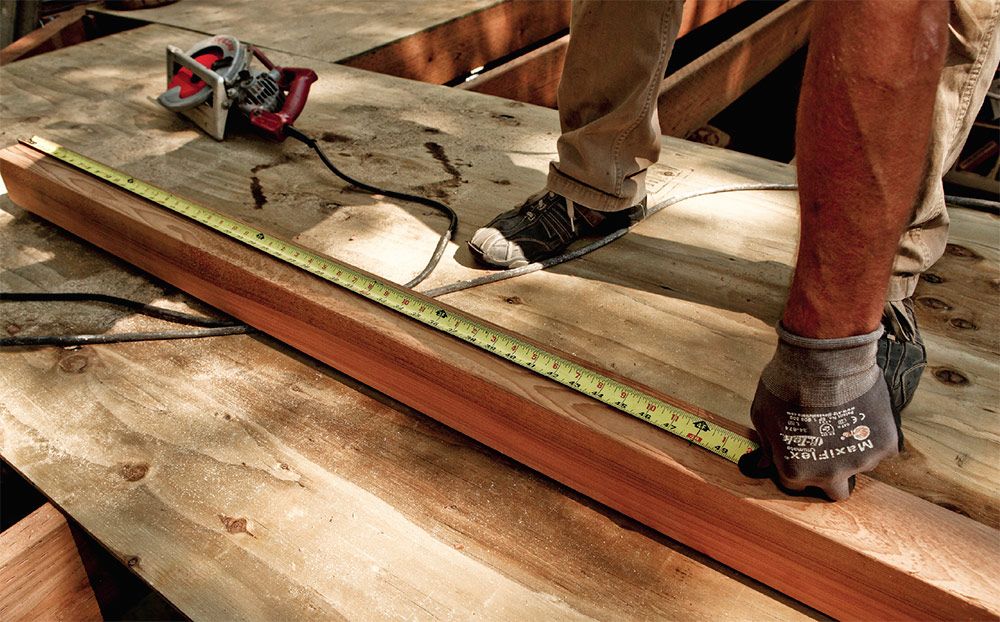
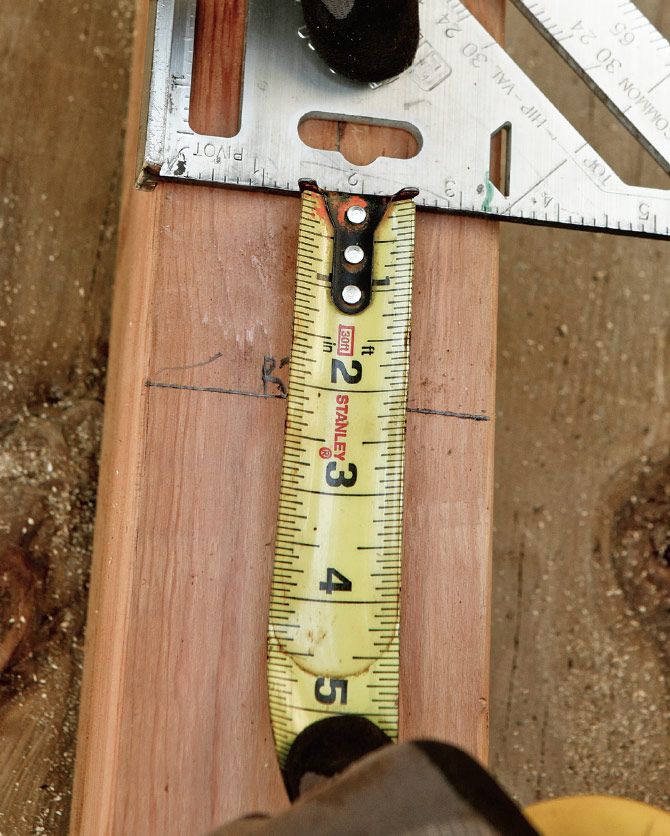
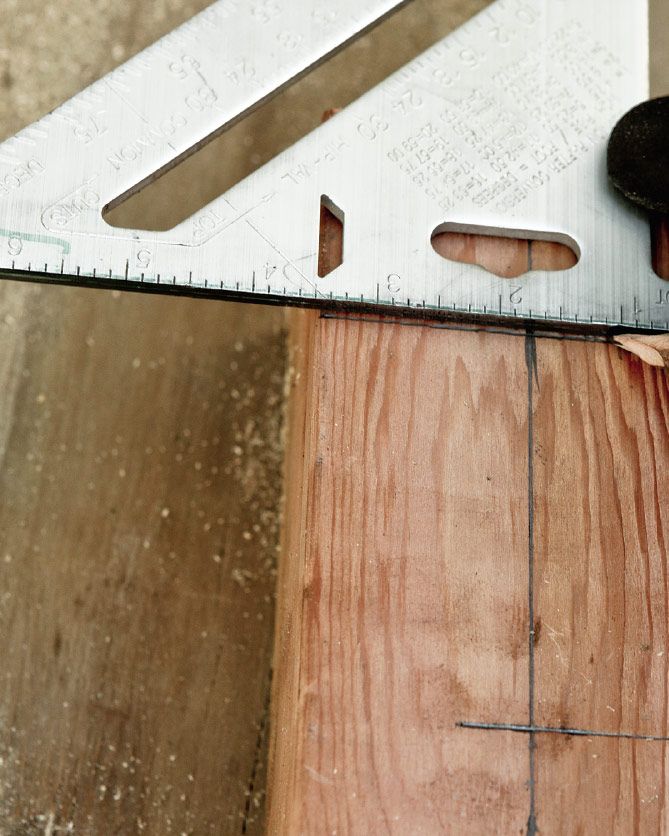
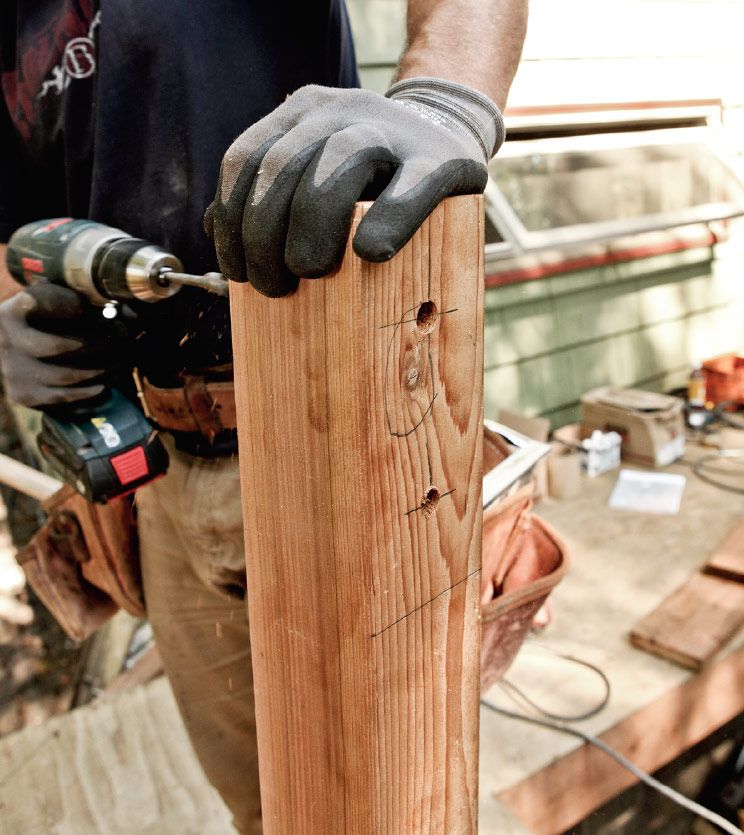
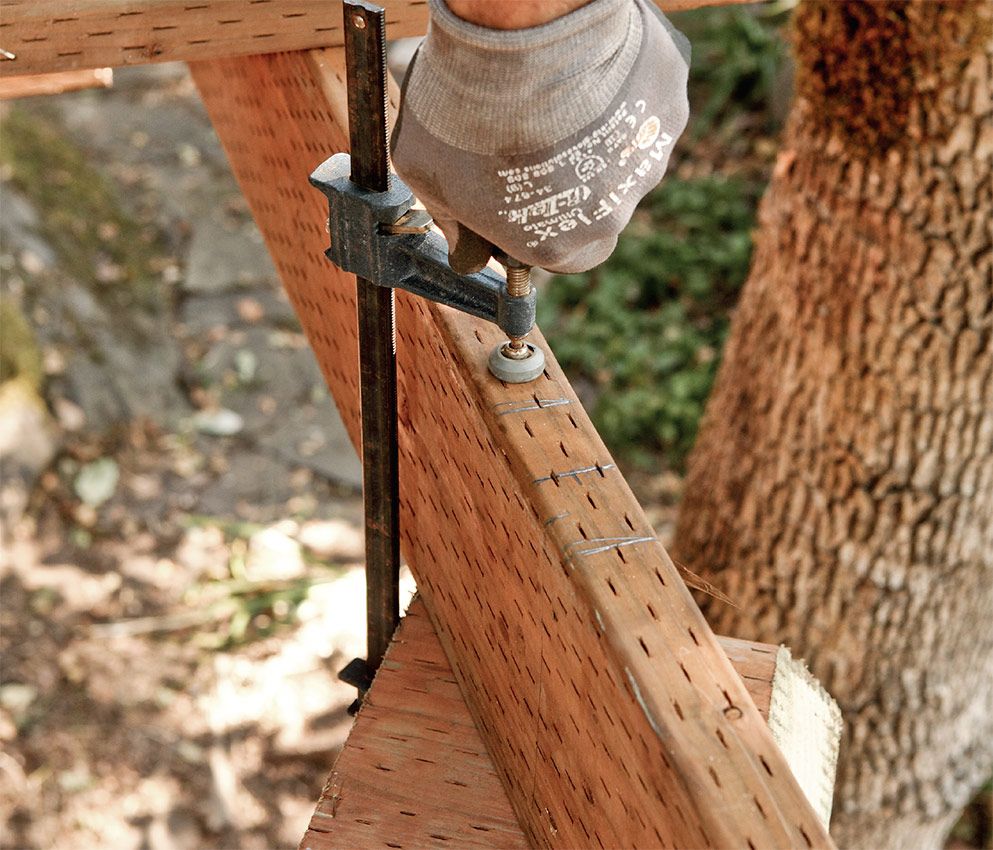
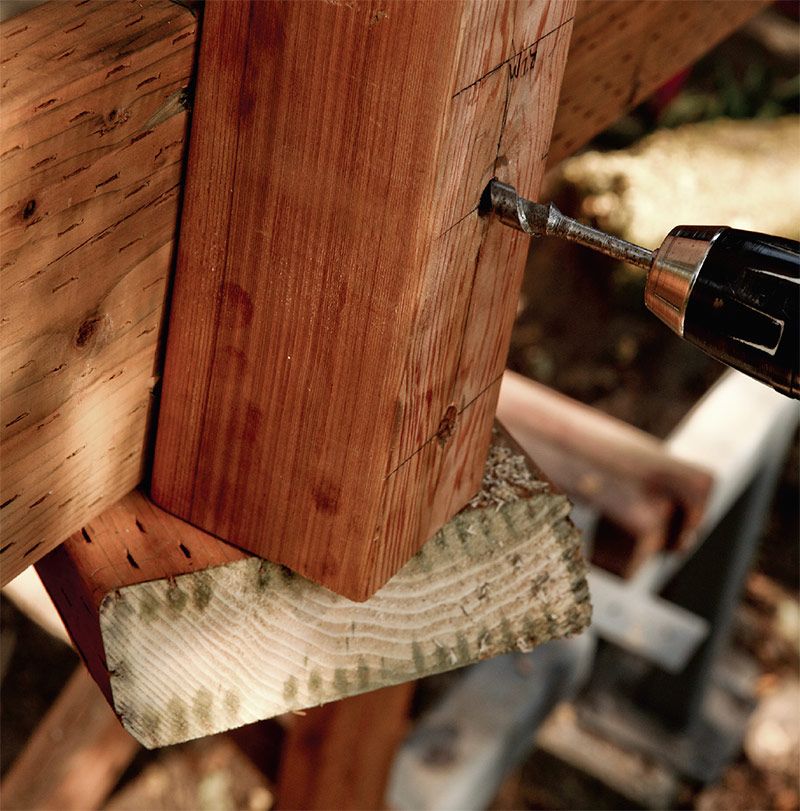
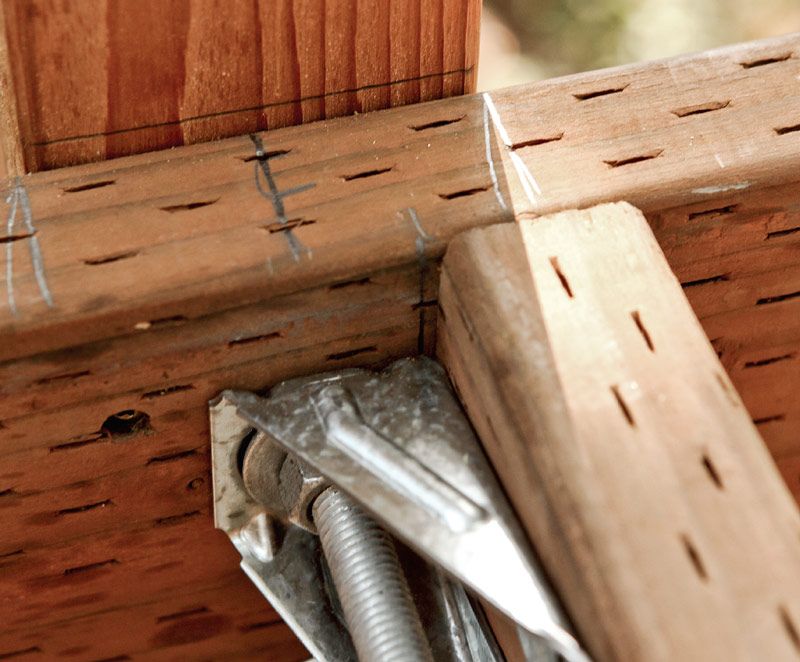
To prepare the post, start with post stock that is longer than you need for an overall height (see photos in the slideshow below). Once you’ve installed the railings, you can cut all the posts to the same height. Begin by laying out the bolt locations. Mark the top of the rim on the post and then measure down to the top bolt. Measure down to the bottom bolt in the same manner and align the bolt locations in the center with a Speed Square. The bolt holes are typically located 2 in. down from the decking and 2 in. up from the post bottom, flush with the framing.
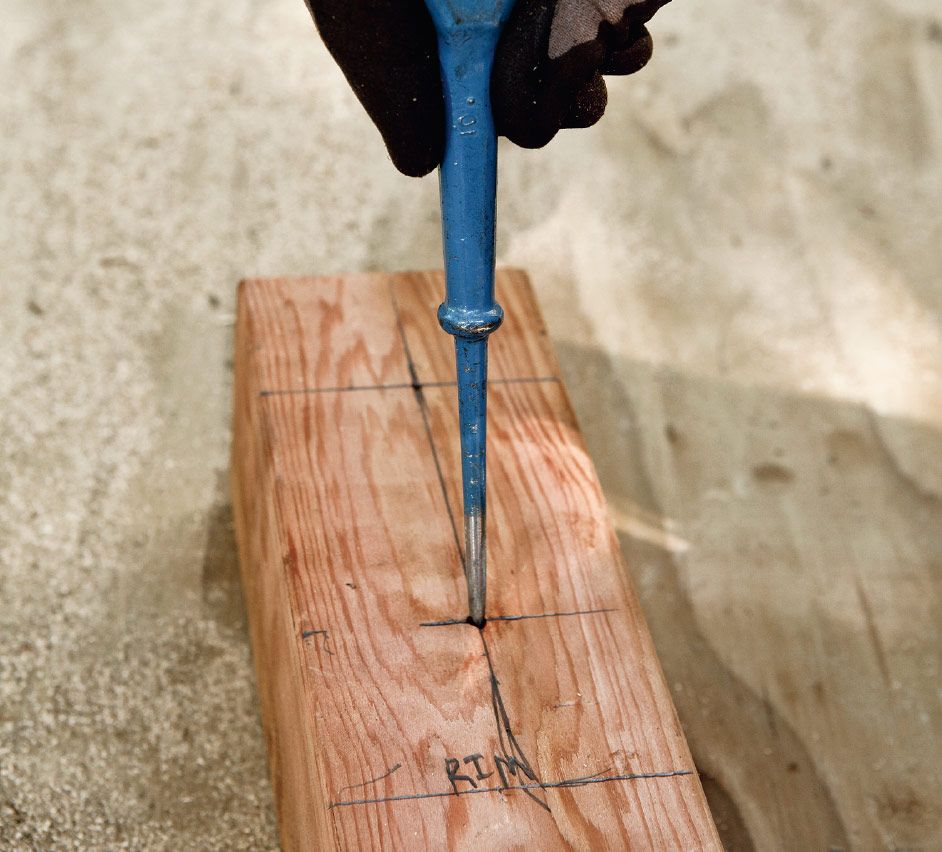
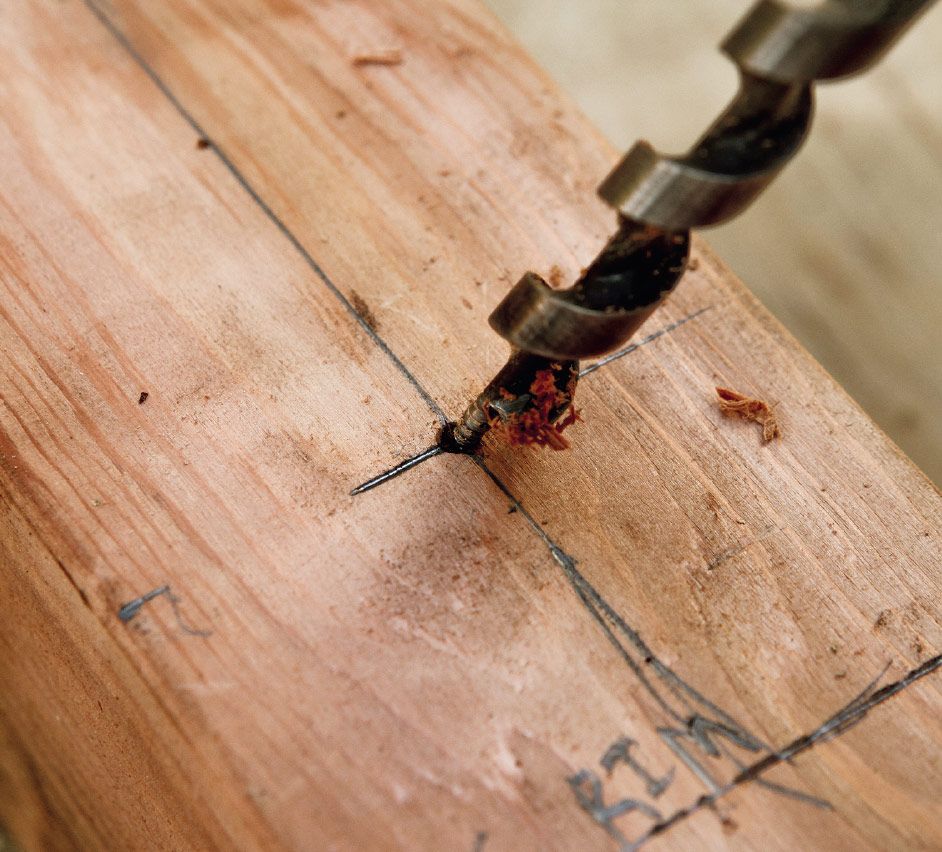
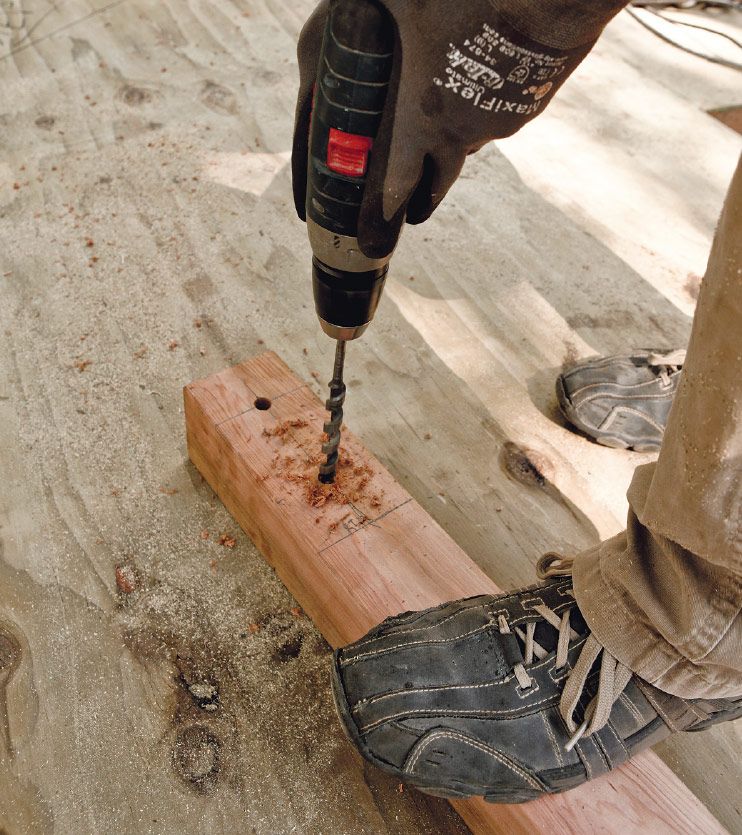
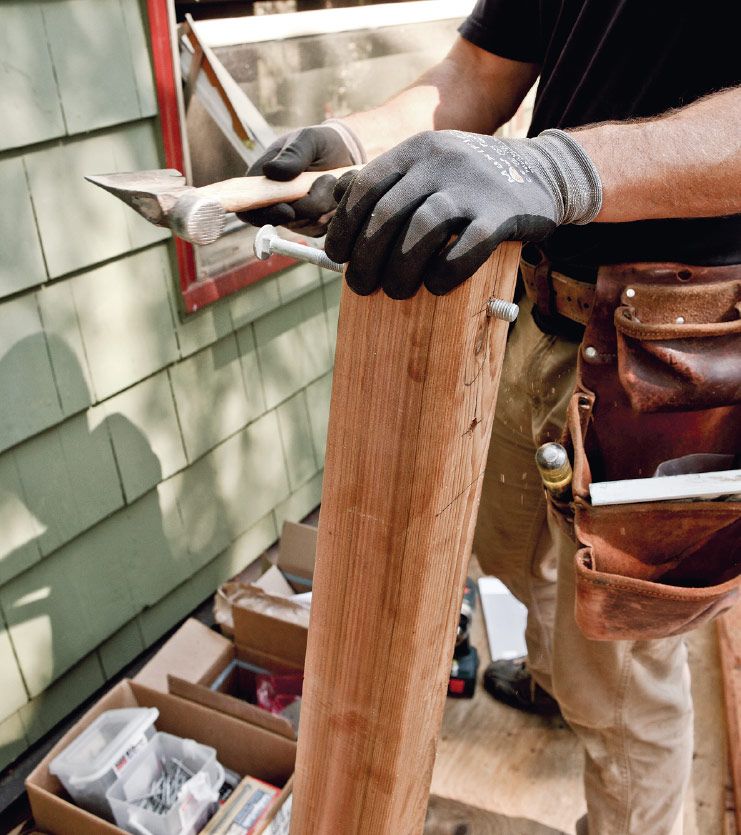
Use a boring bit with a self-tapping tip to drill the bolt holes. A typical drill bit will have a tendency to wander, so start the hole with an awl for the best results. Carefully align the drill plumb to the hole and bore both holes halfway through. Once the holes meet, ream out the center to allow the bolt shaft to pass through easily. However, be careful not to enlarge the holes at the post face. The last step in preparing the post before install is to test-fit a bolt.
| TRADE SECRET: Lay out the posts by establishing the corner-post location and then equally dividing the space in between into sections that are typically between 5 ft. and 7 ft. To account for post thickness, reference the calculations from the post centers. |
Securing the post
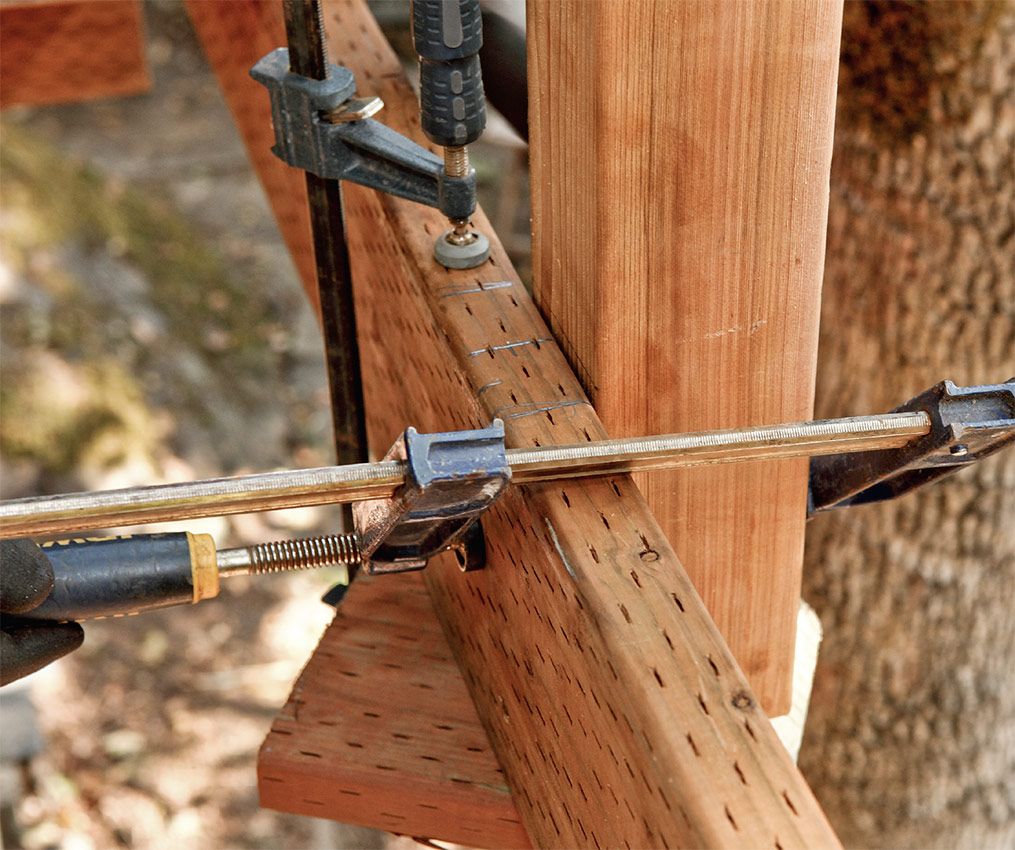
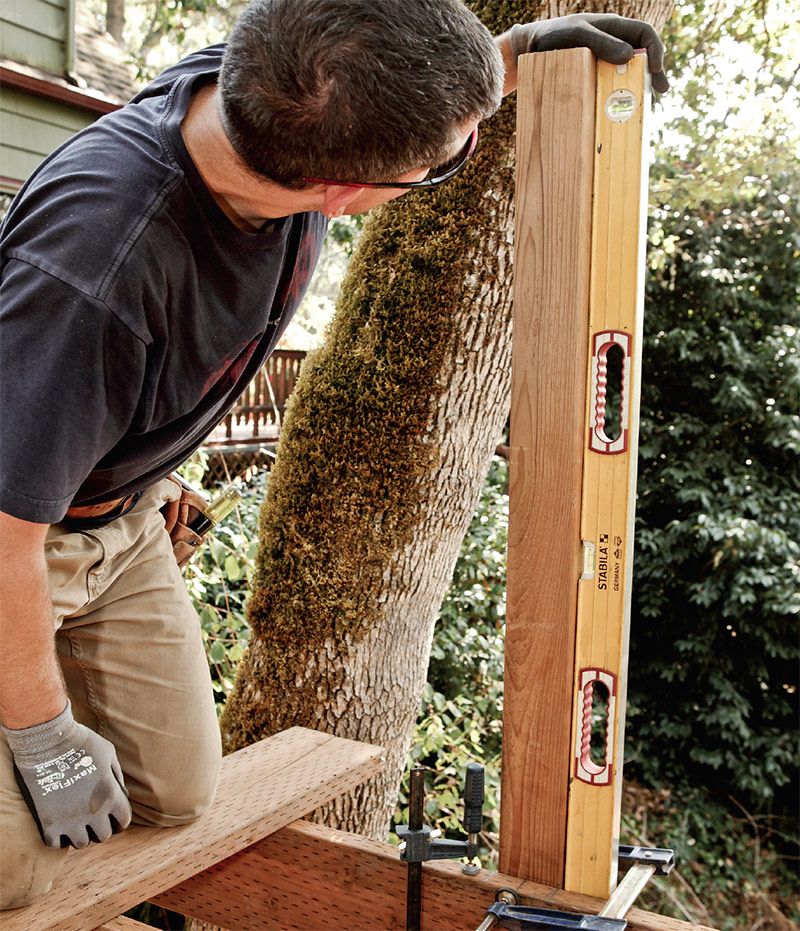
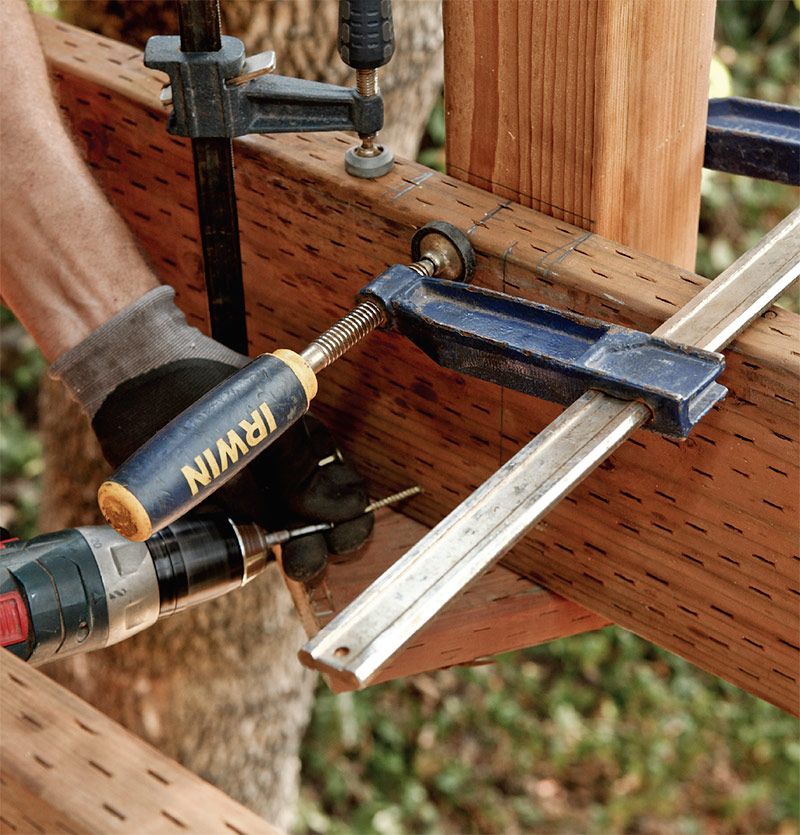
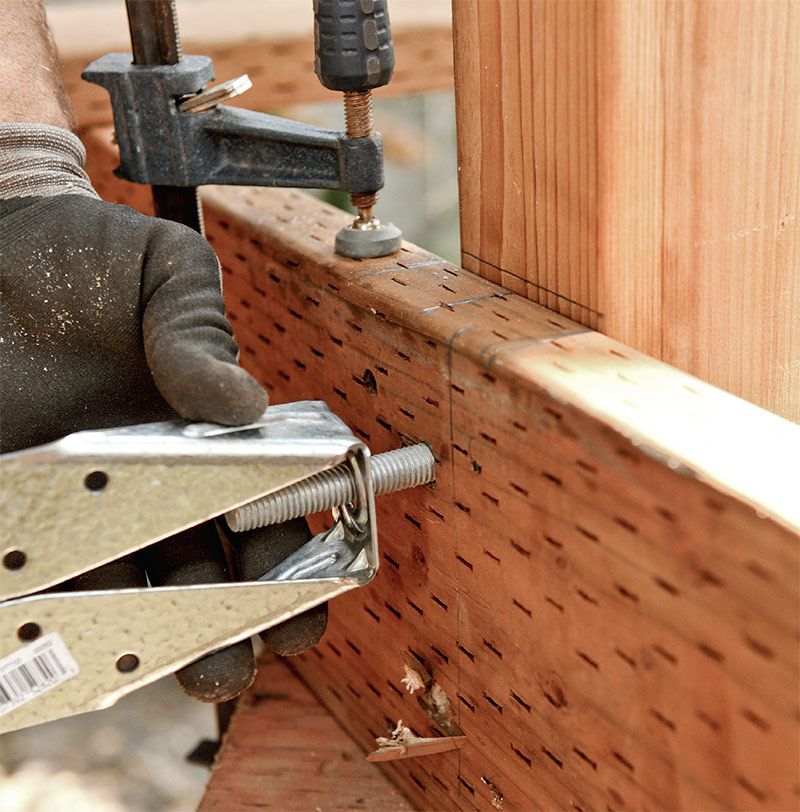
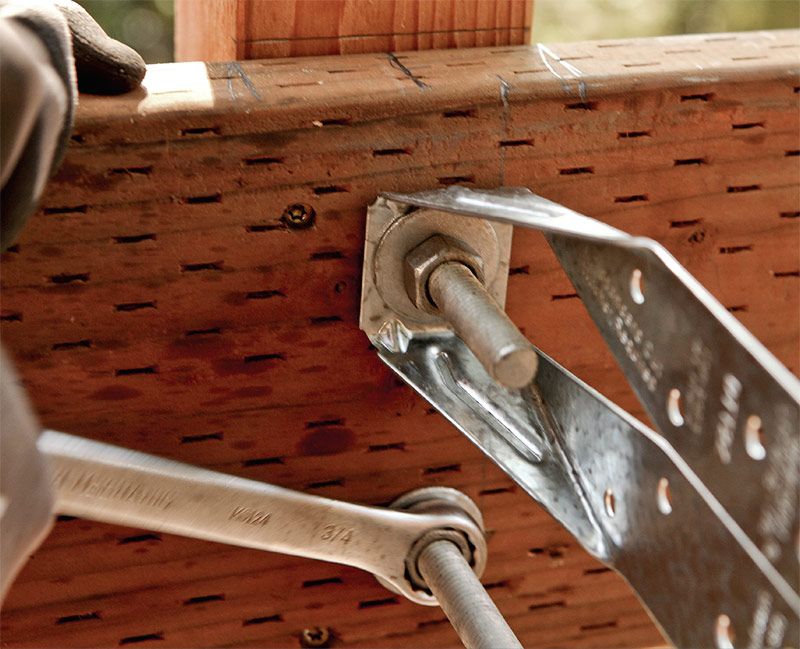
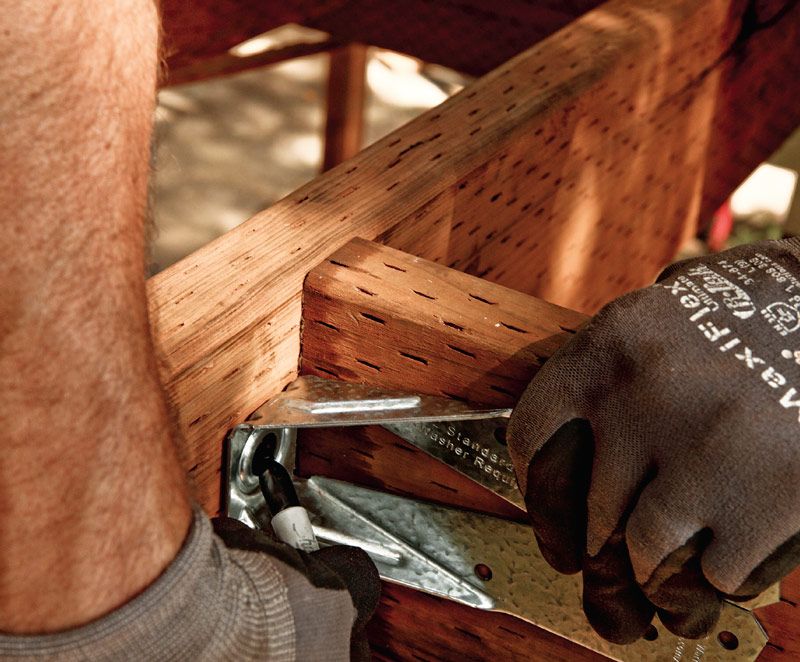
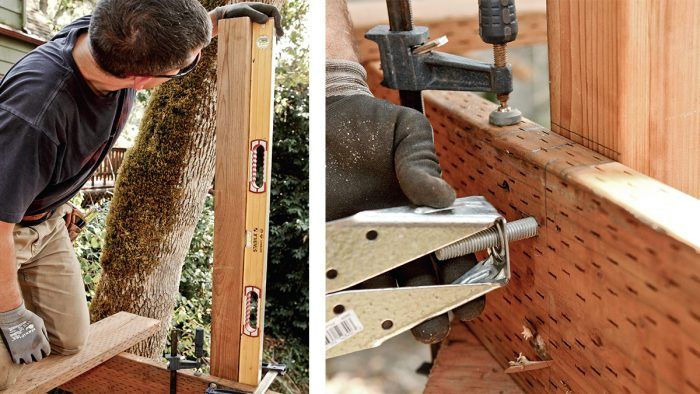
Locate the post according to the deck plans and clamp a scrap block of framing lumber under the center of the rim joist to act as a third hand. Set the post in place on the third-hand block and clamp it against the rim joist. Adjust the post to plumb and temporarily secure it with screws driven through the rim joist. Using the predrilled hole in the post as a guide, bore through the rim joist at both the top and the bottom bolt locations. Pass a bolt through the top hole and slide the tensioner plate onto the bolt. Secure the rim to the post with a bolt through the bottom hole as well. The bottom bolt doesn’t need a tensioner.
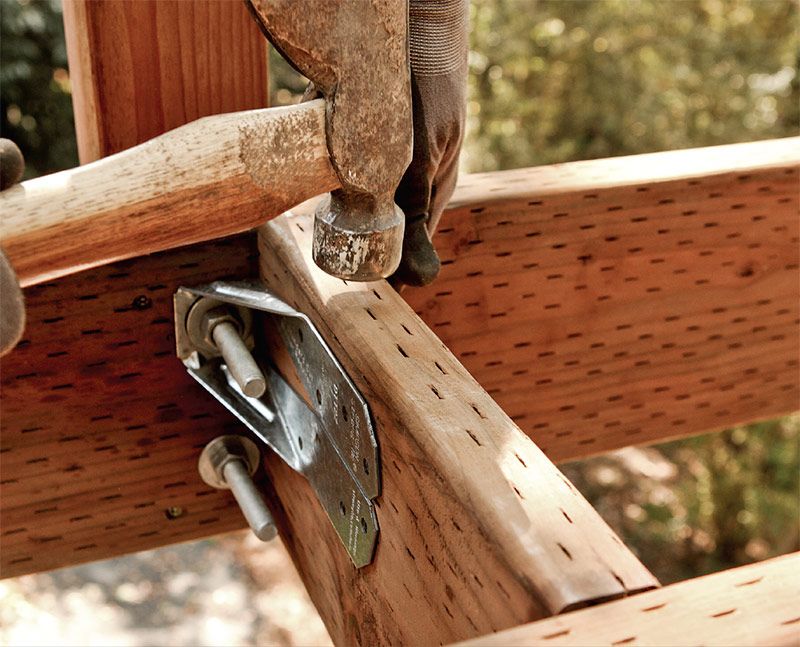
Cut and fit a section of blocking between the rim and the adjacent joist. You’ll want to make sure that the blocking sits square to the joist, the tensioner plate sits flat against the block, and the end seats to both the joist and the block. This ensures that the loads placed on the post will be properly transferred into the joist system.
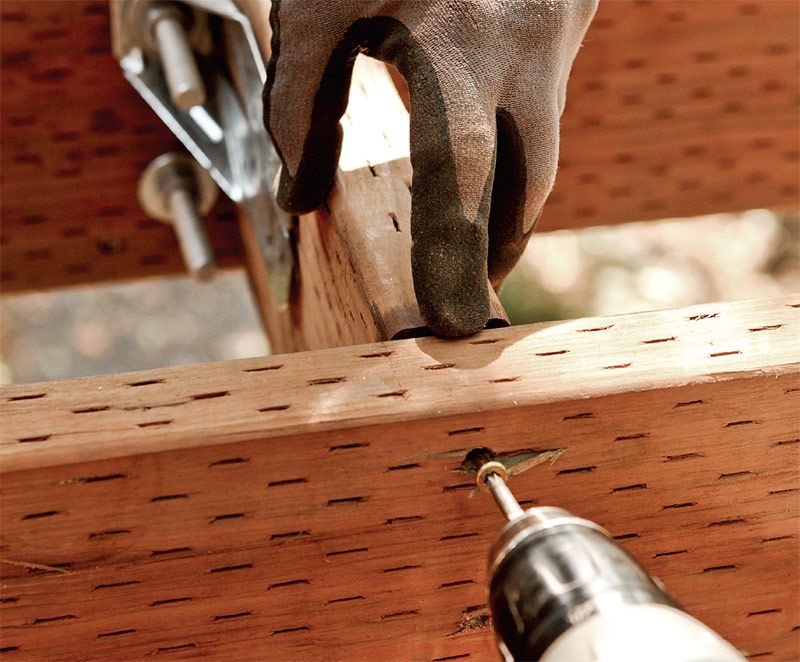
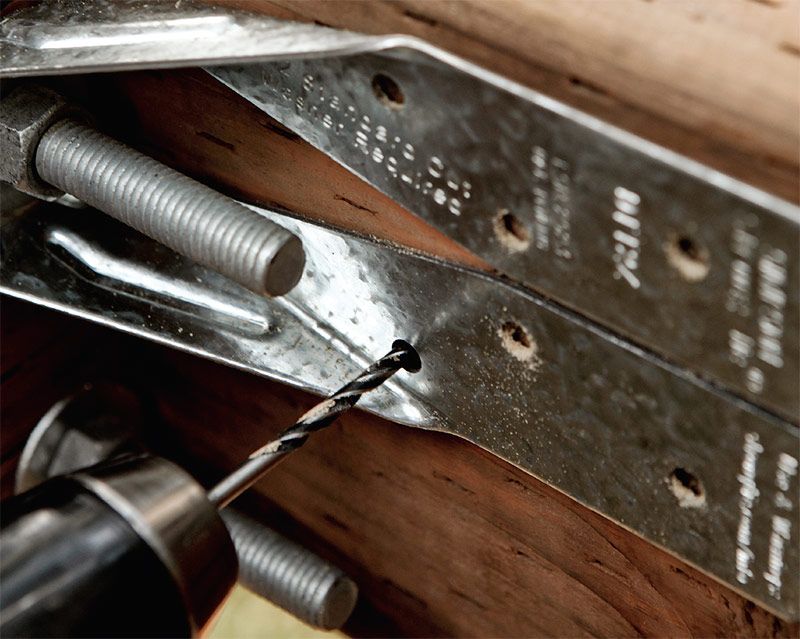
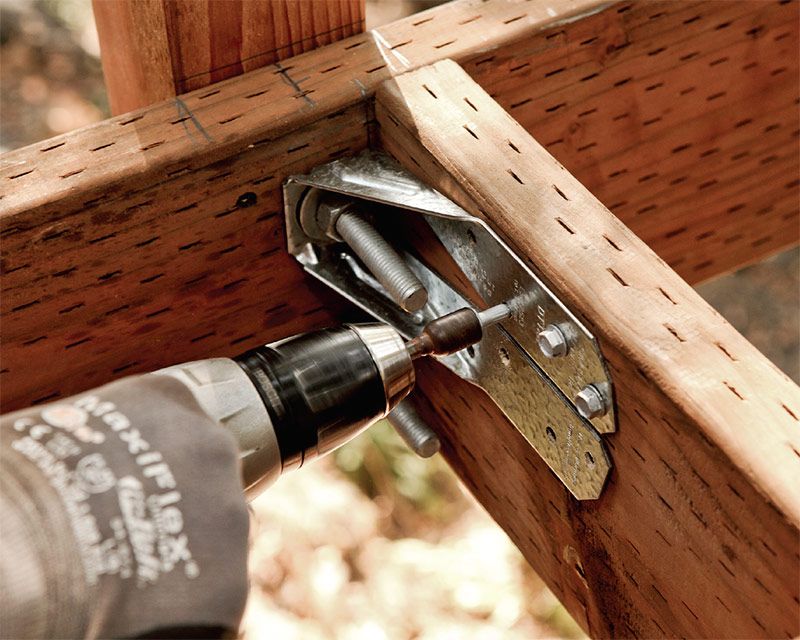
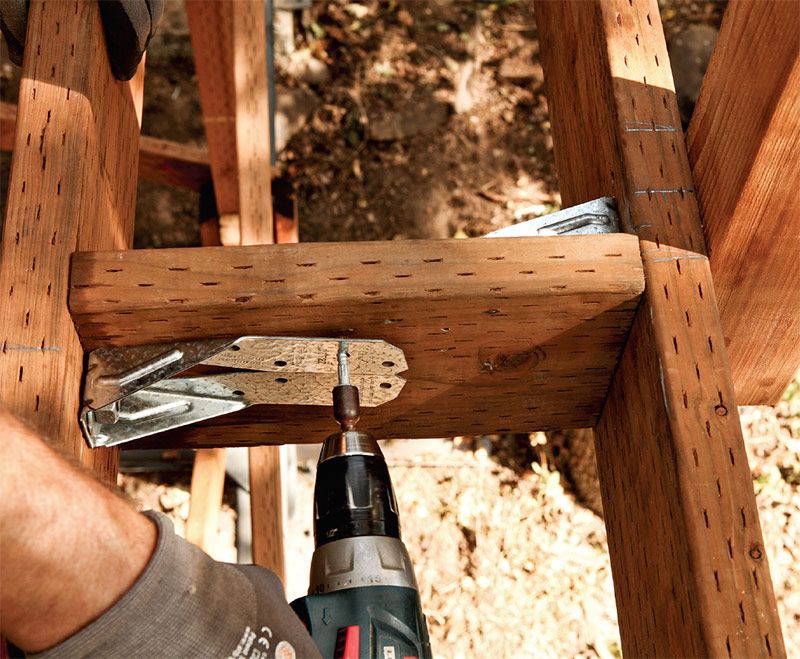
Flush the blocking to the joist tops and secure it with 3-in. through screws. The beefy fasteners for the tensioner plate require a predrill to ensure that the short length of blocking doesn’t split. After drilling each hole location, drive the hex-head fasteners that are specified by the manufacturer.
The next step is to install the opposing tensioner in essentially the same fashion. To align the hole location, hold the tensioner in place and mark where the bolt passes through the plate at the end. After boring the hole, secure the bolt and then attach the plate fasteners, as you did before.
| What can go wrong? If you bore straight through the post, chances are the bit will wander off center by the time it gets all the way through. To keep the hole true, mark the layout on opposite faces of the post and bore halfway from each side. When the holes meet ream them straight. |
Fine Homebuilding Recommended Products
Fine Homebuilding receives a commission for items purchased through links on this site, including Amazon Associates and other affiliate advertising programs.
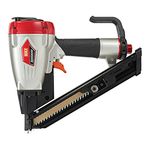
Metal Connector Nailer
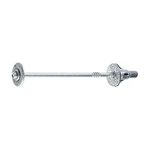
FastenMaster Screw Bolt Fastening System
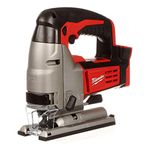
Jigsaw

