Drywall Lifting Tools
These handy tools and supports take the back-breaking pain out of hanging drywall on ceilings and high walls.
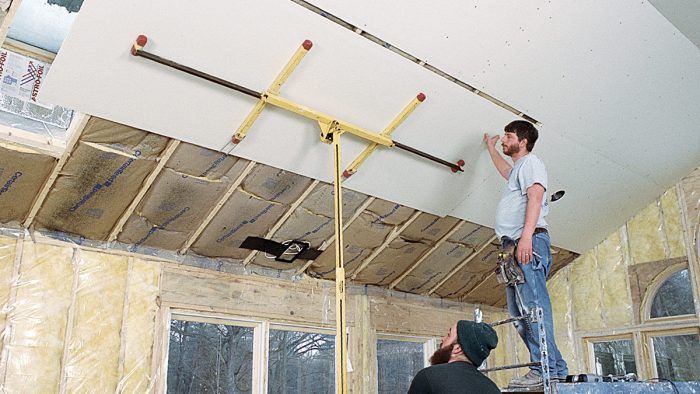
All drywall panels have to be lifted into place before they are attached. Sometimes they may have to be held only about 1/2 in. off the floor; other times, they may need to be hoisted to the top of a cathedral ceiling.
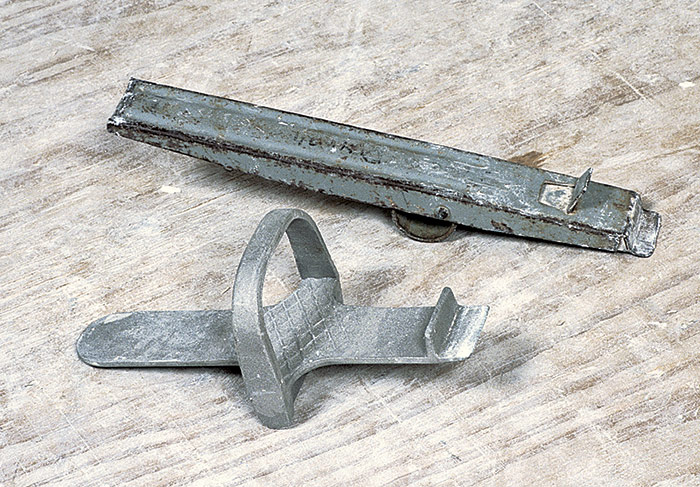
When hanging drywall on a wall horizontally (my preferred method of working), the top panel can be lifted into place by hand and nailed or screwed home. The bottom panel is then set into place and lifted up, usually less than 1 in. off the floor, to butt against the bottom of the panel above it. You can use a small prybar to hold the panel off the floor, but this tool usually requires using one or both hands. I prefer to use a panel lifter that is operated by foot, leaving both hands free to attach the panel.
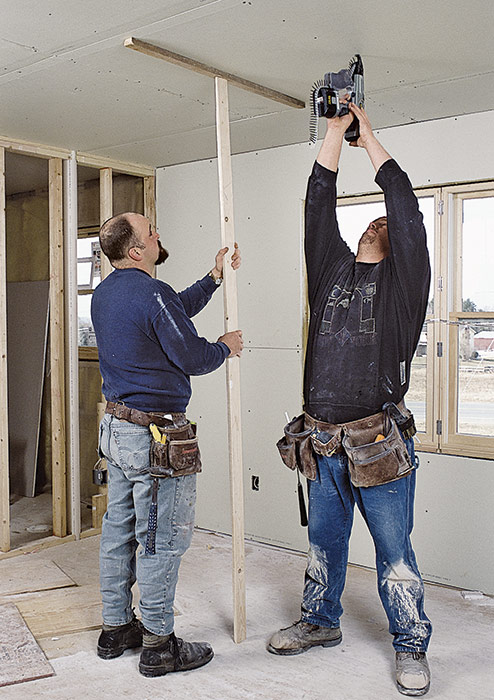
On flat ceilings, a T-support is a handy tool for holding a panel in place, freeing up your hands for fastening. This simple prop can be made out of a furring strip or a 2×4 with a 4-ft.-long furring strip screwed to the top. It’s best to make the T-support on the job to fit the height of the ceiling (I make mine about 1/2 in. longer than the ceiling height so it will fit snugly). One option is to buy a T-support like the one shown in the photo below. Known as a “stiff arm,” this support is made of metal and is adjustable to accommodate different ceiling heights.
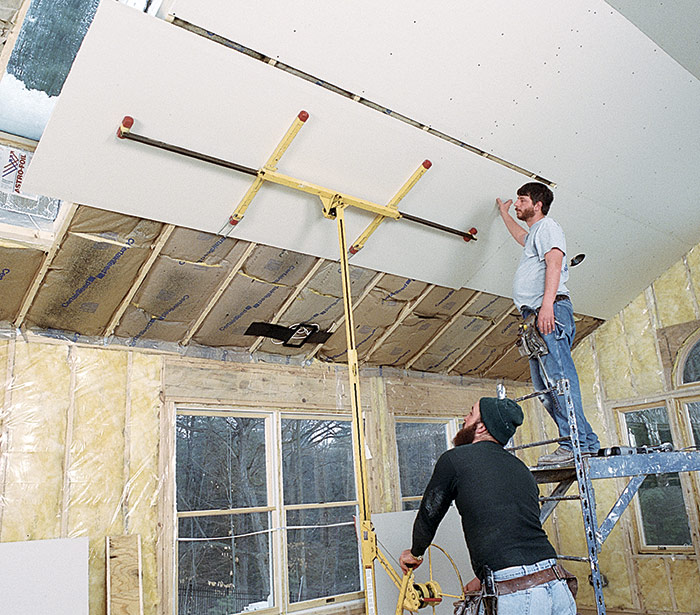
Hanging drywall is usually a job for two or more people, but a drywall lift (available from rental tool stores) makes it possible for one person to hang drywall alone. The lift adjusts to various heights of walls and ceilings (sloped as well as flat) and to panels of different lengths. The panel is placed finished face toward the lift. For ceilings, begin by roughly positioning the panel, with one end tilted up slightly. Position the panel into its exact place as you crank up the lift, and leave the lift in place until the edges of the drywall are fastened.
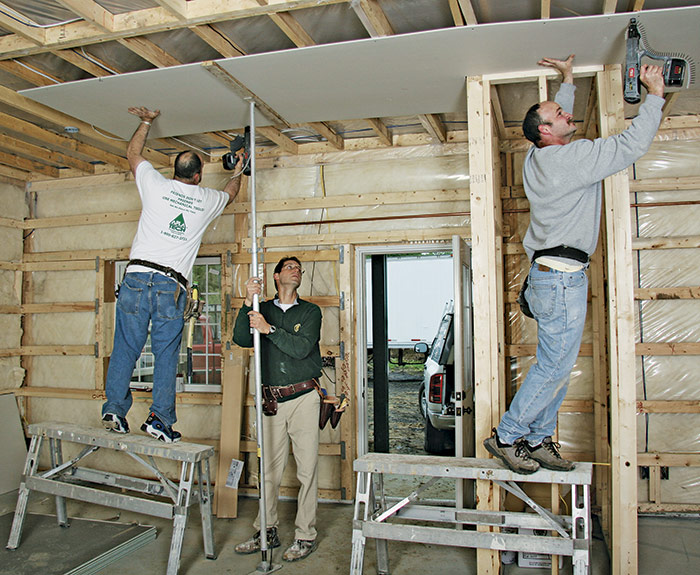
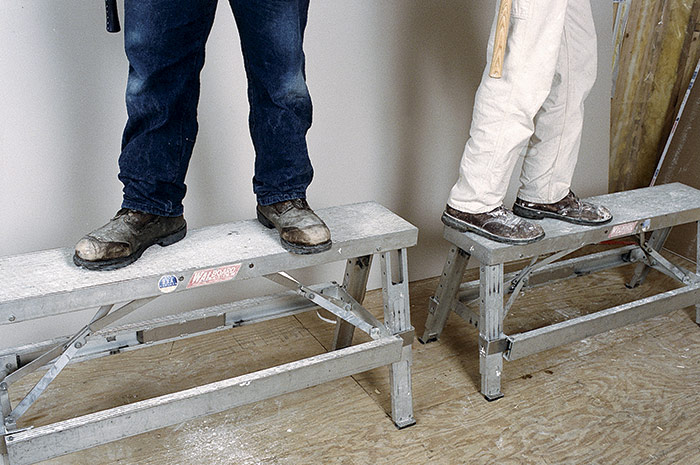
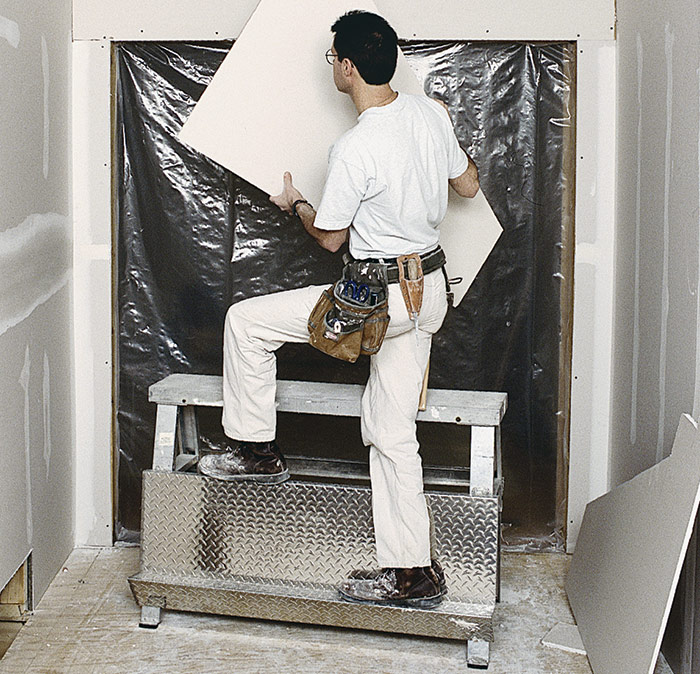
Step-up benches or trestles are typically used for reaching ceilings up to 10 ft. high. These stable aluminum benches are about 4 ft. long and 10 in. wide and are adjustable in height from about 18 in. to 32 in. Optional legs bring the bench height up to 48 in. The horizontal supports can be used as a step when climbing onto the bench with a drywall panel or as a support for a short plank stretched between two benches. The bench should be adjusted to a height that places your head close to the ceiling. After the panel is lifted into place, it can be held there with light head pressure, leaving both hands free to attach the panel.
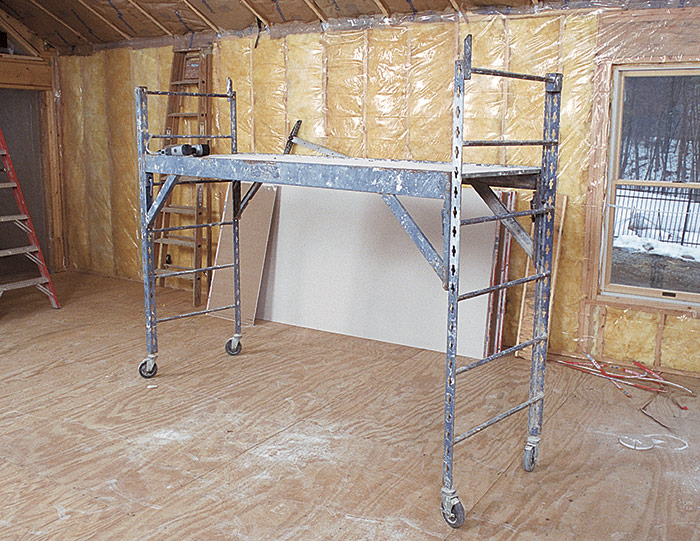
For ceilings that are too high for benches, a room-to-room-type scaffold provides a stable, adjustable platform. These scaffolds are available in 6-ft., 8-ft., and 10-ft. lengths and are adjustable up to 6 ft. high. Some styles can be stacked two sections high. A single section can be guided through most doorways, so it doesn’t need to be disassembled if you want to move it from room to room.
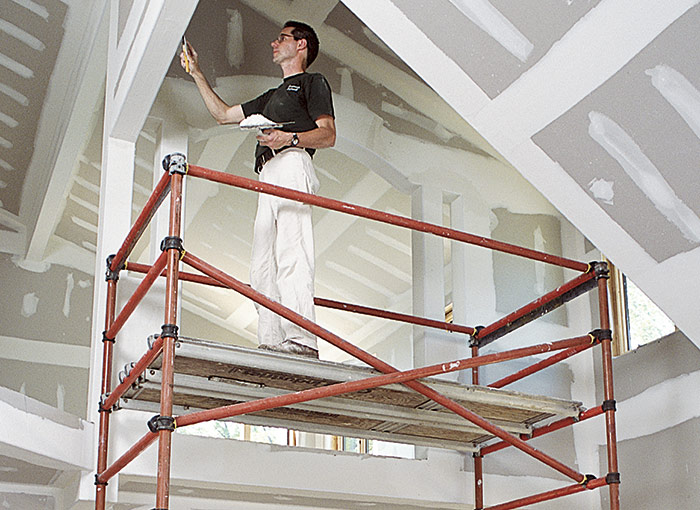
For higher ceilings or walls, a wider stable platform is a must. The scaffold should be at least 4 ft. wide and 10 ft. long, and it should be adjustable at least every 15 in. or so. It should also have horizontal end supports, so that you can run planks at different heights (see the bottom photo above). Working on any type of scaffolding demands attention to safety; the sidebar at right lists some important precautions.
Safety Precautions When Working on Scaffolding
|
Stilts I use stilts primarily when I’m taping and sanding, but some pros like to use them when hanging drywall, too. Stilts provide a lot of mobility and eliminate the need for benches and scaffolding on ceilings less than 9 ft. high. They make it easy to apply long lengths of joint tape and to finish an entire seam at one go, thereby helping to increase productivity and the quality of the job. (Note that safety regulations in some states do not allow the use of stilts, and many insurance policies do not cover workers who are injured while working on stilts.)
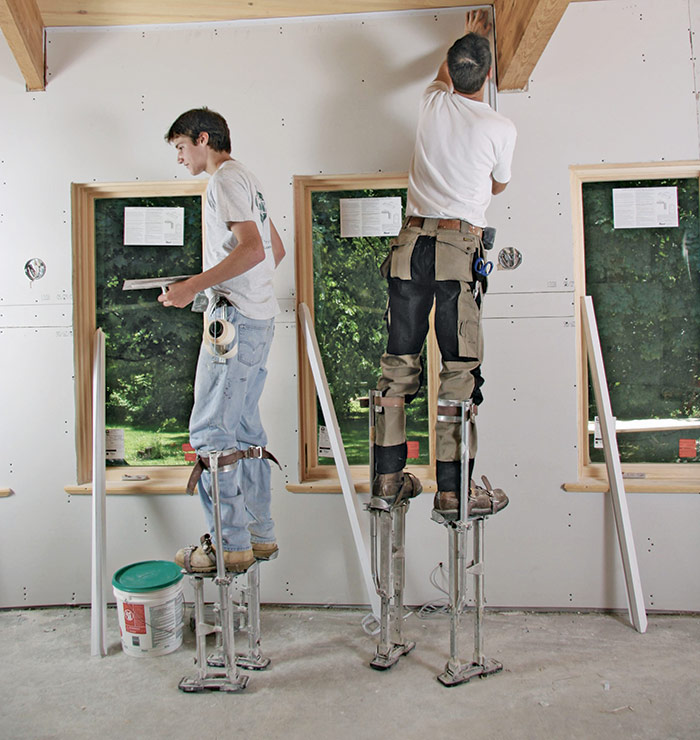
When I bought my first pair of stilts, it took me a few weeks to summon up the courage to use them. I was afraid I’d make a fool of myself in front of a customer (and in front of my workmates!). But when I finally tried the stilts, it didn’t take too long to get the hang of them. It’s so much easier (and faster) to work on stilts than to drag around benches and ladders. And as long as you keep all work areas clean, using stilts is probably safer, too. Now I use stilts not only for taping and sanding but also for insulating ceilings and for cutting in with a paintbrush along ceiling edges.


