Hanging Walls
After the ceiling, walls are usually plain sailing—whether hung horizontally or vertically.
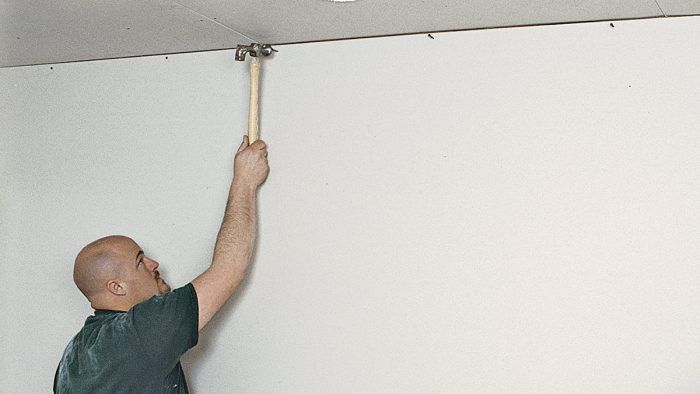
Once you’ve attached all the ceilings, it’s time to start working on the walls. It is usually a lot easier to hang walls than ceilings. You’ll probably have to make more cuts for electrical boxes and other openings, but at least you’re not working over your head. Before hanging walls, it’s a good idea to mark the location of the wall studs on the ceiling and floor to make them easier to locate once they are covered. Also, mark the location of electrical boxes and other openings that will be cut out after the drywall is attached.
As with ceilings, you can hang wall panels in one of two ways—horizontally or vertically. In commercial work, walls are often higher than 9 ft., so it sometimes makes sense to hang drywall vertically to reduce seams. On walls that are longer than 16 ft., hanging drywall vertically helps eliminate butted seams. However, for walls that are 8 ft. high or less (or 9 ft. high if I’m using 54-in. panels), I usually prefer to hang drywall horizontally. Here’s why:
- It decreases the linear footage of seams that need taping by up to 25 percent.
- It provides extra bracing strength, because more studs are tied together.
- It makes the seams easier to hide, because light usually shines along finished seams, which makes them less obvious. When the seams are perpendicular to the studs, they simply flow over any studs that may not be perfectly straight, helping hide imperfections.
- It makes the seams easier to tape, because they are at a convenient working height.
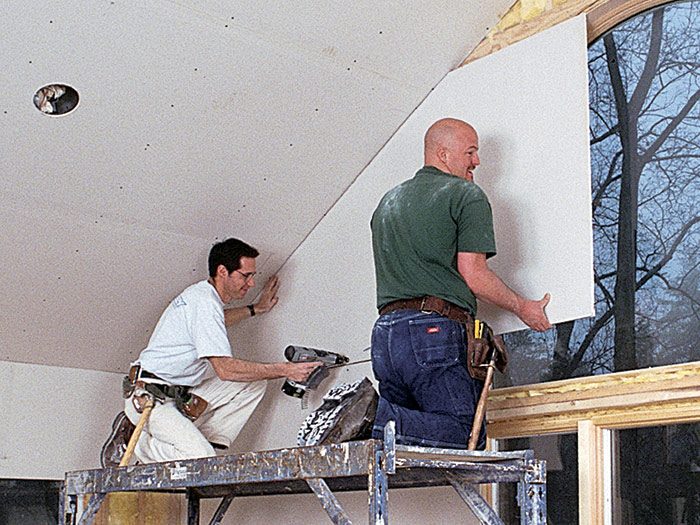
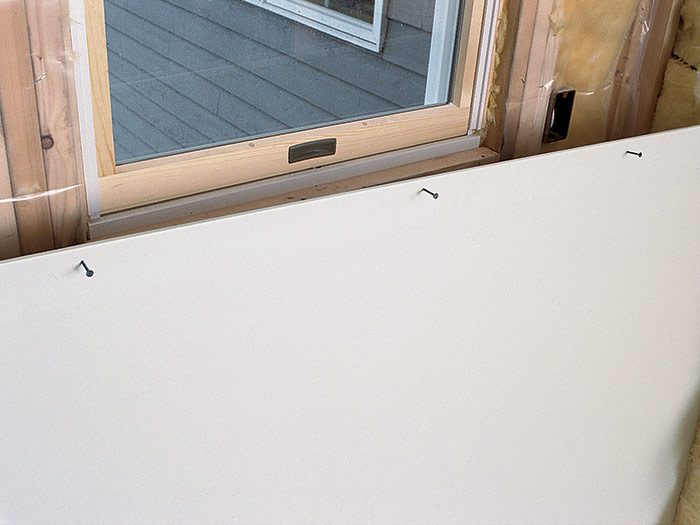
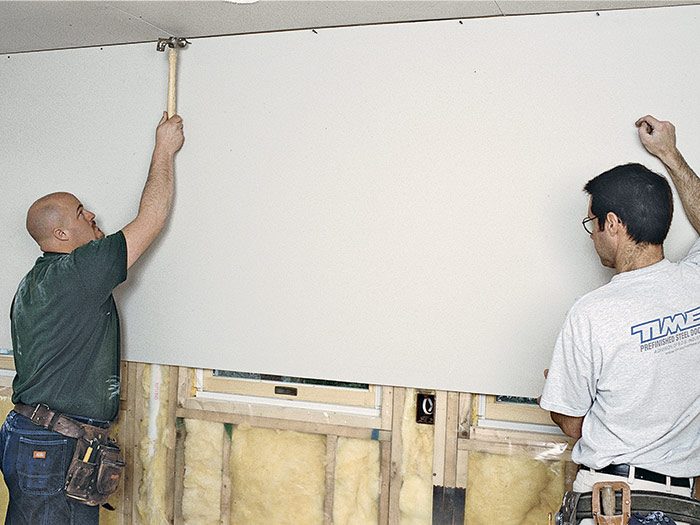
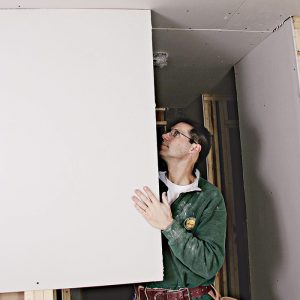
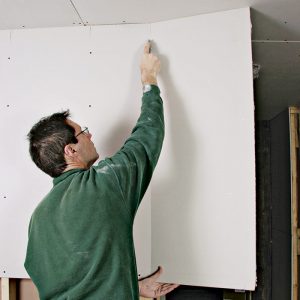
To hang drywall horizontally, hang the top panel first, fitting it tightly against the ceiling. If the wall has a window, cut the panel to length, carry it over, and then use a utility knife to score the back side of the drywall at the top of the window opening. To save time, stand the panel on the floor exactly below where it will be attached, leaning it against the studs. Start nails about 1 in. down, lining them up with each stud. Lift the panel up against the ceiling and drive the nails home.
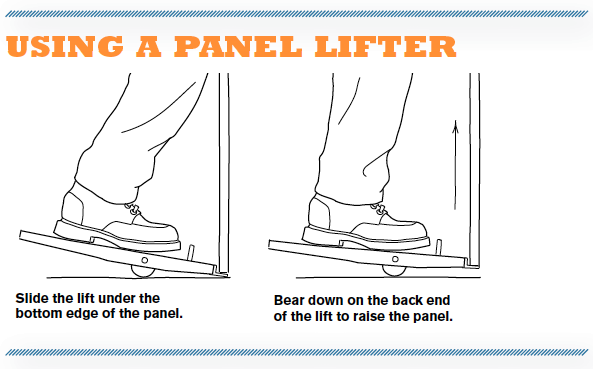
After the top of the panel is tacked in place, cut out any openings, including door and window openings. Then fasten the rest of the panel to the framing. Next, cut the bottom panel to fit against the top panel. This panel should be about 1/2 in. shorter in height so that it doesn’t fit tightly against the floor and break apart when it is fastened into place. Cutting the panel a little short also leaves room for you to slide a panel lifter or a prybar underneath to help lift the drywall into place.
| WORK SMART: Before lifting the top panel into place, lean it against the wall and tack in nails at the stud locations. Lift and position the panel and drive the nails home. If using screws, you can mark the location of every stud with a pencil at trim time. |
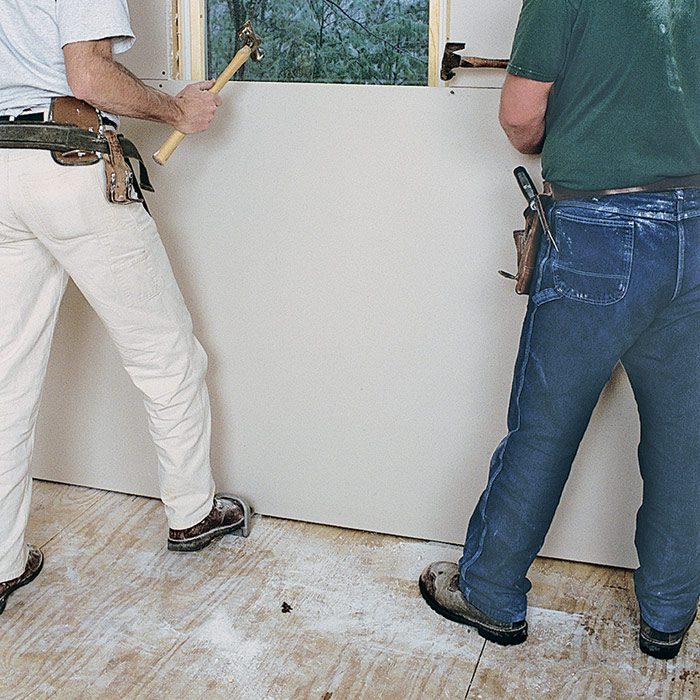
Most electrical outlets are located near the floor, so tack only the top of the panel in place, and then cut out the electrical boxes. Remember not to put too much pressure on the panel, which could cause the face to break apart around the box.
As with ceilings, butted seams should be staggered and placed away from the center of a wall. Butted seams can also be located above doors and above or below windows to create a shorter seam. Try to keep the seam at least 8 in. in from the edge of an opening, because the wall is more stable there. Also, the slight crown that forms during taping could affect the trim miter joint if the seam is located at the corner.
When hanging panels on an outside corner, run the panels long and trim them after they’re attached (you can use the same technique on a bottom panel that adjoins a door opening). Running the panel long means taking one less measurement, and it also allows for a little more flexibility. If the framing isn’t square or plumb at the outside corner, the panel can be cut to fit the exact angle so that there won’t be wide gaps under the corner bead.
Hanging Gable Walls
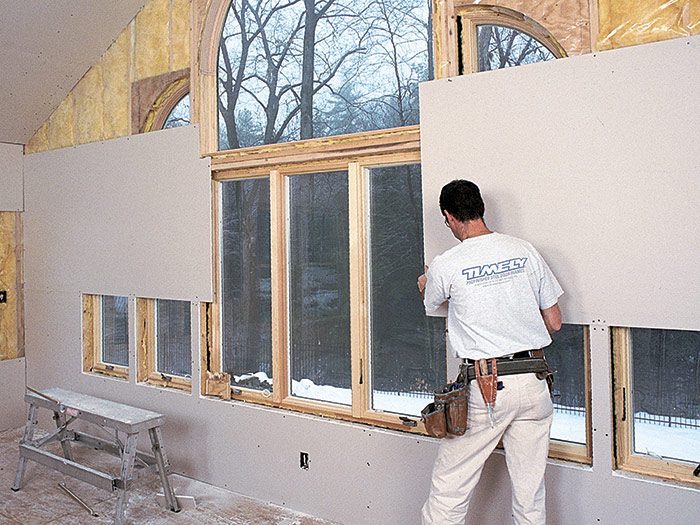
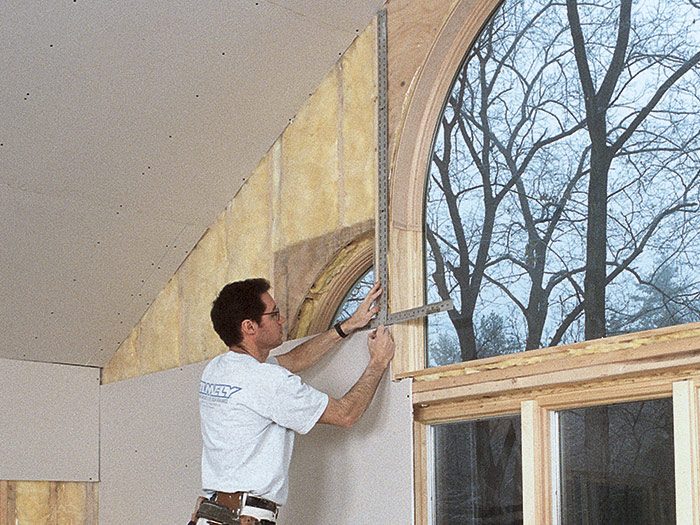
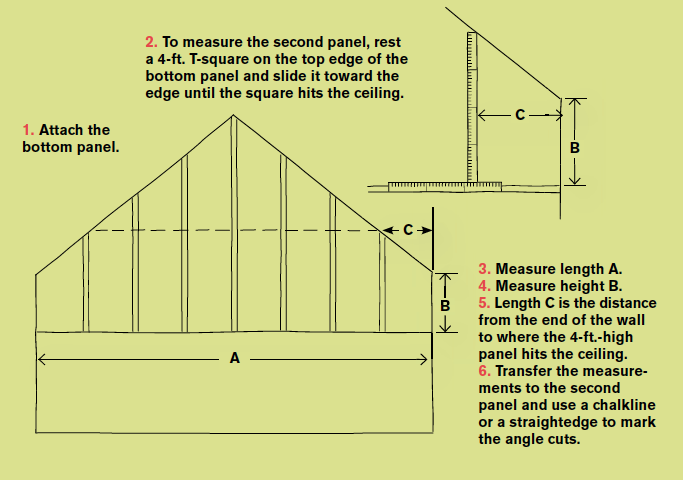
For the gable ends of a room with a cathedral or sloped ceiling, I usually hang the bottom panel first (see the drawing below). The floor is a good flat surface from which to measure, and the bottom panel usually has a square end for at least part of the height. For longer runs it is a good idea to snap a line on the wall and install the drywall to the line, so that an uneven floor doesn’t create unnecessary gaps in the drywall seams. And remember to shim panels off the floor to allow for settling and to prevent potential moisture from wicking up into the drywall.
Setting the panels on top of each other makes it easier to hold them in place, especially when the ceiling is high. Note that you should not locate or fasten a butted seam on the center support of the gable end. The building may move or settle at that point, causing stress to the drywall. Don’t forget to think about where the seams will fall as you stack the panels up; you may need to start out with a panel ripped in height to avoid having a seam fall on a transition point or a header on the wall.
Hanging a GarageGarages, which are typically large rooms with high ceilings, require a somewhat different hanging strategy than most rooms within a house. Garage ceilings are usually too large to cover without butted seams, so I almost always hang the drywall perpendicular to the joists. If the ceiling is over 9 ft. high, I often hang the garage walls parallel to the studs—that is, vertically rather than horizontally. By standing the panels on end, I avoid having any butted seams on the walls. If you hang wall panels vertically, just make sure that the studs are reasonably straight and that the seams fall on the studs. |
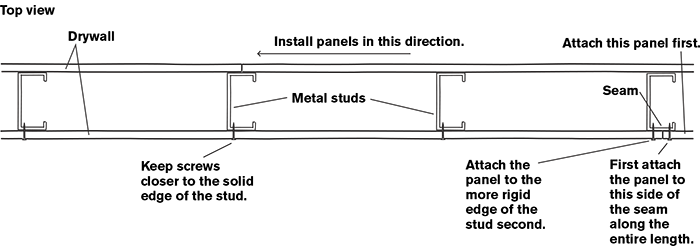
Attaching Drywall to Metal FramingDrywall can be hung on metal framing in much the same way as it is on wood framing, but there are a couple of things to note. Metal studs and joists are made out of a thin piece of steel bent into a C-shaped stud. Before attaching drywall to the metal studs, check to see which direction the open side of the stud faces (they should all be installed in the same direction). On a long wall that will have butted seams or when hung vertically, the drywall should be attached from the end that the open side of the stud faces (see drawing below). For the seams to end up flat, the drywall must be attached in the proper sequence. Fasten the edge of the first panel to the unsupported open edge of the stud. Screw on the entire length of the panel before attaching the abutting panel. If the panel were first attached to the solid side and then to the unsupported side, the screw might deflect the open end and force the panel edges outward. When screwing on the rest of the panel, keep the screws closer to the solid edge of the stud. (Note that you should always use screws, not nails, when fastening drywall to metal framing). |



View Comments
This is very bad advice. I'm a master carpenter of 25 years, most of the last 5 has been commercial drywall and steel stud framing. Never do a floating butt seam because it's a weak point and not worth the extra time. You always stand up sheets under 12' because then there's never a butt seam, there's not a band at the top to make it harder for finisher, and not a band at the floor to make it harder for low baseboard. And nails? Never, ever. Those are guaranteed to pop later. Screws only. And no one in commercial construction uses a panel lift for low ceilings. It takes too much extra time for the little help it provides.