Drywall Sanding Overview
No one enjoys this necessary step in the drywall finishing process, but here's some advice to help get you through it.
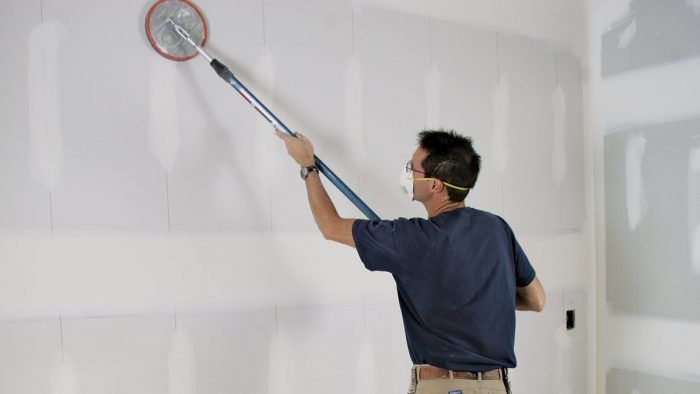
If taping is my favorite part of a drywalling job, I’d have to say that sanding is my least favorite. The dust makes the job unpleasant, and it is tedious, time-consuming, and fairly difficult work. It takes me almost as much time to sand and clean up as it does to apply one coat of joint compound (just under an hour for a typical 12-ft. by 12-ft. room). However, sanding is the final step in the drywalling process. And, in my opinion, it’s also the most important. It’s your last chance before painting to turn a so-so taping job into a quality finished job.
Some tapers claim to be so skillful at taping that they don’t need to sand at all. In my experience as a drywall contractor, however, I believe that a beautiful finished job requires at least some sanding after the final coat. (Depending on your taping ability, you may need to sand between coats as well.) Nevertheless, there are times when I have not sanded ceilings prior to texturing. In most light, those ceilings look just fine. Most customers, however, aren’t satisfied with a finished job that looks good in most light. They want a job that looks good all the time and in any light.
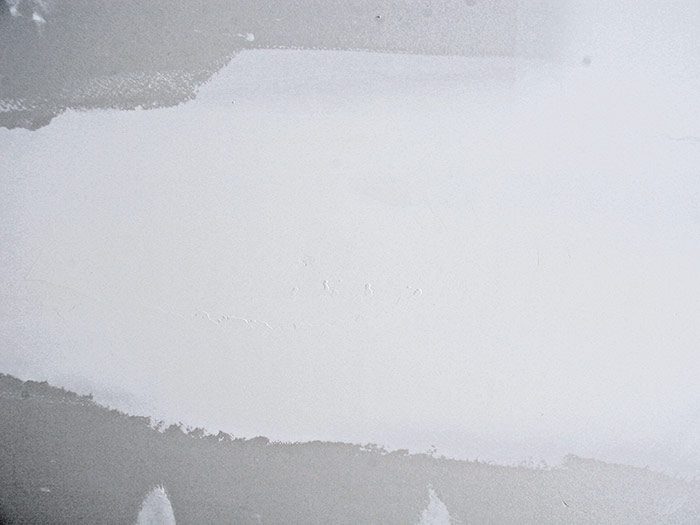
The goal of sanding is to remove excess joint compound, smooth out tool and lap marks, flatten crowned areas, and feather the edges of compound to blend into untaped surfaces. Because you have to sand all taped seams, corners, and fastener heads, you end up going over a large percentage of the drywall surface. For that reason, give yourself plenty of time to sand. A rushed sanding job can compromise even the best hanging and taping job. But if you take your time and have the right attitude (just keep in mind that once you’re done you can start painting), the results are rewarding.
Getting Ready to Sand
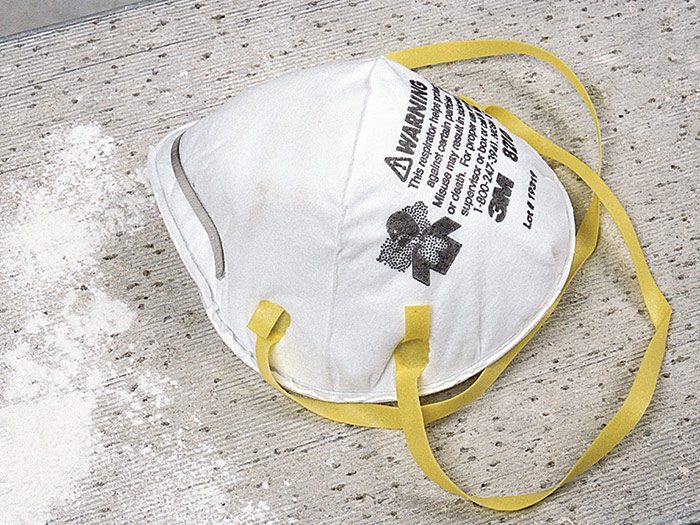
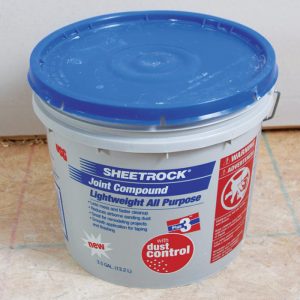
Sanding drywall joint compound generates a lot of dust. Many of the ingredients in joint compound, such as talc, calcite, mica, gypsum, silica, and clay, can irritate your eyes, nose, throat, and respiratory tract. Protect yourself by ventilating the room and wearing a dust mask that is approved for protection against nontoxic dust and mist.
Make sure the mask fits snugly. When you breathe, air should not enter around the edges. If air does get in, you’ll notice white dust on your face around the edges of the mask when you take it off after sanding. Change the filter or mask when breathing becomes difficult. It’s also a good idea to wear a hat and a pair of safety goggles for protection against fine dust, especially when you’re sanding overhead.
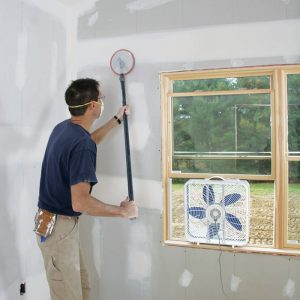
Attaching a sander to a shop vac can keep up to 95 percent of the sanding dust from becoming airborne. This greatly reduces the worker’s exposure to dust and helps keep the area cleaner. Pole sanders also reduce your exposure to dust, because you stand farther away from the work surface.
Protect the workplace
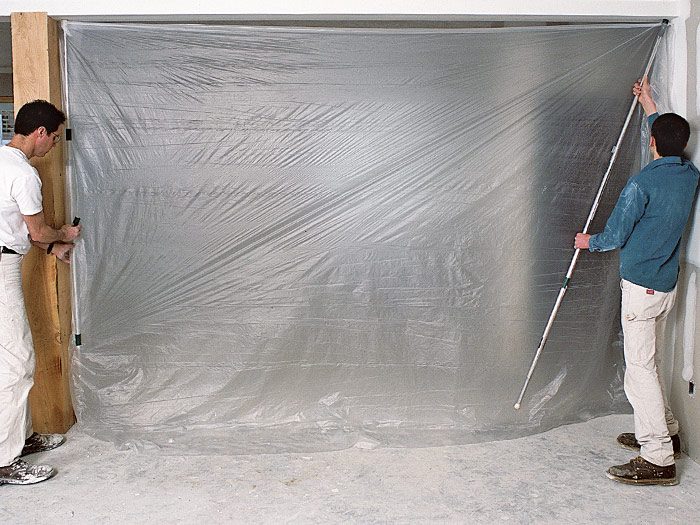
You not only need to protect yourself while sanding, but also the room you’re working in. Most likely, a lot of the protection has already been put in place. When it comes time to sand, however, you may need to tighten things up a bit (unless, of course, you’re drywalling in new construction). On a remodeling job, remove all furnishings or cover them with drop cloths and plastic before drywalling. The fine dust generated during sanding can infiltrate the tiniest of cracks, so make sure you seal under all doors (including kitchen cabinets) to keep the dust from spreading. Seal the edges of the plastic with masking tape.
| THINK AHEAD: To keep out dust, cover the front of kitchen cabinets and built-ins with plastic sheeting. Seal the entire perimeter of the sheeting with masking or painter’s tape. |
Try to contain the dust within the work area. And resist the temptation to open all the windows—it can create a draft that may actually push dust into other parts of the building. Instead, install a fan in a window to blow air out of the work area and get the dust moving in the right direction. In addition, hang plastic over doorways to isolate the rooms where you are working from other areas.

