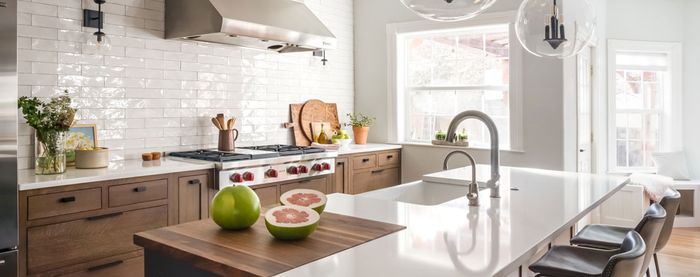
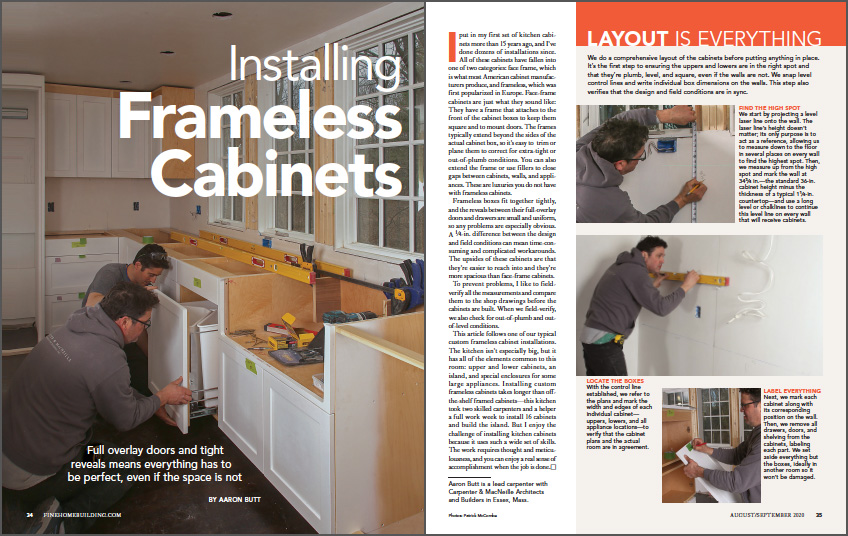
Installing Frameless Kitchen Cabinets
Full overlay doors and tight reveals on Euro-style cabinets means everything has to be perfect, even if the space is not.
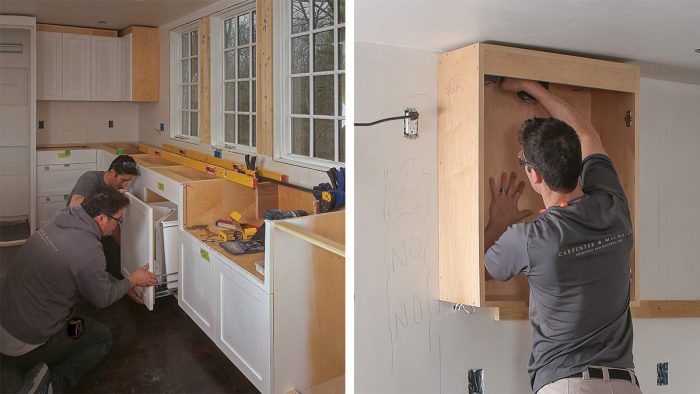
Synopsis: Carpenter Aaron Butt walks through the process of installing custom European-style frameless cabinets on a recent project, including laying out and locating the boxes, installing in out-of-square corners, adjusting for ducts and appliances, locating and assembling the kitchen island, and installing oversize cabinets and end panels. Frameless cabinets fit together tightly, so any problems will be especially obvious. Checking for out-of-plumb and out-of-level conditions is paramount, and the article includes tips for leveling, shimming, and keeping each box plumb and true during the process.
I put in my first set of kitchen cabinets more than 15 years ago, and I’ve done dozens of installations since. All of these cabinets have fallen into one of two categories: face frame, which is what most American cabinet manufacturers produce, and frameless, which was first popularized in Europe. Face-frame cabinets are just what they sound like: They have a frame that attaches to the front of the cabinet boxes to keep them square and to mount doors. The frames typically extend beyond the sides of the actual cabinet box, so it’s easy to trim or plane them to correct for extra-tight or out-of-plumb conditions. You can also extend the frame or use fillers to close gaps between cabinets, walls, and appliances. These are luxuries you do not have with frameless cabinets.
Frameless boxes fit together tightly, and the reveals between their full-overlay doors and drawers are small and uniform, so any problems are especially obvious. A 1/4-in. difference between the design and field conditions can mean time-consuming and complicated workarounds. The upsides of these cabinets are that they’re easier to reach into and they’re more spacious than face-frame cabinets.
To prevent problems, I like to field-verify all the measurements and compare them to the shop drawings before the cabinets are built. When we field-verify, we also check for out-of-plumb and out-of-level conditions.
This article follows one of our typical custom frameless cabinet installations. The kitchen isn’t especially big, but it has all of the elements common to this room: upper and lower cabinets, an island, and special enclosures for some large appliances. Installing custom frameless cabinets takes longer than off-the-shelf framed cabinets—this kitchen took two skilled carpenters and a helper a full work week to install 16 cabinets and build the island. But I enjoy the challenge of installing kitchen cabinets because it uses such a wide set of skills. The work requires thought and meticulousness, and you can enjoy a real sense of accomplishment when the job is done.
Layout is everything
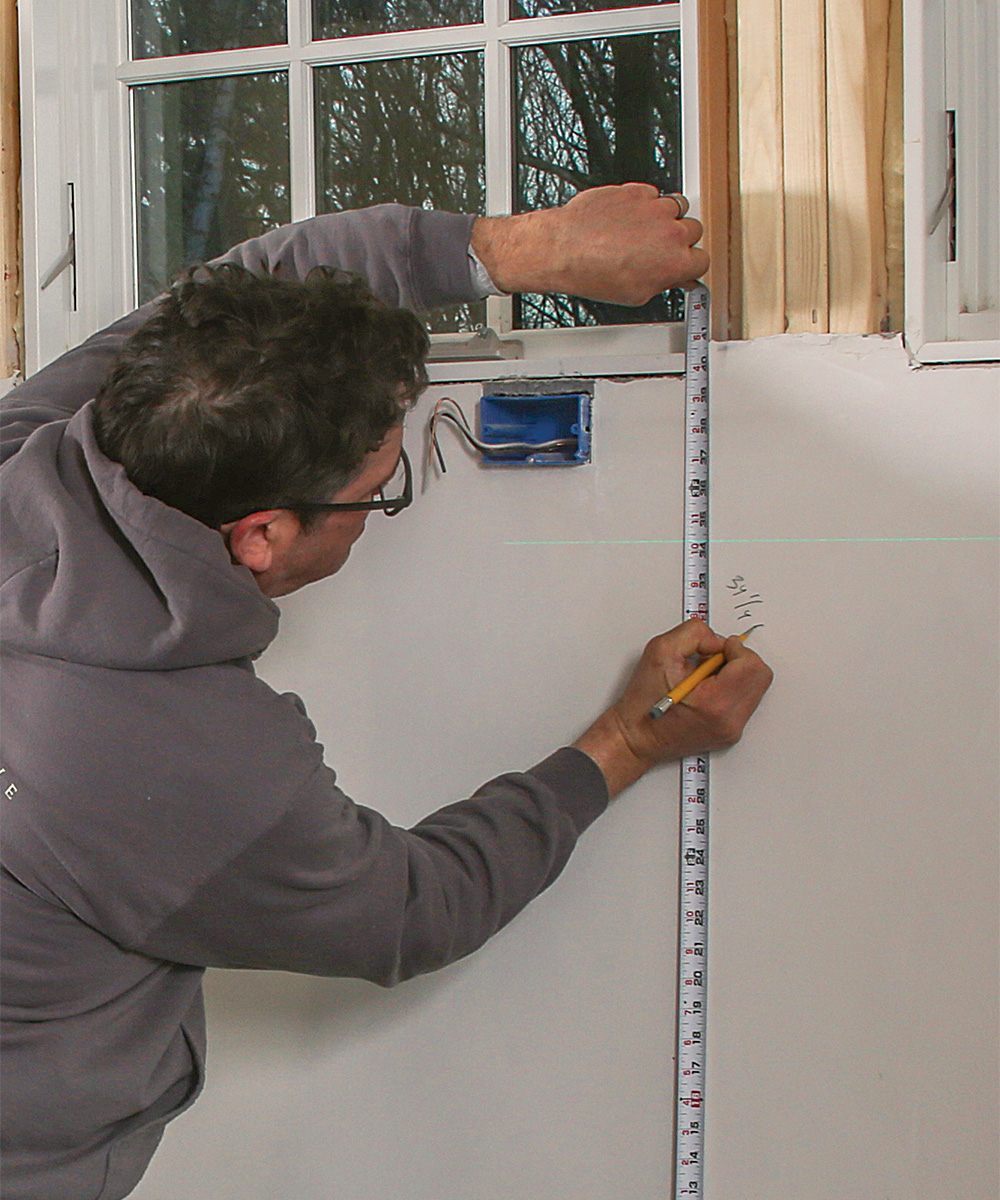
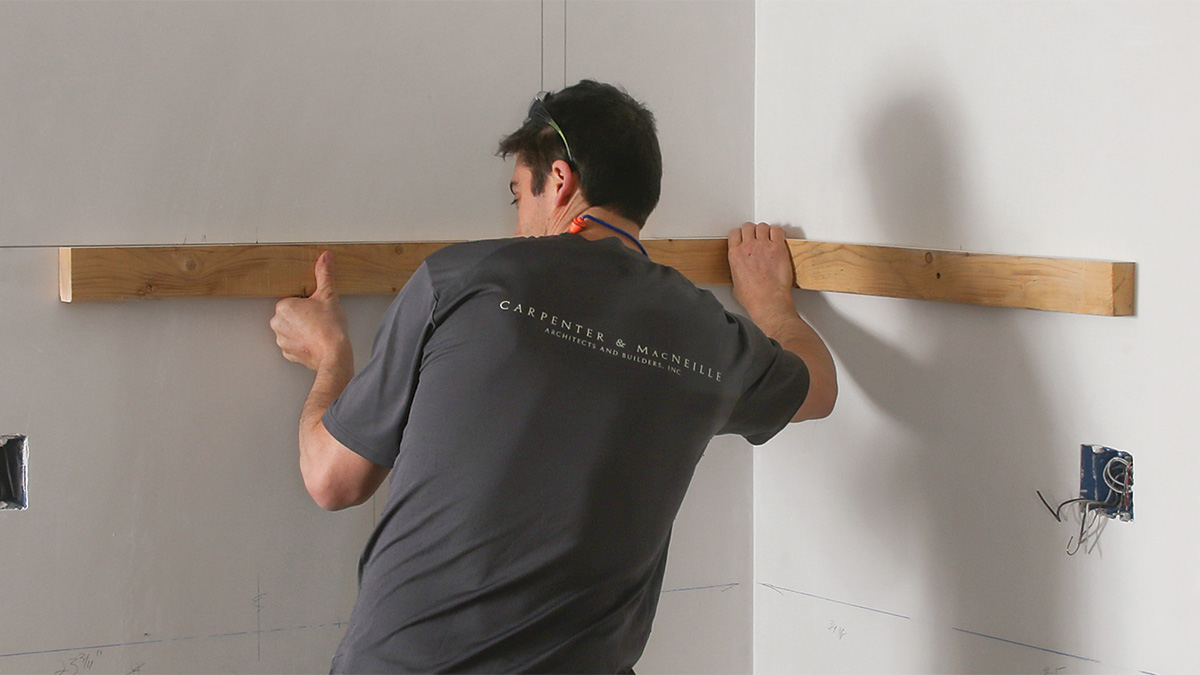
We do a comprehensive layout of the cabinets before putting anything in place. It’s the first step to ensuring the uppers and lowers are in the right spot and that they’re plumb, level, and square, even if the walls are not. We snap level control lines and write individual box dimensions on the walls. This step also verifies that the design and field conditions are in sync.
Installing uppers
I prefer to install upper cabinets first, because it’s easier to lift them into position and fasten them without the lowers in the way. We usually start installing cabinets in the middle of a wall, so two of us can work at the same time on opposite sides of a center cabinet. In this case, the sink wall had a bank of windows and the uppers flanked the opening, so we each took a side of the window opening to work on. Some carpenters screw a bunch of boxes together and install them as a unit. We do that sometimes, but when we split sides, it’s easier to go one at a time so we don’t have to struggle lifting the boxes, which might lead to accidental damage.
From FineHomebuilding #293
To view the entire article, please click the View PDF button below.
