Make Any Tablesaw Safer
A variety of site-made and store-bought accessories increase cut quality and decrease chance of injury.
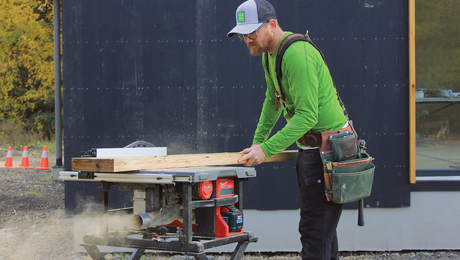
Synopsis: There are thousands of tablesaw injuries in the United States every year. In this article, editorial director Justin Fink describes a number of simple, cost-effective upgrades that will make any tablesaw safer to use, without the need to invest in blade-stopping technology.
Experts estimate that there are about 65,000 tablesaw injuries per year in the United States. To me, injury statistics can sometimes seem so abstract that they lose some of their intended shock and awe, so I try to find ways to make that number feel more real. In this case, that’s about 178 injuries per day, or seven per hour. That’s roughly one injury every 10 minutes. That feels pretty real. It helps to think about it that way, especially when my finger is about to flip the “on” switch, and the voice in my head is warning me to slow down or stop.
It also helps to remind myself that of those tablesaw injuries, even the ones that could be comparatively referred to as “minor” are still probably bloody and damaging enough to warrant a trip to the ER, and will undoubtedly affect my work in the near-term and likely beyond. Let’s be honest—unless they own a saw with blade-stopping technology, builders aren’t often heard saying that they got hurt using their tablesaw and only needed a Band-Aid. When the tablesaw bites, it bites hard, and it usually does serious damage.
Manufacturers like SawStop do amazing work to protect those people willing to invest in safety, and, if you ask me, it’s not a hard sell for them to make once you experience the quality of their tools. Even so, saws without blade-stopping technology are still available, and even people who do take advantage of the technology don’t use it as an excuse. You wouldn’t drive 100 mph in the wrong direction on a one-way street because you know you have a seat belt and airbag. For builders, “I’ve been doing this for 25 years—I know where my hands are” only works until it doesn’t anymore.
So I’m suggesting some simple upgrades that anybody can take advantage of to make their tablesaw—with blade-stopping technology or otherwise— safer to use. These upgrades won’t break the bank; in fact, some cost nothing at all. They will all make work easier rather than harder, and they will all make your tablesaw safer.
Go thin, stay sharp
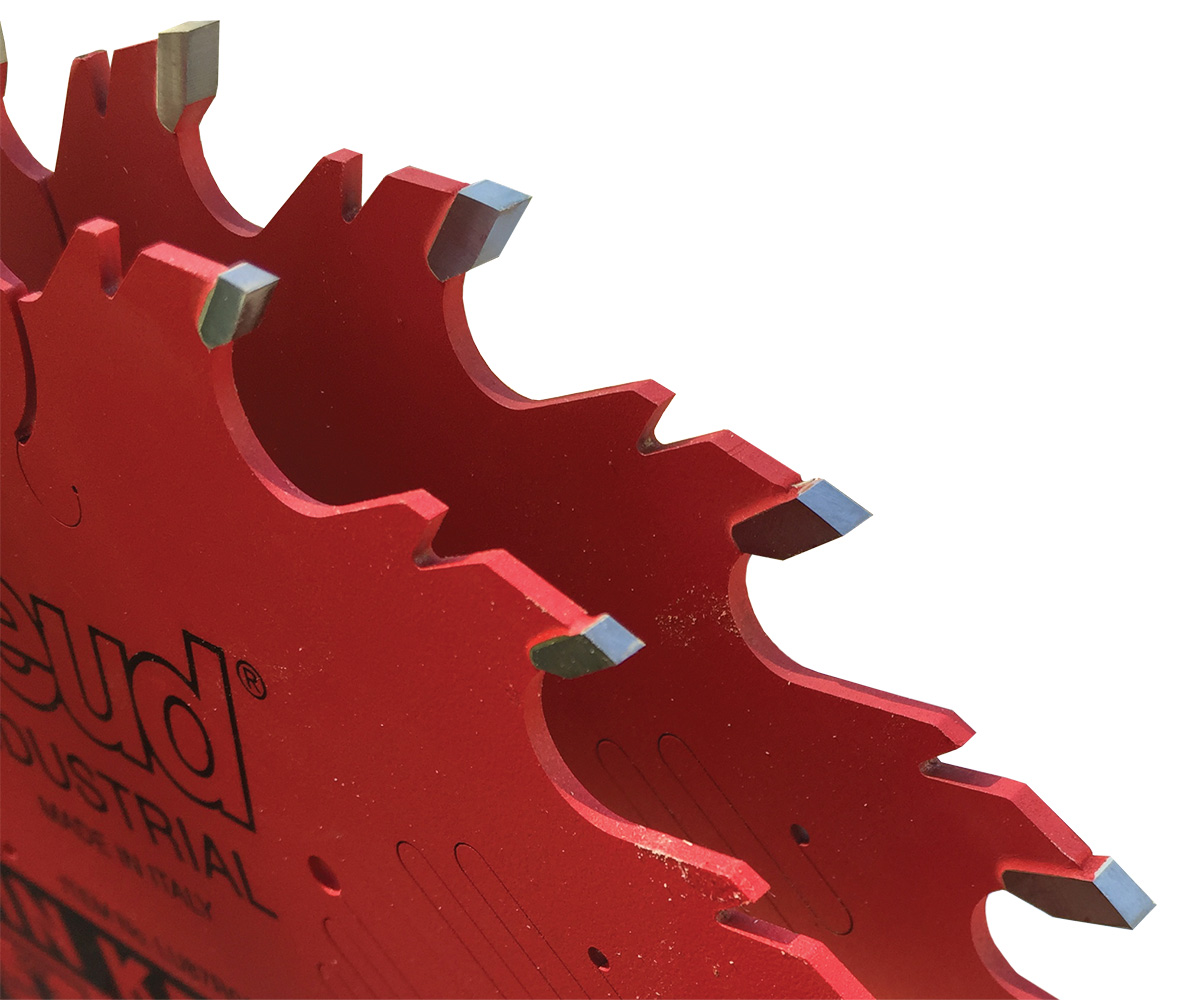
There’s an old adage that sharp hand tools are safer than dull hand tools because they require less effort. I think this applies to sawblades as well. If you have an underpowered tablesaw, or a powerful saw hooked to an overly long extension cord, you’re likely to find the tool bogging down during cuts. When a saw bogs down, it forces you to back off on cuts halfway through, which can lead to kickback or having to shut off the saw midcut. Portable saws don’t typically have big safety-style switches that you can hit with your knee, so shutting the tool off midcut means taking one hand off the board. The best way to avoid this situation is to opt for thin-kerf blades, which draw less amps during a heavy cut, and keep the blades sharp by replacing them regularly or sending them out for sharpening.
Pinch protection
Tablesaw kickback happens for several reasons, but they all boil down to the same root cause. When the board you’re cutting comes in contact with the teeth at the trailing end of the spinning blade, it can lift up and either shoot toward you or drag your hand into the blade. If you can keep the board from contacting the back of the blade, you eliminate kickback. It’s as simple as that.
The good news is that every tablesaw on the market today includes a riving knife—that little shark fin that moves up and down and bevels with the blade—to prevent kickback. There’s no easy way to retrofit a riving knife, because it attaches to the trunnion, but if you have an older saw, a splitter is your next best bet.
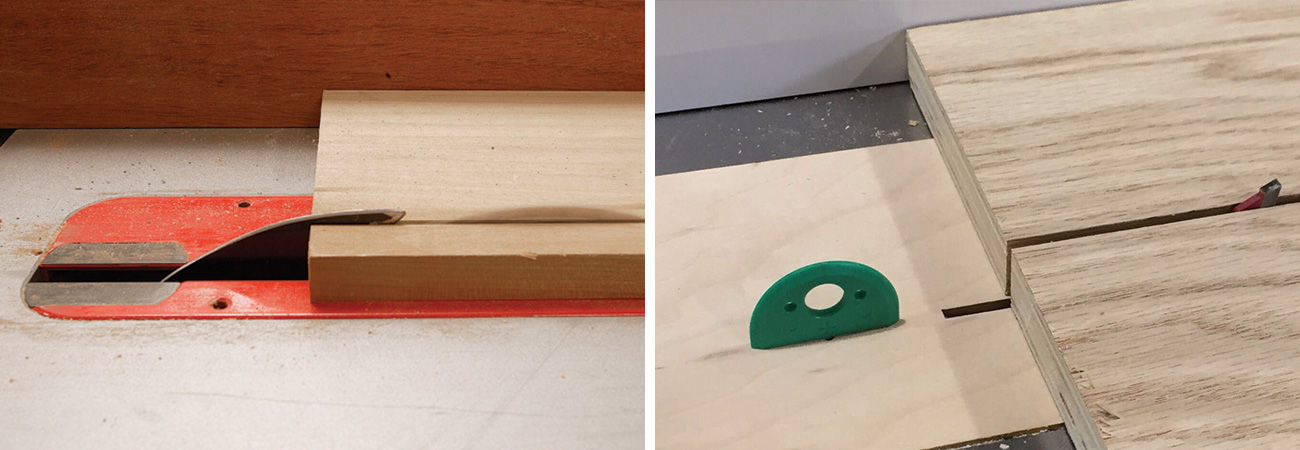
A splitter attaches to the throat plate, serving the same purpose as a riving knife, although it’s a bit more simplistic (and risky) in function. The catch is that a splitter won’t move up and down with the blade, and it has to be located far enough behind the blade that it won’t be in the way for those times when the blade is raised to full height. The lower you set the blade, the bigger the gap between blade and splitter. Also, it has to be removed for bevel cuts.
Simple support goes a long way
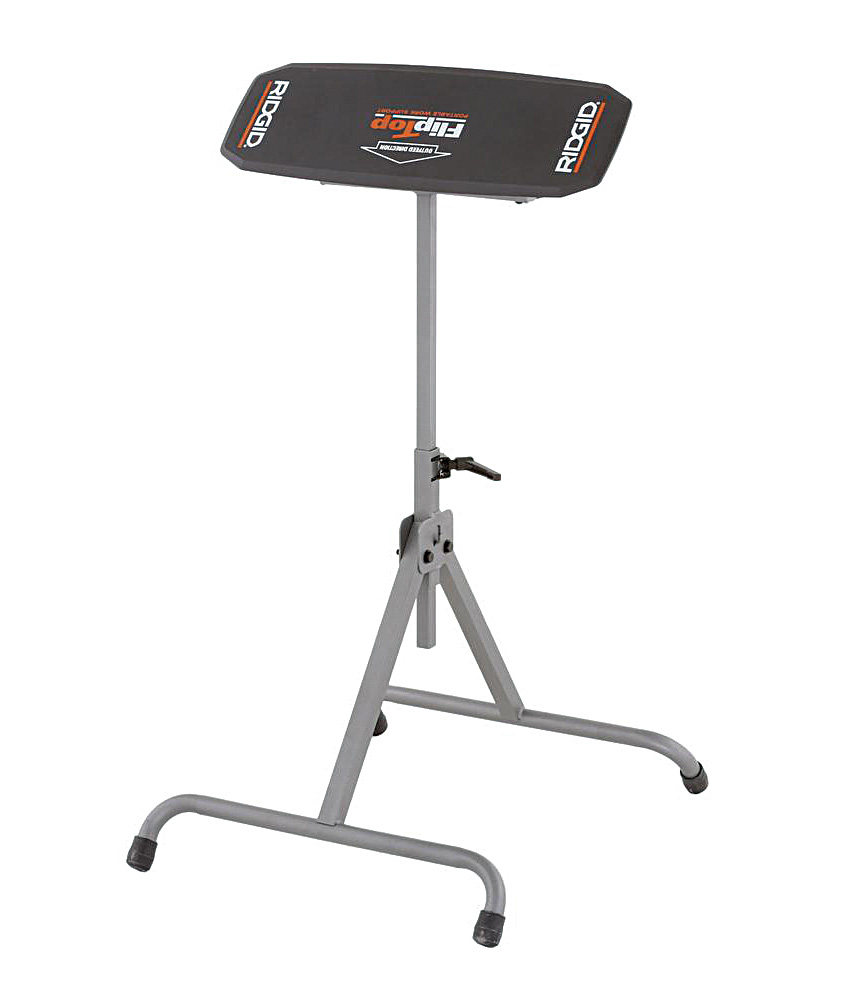
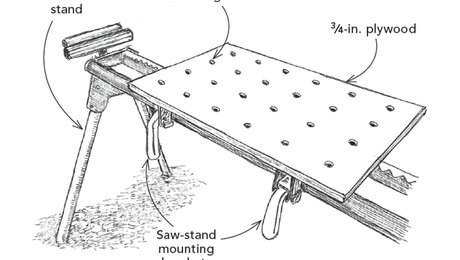
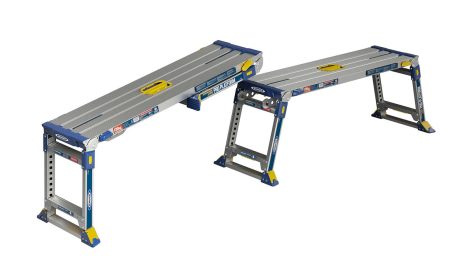
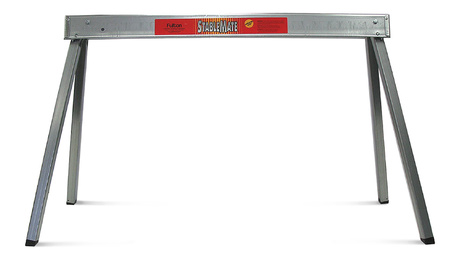
Anytime you catch yourself pushing hard on the material you’re cutting, the risk of injury increases. This certainly applies to the times when you catch yourself putting all your weight behind the stock to push it through the cut (your blade is dull and its time for a new one, or your fence is not parallel—stop cutting and adjust it), but the time when it’s at its worst is when you’re cutting a long piece. The further the board extends off the back of the saw, the more downward pressure you have to apply on the part crossing the table. To keep your focus where it should be—watching the blade and guiding the piece across the cut—you need outfeed support. The short accessory supports that attach to the back of job-site saws can help with short pieces, but when cutting anything longer than a few feet, they fall short. Helpers standing on the outfeed side are nice, but for long cuts on the saw I prefer a table or immobile support, because they don’t push and pull on the board as you cut, and they don’t get distracted. In the shop, an outfeed table is a common solution. For any jobs on-site that will include more than a little tablesaw work, I think it’s worth the effort to slap together a temporary outfeed table there, too. If that isn’t feasible on a job site, consider a portable support. For even more stability on these portable stands, add some sandbags to the horizontal bottom bars.
Build a better push stick
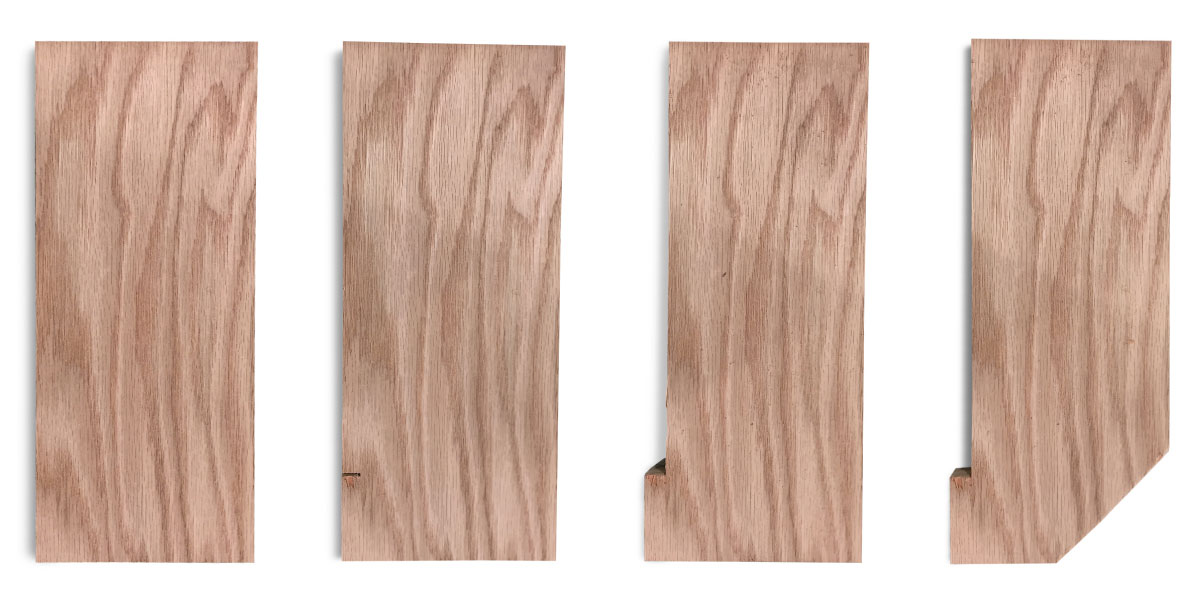
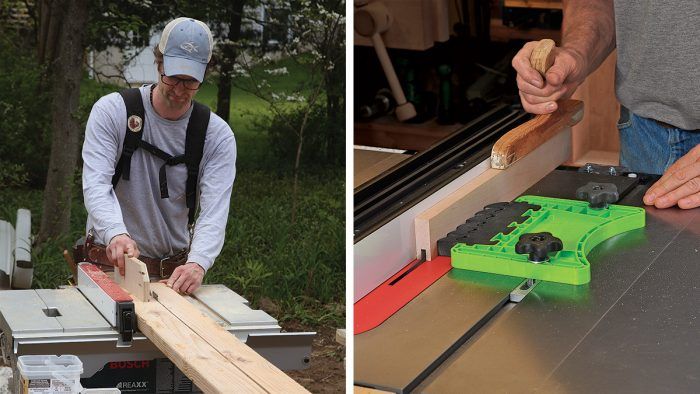
I have no idea why tablesaw manufacturers insist on including dinky plastic push sticks with their saws. In an attempt to keep people’s hands farther from the blade, these long sticks create an even bigger problem: total lack of control over the board. You wouldn’t push a 2×4 through the cut with one finger, so why use what essentially amounts to a big plastic finger? A good push stick applies pressure down, distributed over a wide area, and allows you to push the board forward with some gentle pressure sideways to keep it against the fence. That’s why I immediately throw the plastic push sticks in the trash and make better, safer, more effective versions from scrapwood.
Close the gap
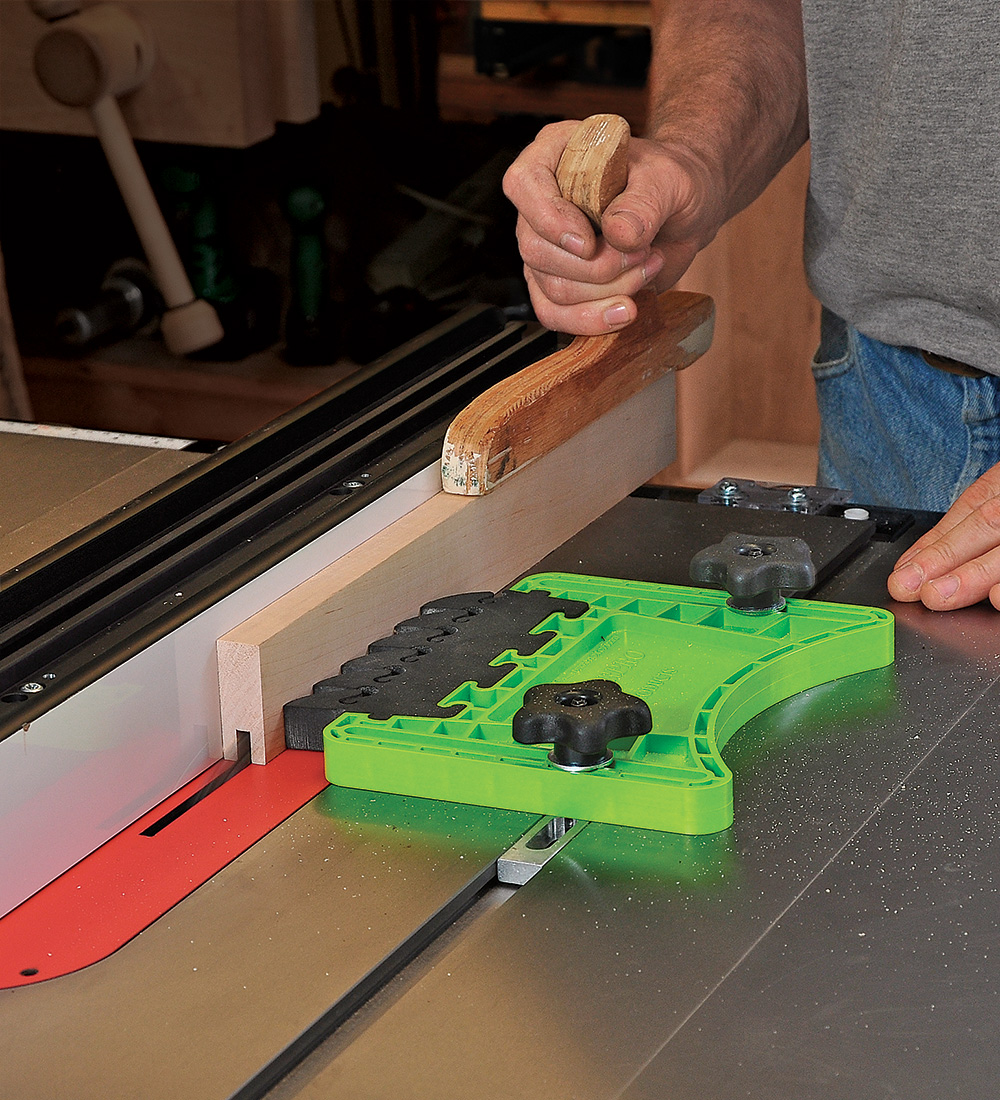
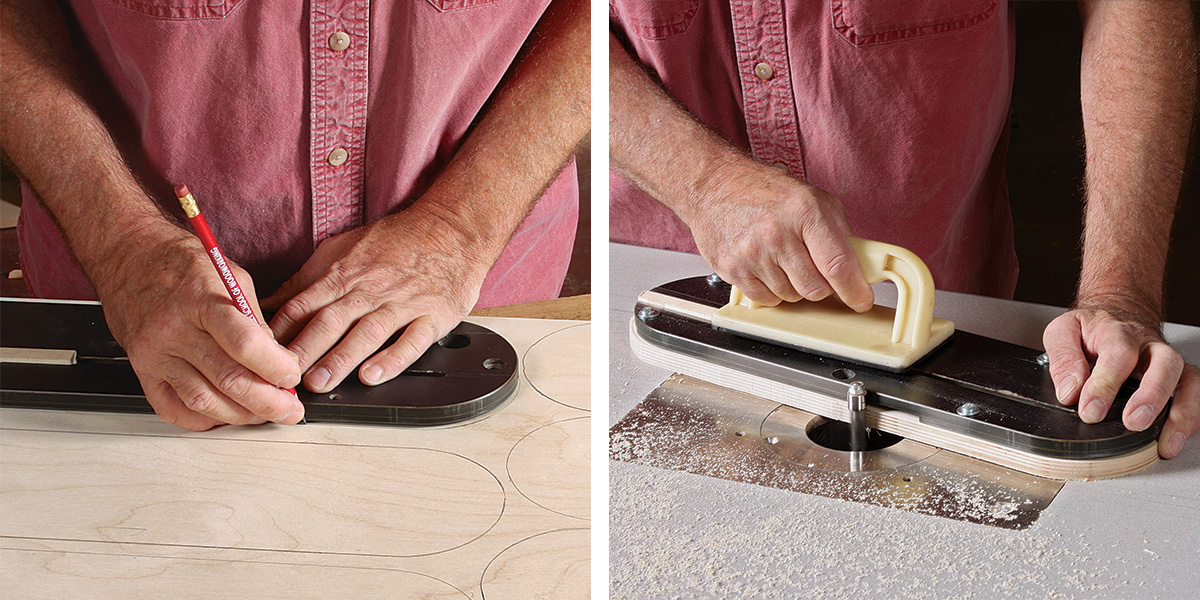
The main problem with standard tablesaw throat plates is that the cutout for the blade is too wide to offer support for the fibers in the wood being cut, and this means tearout. But there’s another problem— a safety issue—with these wide-mouth plates: When making a rip cut, thin or short strips of wood can jam in the gap and kick back very easily. A zero-clearance throat plate solves for both of these issues, because the width of the slot in the plate is a perfect match for the blade. You get full support around the blade, on every cut. Often you can find these inserts as off-the-shelf accessories from each saw manufacturer, or from a third-party manufacturer. If those wells turn up dry, you can always make your own, using the standard throat insert as a template for a bearing-guided router bit. The perk of making your own is that it doesn’t take much more effort to crank out a half-dozen as it does to make just one. That’s a good thing, because that means you can have a dedicated option for different situations: one each for a full-kerf blade and a thin-kerf blade, one for 45° bevel cuts or other common angles, and one or more for when you have a dado set on the arbor.
More about tablesaws:
How to Make a Crosscut Sled for Your Tablesaw
How to Use a Featherboard When Rip-Cutting Wood on a Tablesaw
CPSC Proposes New Safety Rules for Tablesaws
From FineHomebuilding #293
To view the entire article, please click the View PDF button below.


