
Repointing a Brick Chimney
Extend your chimney's life by fixing leaky, crumbling mortar joints.
Synopsis: Brickwork needs to be repointed from time to time to maintain its weathertightness and keep it from falling apart. Deputy editor Matthew Millham walks through the steps of the process, from removing old mortar, to replacing severely damaged brick, to repointing. The article includes a sidebar on types of mortar best used for this project, as well as the best tools and methods for slicing and chiseling out brick and troweling in new mortar.
A well-built brick chimney can last for centuries or longer, but it’s unlikely to make it to old age without some routine maintenance. It’s just a fact that brickwork needs to be repointed from time to time to maintain its weathertightness and keep it from falling apart. This involves carefully removing some of the old mortar and replacing it with new. It can be painfully tedious work, requiring at least as much patience as skill.
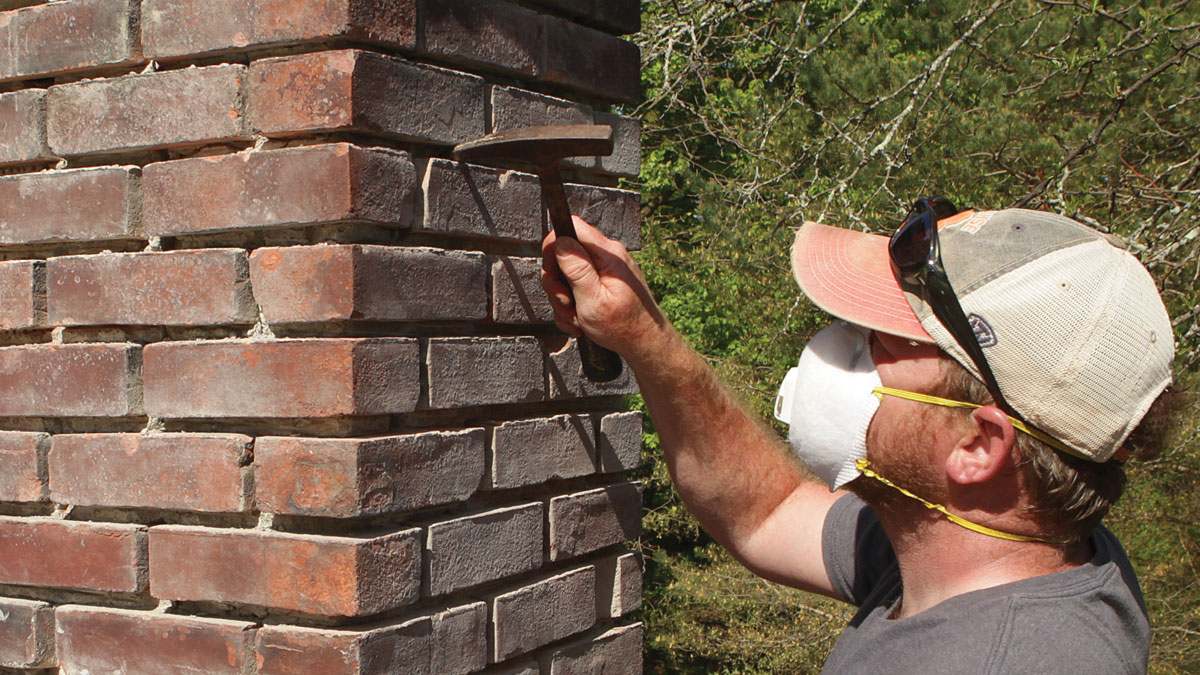
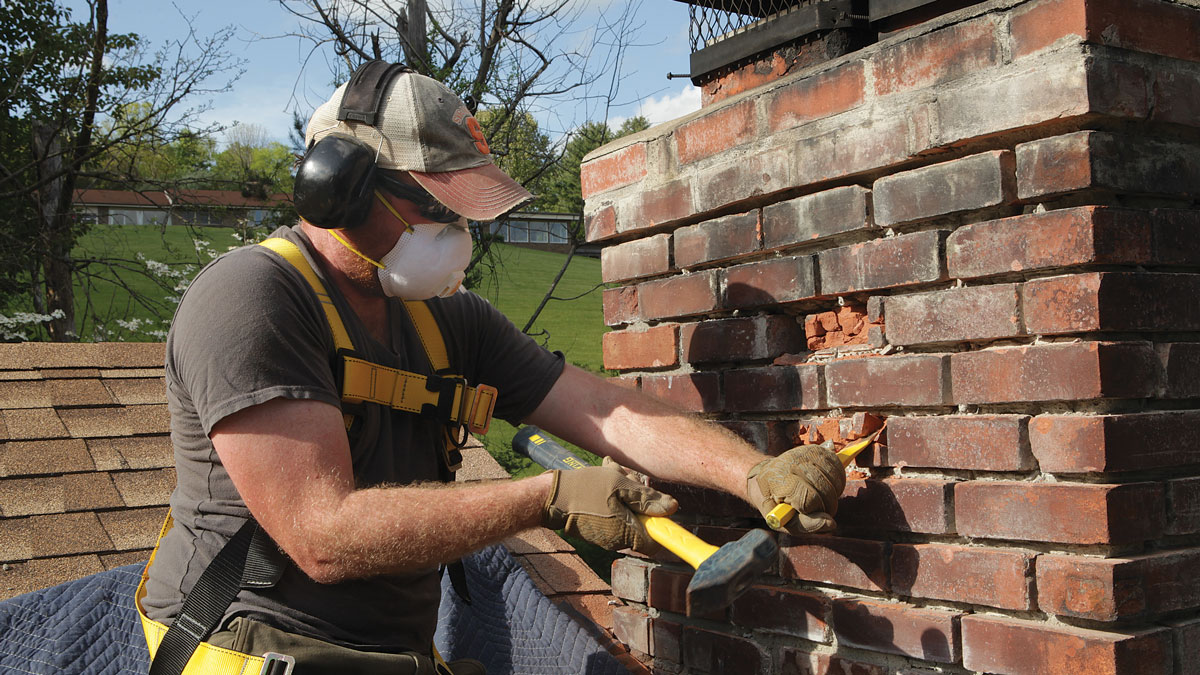
The first priority when repointing is to do no harm. It’s probably obvious that you don’t want to break any bricks in the process, but you also want to avoid even small chips. The fire skin on the surface of a brick protects a more porous and softer interior, and it’s especially thin on older bricks made before the development of modern kilns and firing techniques. If the skin is broken, the brick will succumb to the processes of weathering much more quickly. Protecting that skin while clearing out the joints is easier if the chimney was built correctly with mortar that’s softer than the brick. If the mortar is harder than the brick, as it was in this case, extra care is needed.
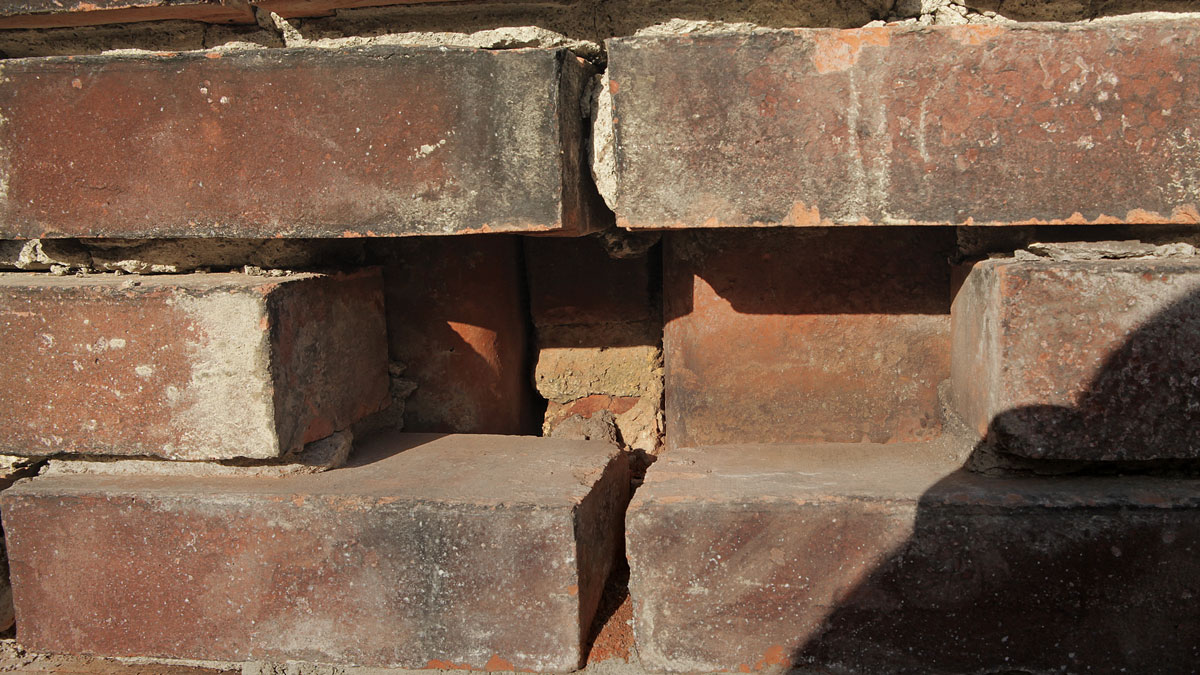
When the mortar is harder than the brick, it can cause the brick to spall and crack just through normal expansion and contraction—as you can see below, some of the bricks in this chimney were nearly pulverized, and the hard mortar is the likely culprit. Chiseling out old, hard mortar can cause the same damage even more quickly, as the energy from hammer blows transfers through the chisel, into the hard mortar, and out through the path of least resistance—the soft brick.
In this case, it was already too late to save some of the bricks. Fortunately, the damage was confined to the southern and western exposures above the roofline—the parts that see the most sun and accompanying thermal expansion and contraction. When the damage is relatively limited like this, it can be a tough call whether to just tear down that part and rebuild or remove and replace what’s broken. If I can find bricks that match the originals, tearing down and rebuilding is my preference. Here, I was limited to 10 decent bricks that were left over from when the chimney was built—they were used as edging in a nearby flowerbed. I decided to take the less-destructive path, and removed and replaced the bricks in the worst shape.
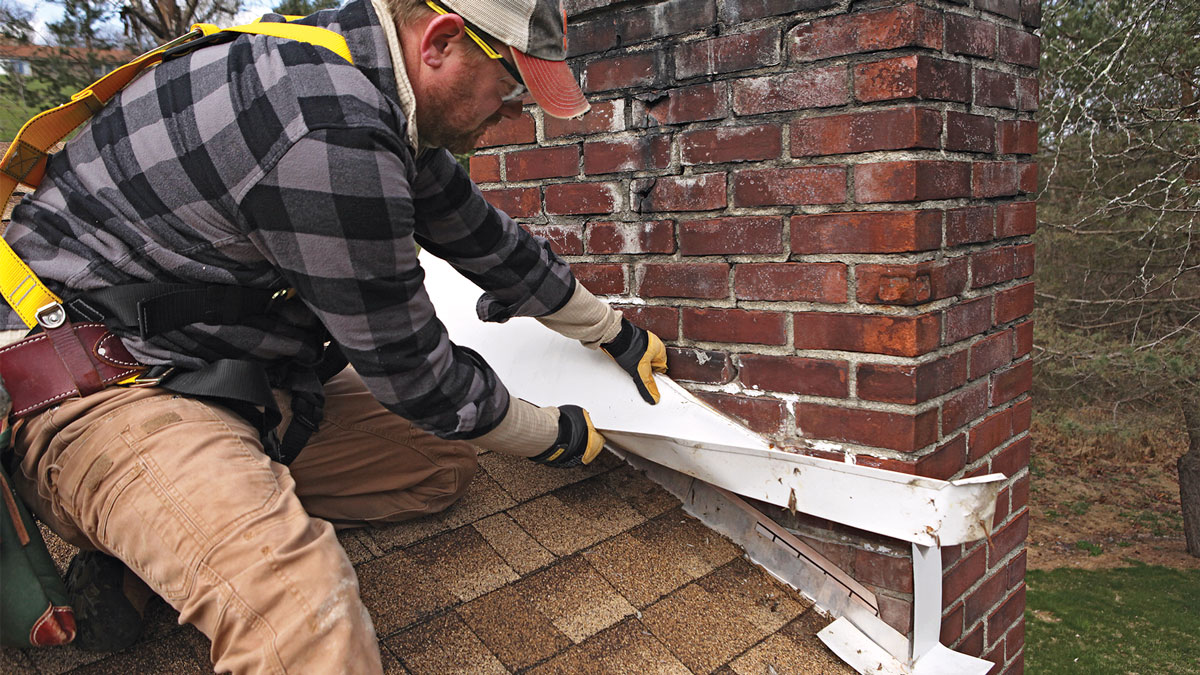
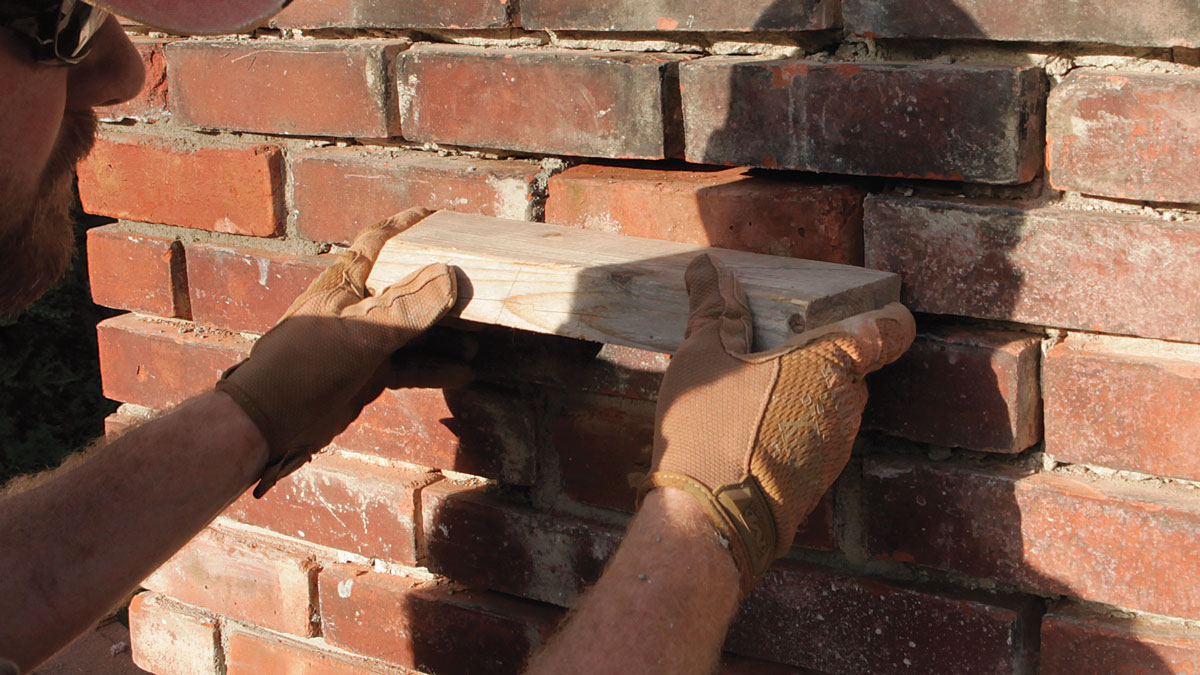
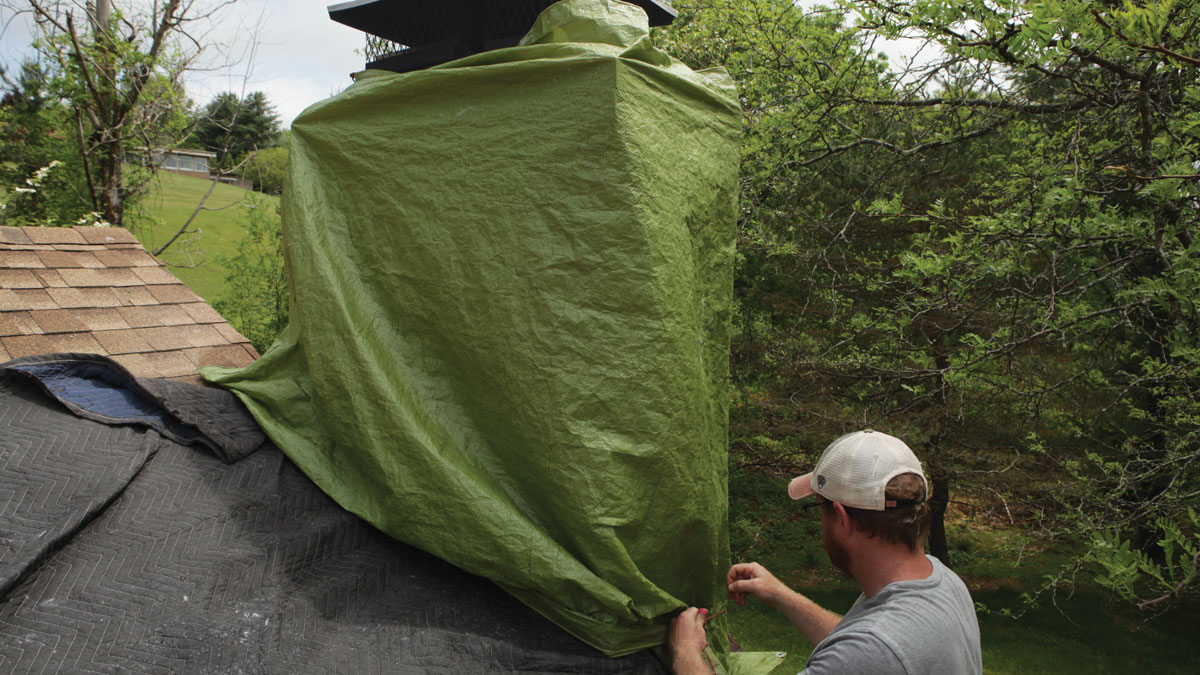
Repointing is messy work. All the dust and debris from removing old mortar and drops from new mortar can damage or stain the roofing material, so protecting it is critical. On shingled roofs of moderate pitches like this, I use a moving blanket to cover the shingles in the working area. This allows me to keep a good grip on the roof while protecting it. A 2×4 or some bricks wrapped into the bottom of the blanket create a dam to keep debris from rolling down the roof.
Removing old mortar
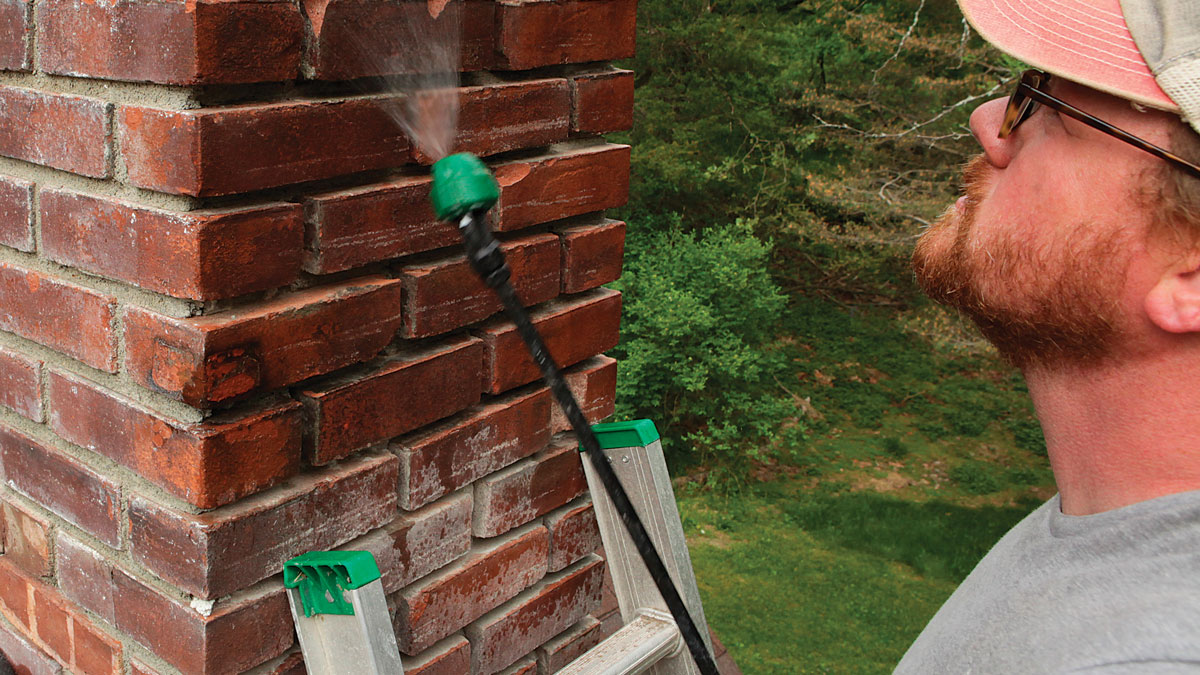
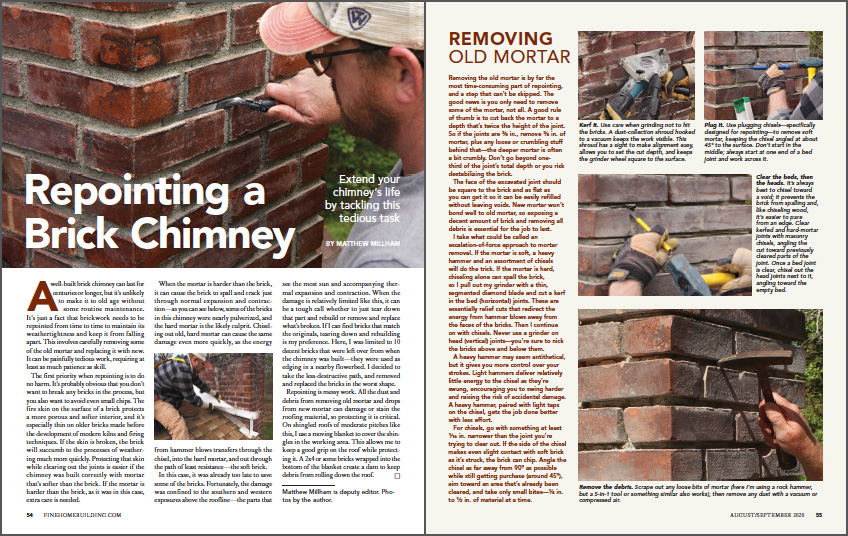
Removing the old mortar is by far the most time-consuming part of repointing, and a step that can’t be skipped. The good news is you only need to remove some of the mortar, not all. A good rule of thumb is to cut back the mortar to a depth that’s twice the height of the joint. So if the joints are 3⁄8 in., remove 3⁄4 in. of mortar, plus any loose or crumbling stuff behind that—the deeper mortar is often a bit crumbly. Don’t go beyond one-third of the joint’s total depth or you risk destabilizing the brick.
The face of the excavated joint should be square to the brick and as flat as you can get it so it can be easily refilled without leaving voids. New mortar won’t bond well to old mortar, so exposing a decent amount of brick and removing all debris is essential for the job to last.
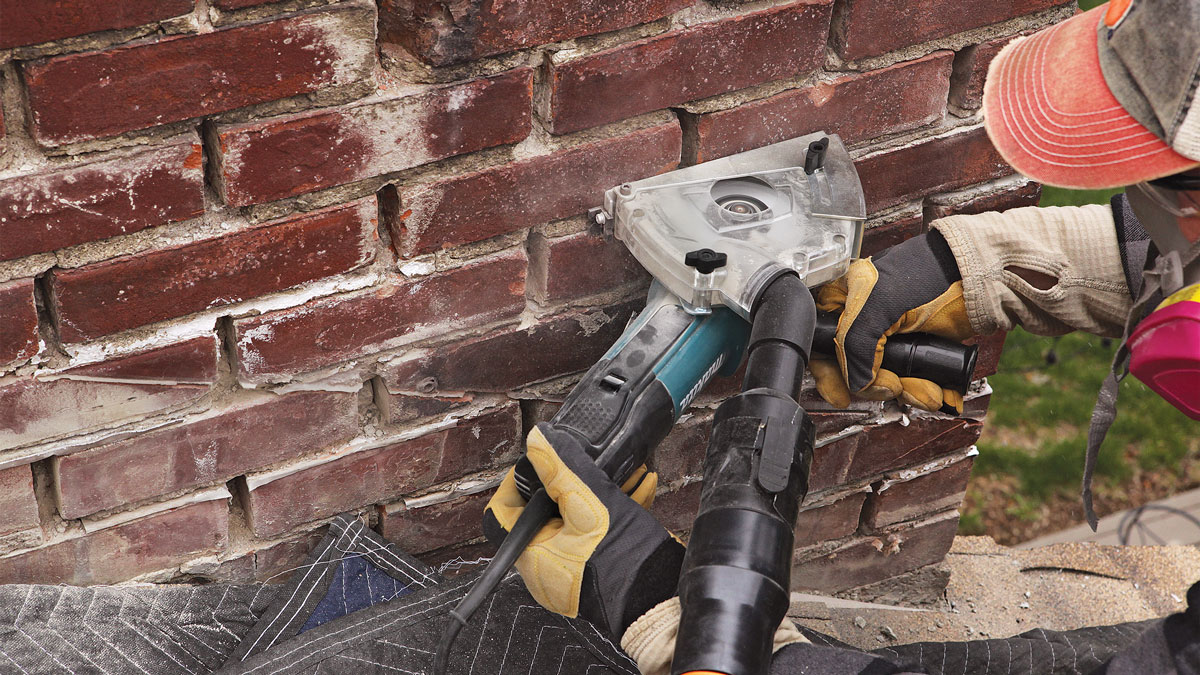
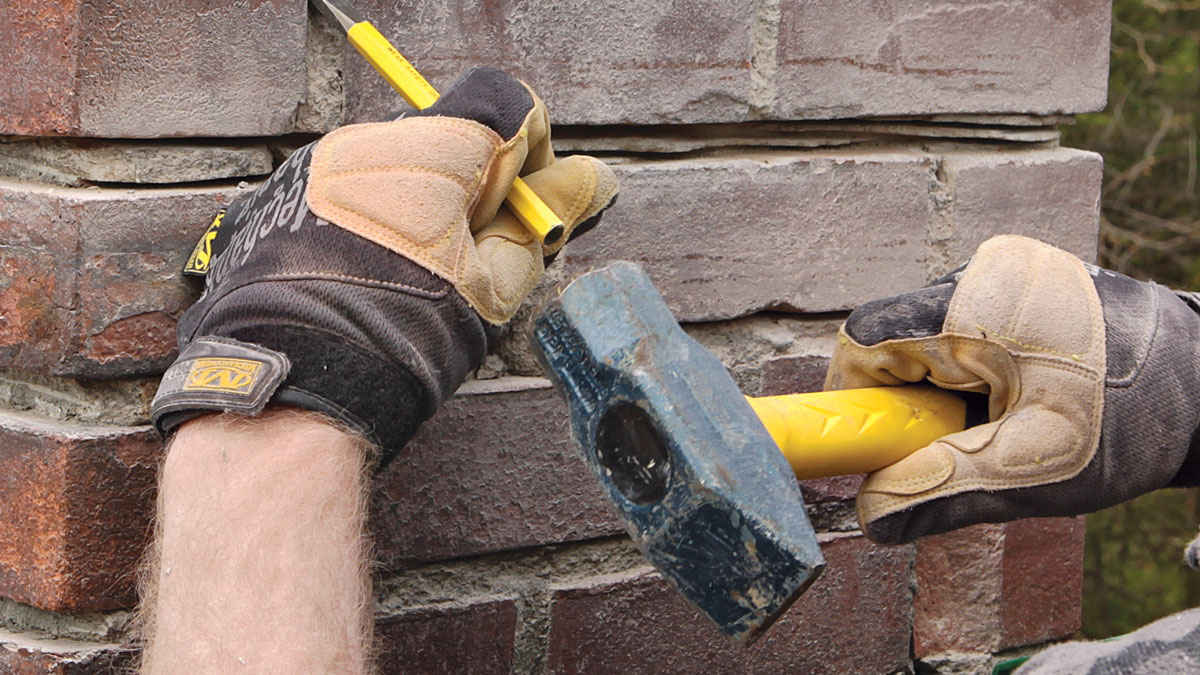
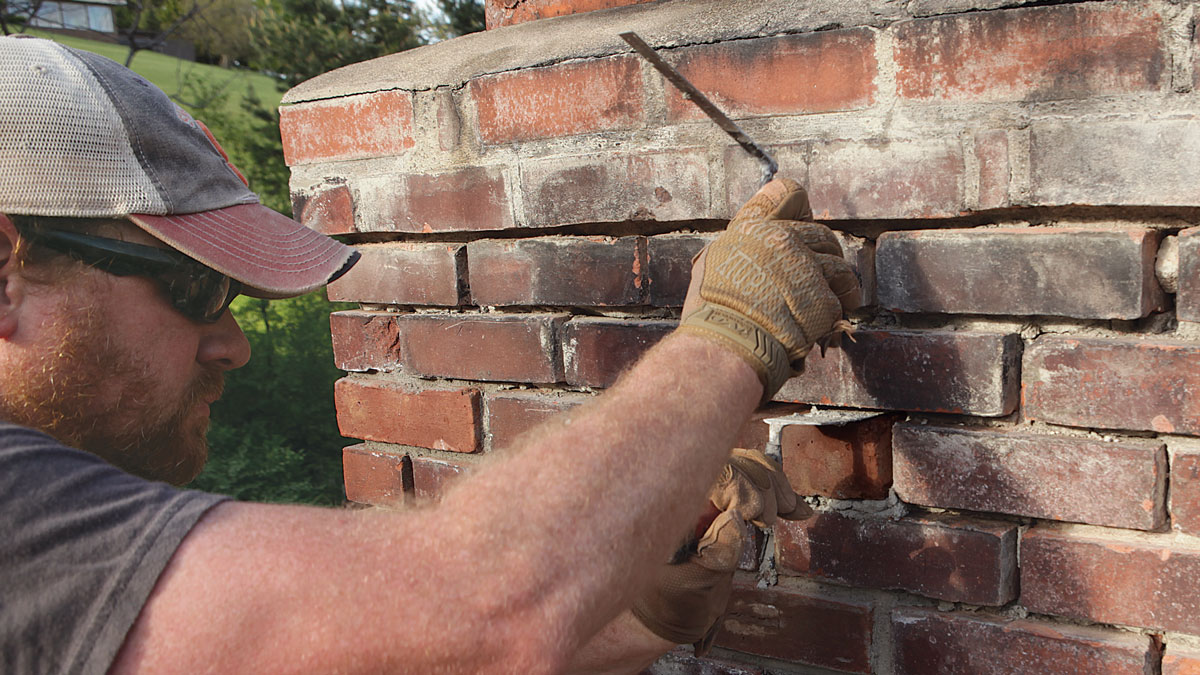
I take what could be called an escalation-of-force approach to mortar removal. If the mortar is soft, a heavy hammer and an assortment of chisels will do the trick. If the mortar is hard, chiseling alone can spall the brick, so I pull out my grinder with a thin, segmented diamond blade and cut a kerf in the bed (horizontal) joints. These are essentially relief cuts that redirect the energy from hammer blows away from the faces of the bricks. Then I continue on with chisels. Never use a grinder on head (vertical) joints—you’re sure to nick the bricks above and below them.
A heavy hammer may seem antithetical, but it gives you more control over your strokes. Light hammers deliver relatively little energy to the chisel as they’re swung, encouraging you to swing harder and raising the risk of accidental damage. A heavy hammer, paired with light taps on the chisel, gets the job done better with less effort.
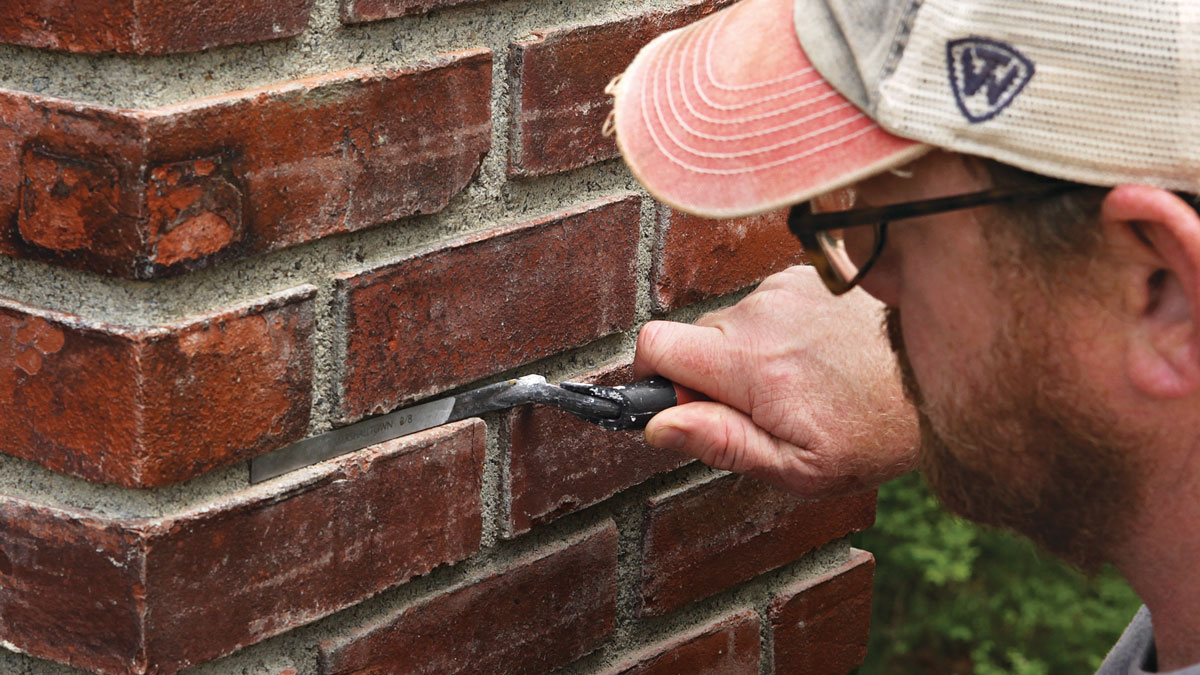
For chisels, go with something at least 1⁄16 in. narrower than the joint you’re trying to clear out. If the side of the chisel makes even slight contact with soft brick as it’s struck, the brick can chip. Angle the chisel as far away from 90° as possible while still getting purchase (around 45°), aim toward an area that’s already been cleared, and take only small bites—1⁄4 in. to 1⁄2 in. of material at a time.
|
|
|
|
|
|
Replacing Bricks
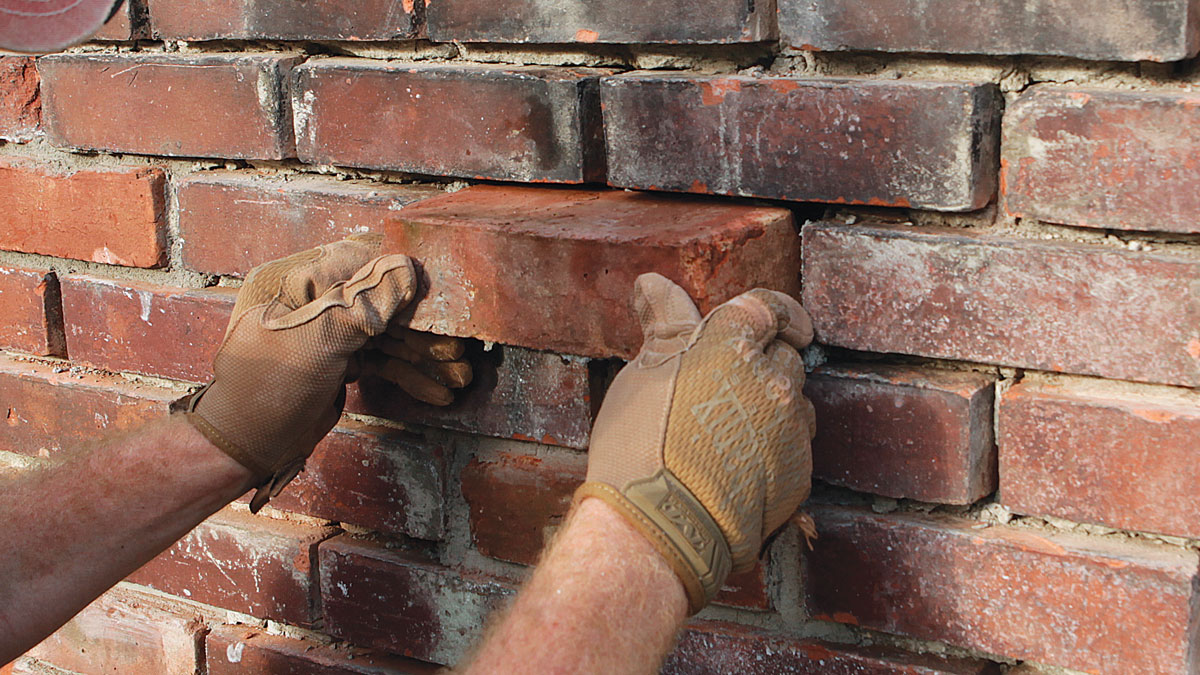
Often, if a brick’s surface is only slightly damaged, it can be worth it to carefully remove it, spin it around, and mortar it back in. I started to do that here, but the two bricks I removed were laid with that particular face out for a reason—the hidden faces were already beat up. Fortunately, I had some bricks to replace the most compromised ones in the chimney.
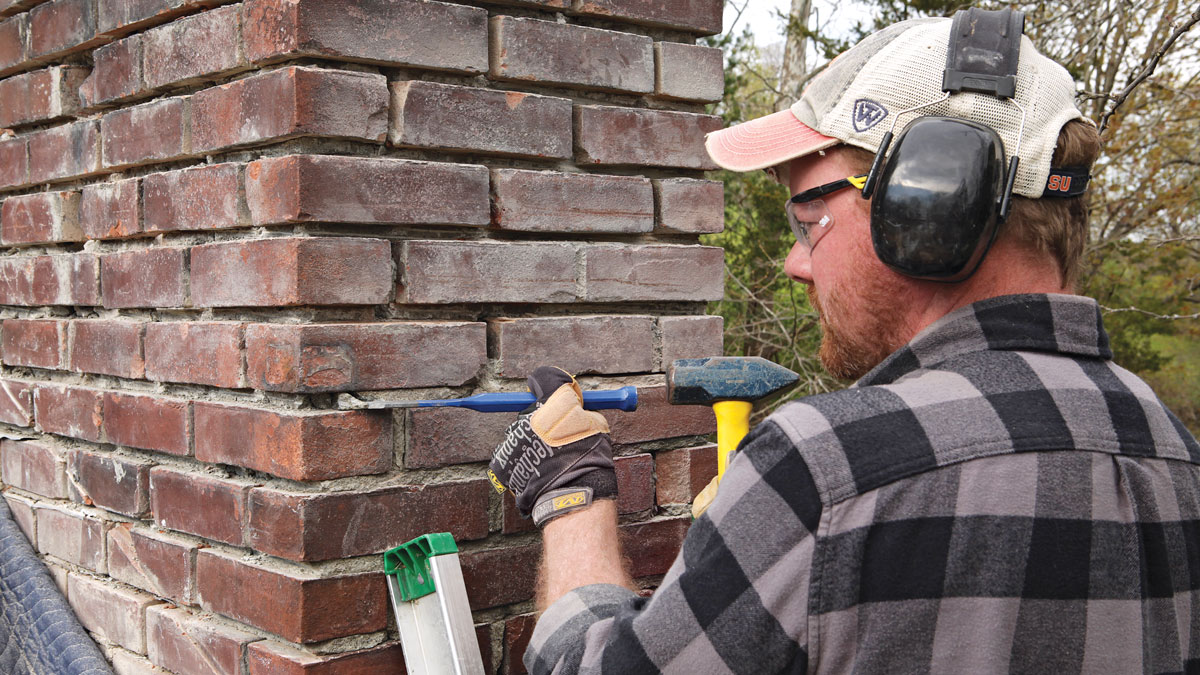
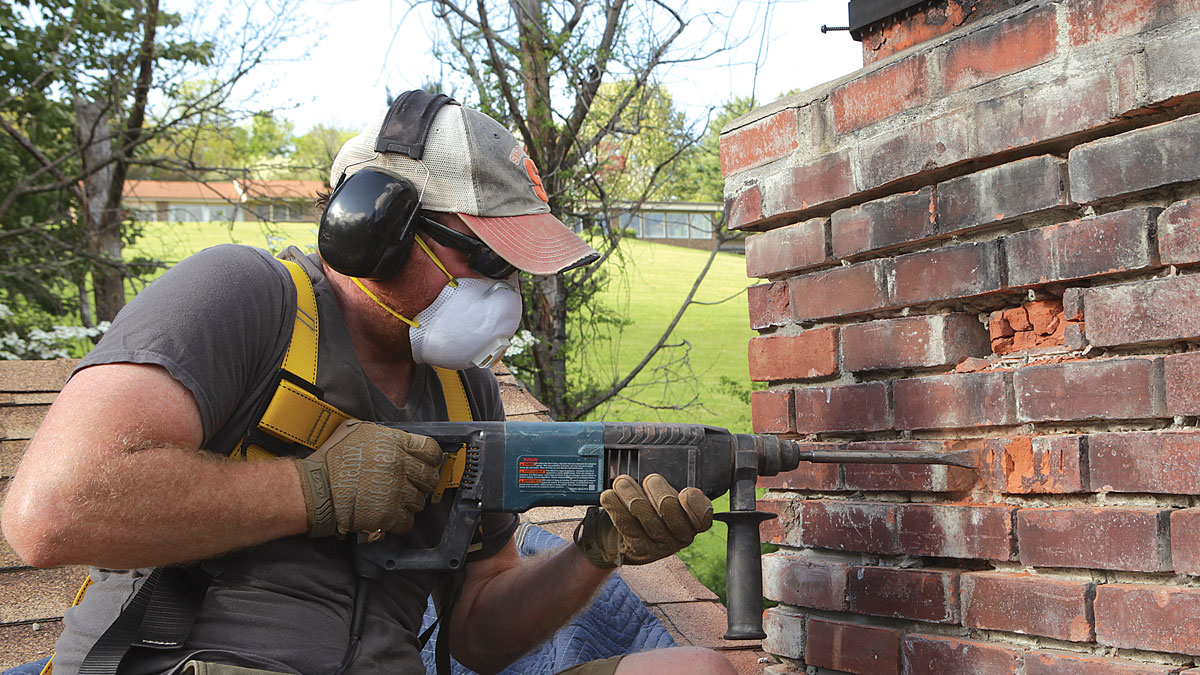
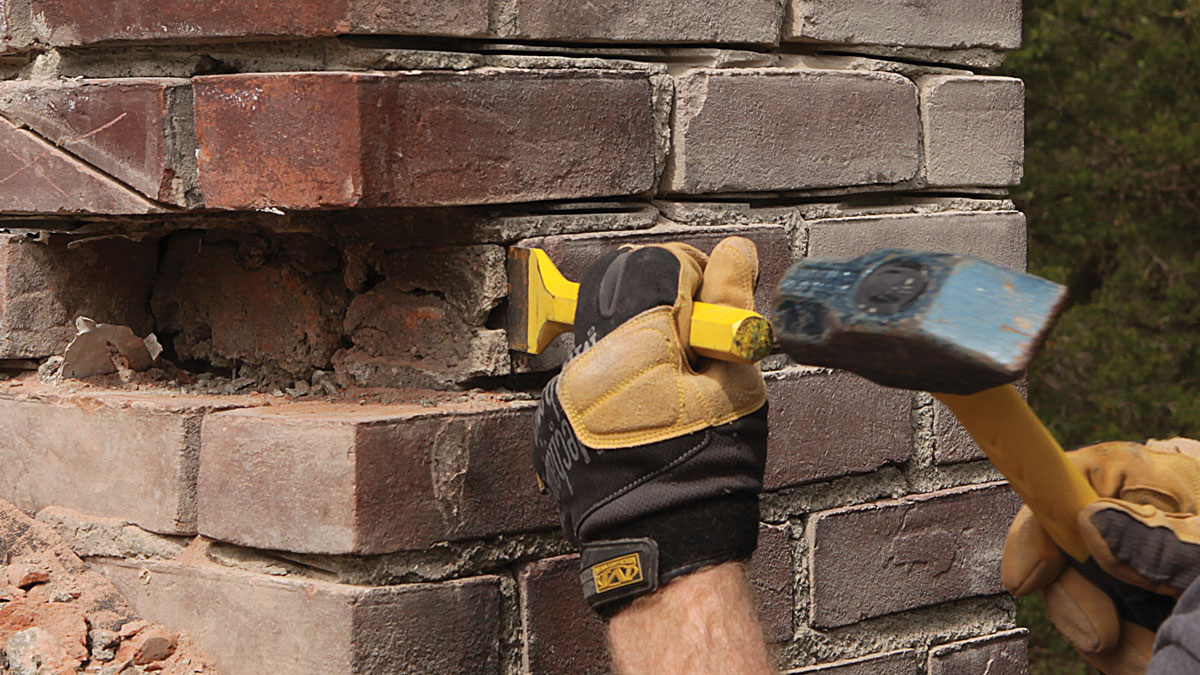
Breaking out broken bricks still takes care. A slip of a chisel or an over-deep thrust with a hammer drill can easily damage nearby bricks or the masonry flue. After each whack with a hammer and chisel or plunge of a hammer drill, remove what bits you can by hand.
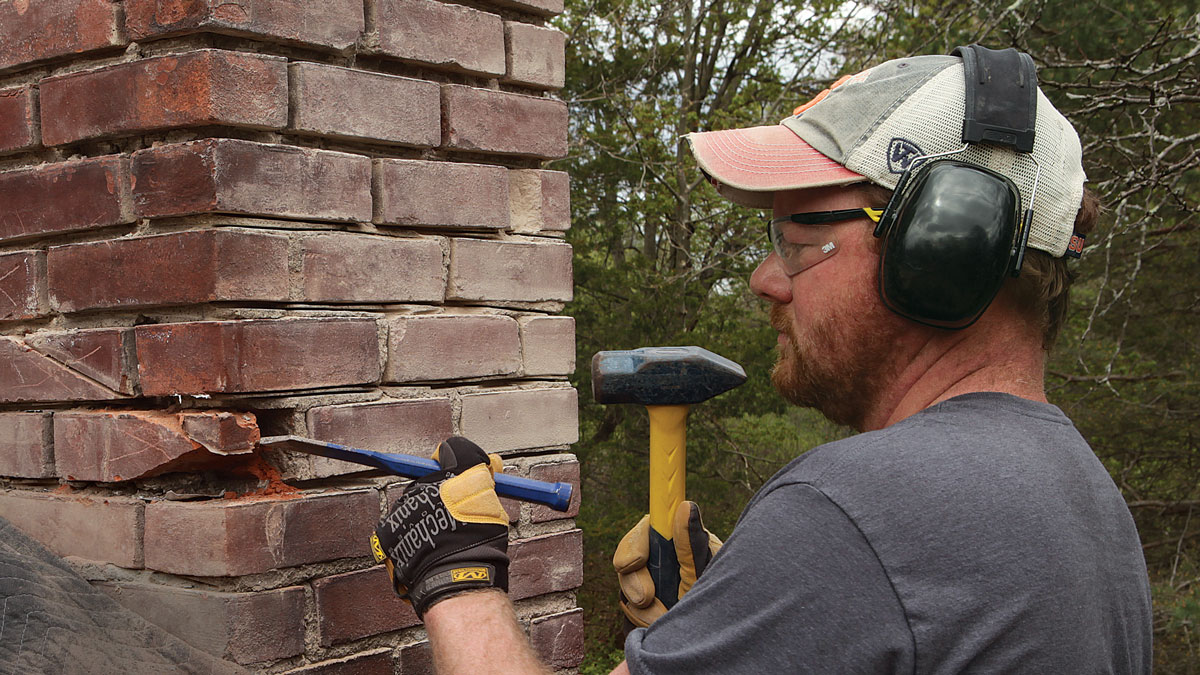
Crushed corner. Broken bricks on outside corners can be easily removed with a hammer and chisel rather than resorting to power tools. Hand tools alone generally take too long for field bricks, though.
|
|
|
|
|
|

|
|
|
|
|
|

|
|
|
Repointing Done Right
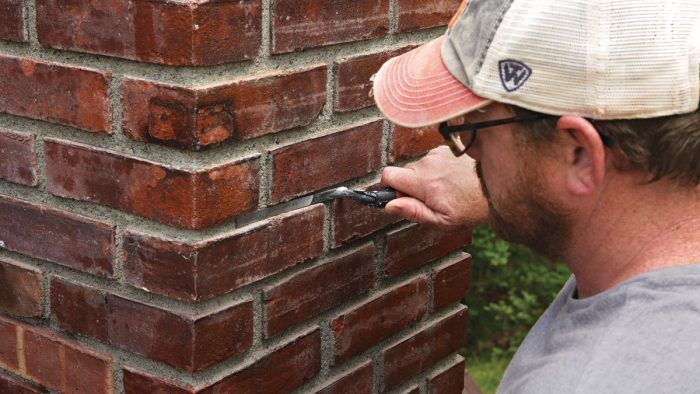
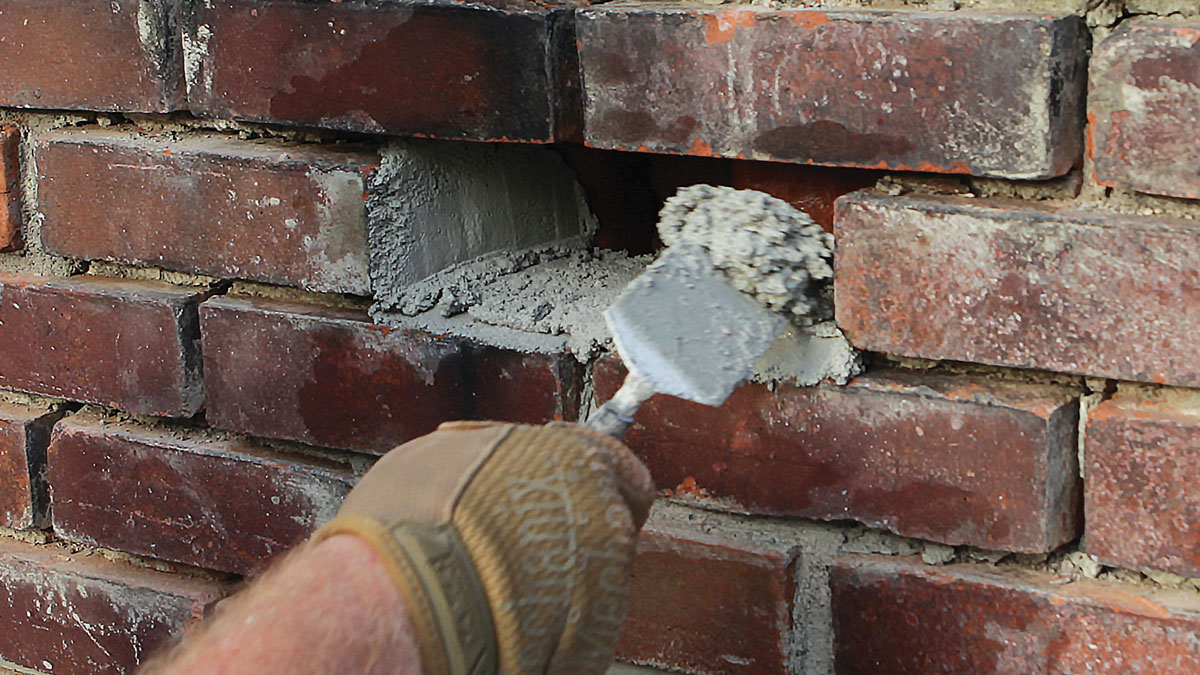
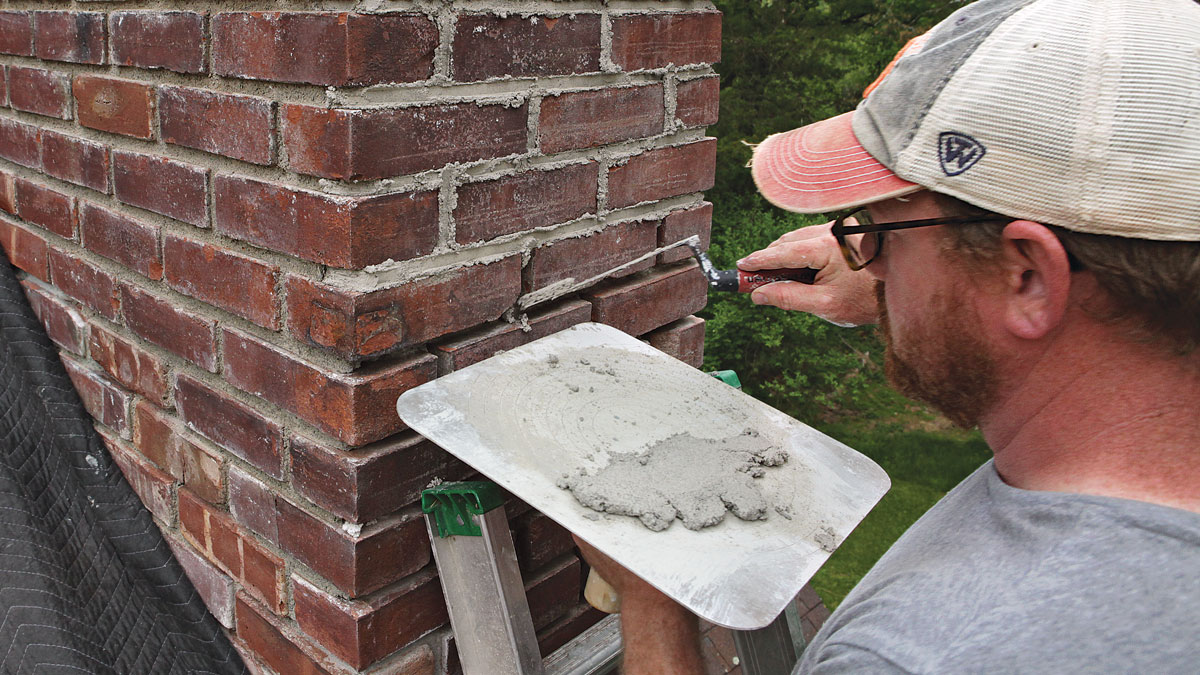
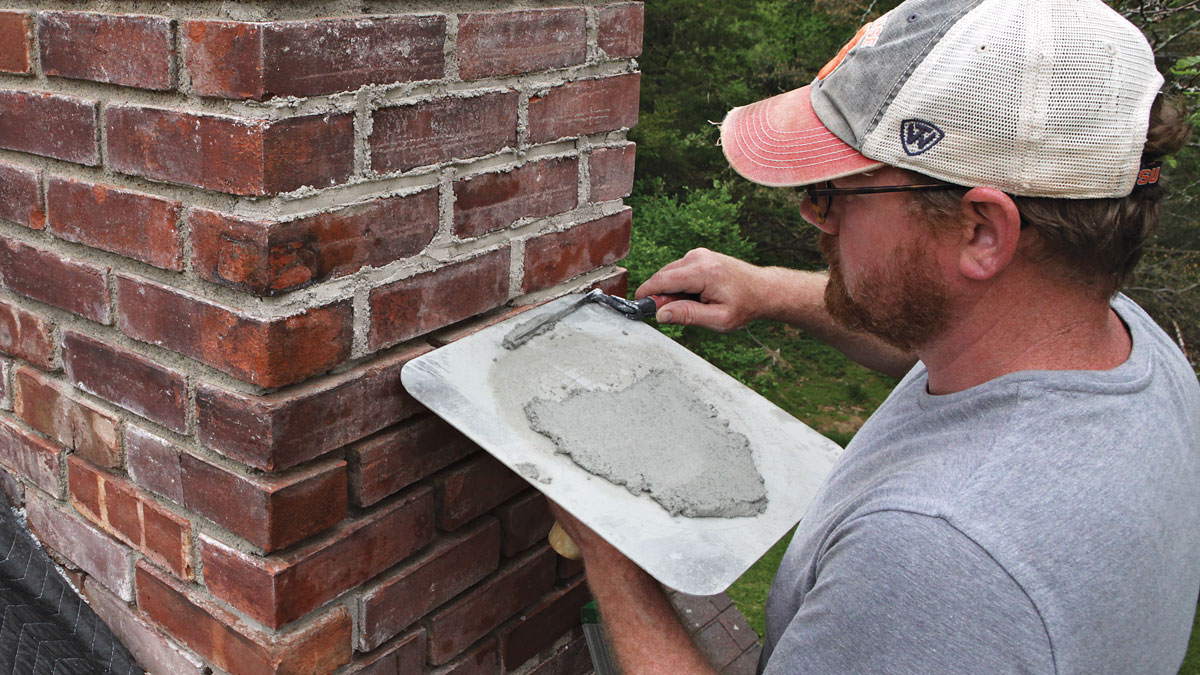
The primary tools for repointing are tuck-pointing trowels to fill the joints, and something to hold the mortar while working—I use a mortar hawk, though some prefer to use rectangular finishing trowels. I use a margin trowel or brick trowel to move mortar from the bucket to the hawk, and to flatten it into a pancake about the same thickness as the joints. This makes it easy to get just the right amount of material on the tuck pointer.
Fill joints starting from the top down so material that drops doesn’t mar your completed work, and fill the head joints before the bed joints as you progress down. Add material in 1⁄4-in. lifts. For bed joints, start at one side and work toward the other (for righties, that generally means working from right to left), and add lifts until the joint is slightly over-full. This helps ensure no air gets trapped in the joint, which can weaken it. When replacing bricks without repointing, use the same techniques to fill and finish the top and side joints.
|
|
|
|
|
|

 |
 |
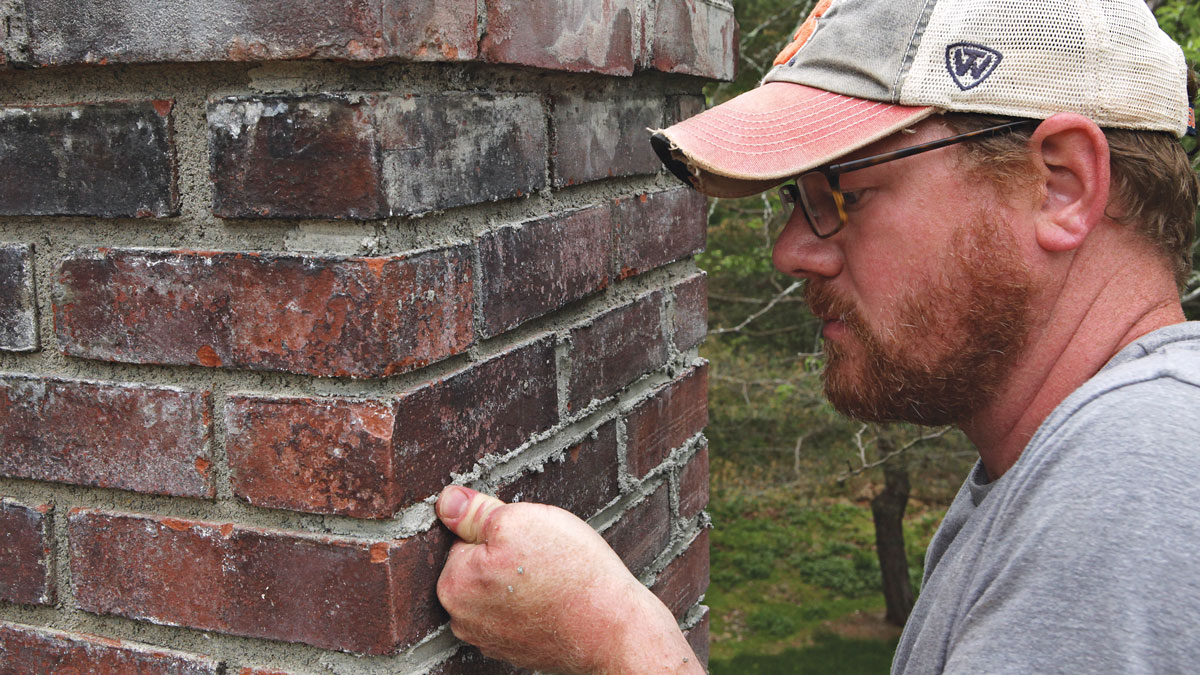
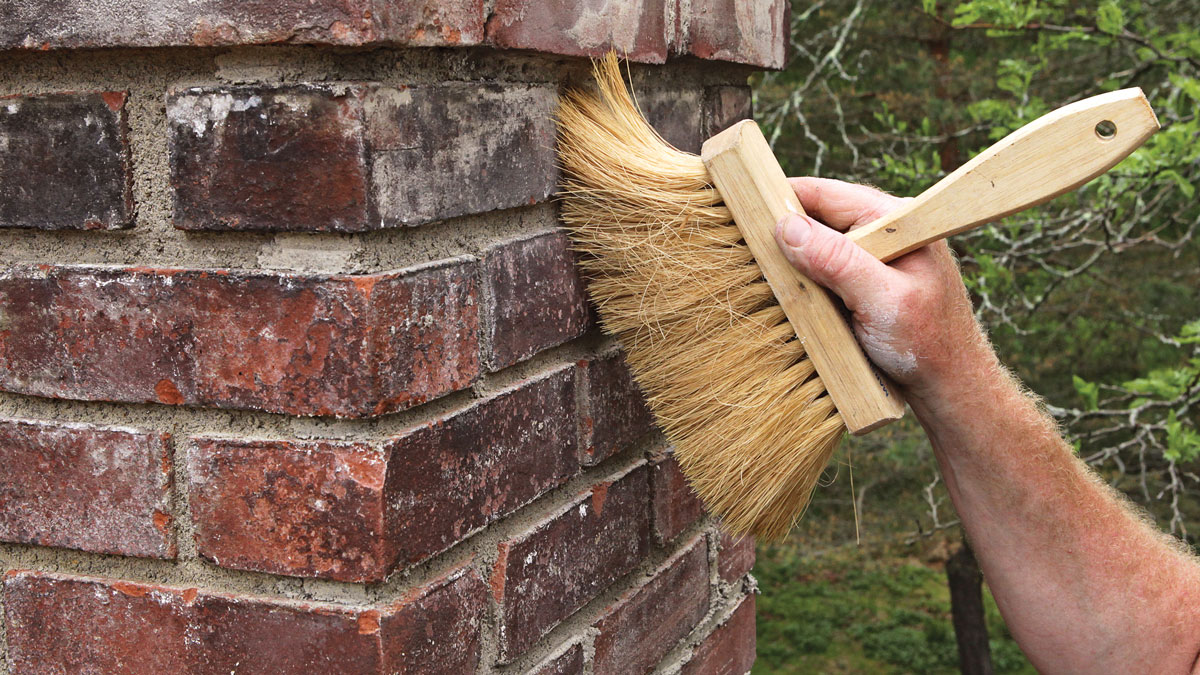
Final consolidation. After raking, use a brush to clean up the joints, and then tool the joint faces to consolidate them.
Mixing Mortar
If you’ve never repointed before, it’s surprising how little mortar it takes to fill in those joints you just took hours or days chiseling out. A 3⁄8-in. joint excavated 3⁄4 in. deep requires about one 80-lb. bag of mortar per 40 sq. ft. of surface area. On this project, I had roughly half that much area to refill with mortar.

Because the volume of mortar needed is so small, it makes sense to mix in small batches. I can’t say this enough: Always use a mortar that is softer than the brick. There are three main types commonly available—from hardest to softest they are M, S, and N. All of these contain Portland cement, hydrated lime, and sand. Both Portland and lime are binders, but they have different characteristics. Portland cement increases the mortar’s compressive strength, but can make it brittle and unyielding. Lime produces lower compressive strength, but increases bond strength and flexibility, and it can self-heal small cracks. Type M typically has three times more Portland than lime, while type N has equal parts Portland and lime.
Don’t use Type M or S mortars for repointing. Type N mortar is usually the recommendation for American brickwork built after 1900. It’s softer than most, if not all, modern brick. For older brickwork and historical buildings, you likely need even softer mortar—Type O, which has only a small amount of Portland, or lime mortar without any Portland at all. Typically, these are mixed from raw ingredients on-site and aren’t available bagged.
Mix mortar in a clean bucket. If using a bagged mix, measure out the amount needed into the bucket, add just a small amount of water, and begin mixing—you can use a margin or brick trowel to mix, but I prefer to use a right-angle drill with an eggbeater drywall mixer. Add water a little at a time, mixing until the mortar can be formed into a ball that holds its shape. Follow the directions on the bag if they vary from this, and make sure to pay attention to guidance on mixing and wait times. Mixing guidelines differ, but some bagged mortars require a wetting and waiting period to allow the lime and cement to fully hydrate. Once a bagged mortar is wet, there’s a limited amount of time before it has to be used. Don’t mix more than you can use within the working limits printed on the bag.
Here I mixed my own lime mortar from mason’s sand and Type S mason’s lime, which is a dry, bagged, hydrated product. I measured out the dry ingredients carefully—my mix is two parts sand to one part lime. I mix the dry ingredients together, then add small amounts of water and mix for at least 10 minutes. When I can form the mortar into a ball that doesn’t fall apart, I cover it and let it sit in the bucket for anywhere from a couple hours to a couple days—as long as air can’t get to it, it won’t harden (another benefit of this mortar). When I’m ready to use it, I check the consistency and add a little more water if needed. It should be just wet and tacky enough to stick to the tuck pointer so I can easily transfer it to the vertical joints without dropping it, but no wetter or it will smear the brick.
More about working with brick:
Brick Chimneys Are Incompatible With Airtight Homes
Build a Fireplace, Brick by Brick
To view the entire article, please click the View PDF button below.
Fine Homebuilding Recommended Products
Fine Homebuilding receives a commission for items purchased through links on this site, including Amazon Associates and other affiliate advertising programs.
Flashing Boot Repair
Flashing Boot

Roof Jacks
