Podcast 261: Leaky AC-line Boot, Cold Kitchens, and Building Workshops
Rob, Matt, and Patrick hear from listeners about sawhorses and thermal bypasses before taking questions about a leaky flat-roof penetration, air-sealing board sheathing, and building woodworking shops
Follow the Fine Homebuilding Podcast on your favorite app. Subscribe now and don’t miss an episode:
 |
 |
Ian and Rob share some thoughts on sawhorses. Rob reminds us about frozen pipes and basement bypasses. Phillip weighs in on our advice for Corey. Jack is looking for a way to correct a tragedy of refrigeration and roofing. Jon is looking for air-sealing and insulation advice. Scott asks about building a small workshop. Wade has bigger workshop plans.
Editor Updates:
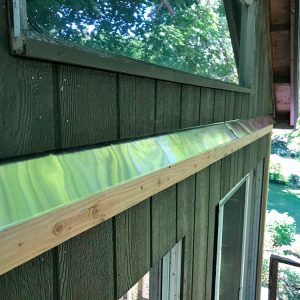
Matt: Gazebo
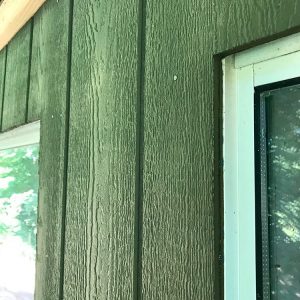
Rob: Barn siding
Jeff: Endless window repair project
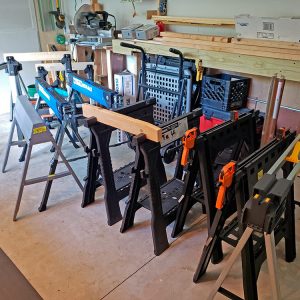
Patrick: Porch repair and sawhorse test
 |
 |
 |
Listener Feedback 1:
Ian writes: I’ve been using my father in law’s Trojan miter saw stand for the last few weeks, first siding his house and now siding the sister in law’s debacle of an assemblage. I dig the Trojan set up. Expensive, yes. But the F.I.L. has had his setup for 20+ years so that has to count for something.
After listening to the latest episode of the roof assembly podcast I’ve been thinking about your lack of enthusiasm for the sawhorse writing assignment. You’ve likely landed on this idea but here it goes anyway. A sawhorse says a lot about its user in the same way a hammer does, which makes it hard to write about. Too personal. Too revealing.
Personality revealed based on sawhorse choice.
Makes their own from on-site scrap: Throws out at the end of the job. – I am a poor planner. I live in the moment. I am also frugal. I know how many fasteners I’ve used in every job. What other tradespeople think of me has never crossed my mind.
Makes their own from Premium materials: Signs, dates and keeps the sawhorse. – I embrace the craft angle of the trade. I went to bed last night thinking about building a sawhorse. I am elitist and think everyone should make their own horses. I fancy myself an artist. I am frugal but not grew up during the depression frugal. I desperately want to be looked up to by other tradespeople but I refuse to admit it.
Buys cheap-o plastic sawhorse: Repairs as needed with whatever is at hand. I am probably a painter. I am a cheap MoFo. I glue my boots back together when the sole falls off. I am very patient. Despite my ragged appearance I do high quality work.
Buys mid-range folding metal sawhorse: I have too much going on and too many projects in my head to waste time building a sawhorse. I lack patience. I believe time is money. I usually don’t leave enough time at the end of the day to clean up. I prefer to use my own tools rather than my employer’s.
Buys high-end fancy sawhorses: I must be the guy on the job with the best of everything, preferably two of each. I am the job site know it all. I refuse to use any tool that is not my own. I am likely a bastard to work with. I buy once cry once.
This managed to entertain me greatly while I lied awake at 1am….
Listener Feedback 2:
David writes: For what it’s worth I use the plastic/aluminum adjustable sawhorses quite a bit. They’re light and easy to throw in the truck or move around the area I am working.
I also have two sets of the Trojan sawhorse legs that I really like a lot. You need to watch your fingers setting them up and taking them down but they are just so strong and stable that I find them hard to beat. Used them throughout the gut and renovation of our house over 12 years ago and then they sat outside with the same 2×6’s on them for about 10 years. I would pull them over to my work area when needed and they never failed.
Thanks, and love the show. Brings me comfort knowing that I’m not the only one who hasn’t finished their house yet and that I’m not the only one with weird house problems.
Related links:
Listener Feedback 3:
Rob writes: Hey all, Listening to the podcast and the talk of air-sealing bypasses in the basement has come up a few times. While this can be a great way to keep moist air out of the attic, it’s best to be mindful and remember the house works as a system so anything you do in one part of the house will have an affect somewhere else. A bypass going from the basement to the attic may be keeping that area (a plumbing chase for example) warm in the winter with air from the conditioned space, so if you seal it in the basement you may be blocking the heat source that kept the chase walls and its contents warm and allowing all the cold air from the attic in the winter to fall into this space. So, while you may be keeping the warm moist air off your roof deck in the winter, now you’ve got cold walls on all of these connections which could lead to a whole new group of problems including mold, frozen pipes, etc.
Just some air-sealing food for thought, keep up the good work and stay safe!
Related links:
Listener Feedback 4:
Phillip writes: What’s up FHB crew? I was pleasantly surprised while listening to the latest episode (#257) to hear that Corey had written in about his house. He seemed so interested in the science of how his house worked, I explained what I could, in the time I had (free estimate) and then pointed him towards your podcast. I’m glad to hear that he took that advice.
Your analysis was spot on. His basement is a concerning source of moisture and would only make things worse if we foam his roof deck. In the spirit of “keeping craft alive” I did give him a DIY path to fix his house as well. foam board and rockwool in the attic and drylock for moisture in the basement, along with gutters and French drains.
You mentioned A third party energy audit which I’m all for, except the 2 auditors in this area are the 2 sprayfoam contractors he’s already talked to.
Thank you so much for being a reliable source of information that I can recommend to homeowners like Corey.
Related links:
Question 1: How can I install a pitch pocket around existing plumbing penetrations on a flat roof?
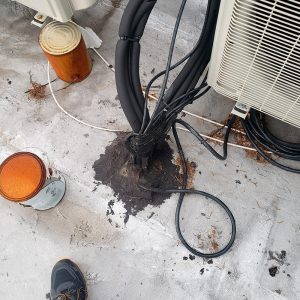
Dyami Plotke of Roof Services Deer Park, NY responds:
1). The important part about pitch pockets with multiple lines is that sealant needs to be installed between them and needs to be installed directly to the tubing or conduits (not the insulating foam). To do this I would carefully remove the existing pitch pocket around the lines, then cut off the foam within 3” of the roof. Gently pull the lines apart to get as much distance between them as possible. If there are gaps where sealant could run into the building, caulk them with ChemLink M-1. Then install a new target patch on the roof if needed for the new pitch pocket. Finally, install a new pitch pocket with pourable sealer. The pourable sealer should be able to flow between all of the conduits in order to properly seal.
2) When working with mechanical contractors, we explain that each line must be run through its own hole in the roof. The lines must be run through without insulation. The holes must be about ¼” bigger in diameter than the respective line. There should be 1” of clearance between each line. The lines should be arranged in a triangle or square, to keep the dimensions of the pitch pocket reasonable. The easiest way is if the mechanical contractor seals them with clear silicone caulk. That will temporarily seal them until the roofer can seal them permanently. The silicone is easy to remove and then a proper pitch pocket can be constructed around them. The pitch pocket should be consistent with the type of roof.
For the smooth APP modified asphalt roof in the photo, I would recommend a ChemLink Chem Curb or E-Curb. Both require a patch of granule surfaced modified asphalt to be installed around the lines first.
Related links:
Question 2: How should I air-seal and insulate the wall cavities behind my board sheathing?
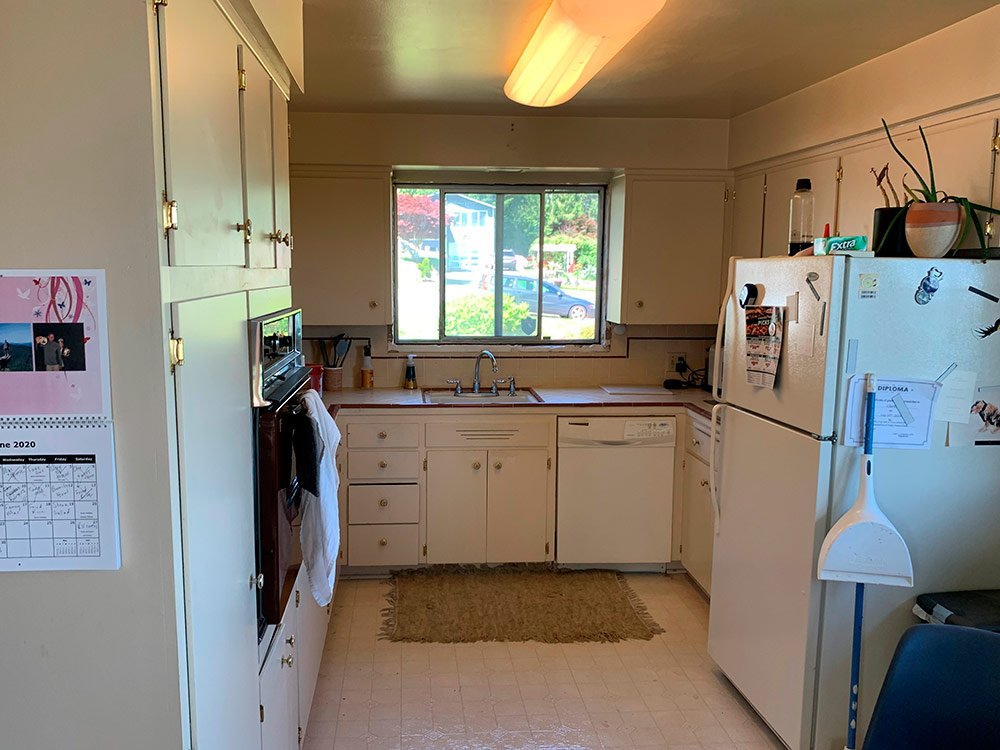
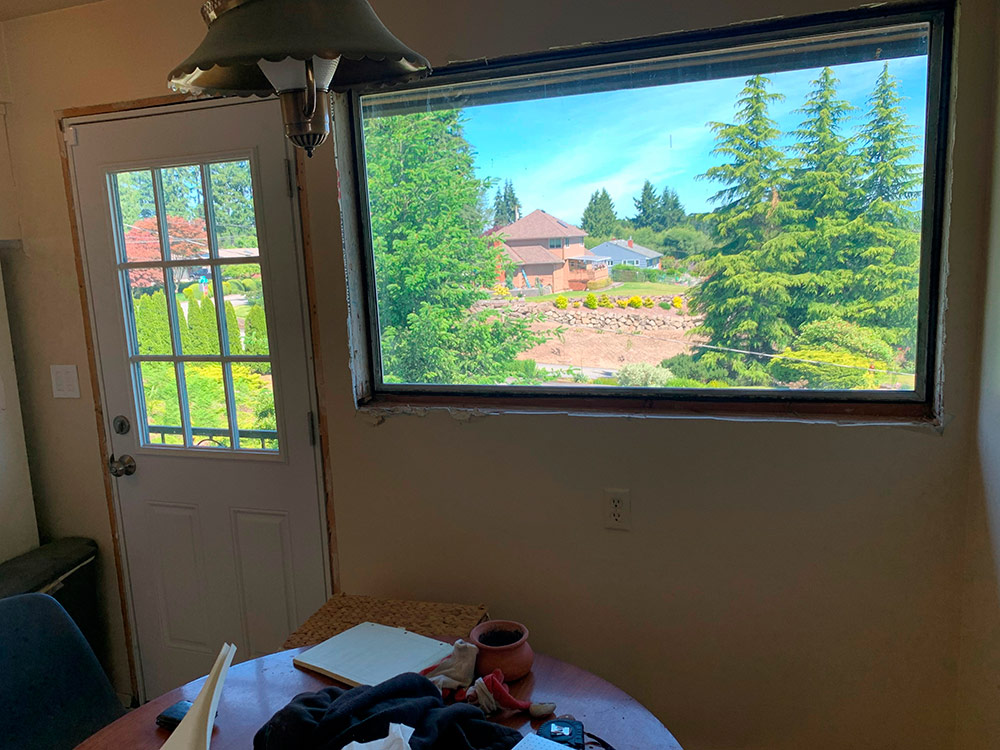
Jon from Everett, Washington writes, What up fine airsealing crew?? My wife and I are remodeling the kitchen in our mid century ranch located in Everett, Washington. The kitchen is located on the northwest corner of the building and above a daylight basement. In the winter the kitchen is one of the draftiest and coldest rooms in the house.
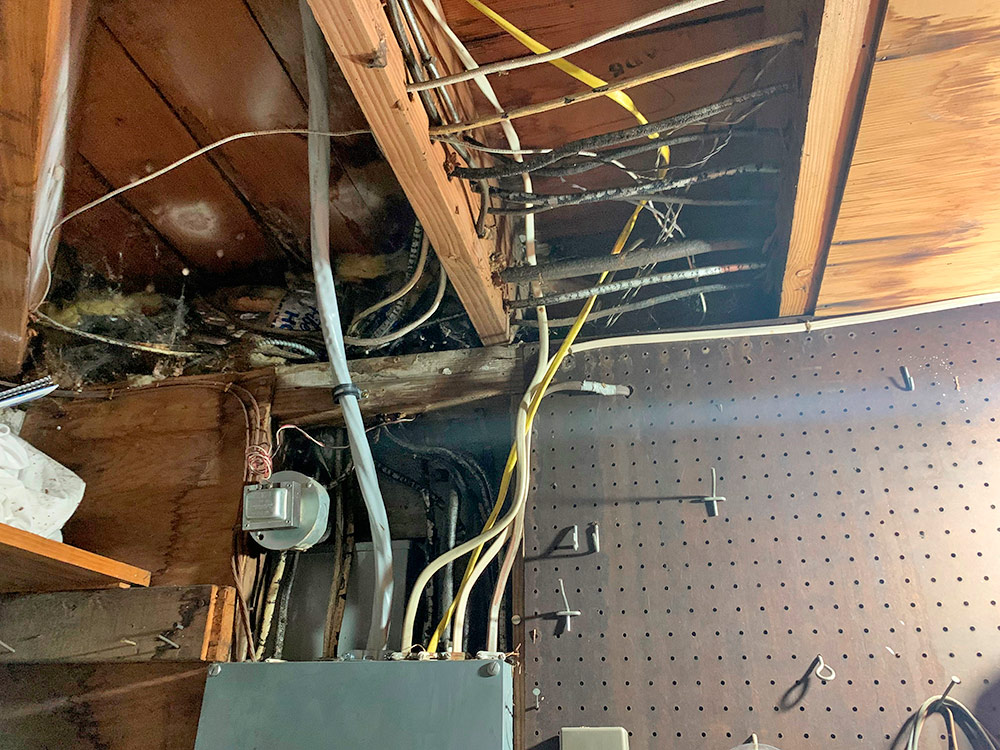
I will be replacing the windows and door on to the deck which have no insulation in the gaps currently which should improve things somewhat, and after the work is done will insulate the rim joist below wherever possible but it may be difficult as the electrical panel is located on an exterior wall directly below the kitchen. There’s a lot of plumbing and electrical work going through these walls so I’m hesitant to encapsulate the entire rim in spray foam in case anybody needs access to it.
My main question is regarding air sealing the tongue and groove sheathing on the exterior kitchen walls. As we’ve been remodeling the house I’ve been trying to insulate and air seal when possible, but this is the first time we’ll be going down to the studs on a large area. What would the best method to DIY air seal these cavities? Flashing spray foam would be ideal but I haven’t heard good things about those kits, Caulking/taping the seams sounds like a pain in the ass, would cut and cobbled rigid foam sealed with canned spray foam around the edges be a reasonable air barrier? I’d likely go in and fill the rest of the 2×4 cavity with whatever fluffy stuff fits to finish it off. The exterior assembly is tarpaper over the sheathing with cedar bevel siding if that info is needed. Thanks for the help, the show rocks!
The kitchen is on the left side front corner of the house in these photos.
 |
 |
 |
 |
 |
 |
PS: The house isn’t stealth fighter black, it’s a dark navy blue that doesn’t photograph well on the iPhone. Last summer after I painted it a neighbor rolled by and asked me if we got out of the fire ok. He thought the newly “black” house with masking all over the windows with charred “black” overspray was the result of a house fire…
Related links:
- How to Insulate Walls With No Sheathing
- How to Insulate Your Rim Joists
- Cut-and-cobble stories on GreenBuildingAdvisor.com
- Thermo-Ply Structural Sheathing by OX
Question 3: What’s the simplest way to build an affordable backyard woodshop?
Scott writes, I’d like to build a 14’x28′ (392 sqft) accessory building woodshop in my suburban backyard on a cheapskates budget. I was thinking of buying a prebuilt and delivered “Amish” shed, but with no drive access I’ll be building it myself. For me it will be a dedicated woodshop, Zone 5, mini split conditioned, and I know I want a wooden floor. I can’t justify the cost and complexity of pouring a FPSF or even a simple pad, only to build a wooden floor on top of it. Additionally, my city has no specific foundation requirement under 400 sqft. and there is no HOA in my older neighborhood. For resale value, it would be nice if it was built well enough for an in laws unit, but I will not be putting in plumbing for my usage as a woodshop. I’m mulling two options:
1) Stick built, Skid foundation on a gravel bed. This version appeals to me as my lot has an ideal slope and I’m more experienced in stick framing and shed building. Here’s some details:
• Skids on gravel bed framed in with PT border timbers.
o I’m thinking of setting a few concrete piers and post ties level with the gravel , does this add any value to the buildings integrity? Would anchoring just the corners suffice or does it need additional in the center of the building? What’s a reasonable size limit of a skid foundation?
• 2×6 or 2×8 floor 12″ OC (to support my machinery) quality 3/4 subfloor and probably a wear layer of Masonite for the finished interior, not sure how to seal up and insulate the floor
• 2×6 walls with LP smart panel siding – remember I’m cheap and this is just a wood shop plus it will match the shed right next to it. Upgraded siding can be a problem for future me, present me doesn’t have the time or budget for better options
• Air seal the back of the LP, unfaced Fiberglass batts, then maybe continuous envelope of 1″ rigid foam in the interior? Or would that cause moisture issues? Do I need plywood spacers stitched in for finish wall material mounting?
• Finished interior walls would be some type of plywood or OSB product for easy wall mounting options
2) Post frame – I’ve tried to study up on this but it’s foreign to me, especially how to implement a wood floor without pouring a slab. How would you go about finishing the interior for my purposes?
Thanks!
Related links:
Question 4: How can I build a big workshop addition so it won’t clash with my smaller house?
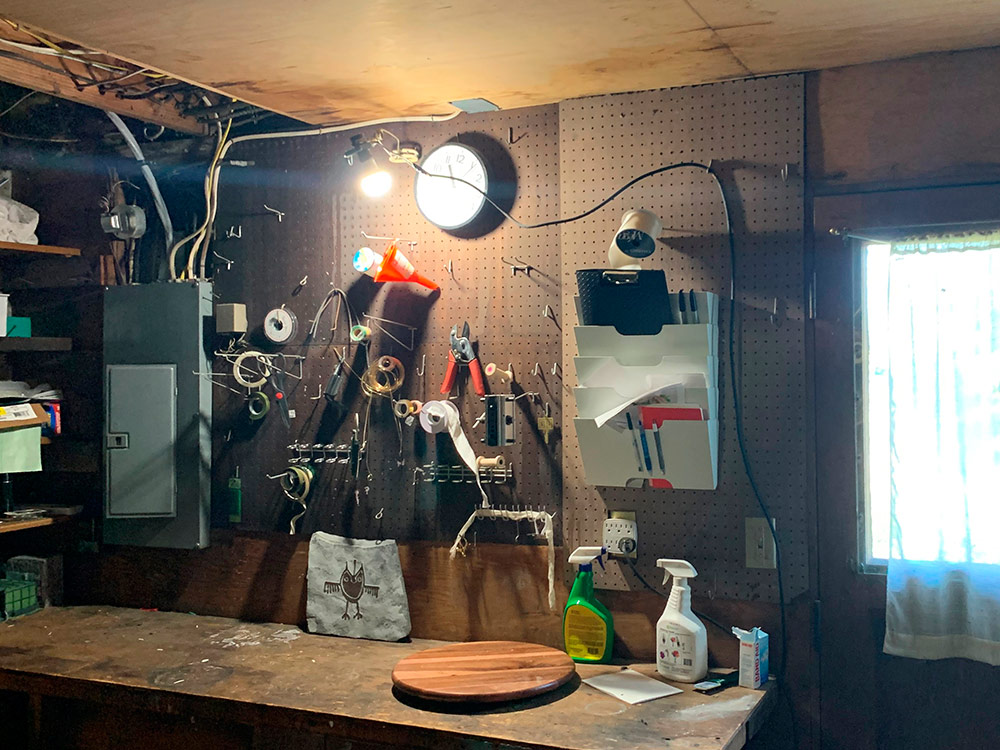
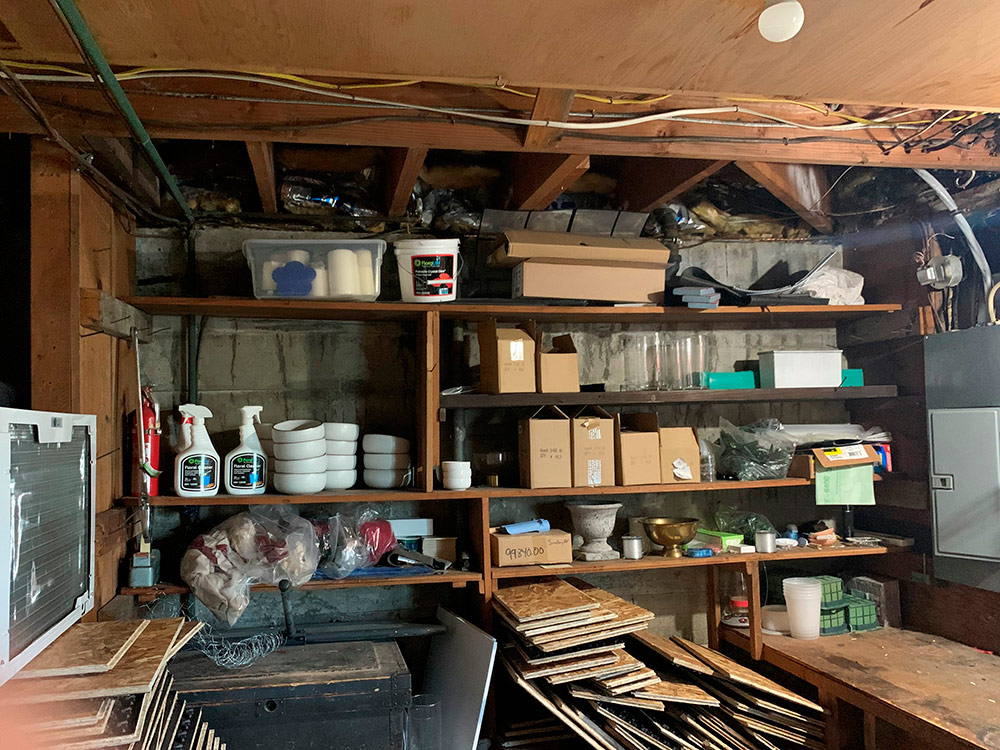
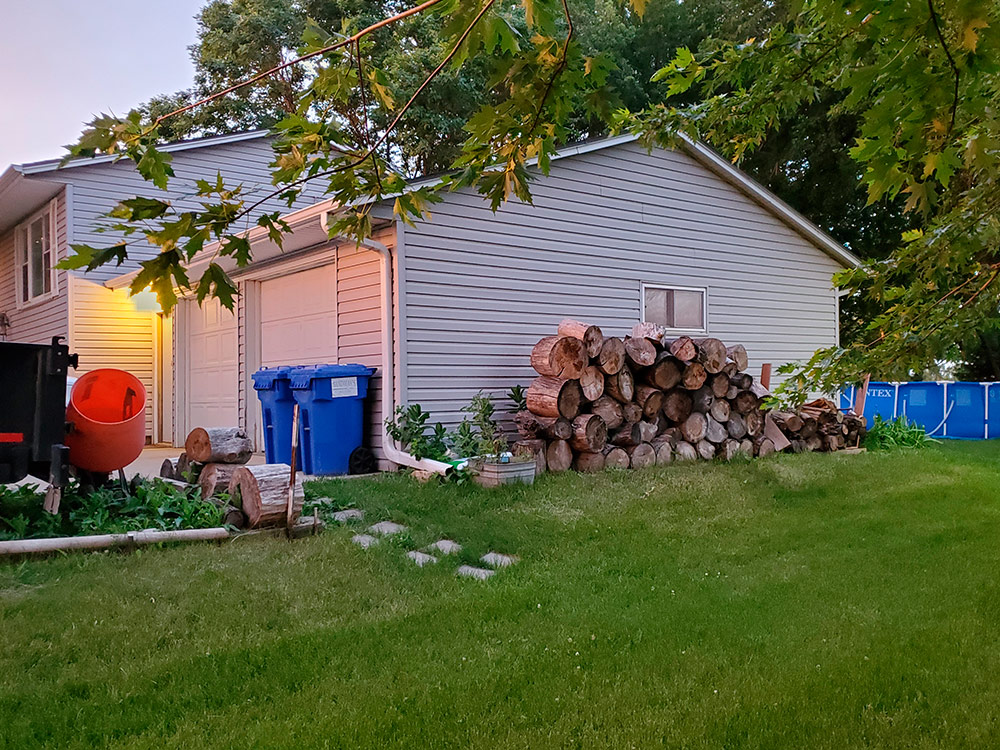
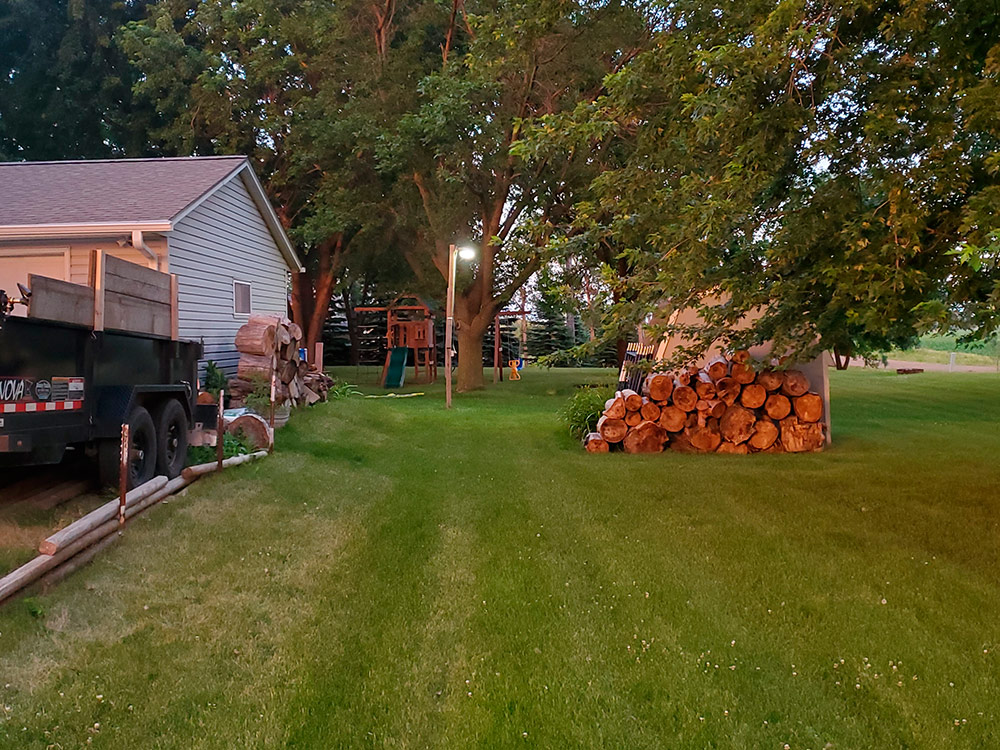
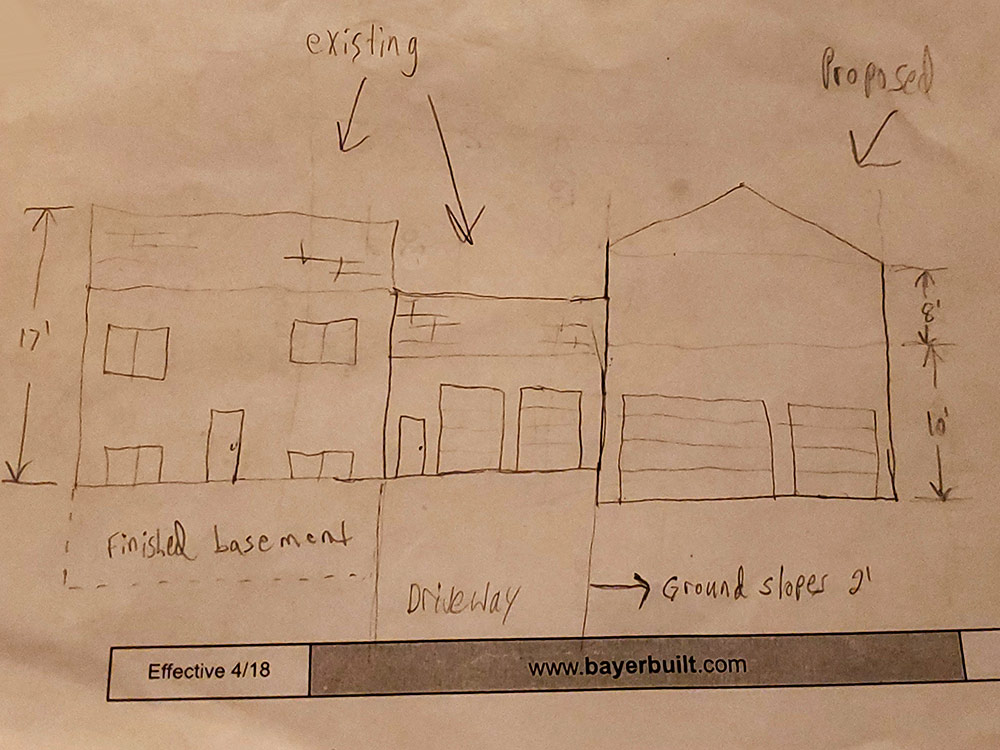
Wade writes, Hello FHB podcasters! Big fan and a long time listener. I am looking at adding on a 30′ x 50′ , 2-story shop to my existing 24′ x 24′ garage. (See attached pics and crude drawing). My main concern is the finished product looking weird due to the height. I’d like the main shop area to have a 10′ ceiling height, and the 2nd story, finished area to be at 8′. Assuming a 4-12 pitch, that puts my peak height at a minimum of 25′. If I do a step down from the existing garage of approximately 2′, which I believe I can due to ground slope, that would still put the shop peak about 4′ above my house peak. Is this a big no-no? Would love your keen insight on this. Thanks!
 |
 |
 |
Related links:
END NOTES:
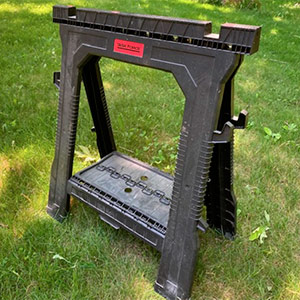
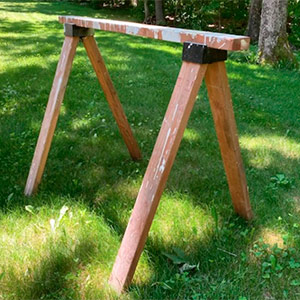
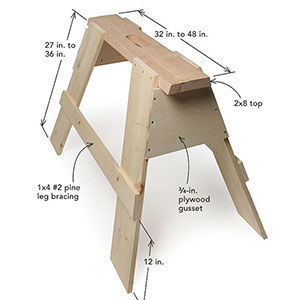
- Please tell us what kind of saw horses you like: [email protected].
- And check out our latest Project Guide: Drywall.
 |
 |
 |
If you have any questions you would like us to dig into for a future show, shoot an email our way: [email protected].
If we use your question we’ll send you a FHB Podcast sticker!
FHB Podcast T-shirts!
Represent your favorite podcast! Available in several styles and colors. Made from 100% cotton. Find the Podcast t-shirt and more cool products in the Fine Homebuilding Store.
This episode of the Fine Homebuilding podcast is brought to you by Feeney.
Today’s episode of the Fine Homebuilding podcast is brought to you by Feeney®. Who knew extremely durable top rails could look this good? DesignRail® from Feeney makes it easy for you to bring your vision to life with its wood grain powder-coated top rail finish that provides an extra layer of durability, coupled with the beautiful look of wood. But don’t take our word for it, discover how Feeney can elevate any project with a Cherry, Walnut or Weathered Gray wood grain top rail.
Feeney Makes it Easy. Visit FeeneyMakesItEasy.com to learn more and find your nearest Feeney dealer.
Fine Homebuilding podcast listeners can now get 20% off anything in the Taunton store, including the The Visual Handbook of Building and Remodeling, 4th Edition.
Use the discount code FHBPODCAST to take advantage of this special offer.
We hope you will take advantage of a great offer for our podcast listeners: A special 20% off the discounted rate to subscribe to the Fine Homebuilding print magazine. That link goes to finehomebuilding.com/podoffer.
The show is driven by our listeners, so please subscribe and rate us on iTunes or Google Play, and if you have any questions you would like us to dig into for a future show, shoot an email our way: [email protected]. Also, be sure to follow Justin Fink and Fine Homebuilding on Instagram, and “like” the magazine on Facebook. Note that you can watch the show above, or on YouTube at the Fine Homebuilding YouTube Channel.
The Fine Homebuilding Podcast embodies Fine Homebuilding magazine’s commitment to the preservation of craftsmanship and the advancement of home performance in residential construction. The show is an informal but vigorous conversation about the techniques and principles that allow listeners to master their design and building challenges.
Other related links
-
- All FHB podcast show notes: FineHomebuilding.com/podcast.
- #KeepCraftAlive T-shirts and hats support scholarships for building trades students. So order some gear at KeepCraftAlive.org.
- The direct link to the online store is here.


