2019 FHB HOUSE VIDEO: Prepping for Tile
We take a look at the Schluter products used in the master bath before the porcelain tile goes down.
The interior design of the house calls for several rooms to be tiled. These tiled rooms, especially the bathrooms, are intended as focal points of the house, so proper prep for the tile will ensure these finishes have a sound substrate for years of service. For tiled floor and wall surfaces, the builder specified Schluter products. All of the floor tiles are installed over Schluter Ditra—an uncoupling membrane. The fleece bottom of the Ditra bonds to the floor while the thinset for the tile locks into the block-grid surface of the membrane. The hollow grid pattern of the plastic top sheet is able to accommodate horizontal movement so that tiles and grout do not crack as the wood framing shrinks and expands.
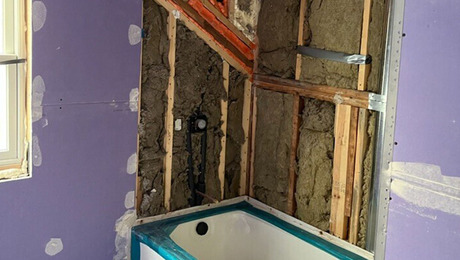
The master bath is designed as a luxurious space with a large wet room containing two shower areas, a rain head, and bath tub. Managing all of this water is critical as tile and grout are not waterproof materials. Throughout the wet room they used Schluter Kerdi, a fleece-backed, modified polyethylene membrane. The tile installers began by applying the Kerdi over the drywall substrate of the shower walls, using a 6-ft. 7-in. roll so the walls could each be covered in one continuous piece; reducing seams and the build-up of waterproofing layers.
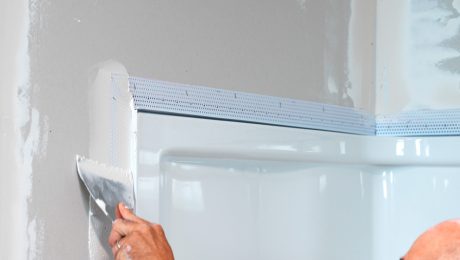
To slope the oversize shower floor to a central drain, they combined old-school techniques with modern materials. First, they made a traditional mortar bed to create a sloped shower base. Then the installers used Kerdiband strips and preformed corners to flash all of the wall-to-floor intersections and the junctions around the shower curb. Finally, the mortar bed was covered in single piece of Kerdi membrane that overlaps the Kerdi-Band flashing at horizontal/vertical intersections and integrates with the flange of the Schluter drain.
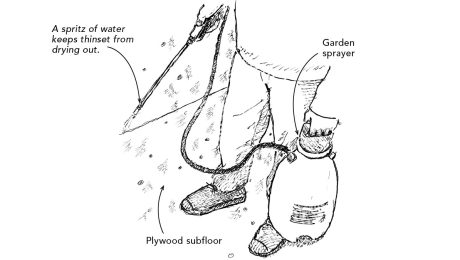
After letting the thinset dry completely, they checked the assembly for leaks by plugging the drain and filling the shower base with enough water to submerge the drain and floor-to-wall intersections. The assembly maintained the water level overnight, so it was ready for tile.
In the master bathroom, large-format porcelain tile with a marble look is used on both the shower walls and the bathroom floor. Outside the shower, each 2-ft. by 2-ft. floor tile is framed by narrow wood-grain porcelain tiles mitered at each intersection, creating a lattice pattern on the floor.
The fixtures in the second-floor common-use bathroom aren’t as luxurious as the master bath, but designer Gretchen Black came up with a creative, custom floor using relatively inexpensive sheets of 1-in.-sq. tile. Here, she removed individual tiles from the sheets of white square tile and replaced them with blue tiles in a repeating pattern throughout the room.
In the next episode, we’ll take a look at the completed home with a focus on fixtures, interior design, and the great outdoor courtyard behind the house.


