Exterior PVC Trim: Water Table and Cap
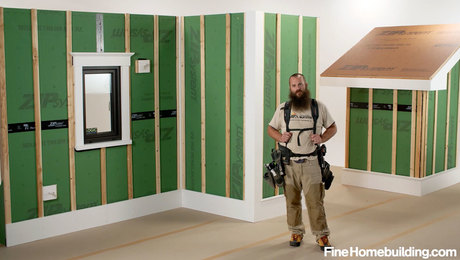
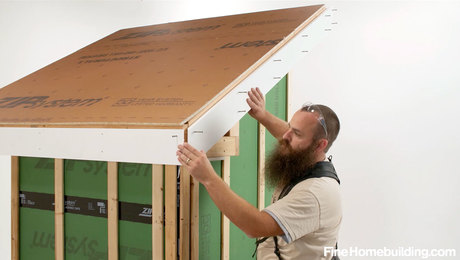
In this Shop Class video, learn how to use cellular-PVC boards and drip caps to create this traditional architectural detail that will be the foundation for your siding installation.
Sponsored by Boral
After fascias and rakes are on the house, the next place I usually start is going to be at a water table or a base of wall detail, and I’m going to set this based off of my reference lines that I shot earlier in the building process. The purpose of a water table—also called a splash board or a mud board—is to protect the lowest section of the building so when rain would hit the ground and splash back, it would hit this sacrificial piece instead of rotting the ends of your siding. They’ve just become a part of the architectural vernacular now even though today’s construction details and building materials make them less necessary from a functional standpoint.
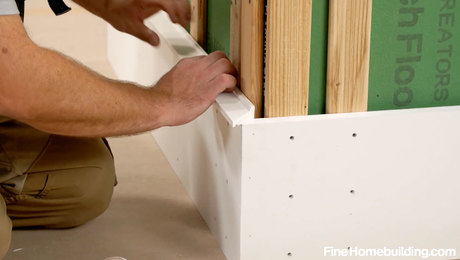
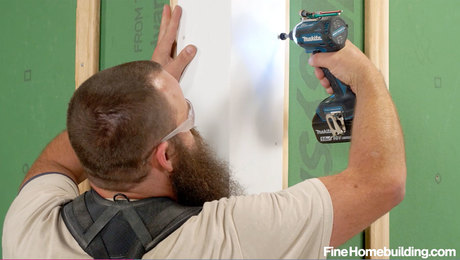
After installing the water table it’s nice to add a little bit more detail by adding a cap profile. In this case we’re using a profile from Kleer that’s actually meant to be a window head, but I find that it makes a nice detail on top of our water table. It has a built-in drip kerf on the bottom as well as an upturned leg that helps with the start of any siding above. Watch the video to see how I make all of these details fit together nicely, and to learn how to fasten everything firmly without running into problems caused by expansion and contraction.

