Layout Tools for Masonry Projects
Find out which tools are essential for keeping walls and hardscaping plumb, level, and square.
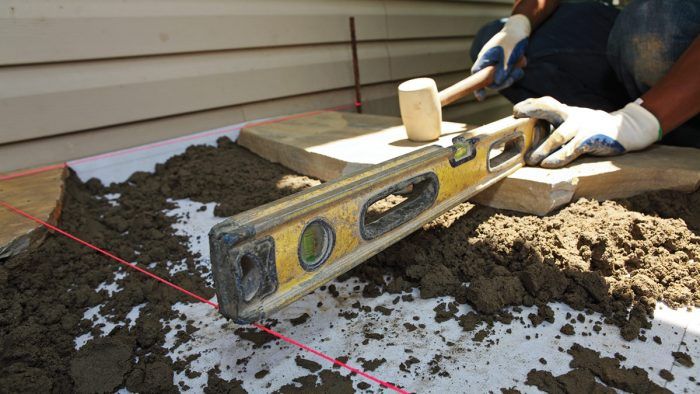
Layout tools are a mason’s secret weapon. They are the tools that make the job easier and allow the mason to deliver perfect, accurate work as opposed to mediocre work. Sometimes these tools cost a little extra, but the time and money spent to make the work precise will pay dividends in the end.
Generally, a layout tool is anything that helps you decide where to put the stones, brick, or blocks according to the plan. Measuring and marking tools include tape measures and marking sprays, masonry twine, garden hoses, and plumb bobs. Levels, lasers, and transits are also important layout tools.
Measuring and marking tools
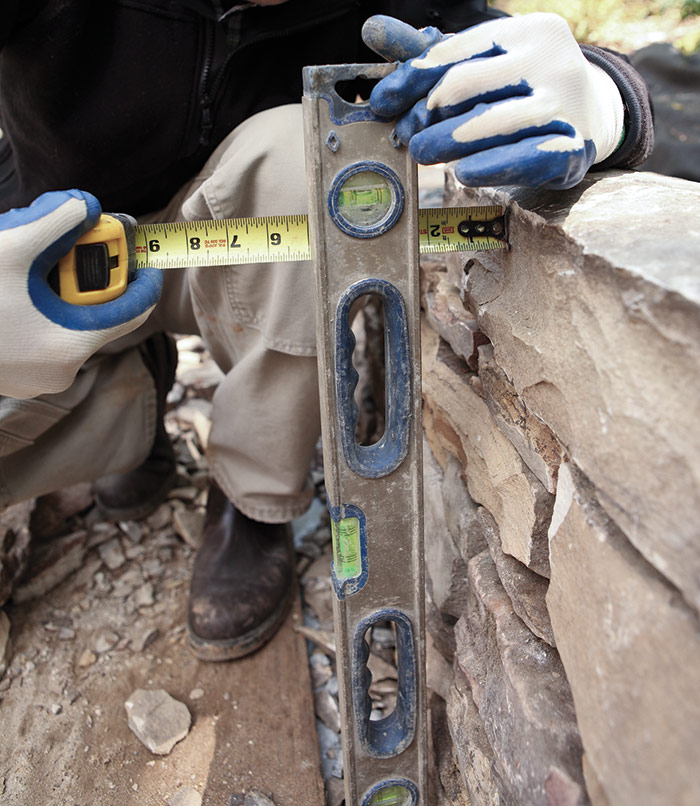
A quality tape measure is essential. Masonry work is hard on tape measures, so it’s worth spending a little extra to buy one that will last. You’ll use a tape measure for all the phases of masonry work, from planning and layout to setting capstones.
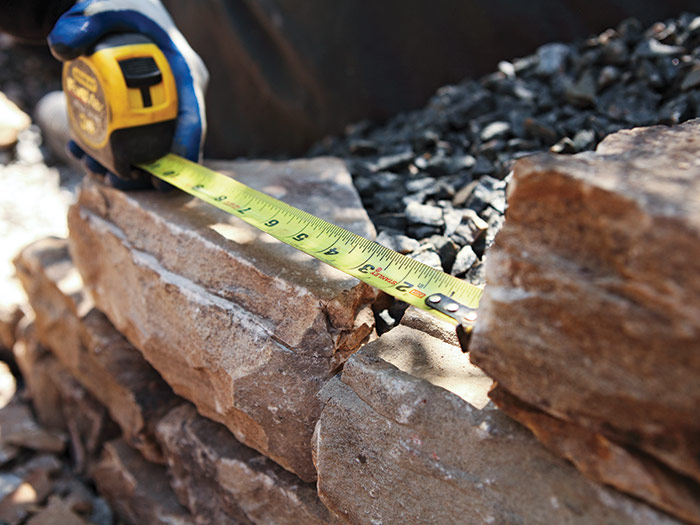
There are other measuring tools that are not essential but if you are planning on doing a lot of masonry work, you might want to invest in them or at least learn how they work. A measuring wheel (or walking tape) measures as you walk along rolling its wheel. This tool is great for measuring long walls and long brick walkways to determine how much material you will need. For more accurate measurements of long walls or walkways, an open-reel tape works great and is readily available in 50-ft. and 100-ft. lengths. A brick mason ruler is specifically designed to measure brick coursing in increments relative to brick sizes.
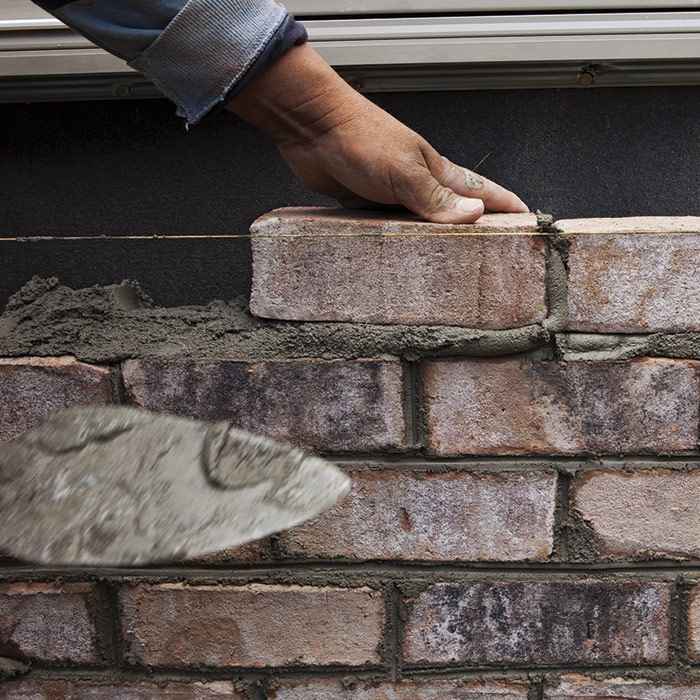
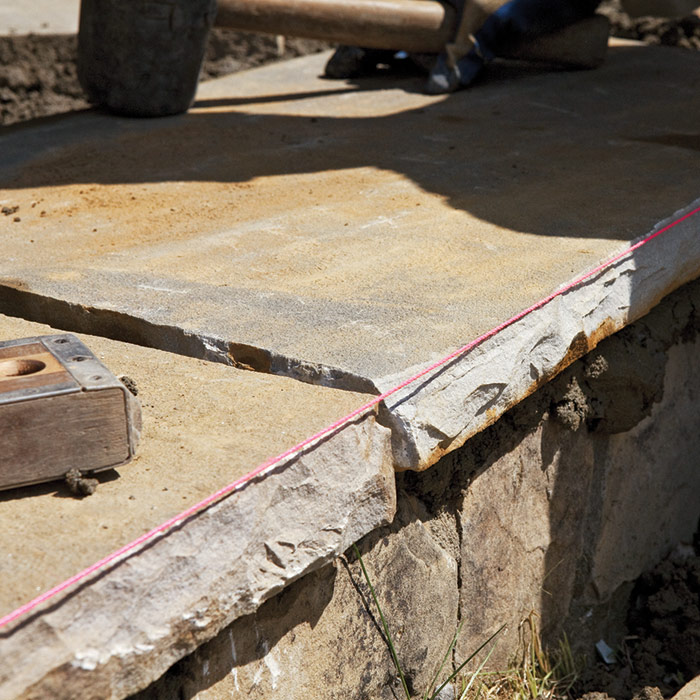
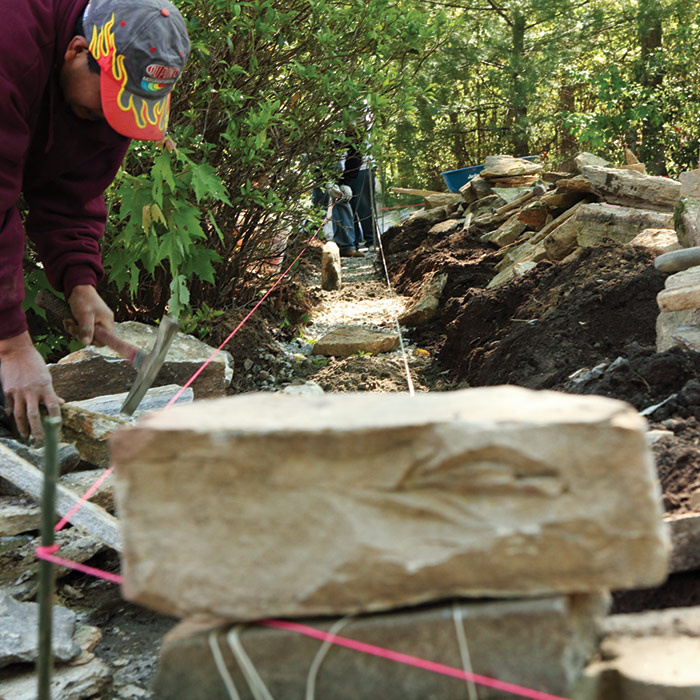
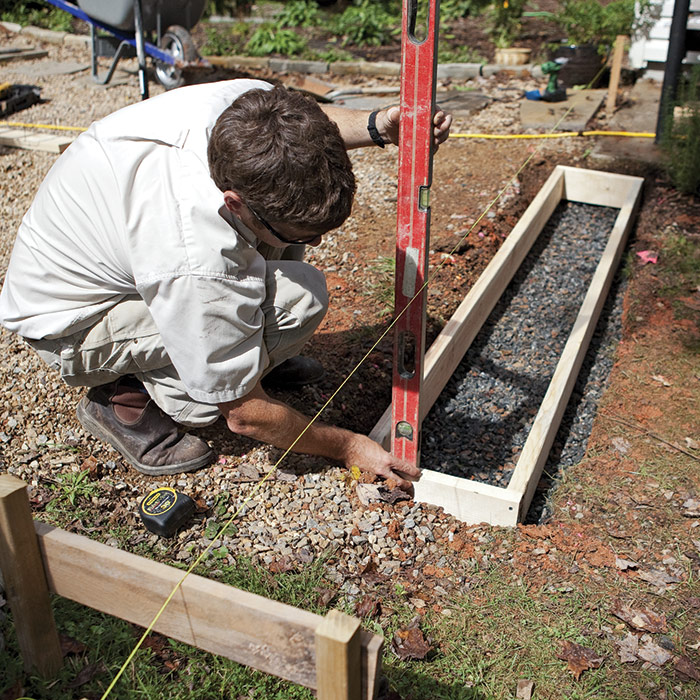
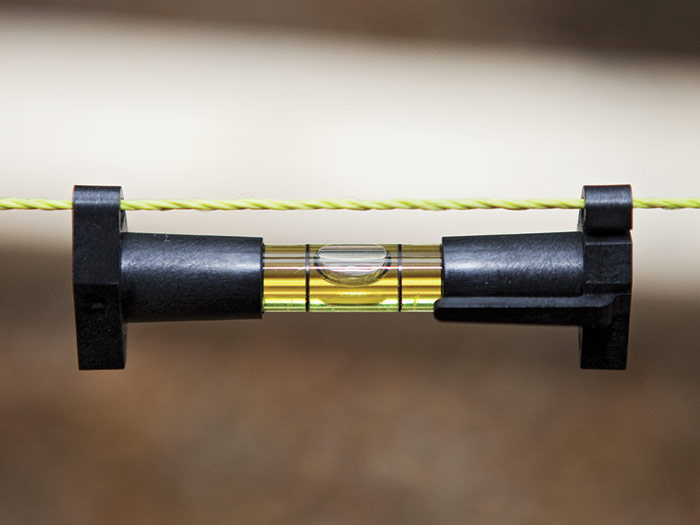
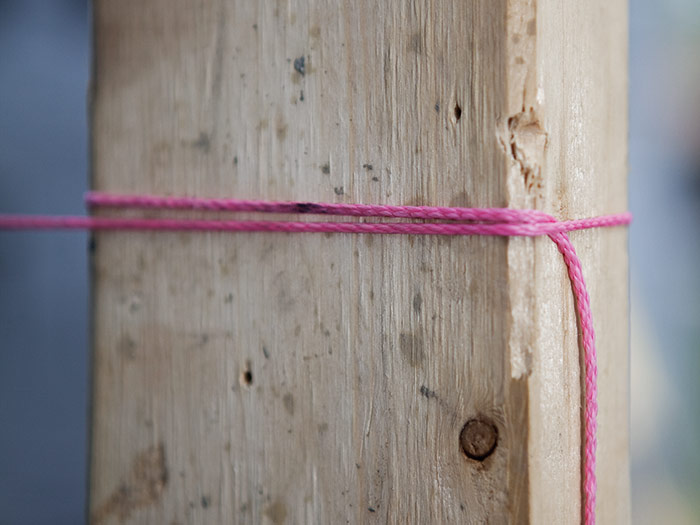
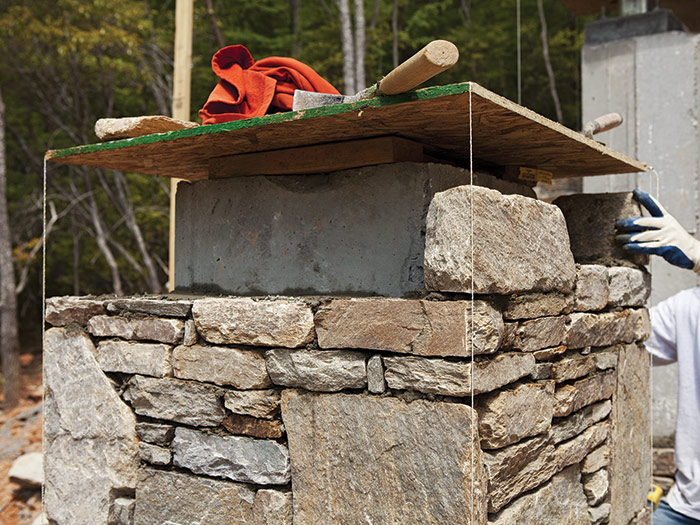
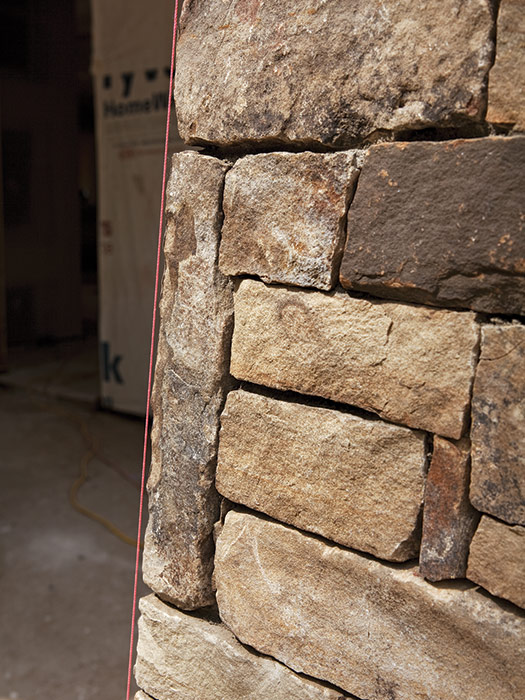
Stringlines are a necessity when laying stone corners. Nylon twine works particularly well because it allows you to stretch it tightly in a straight line. The twine is also easy to tie off at the ends. When laying stone to a stringline, stay slightly to the inside of the twine so that it stays straight. Stringlines are also handy when laying courses of block and brick, establishing wall heights, and using batter boards (see “Seven Ways to Use Stringlines” below).
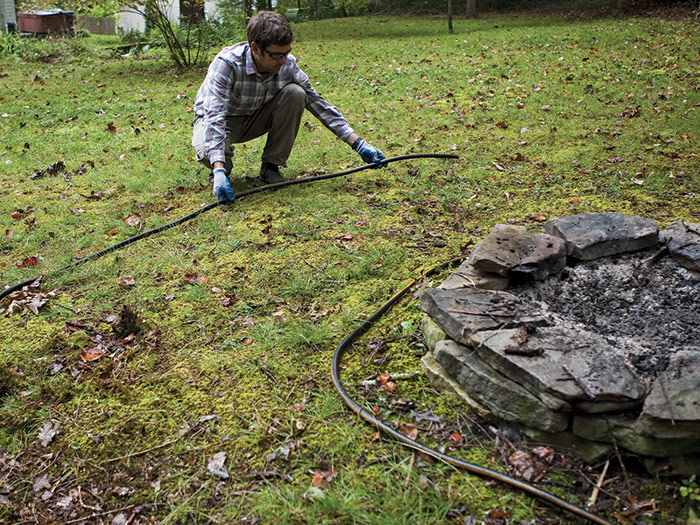
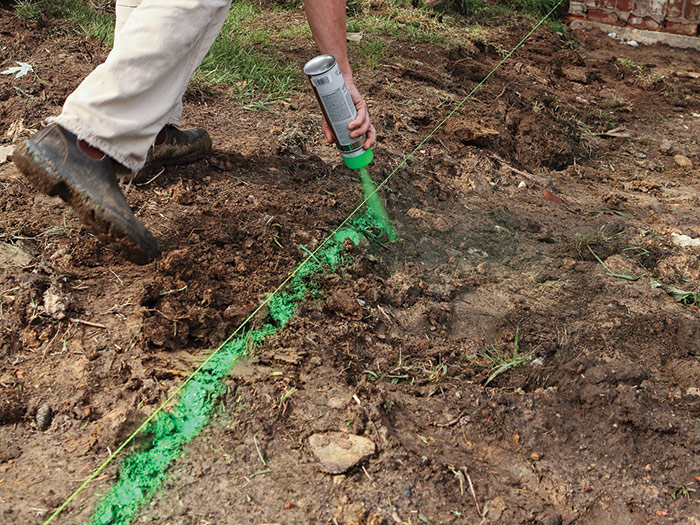
Because of its flexibility, a garden hose is a perfect tool for laying out a retaining wall or benches around a fire pit. A rope or even a row of bricks will work almost as well. Once a layout is determined, use marking spray to mark it and remove the garden hose or whatever else was used to mark the outlines.
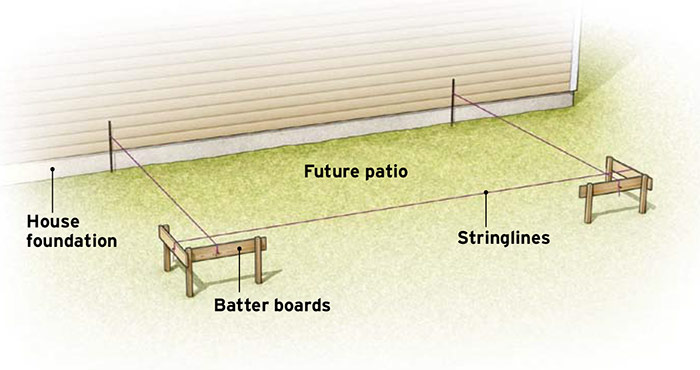
| Using Batter Boards
Batter boards are horizontal boards nailed to posts placed just outside the corners of a project (which might be the construction of a new home or the building of a small patio or deck). They provide an easy way to establish the stringlines used for layout. For example, batter boards and stringlines can establish the desired height of a retaining wall, the location of a footing, or the outline for an excavation. Once stringlines have been established, batter boards are marked to preserve the string locations. The strings can be removed during excavation and construction but replaced later to continue serving as a reference. |
Levels, lasers, and transits
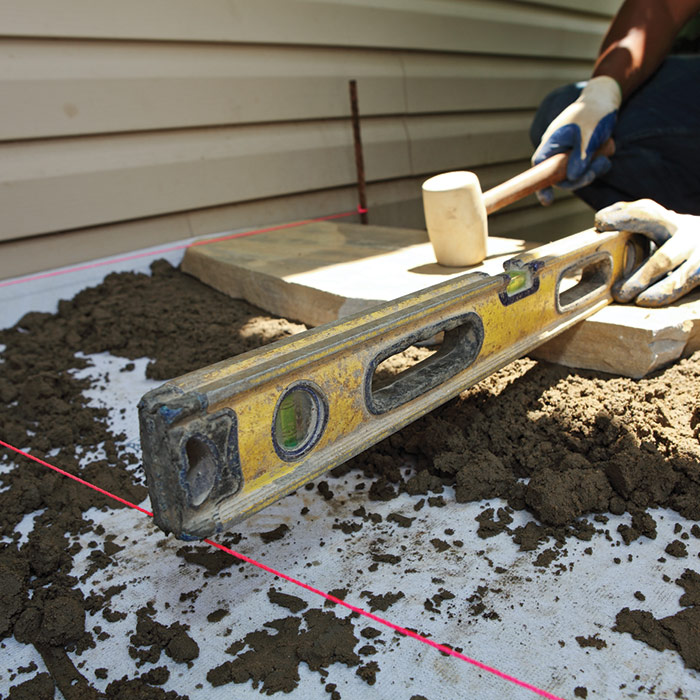
Levels are essential tools for masonry and come in various sizes, from 4-in. line to mason levels 6 ft. or longer. Whether you are laying block, brick, or stone, you need to make sure everything is level, including caps, footings, and coursework. Use a level often because laying one stone out of level on a stone wall can visually throw off the entire pattern. It can also set the stage for many unlevel stones to come.
I keep a 10-in. torpedo level with me to check my work in tight spots. However, torpedo levels allow you to check only one unit at a time, so keep a 4-ft. level close by for checking several stones at once.
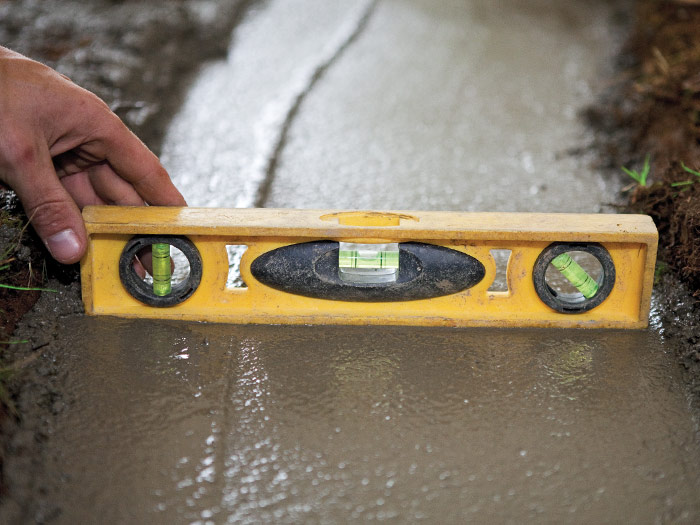
A 4-ft. level is standard and the size I use most often. It is also great for determining the pitch of a concrete slab before laying flagstone. A 6-ft. level is handy for projects such as patios and walkways, where it’s necessary to align stone tops and edges. It can also be used to flatten bedding gravel and align brick coursework.
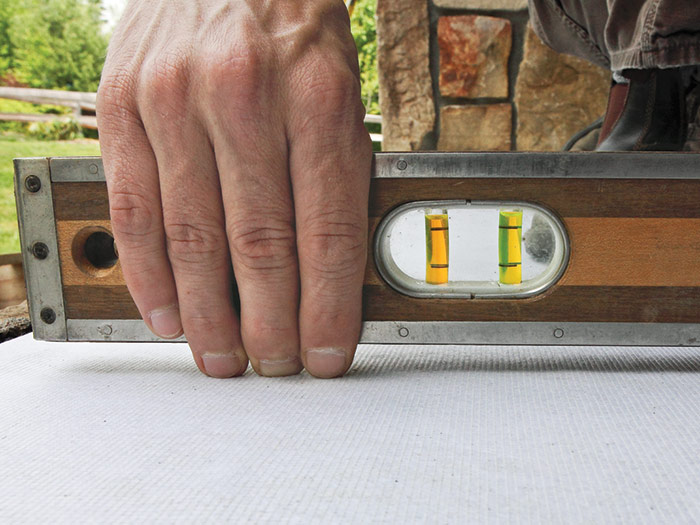
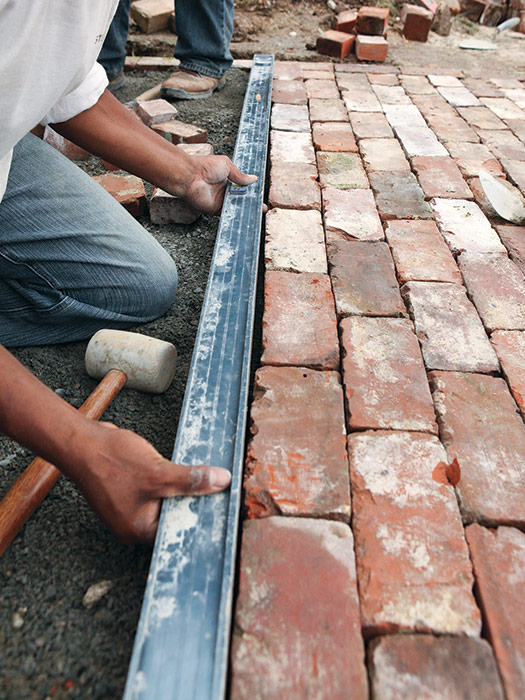
Levels are also made of different materials, including wood, plastic, and aluminum. I have a 4-ft. wooden level that I use all the time, but it requires an occasional application of oil to preserve the wood. A wood level is not more accurate than an aluminum level per se, but I like the aesthetic of wooden levels; that, for me, is good reason to pay more to own one. For masonry, most levels are accurate enough but they will take considerable abuse, so it’s wise to buy a sturdy level. Many top-of-the-line levels come with protective cases. Whatever level you buy, be sure to wipe off the cement frequently and avoid hitting it harder than a tap or dropping it on the ground.
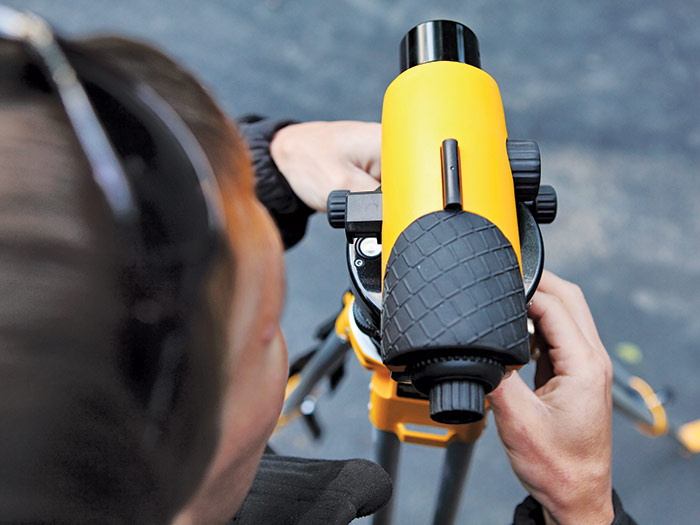
Laser levels and transits are primarily used by surveyors and site preparers, but they come in handy for small masonry projects, too. A laser level sits on a tripod and can spin 360 degrees, projecting a red laser beam across a horizontal plane. A transit also mounts on a tripod, but instead of casting a laser beam, you sight the elevation reference you need. Both will help you determine distant elevation changes. We primarily use a laser level to determine elevation changes for retaining walls and patios.
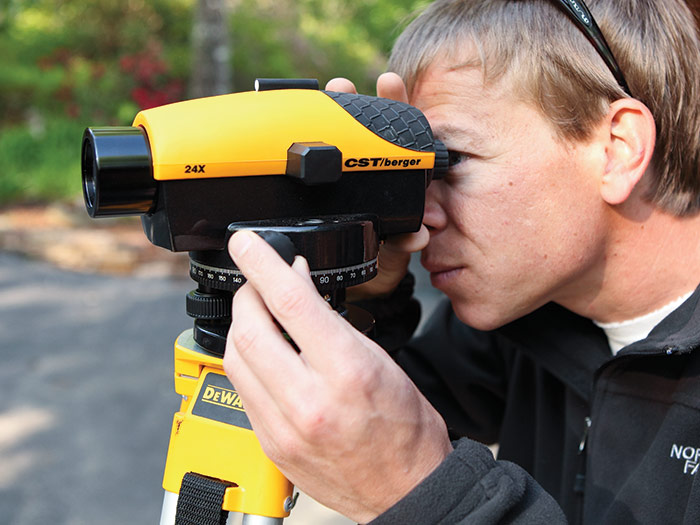
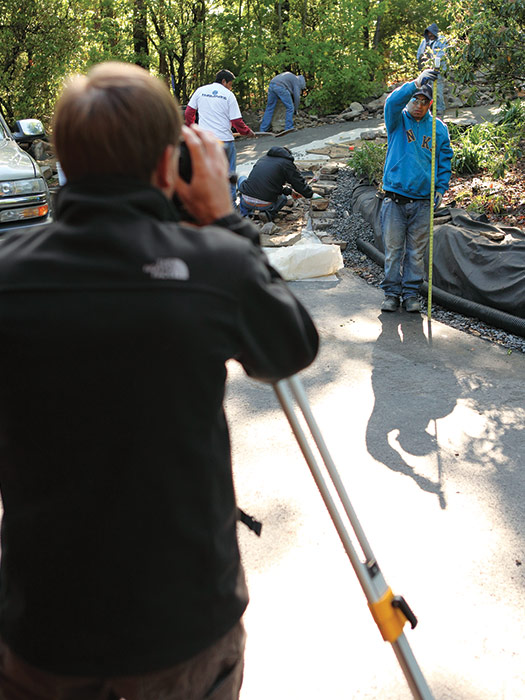
Using a transit when installing a drain line
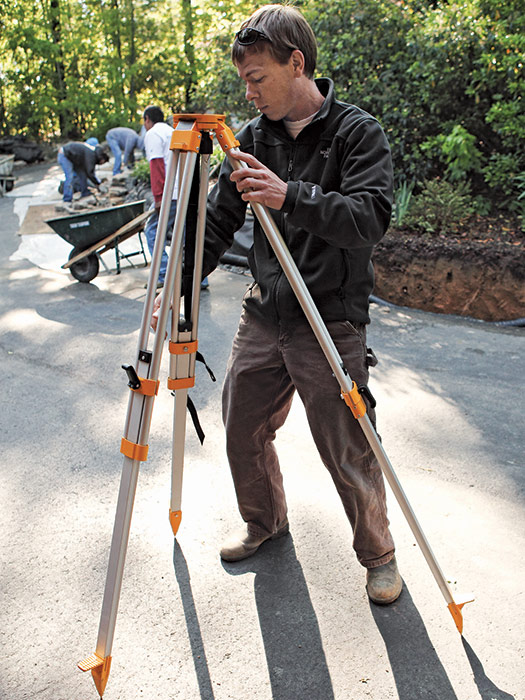
When installing a drain line, the easiest and most accurate way to make sure you have the slope you need for drainage is to use a transit. First, set up the tripod outside the work zone so you can view the entire project when panning across the area 1. Adjust the tripod to the desired height and adjust the transit on the tripod to a level reading 2; failing to do so will compromise your readings. Have a helper hold an extended tape measure on the slope at the drain-line location. You will be able to read the tape measure through the lens 3. Move the tape to several locations. The longest (highest) reading will indicate the lowest spot.
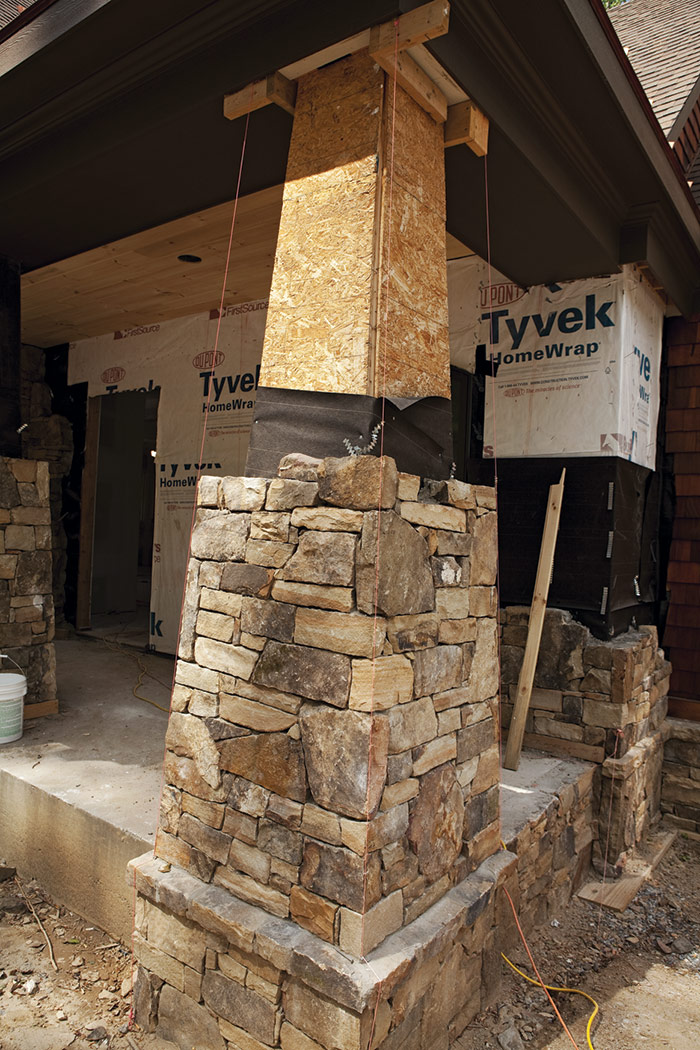
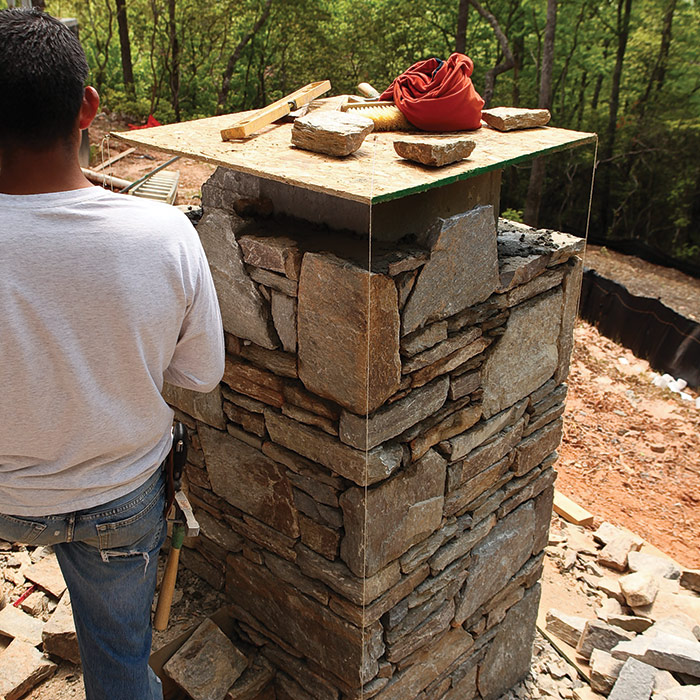
Building a Tapered ColumnBuilding a tapered column is almost as easy as building a plumb column. For the column shown here, the taper was 4 in. from the bottom to the top as measured from the faces. When setting your stringline, mark the perimeter of the column on the ceiling (or as in this case, on the framing). At each corner, drop a plumb bob to the floor and mark the point. Connect the marks to form a square. Then measure out (4 in. in this case) to mark the column’s base. Run stringlines from the perimeter corners at the ceiling to the corners of the base. |
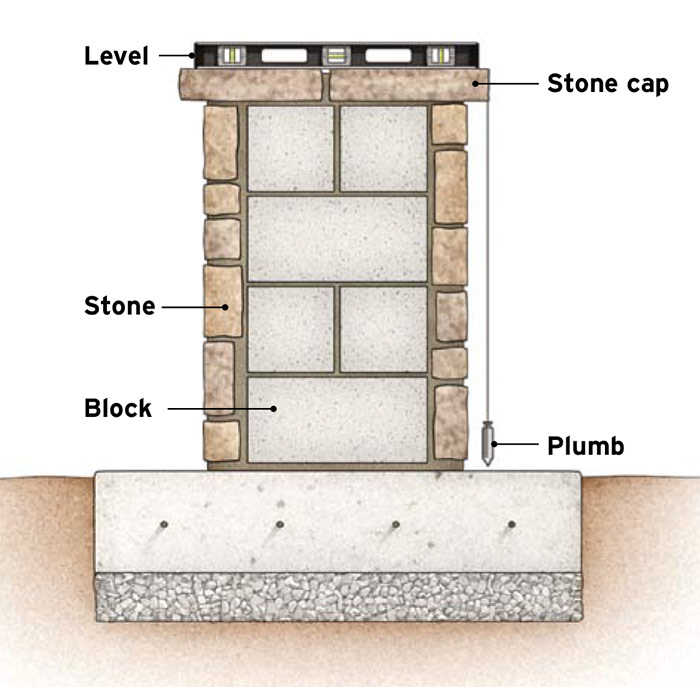
Plumb vs. LevelPlumb means exactly vertical in two planes. A plumb bob, used by masons and carpenters to establish a plumb line, is a pointed weight attached to a string. Level can refer to either a horizontal line, such as the leading edge of a wall, or to a two-dimensional horizontal surface. In the case of the latter, the surface is level only when it is perfectly horizontal in two directions. A level is a tool that consists of a straightedge in which there is an encased, liquid-filled tube that contains an air bubble. When a level rests on a surface, the surface is said to be level only when the bubble is in the center of the tube. Depending upon the orientation of the tube, the level may be used to check for levelness or for verticalness. By checking a post or wall for vertical on at least two faces, a level may be used to check for plumb. |
Excerpted from Masonry Complete (The Taunton Press, 2012) by Cody Macfie
Available at Amazon.com.

