Installing ZIP System Sheathing: Fastening
In this episode of Shop Class, builder Ben Bogie shares tips for laying out and securely nailing wall sheathing.
Sponsored by ZIP System
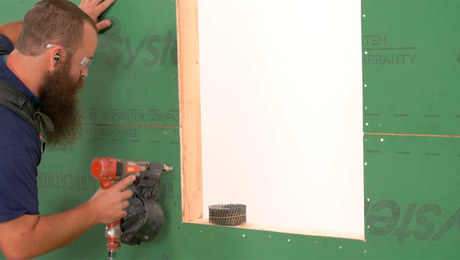
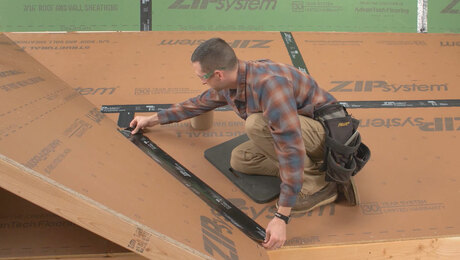
When framing is done and you’re ready to install ZIP System sheathing on a house, you should first snap a level line on each wall to ensure your first course of panels is straight. Start by holding the corner of each sheet up to the line and setting one nail, and then lift the rest of the panel until it’s lined up and continue nailing.
ZIP System sheathing has marks printed on the surface representing common stud layouts to make nailing in the right locations easier, but be sure to check your plans or local building codes to make sure there aren’t special nailing requirements that differ from this layout.
When fastening the sheathing, flush nailing is ideal. If you overdrive your nails, you may have to increase the number of nails to meet shear requirements. Slightly overdriving nails through the outer water-resistive coating doesn’t require you do do anything from a weatherproofing perspective, but you will need to apply patches of ZIP System flashing tape or Liquid Flash over fasteners that penetrate more than 50% through the panel.
ZIP System sheathing has a built-in ridge on the long sides of the panels to create a necessary expansion gap, but you will have to leave an actual 1/8-in. gap where the short ends of the panels meet or where you’ve cut any panels to size.
Videos in the Series
-
Installing ZIP System Sheathing: Fastening
-
Installing ZIP System Sheathing: Taping Seams and Corners
-
Installing ZIP System Sheathing: Sheathing-to-Foundation Connection
-
Installing ZIP System Sheathing: Sealing Penetrations
-
Installing ZIP System Sheathing: Rough Openings With Flashing Tape
-
Installing ZIP System Sheathing: Rough Openings With Liquid-Applied Flashing










View Comments
Can you use the zip system and apply a wire mesh and stucco over that ?