Wet-Room Drainage
When you combine a freestanding tub and a curbless shower, use these strategies to reduce the water load in vulnerable areas.

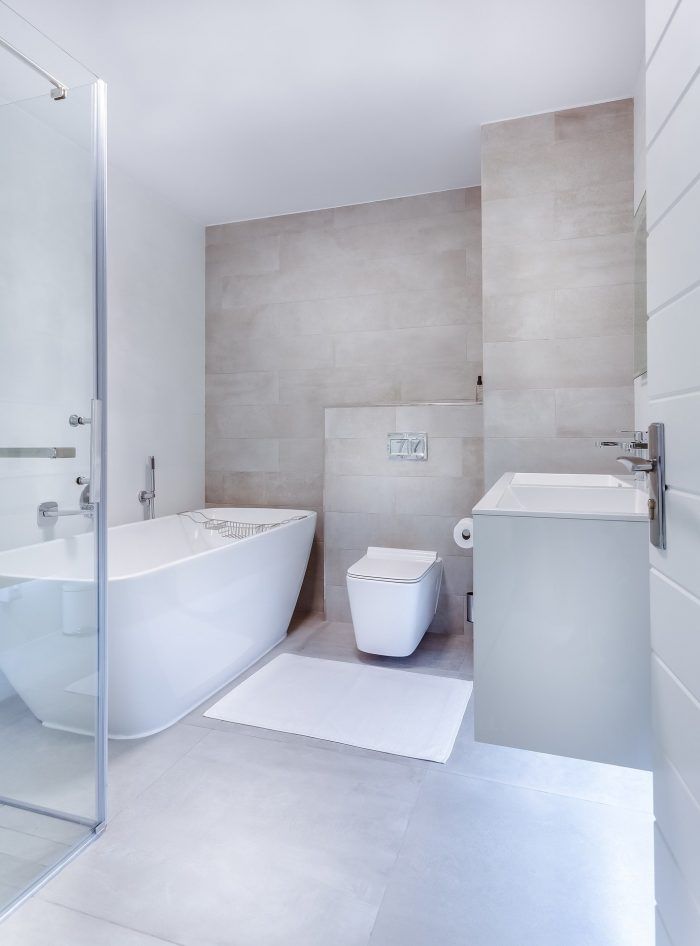
Curbless showers are all the rage these days, and what I see from companies such as Schluter makes installing one look simple. I’ve done several standard bath remodels myself, but never a curbless application. I am redoing our bathroom, and in addition to a curbless shower, we would love a freestanding tub. Drainage should be a linear drain dividing the space. Everything looks easy until I start to consider how waterproofing a freestanding tub in a wet room will work. I gather that many tubs have some combination of caulking and mechanical anchors to hold them in place, but at a minimum the drain penetration has to be waterproofed. I don’t see guidelines anywhere. How do you avoid seepage underneath the tub? Is it appropriate to slope the floor under the tub to promote drainage?
—Nils via the FHB Podcast
Doug Horgan, VP of best practices for BOWA, Inc., replies: We’ve used a combination of strategies to reduce the water load in these vulnerable areas, and then to do the best we can with the penetrations.
The first one is simple: Keep the tub out of the shower area.
Let me start, though, by addressing the shower. Unlike in catalog photos showing curbless showers with something like 1⁄2 in. of total fall, we do our best to engineer at least a 1-in. fall in our curbless shower installations. It’s not just about maintaining a 1⁄4-in-12 minimum pitch—it’s also about creating a reservoir that provides time to react to a blockage. This is only really possible if the drain isn’t at the shower’s threshold. That’s why we put the drain at the back of standard-size showers, or in the middle of really big ones.
There’s a bad trend of building curbless showers with the drain at the shower entry, with the shower floor sloping up from there. In this scenario, if you have any issue with the drain or anything else, water pours across your bathroom.
As for the tub, if you’re not going to keep it out of the shower area, the next best option is to set it on a small curb raised above the shower floor. At the very least, set it at the high end of a significant slope. The floor can be level at the tub footprint, but we slope the waterproofing around it to keep water from running toward the drain and the supplies.
When it comes to the penetrations, faucets that mount on the deck are not generally designed to be waterproof, so if they’re in a shower, you’re asking for trouble. It’s a good idea to create and waterproof a small, turned-up curb around where the plumbing penetrates the floor. Wall-mounted faucets are an even better option. When we do use floor-mounted faucets, we place them as far from the shower area as possible. We also use faucets whose plumbing connections are above the tile, because a piece of threaded pipe coming through the floor can be sealed to the waterproofing layer with a reasonable expectation of success.
Tubs with surrounding platforms of tile or stone immediately adjacent to the shower present some different challenges. Those whose flange sits on top of the tile or stone are extremely difficult to waterproof—in this case, you’re relying entirely on sealant. When the tub is below the stone or tile, you can at least seal the waterproofing to the tub rim before covering it with the finishes.
All of that said, these strategies are more risky than simply separating the shower from the bath.
image: Jean van der Meulen from Pixabay
From Fine Homebuilding #297.


