Sealers for tile and grout perform slightly different functions but are each indispensable for a quality, long-lasting tile installation. Sealers protect porous tile, such as terra-cotta, and grout from the cold (or hot) cruel world of spilled coffee, red wine, grape juice, and other food. Sealers are not a cure-all but rather a preventative measure. For example, if you drip hot coffee across the counter, a good sealer will allow the drip to bead up until you sponge it away. But even the best sealer won’t keep food spills left to dry from permanently staining your tile job.
Sealing Tile
While glazed or high-fired tiles generally do not require sealing, unglazed tiles, crackle-glazed tiles, and stone tiles must be sealed before grouting to prevent color in the grout staining the tile. The best way to seal the tile is to coat it with a penetrating sealer (also known as an “impregnator”). The exception is paver tiles, which require a special finish involving multiple coats.
The only tools you need for the sealing process are a small plastic bucket, a clean sponge or lint-free cloth, a pair of rubber gloves, and—if you’re sealing a floor—kneepads. Most sealers we recommend are water based and safe and easy to use for home tile installations. If you choose a solvent-based sealer, you must wear breathing protection.
Begin by pouring a small quantity of sealer into your bucket. A little goes a long way and you can always refill the bucket. Dip your sponge or cloth into the sealer and wring it out, leaving it wet but not dripping. Start applying the sealer to the farthest corner of your tile job and work your way out. Wipe the sealer onto the faces of the tiles, striving to apply an even coat. Cover each tile completely, but try not to get any into the grout joints. Don’t be overly concerned if you dampen a few joints; just try to keep them clean and dry for the grout. After the application is complete, let the sealer dry completely (follow the manufacturer’s recommendations) before you begin grouting. Stone tiles, which are not fired with a protective glaze, should be sealed a second time for protection after you have grouted.
Sealing Grout
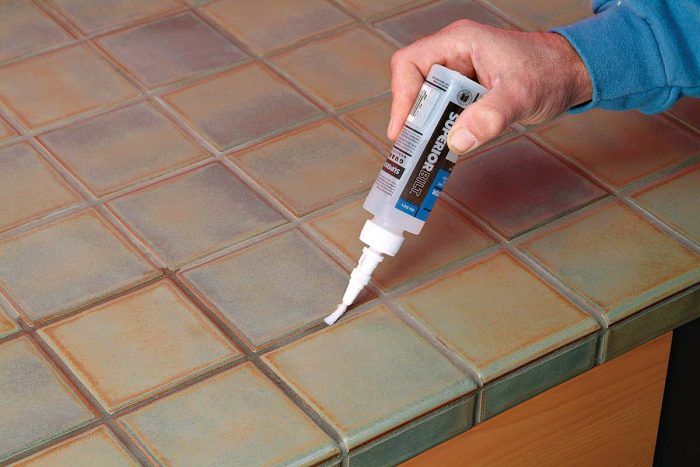
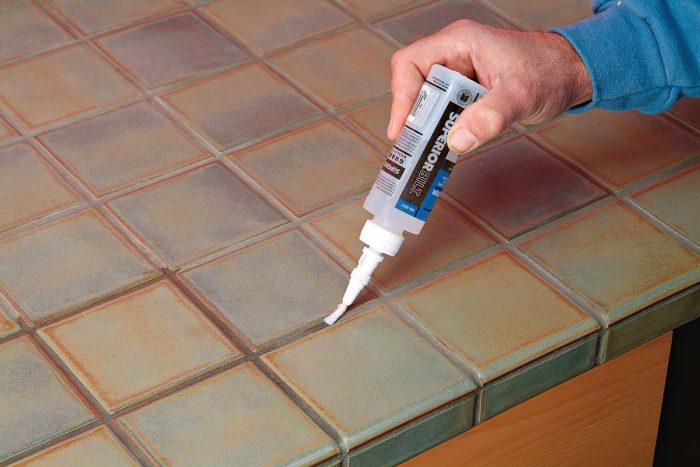
After your tile is grouted and dry, it’s time to apply a grout sealer. As with tile sealers, we prefer water-based products because they’re safer to use and less odorous. One of the easiest ways to apply sealer to grout joints is with a commercially available plastic applicator bottle that has a brush or roller tip.
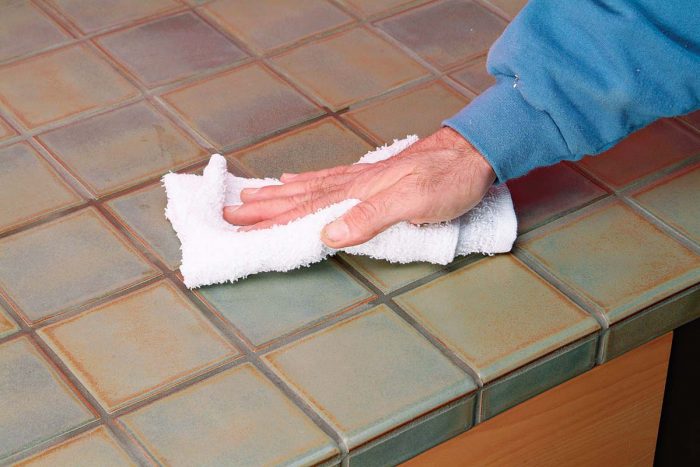
Simply fill the bottle and adjust the twist top so that the right amount flows onto the joint. As it flows out, the sealer is absorbed by the grout and disappears, evidenced by the temporary darkening of the grout color 1. If the sealer puddles on the grout, reduce the flow slightly by adjusting the applicator tip. Use the applicator tip to move the excess sealer onto dry joints or use a cloth to mop it up. If a small amount of sealer flows onto the tile, just wipe it up with a clean cloth or paper towel. 2.
 Excerpted from Tiling Complete, 2nd Edition by Robin Nicholas and Michael Schweit.
Available at Amazon.com.


