No-Trim Drywall Returns for Windows
Instead of wood returns and casing, drywall is a great no-trim option for a clean look that's more affordable.

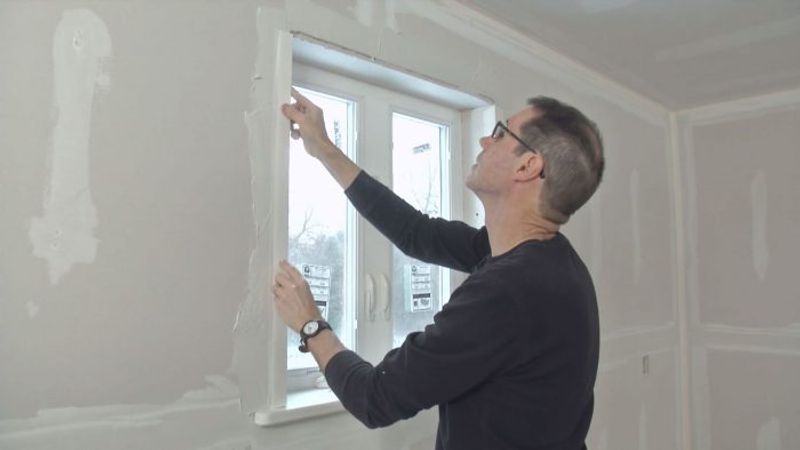
I’ve already installed the wood sill, and now I’m going to do a drywall return around the perimeter, and then I’m going to put a corner bead on it. So instead of wood returns and wood casing, it’s all going to be nice, clean, neat, and trimmed out with drywall corner bead. We’re going to save the customer a little bit of money, but still offer a very nice-looking finish.
When you’re doing these drywall returns, you want to make sure the drywall is tight against the window—that way you don’t have to do any caulking or put any tapes on there later.
I cleaned the edges up after I cut them with my knife by using a drywall rasp, which really straightens out any imperfections.
In addition to getting the drywall tight against the window, you’ll notice that along the outside edge, I’ve kept the drywall short. I do that on purpose. I want it to be 1/8 in. or 1/4 in. short so that it’s not standing proud, so when I put my corner bead on, it allows it to be nice and tight against the drywall. This is not a metal bead with paper; it’s actually like a vinyl bead that’s coated with paper. The inside face is the coarse paper, very similar to paper tape that you’d put on a seam. The outside edges have a finer, smoother paper that actually feathers into nothing as well. That gets embedded nice and tight into the compound, just like paper tape does.
Now I’m ready to actually apply the compound and set the bead in place. Before doing that, I want to point out one thing that I’ve done here. I’ve already taped the inside corners; I’ve used extra-strength fiberglass mesh tape around my inside corner. Now I don’t have to put paper tape in there later. In these upper corners, when these beads go into place, there’s actually a little spot where it doesn’t have any tape, but there is a hole, so I have to make sure I put tape over that so I don’t get any cracking—I do this ahead of time.
Now, I have to embed that into the joint compound, which I can do in two ways. I can do it just with my 6-in. knife, or I can use a special roller tool that embeds it nice and tight and square. I prefer to use a roller tool, but so you get a feel for how each tool works, I’ll embed one side with a roller and the other with a taping knife.
I place the roller over the corner, I put a lot of pressure on it, and it embeds the edges of the paper tightly into the joint compound while squaring up the outside edge. It really does a nice job getting it embedded. Just place it over the corner and you can see how these wheels are pushing the edge of the corner bead tightly into the joint compound. Then all I have to do is remove the excess compound. Now is the time to put some compound over the upper edge and fill it. I also like to apply a little bit extra at this time to start blending that corner in.
To accomplish the same thing with a taping knife, you have to do one edge at a time. Check to make sure that it’s square—you can do so by holding the knife against it, to make sure it’s flat against the drywall. Once you like it, take the taping knife and embed that edge really tight by putting pressure along the edge and pushing all the excess compound out. Make sure to blend in the top corner. I also put a coat on the inside corners where I have the fiberglass mesh tape: I put a little compound on the corner of my taping knife and run it along the edges of the corner. If I have a fastener or a screw that’s not covered, I want to make sure that has a coat over it. Finally, let it dry before applying the fill coat.
RELATED LINKS


