Using Wood-Fiber Exterior Insulation for a Net-Zero Construction
Builder Ben Bogie introduces us to the science and benefits of wood-fiber insulation, plus he explains his installation process for the material on his latest construction project.
With our wall assembly here, we have the 2×8 framing, which is going to get dense-packed full of cellulose. And then we have exterior rigid wood-fiber insulation from Steico that goes onto the building. We really like this stuff because it’s carbon-storing and because it’s very permeable, which allows moisture to pass freely through the assembly.
Specific Heat Capacity
It also has another benefit that we’re really just starting to understand, which is called specific heat capacity. Some materials have an inherent need for energy in order to raise their temperature. In other words, it takes more energy to raise the temperature of this wood-fiber insulation than it does of say a mineral-wool exterior insulation or a foam insulation. What that translates into is that when we have the ups and downs of temperatures, is it starts to even those out so we get smaller peaks and valleys in the temperature swings across our assembly. What this means is that we have a more stable building environment, which allows our mechanical systems to perform better and allows our clients to be more comfortable. Not only do we have the R-value to consider, but we also have to pay attention to the permeability and the specific heat capacity of our materials if we’re really trying to fine-tune our assemblies.
Material Specs
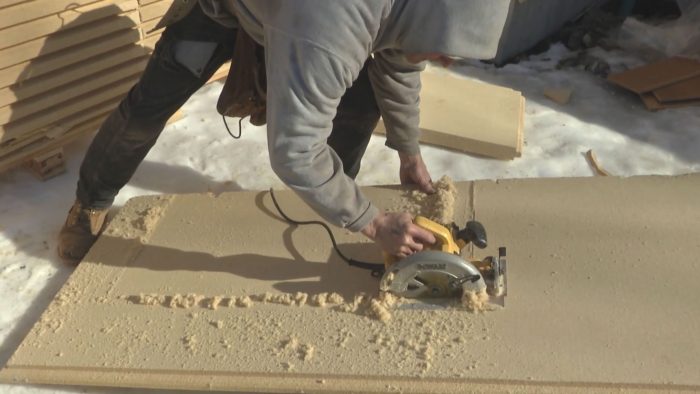
This material is a European product which is 2-3/8 in., or 60 mm, and comes in 29-in. by 8-ft. sheets which tongue-and-groove together. One of the beauties of this stuff is that as it goes together the seams don’t have to fall on framing. As long as each joint has a complete tongue and groove and they click together, you’re good—you can break in the middle of a cavity with no issues.
Installation
Putting this on the wall, we tape from our rim down to our foundation. We have a gasket in there, but this is belt and suspenders acting as our air-seal and also as a flashing in the event that water should ever make it back there. Next, we have this piece of edge metal here that we had bent up. This is acting as a ledger to rest the insulation on, but it’s also a two-part closure at the bottom of the wall. We put this on level around the building. We shoot it with a transit, find our points, snap the lines, and start attaching the metal. This gives us a starting point that all of our insulation rests on.
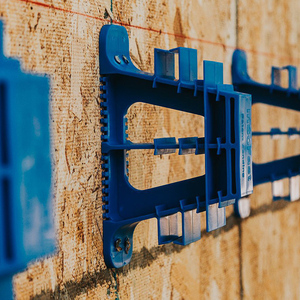
The insulation goes on with screws and these little washer setups here. These are little thermally broken washers. We only need to put a couple of these on per sheet because it’s really just tacking it onto the wall right now, because the next phase for us is going to be to add 1×3 strapping across here, which gets screwed through into the framing. This is what really clamps the assembly together and what will carry all of our cladding on the outside of the building. It also acts as the rainscreen for the building. Any moisture that passes through can freely ventilate through that cavity up and out, and then any water that ever makes it through the cladding can fully drain out to the bottom.
This edge metal at the bottom serves a couple of purposes. Number one, it will be perforated, which allows air to move through and water to drain out. It also act as a physical stop to prevent any pest from making its way into the rainscreen cavity and making itself a new home.
RELATED LINKS
