9 Trouble Spots on a Covered Porch
Manage moisture and the elements with these must-do tips for a durable porch.
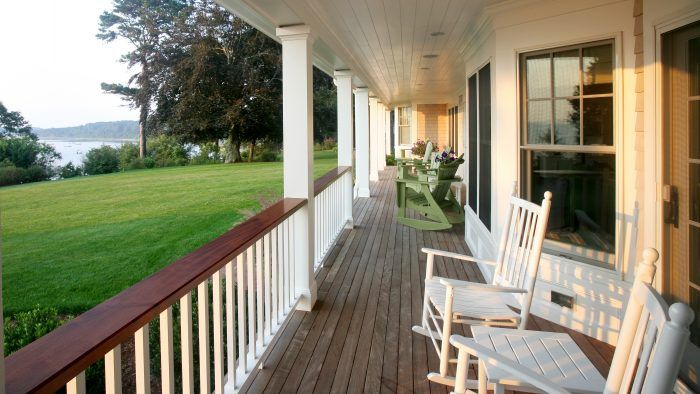
Building a covered porch can be a perfect way to extend your living space outside and get more enjoyment out of your yard, but any structure exposed to the weather needs to be well-built out of durable materials to keep maintenance and repairs to a minimum. In this excerpt from his article The Rotproof Porch., carpenter Chris Ermides points out nine construction details you need to get right in order to make your porch stand the test of time. Read the full article to see illustrated examples of several of these details.
1. Slope the Stairs
Avoid single-board stair treads when possible. Two-board or three-board treads spaced slightly apart allow water to drain to a pitched concrete pad below the stringers and keep water moving.
2. Isolate the Framing
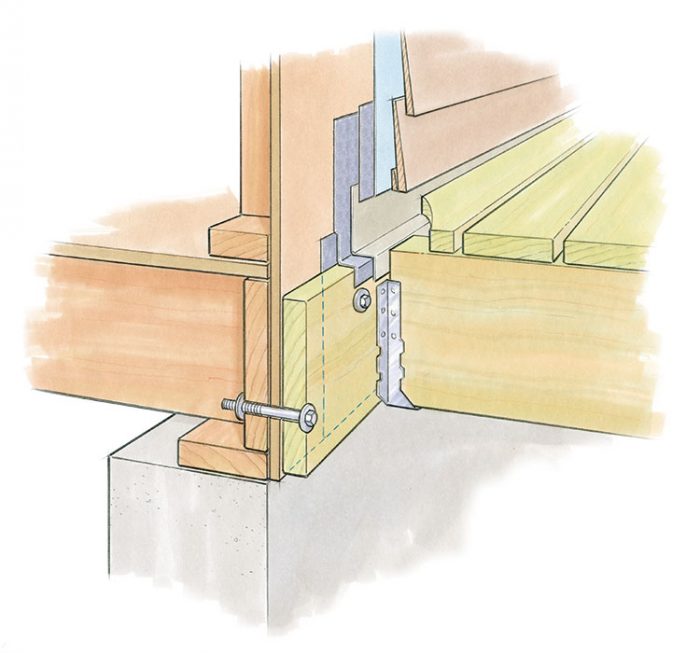
When wood and concrete touch, rot eventually happens, even if the wood is pressure-treated. No matter what type of foundation design you use, you need to isolate it from the framing—which typically involves installing galvanized hardware between the piers and the porch posts or beams.
3. Pitch the Floor
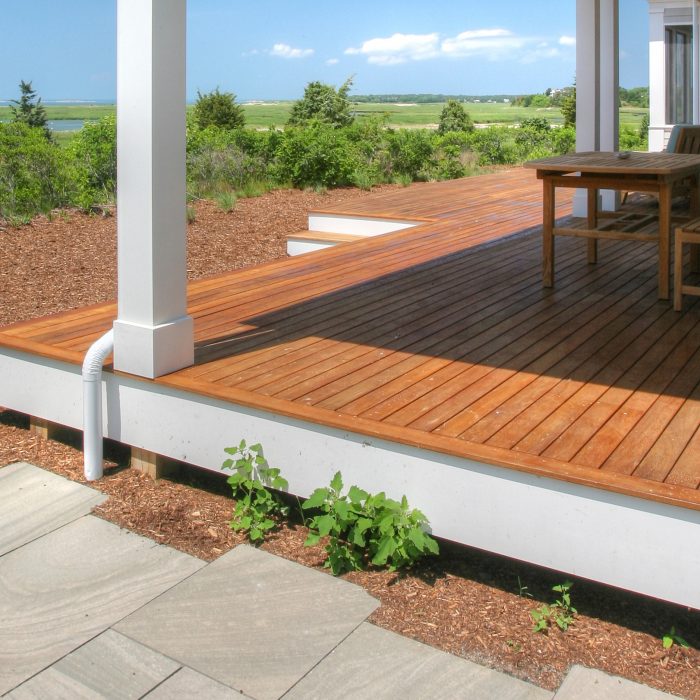
Traditionally, porch flooring runs perpendicular to the house and consists of tongue-and groove Douglas fir. Priming all six sides and pitching the floor frame to drain water are keys to longevity. Flooring that runs parallel to the house should have gaps for water drainage.
 |
 |
4. Protect the Posts
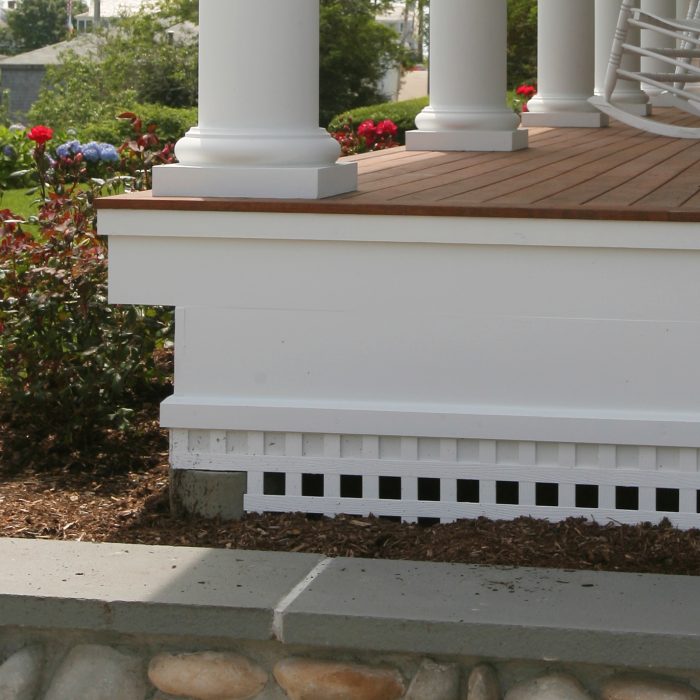
Keep water moving around (or through) the column bottom, and facilitate air movement via weep holes or vents. Seal and pitch exposed column tops and applied trim.
5. Cover the Soil
Make sure the grade below the porch pitches away from the house at least ¼ in. per ft. Porches that sit close to the ground should be protected from rising ground moisture with a polyurethane vapor barrier over the soil. It’s important to allow air circulation below the deck as well.
6. Flash the Ledger
Despite the roof, wind-driven rain and snow can creep behind the flooring and siding. Flash the ledgers into the housewrap and siding using peel-and-stick and metal flashing.
7. Bevel the Railings
Railing tops and bottoms should be pitched to shed water. Seal all end cuts, and attach balusters through the tops and bottoms. Use rot-resistant lumber and epoxy coatings, especially when the railings are flat.
8. Vent the Trim
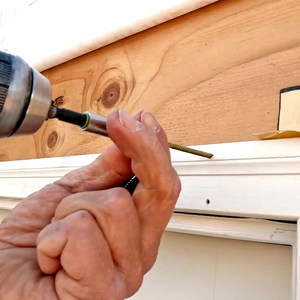
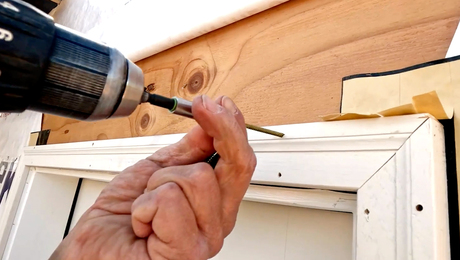
Fur trim details like the fascia and stair skirting ½ in. away from framing they attach to. This promotes air movement, which allows drying.
9. Cap the Newel
Protect the newel with an applied cap. Newel caps should be well-pitched for drainage.
Photos by Roe Osborne
From Fine Homebuilding #300
RELATED LINKS







View Comments
Hi,
We are best joiners in Belfast.