Aluminum Fascia Fabrication and Installation
Get tips for using a sheet metal brake to fabricate and fit new fascia out of aluminum coil stock before installing vinyl siding.
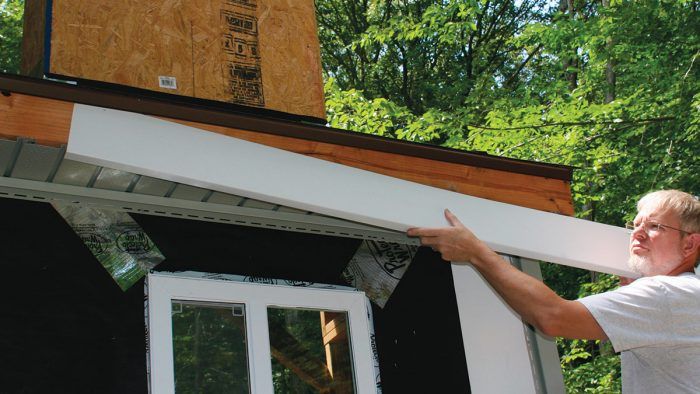
When I install vinyl siding on a house, I use aluminum coil stock for the fascia, which, like the vinyl siding itself, is low maintenance. Before you can install the fascia, you first need to cut and bend the aluminum to fit.
Preparing the aluminum fascia
Start with the eaves fascia, cutting and bending as many sections of aluminum flashing as you need to cover it. In general, you’ll cut the flashing first, hem it (bend an edge completely back on itself to stiffen it and to avoid a visible cut edge), and then bend it to conform to whatever structural element it’s going to cover.
First, using snips, cut the flashing to a length that will fit the brake (see “Siding Brakes”). Cut as many pieces as you’ll need to cover the subfascia, and be sure the total length of the pieces will include any laps (about 2 in. each) and any extension over the ends of the fascia board.
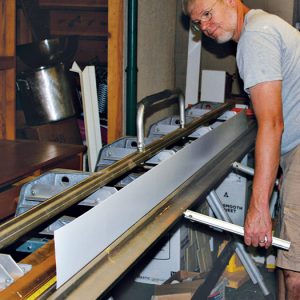
Using a pencil, mark the widths between bends, the width of the hem, and the overall width of the piece on each end of the stock. 1 For example, in this case I wanted the flashing to hide the bottom edge of the fascia, covering the thickness of its 2× stock and extending an additional 1 in. over the soffit-panel edges. I also wanted a 3⁄4-in. hem on that extension, to stiffen the flashing and present a finished edge. This meant that I needed to cut a piece 9 1⁄4 in. wide to start with (6 in. for the face of the fascia plus 1 in. slipped behind the drip edge, 2 1⁄2 in. for the thickness of the fascia board plus the extension over the soffit, and 3⁄4 in. for the hem). So, I marked each of these dimensions on the aluminum stock.
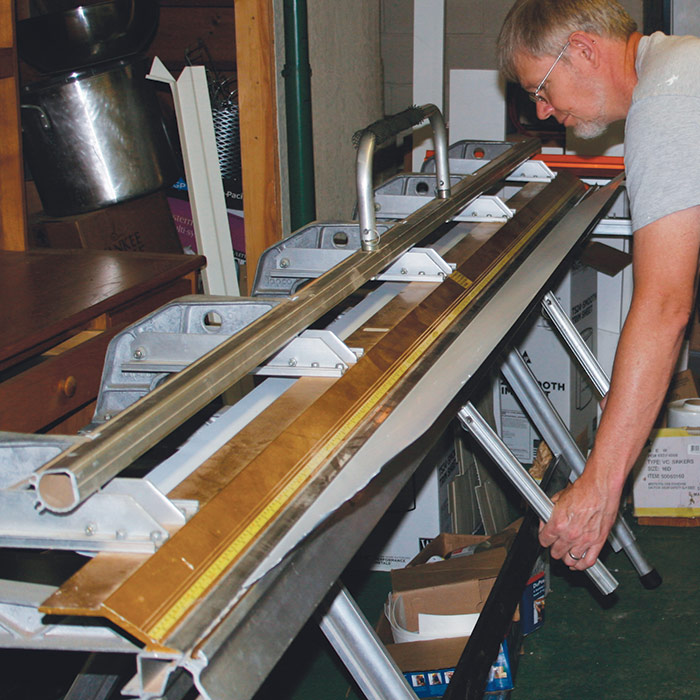
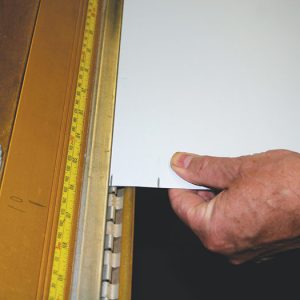
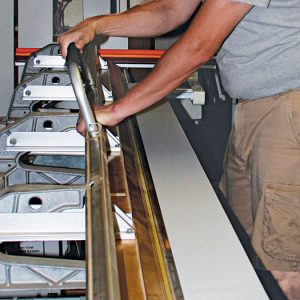
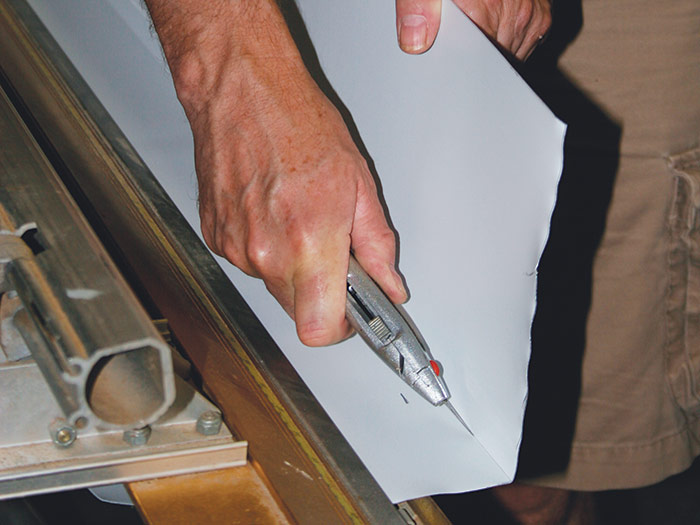
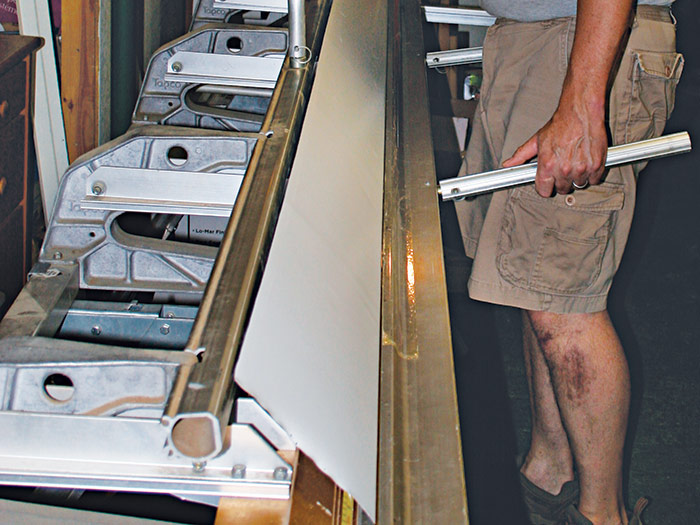
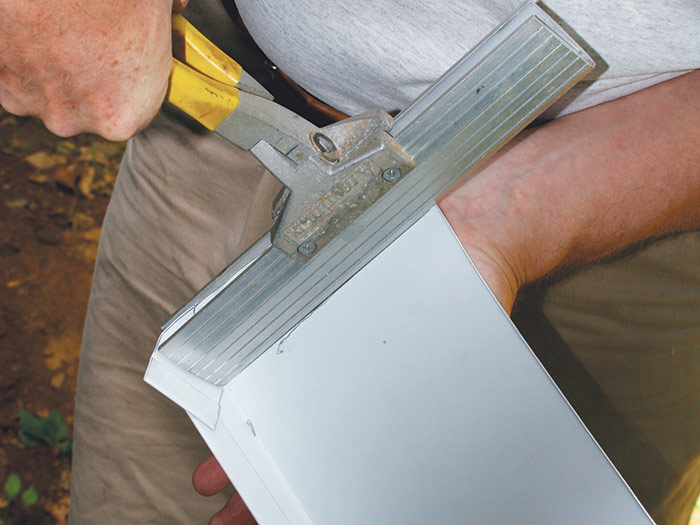
To cut the aluminum flashing, slip the metal into the brake, align the pencil marks with the jaws, and clamp it shut. 2 Grab both sides of the bending handle and raise it until the metal is bent at about 90 degrees. 3 Slip the metal out a couple of inches and clamp it again. Score the inside of the bend with a sharp knife once or twice, then reclamp it on your marks and bend it back and forth until it breaks. Some brakes have slitters that negate the need for this step (see “Cutting Coil Stock”).
If you’re just putting a bend in the flashing, you can skip the scoring and rebending steps, of course.
To hem a flashing, bend the metal as far as the brake will go. That won’t fully bend the metal back on itself, however, so here’s what you do: release the clamp, take the metal out of the brake, and slip the hem bend under the jaws. Clamp the brake tightly to cinch the hem. With thicker metal, you may need to push the hem flatter with a hammer before clamping it in the brake.
| WARNING: Be careful when working with sheet metal. The edges can be sharp, particularly the cut edges. Gloves are strongly recommended. |
Installing aluminum fascia
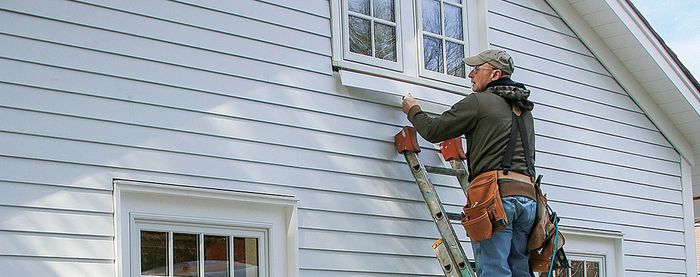
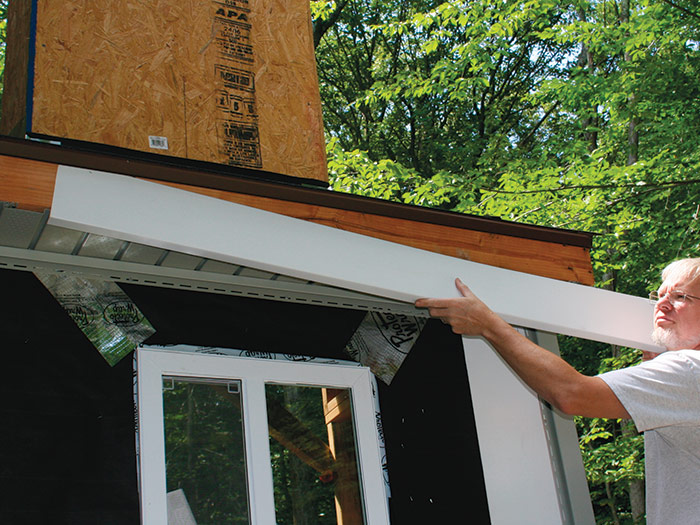
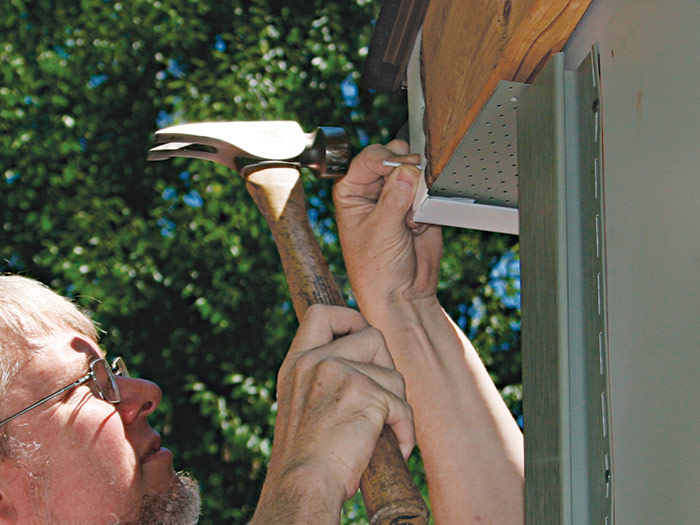
Snip the bend in the fascia that will cover the bottom of the subfascia about 1 in. from the end and use a hand bender to bend the flashing so it will wrap around the end of the subfascia board by about 1 in. 1 Slip the flashing under the drip edge and snug it to the subfascia. 2 Nail the bent end in place with 1-in. painted aluminum nails. 3 Then nail along the length of the aluminum about every 2 ft. Don’t use stainless-steel nails—they’ll corrode the aluminum coil stock. Lap neighboring panels by about 2 in., and consider the direction from which they’ll be viewed as you did with drip edge.
 |
 |
 |
Coil StockPowder-coated aluminum coil stock is sold in rolls of varying lengths and widths. I usually buy 50 ft. by 2 ft., but it depends on what jobs are on the horizon. Don’t be tempted to open the top of the box and pull out the roll. It’s a lot easier to cut a slot along one of the box’s long corners and feed the coil out through there. That keeps the rest of the coil in the box where it’s safe. Alternatively, you can buy vinyl coil stock that bends much like the aluminum. |
I treat the rake trim similarly, although in this case I lap the upper pieces over the lower ones to better drain water, even though that makes the seams more visible viewed from below—durability trumps aesthetics.
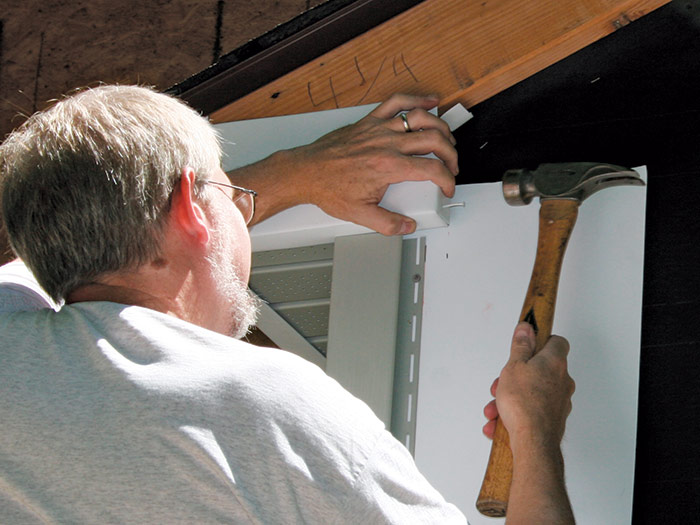
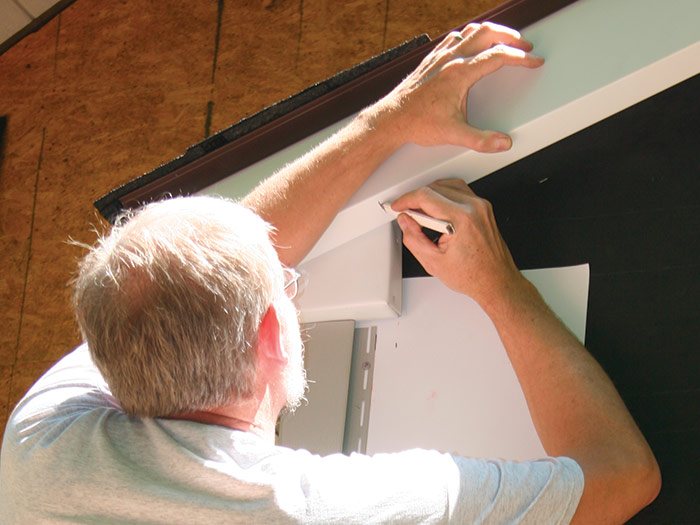
Bend a custom piece to fit around the cornice return or pork chop, wide enough that its upper edge will lap the gable subfascia by about 1 in. Snip the side corner of this piece to create a small tab that will bend on the gable subfascia. Nail your custom piece to the cornice return. 4
 |
 |
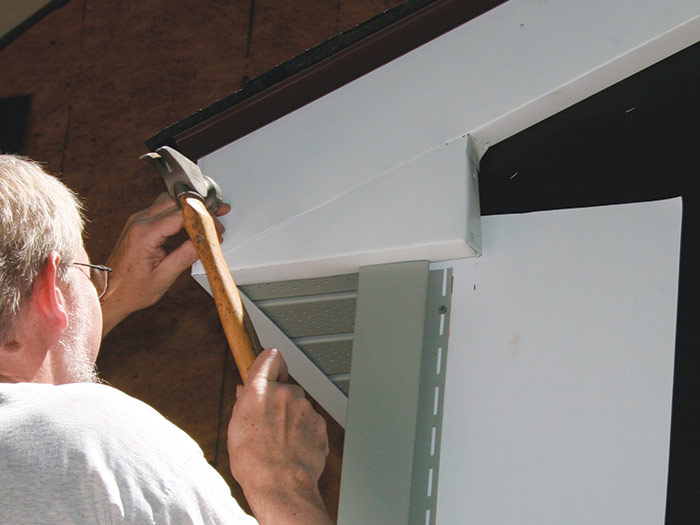 |
Cut and bend the rake fascia, if you haven’t done so already. Hold the gable fascia in place and mark the points where it meets both the gable return and the eaves fascia. 5 Cut away the bottom of the bend at your marks, leaving a tab of flashing that you’ll bend and nail on the end of the pork chop. You can cut the rake fascia about 1 in. long and bend it around the face of the eaves fascia as you install it or trim it flush with the eaves fascia—that’s an aesthetic choice I swing back and forth on. 6
 Excerpted from Carpentry Complete: Expert Advice from Start to Finish, by Andy Engel
Available at Amazon.com.
