How to Install Fiber-Cement Siding
Follow these guidelines for laying out, cutting, and nailing fiber-cement siding for an efficient, good-looking job.
I installed fiber-cement siding on my own house in 1999. It may have been the first house in Connecticut sided with that material. I had to buy it two states away. Now, it’s ubiquitous. It has a lot of advantages, including fire resistance (very important in parts of the country prone to wildfire), price, and an excellent ability to hold paint. Fiber cement is available in a variety of styles—smooth lap siding, wood-grain lap siding, shingles, shingle panels, and in 4×8 and larger grooved panels, primed, finish painted, or raw. Additionally, there are several manufacturers. Installation methods vary, and you should follow the instructions from your manufacturer.
Fiber-Cement Layout
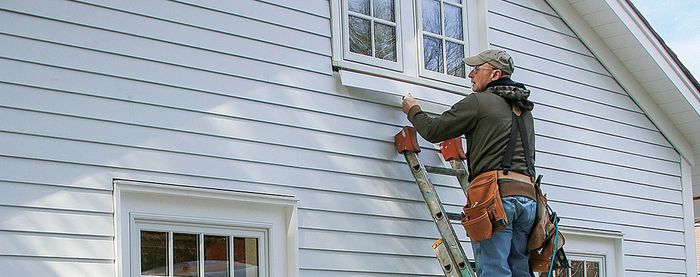
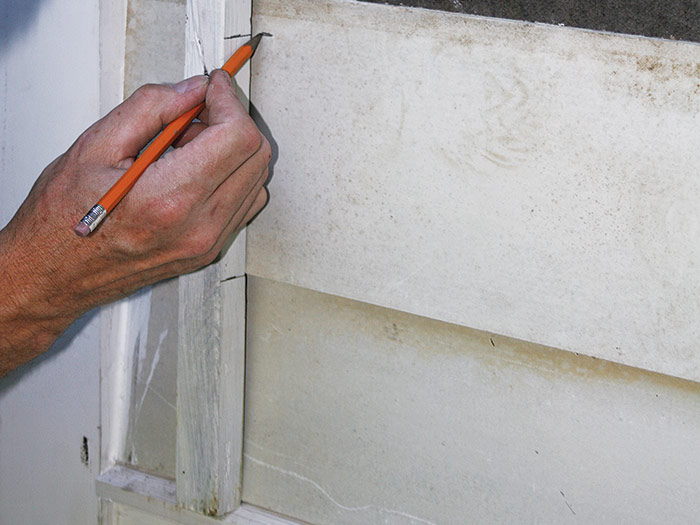
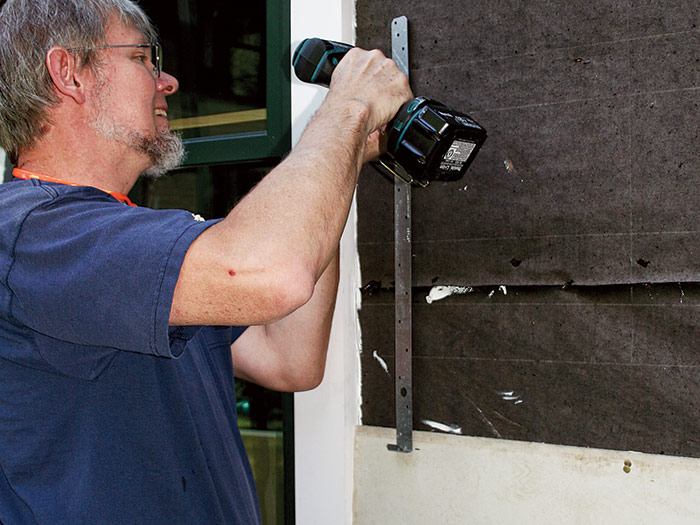
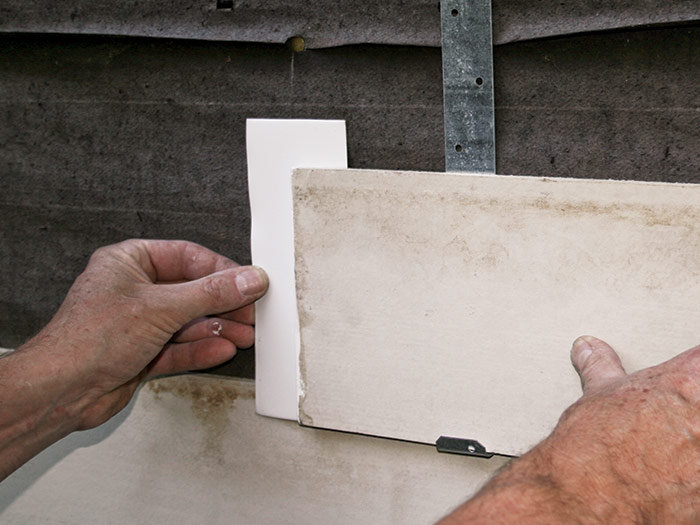
Fiber cement doesn’t lend itself well to varying exposures the way cedar does, because the siding doesn’t taper. You can vary the exposures, but you’ll end up with gaps at the bottom of some of the panels. In most cases, it’s best to maintain a consistent exposure. Instead of trying to hit the tops and bottoms of all the windows, I’ll usually pick an exposure that puts the bottom of a course of siding at the top of the windows. I still use a story pole for layout, with the pole marked for the bottom of the courses. 1 I also use a pair of hangers bent from tie-down strapping to hold the siding while I nail it. 2
Align the bottoms of the hangers with the course mark made with the story pole. Don’t nail right next to the hangers right away. Nail the rest of the course of siding, leaving it loose next to the hangers so they can be removed without scratching the courses below. You can also use commercially available siding gauges that hang on the previous course and support the next course at a set exposure.
Carrying and Cutting
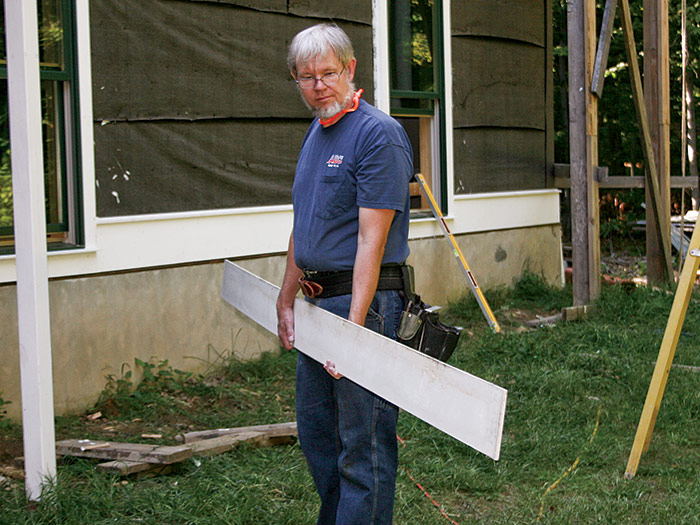
Carry fiber cement lap siding with an edge up or it will break. 3 There are several methods of cutting it, and siding manufacturers provide blades that can be used in a circular saw. However, they produce a ton of dust that not only gets everywhere you don’t want it but can also cause silicosis, a degenerative and incurable lung disease. If you use a saw, use a dedicated fiber-cement saw with dust collection.
 |
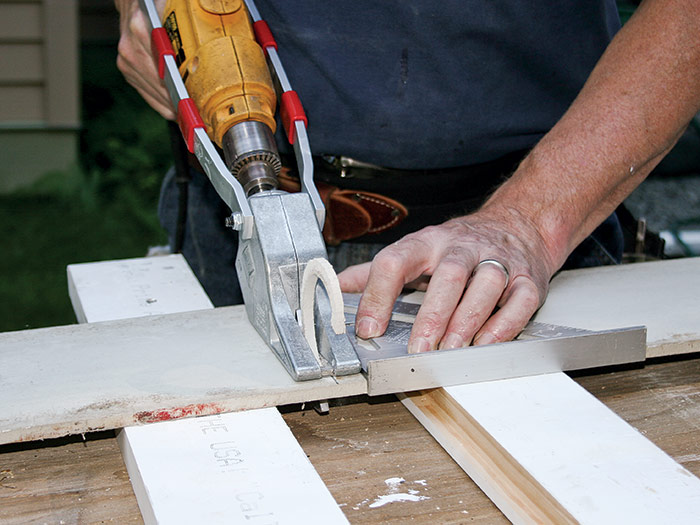 |
I prefer fiber-cement shears that attach to a drill. 4 They make little dust, are easy to take up on a scaffold, and don’t cost an arm and a leg. Use them with a layout square for right-angle cuts. Work on a bench (some framing lumber thrown on top of sawhorses is fine). Place the siding on a couple of pieces of 5/4 or 2× to support the stock while providing room for the shears to work. No matter what tool is used to cut fiber cement, it’s important to support both sides of the cut, or the siding will break near the end of the cut and leave a ragged edge. Cut fiber cement to leave 1⁄8-in. joints and seal the joints with polyurethane or butyl caulk. Caulk every joint as you go up, so succeeding courses lap the caulked joints.
Nailing Fiber Cement
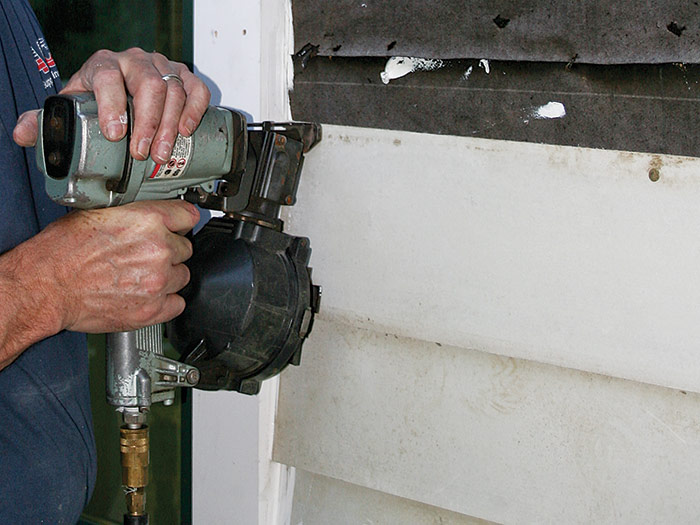
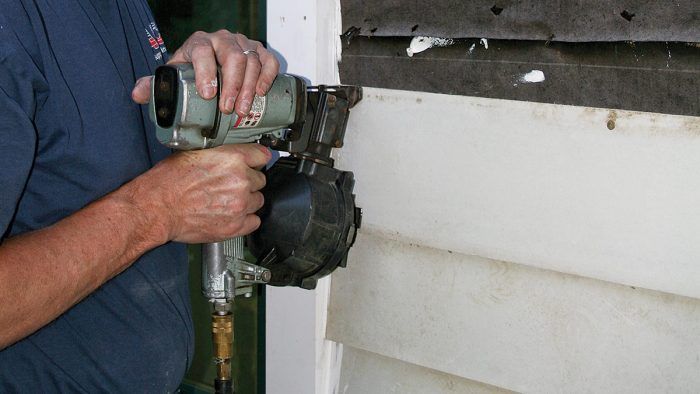
Blind-nail fiber-cement siding with a roofing gun and 1 1⁄2-in. corrosion-resistant nails, or with a siding gun and 2-in. corrosion-resistant nails. 5 Because fiber cement is blind-nailed (the nails are hidden by the next course of siding above), I’m comfortable using galvanized fasteners. Pay attention to the manufacturer’s nailing schedule (usually no closer than 3⁄8 in. to the ends and within 1 in. of the top of lap siding). Hold the siding firmly against the wall while nailing or the impact of the gun can crack the siding. Nail into studs and keep the edges of fiber-cement siding 2 in. above roofs. Start lap siding with a 1 1⁄4-in.-wide starter strip, as is done with cedar lap siding. Back up the joint with a piece of metal or plastic flashing. 6
 Excerpted from Carpentry Complete: Expert Advice from Start to Finish, by Andy Engel
Available at Amazon.com.
