How to Set Vinyl-Siding Starter Strips
After installing your vinyl soffits, fascia, and corner boards, the starter strips are the first step in covering walls with siding panels.
Setting the Starter Strip
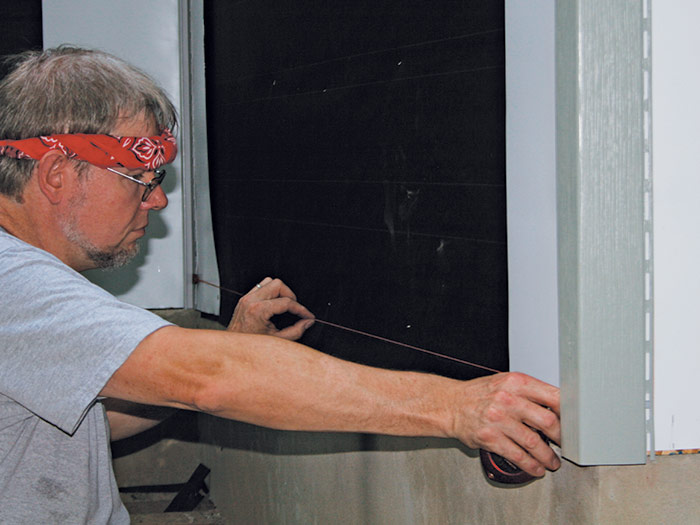
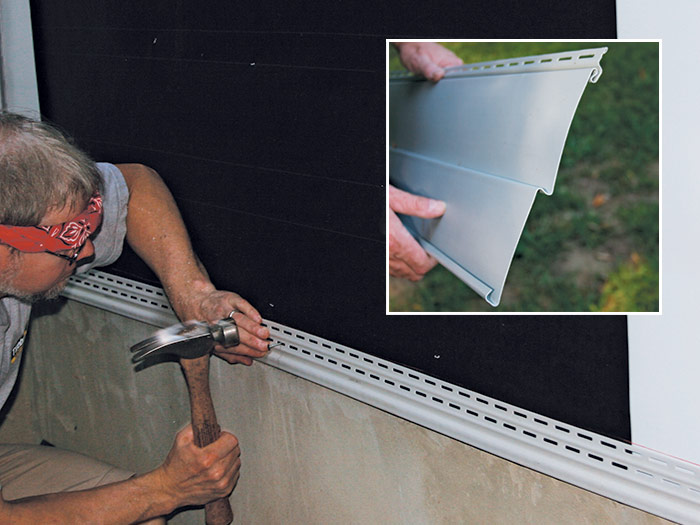
The last piece I run before starting the siding is the starter strip. Measure the width of the starter strip, mark both ends of the wall at this measurement, and snap a chalkline to locate its top. This way, when the siding clicks in, it will align with the bottom of the corners. 1 Nail the starter strip in place with 11⁄4-in. roofing nails about every foot. The bottom edge of vinyl siding, the buttlock, is hook-shaped, and engages in the starter strip. 2
Starting the Siding
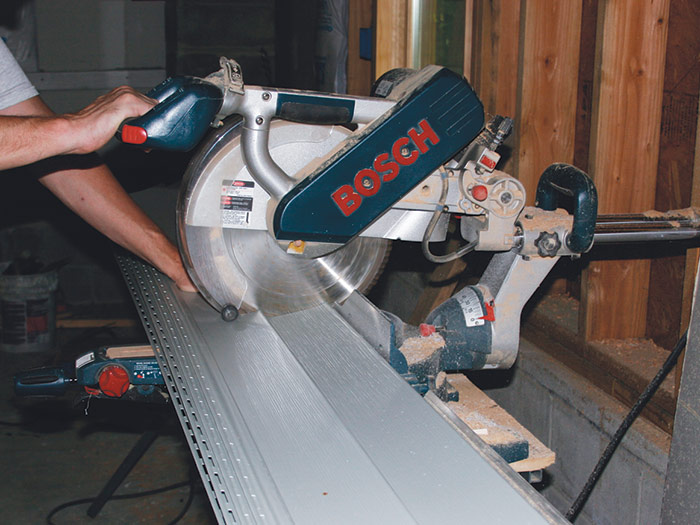
Cut the first piece of siding to length (remember to leave it short for expansion) with a miter saw. It’s much faster if you can stack up a bunch of pieces of siding of the same length and gang-cut them. 3
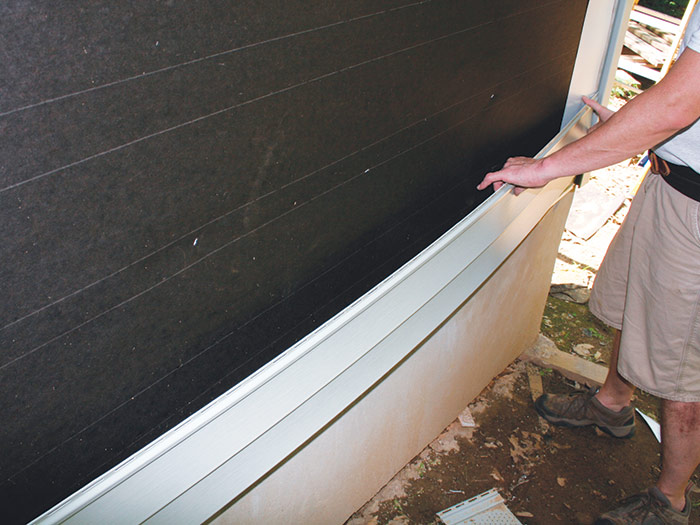
Holding the first panel above the starter strip, slip it into the J-channel at the corner. Push the siding’s bottom edge over the starter strip, then snap the hook on the siding into the starter strip. You’ll feel it engage. 4
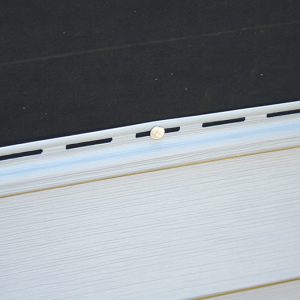
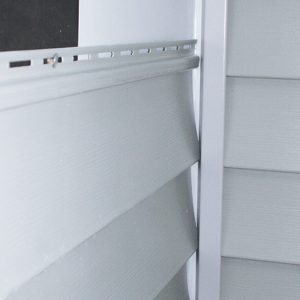
Before you nail them, the first panel and all succeeding panels are held in place by their engagement along the bottom edge. As you install each panel, make sure it’s engaged along its entire length, then nail it with 11⁄2-in. roofing nails about every 16 in. in the center of the slots. Don’t worry about hitting studs, and never set the nails fully—leave them a little loose so the siding can move. 5 At inside corners, just slide the siding from the intersecting wall behind the J you installed for the original wall. 6
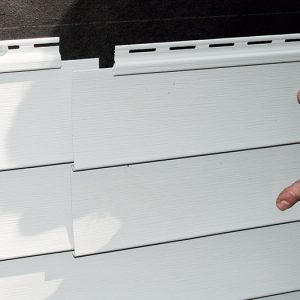
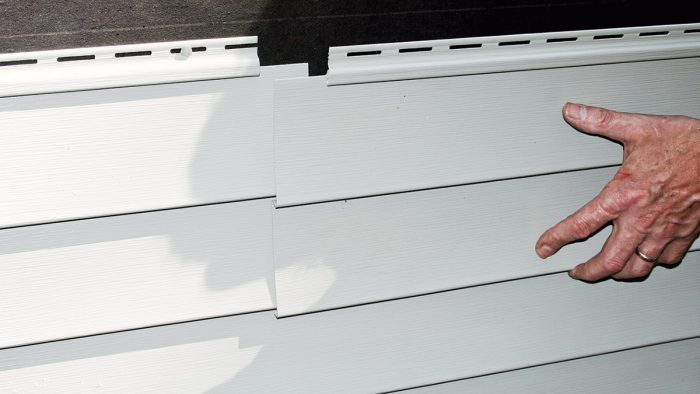
Lap abutting panels by about 1 in. 7 Pay attention to the direction of the lap, as well. At obvious viewing points, such as the front door, lap the near piece over the far piece to hide the seams. Laps should not align vertically—separate them by at least 3 courses.
 Excerpted from Carpentry Complete: Expert Advise from Start to Finish, by Andy Engel
Available at Amazon.com.
