How to Bend “W”-Shaped Valley Flashing
Use a metal brake to custom-bend this unique type of valley flashing that adds a bit of extra leak protection to your roof.
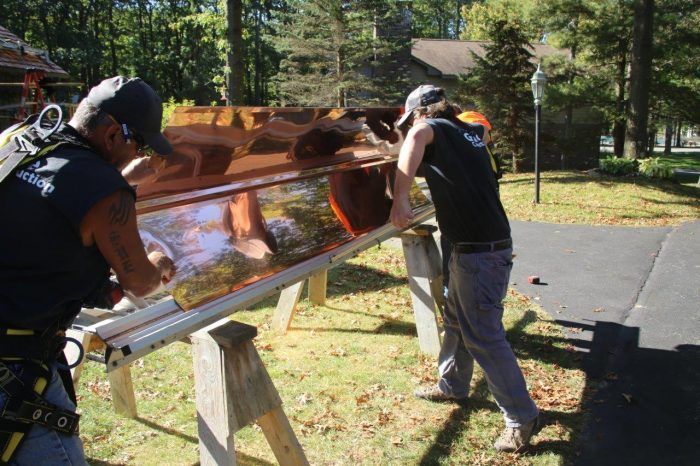
Whenever I’m faced with a roofing project that involves valleys, I bend my own valley flashing. I prefer what is called a “W”-shaped valley, a detail that adds a bit more leak prevention than the common “V”-shaped valley. The center rib (which makes this flashing look like a “W” in cross section) is what makes a W-shaped valley better than a V-shaped valley. The rib prevents water from washing down one slope, over the valley and getting under the roof on the other side of the valley. Of course it takes a little more time to make the extra bends, but as you’ll see below, it’s not hard to do. This particular copper valley flashing was for the project featured in my article “Installing Cedar Shakes.” Here’s how we made it.
Start by marking the location of the various bends by making small cuts with a pair of aviation snips. I start with 24-in.-wide, 16-oz. copper sheet that I get from the roofing supply house. The cuts are easier to see and line up in the brake’s jaws than pencil marks.
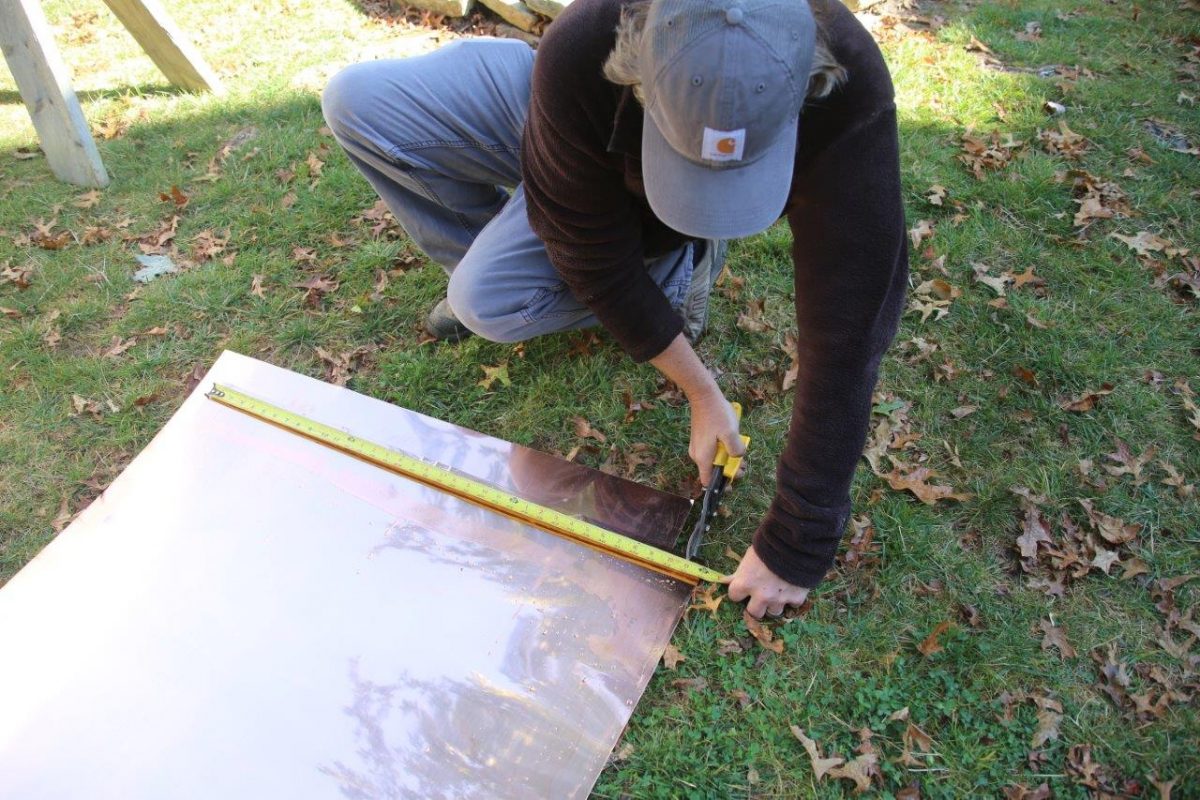
The first bend is the top of the center rib. It’s 12 in. from the edge and measures just a little tighter than 90°.
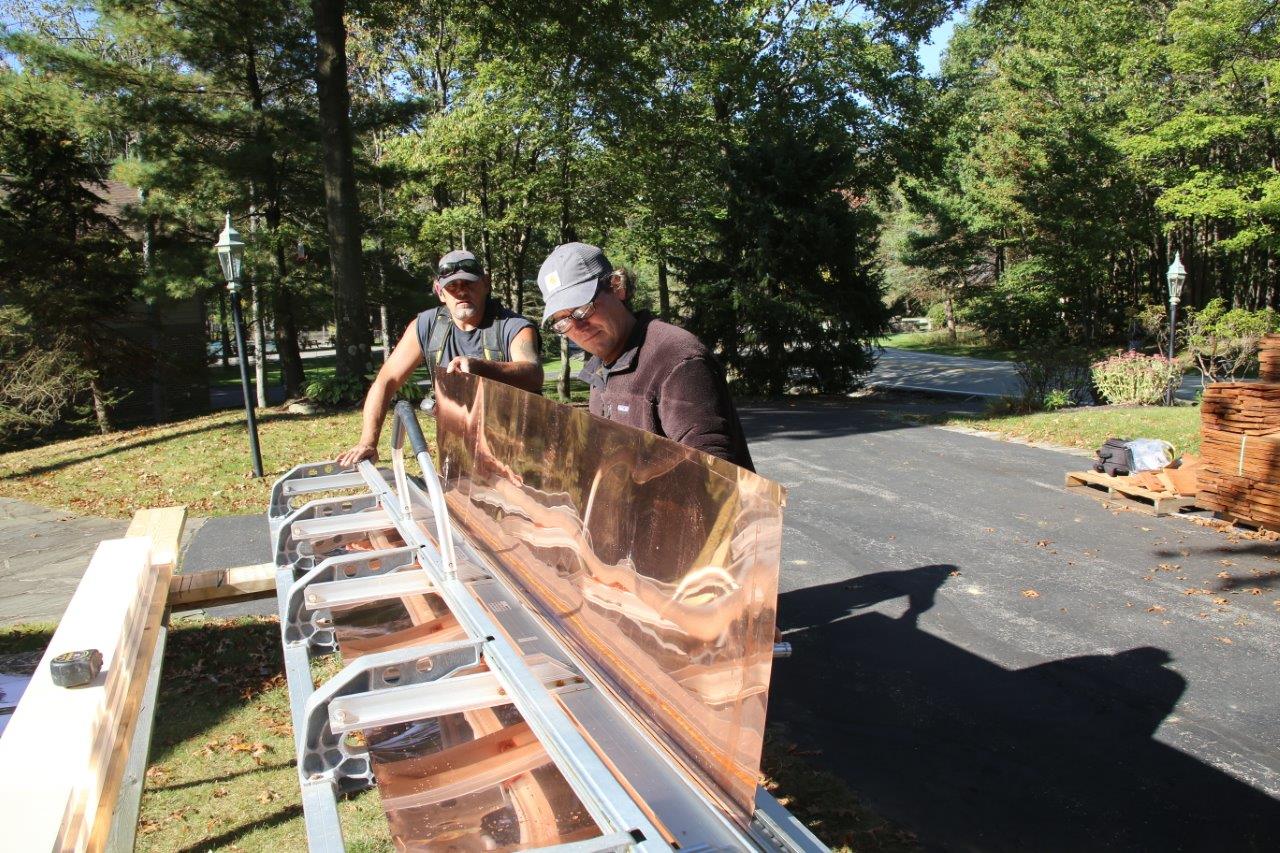
The second and third bends form the sides of the center ridge. You’ll need to turn the valley upside down and rotate it end for end for the second side of the rib. Both of these bends are 1 in. from the center.
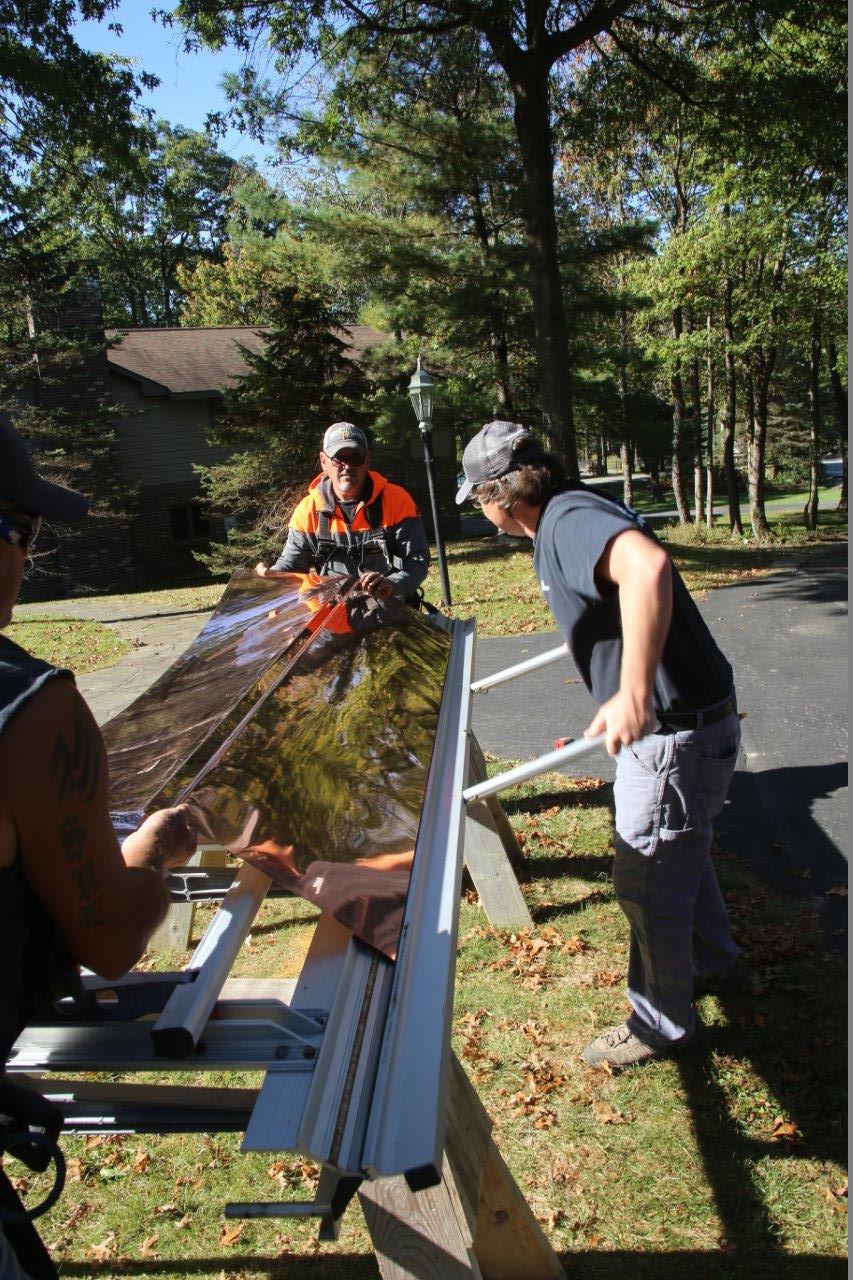
The sixth bend starts the hemmed edge on the other side of the valley.
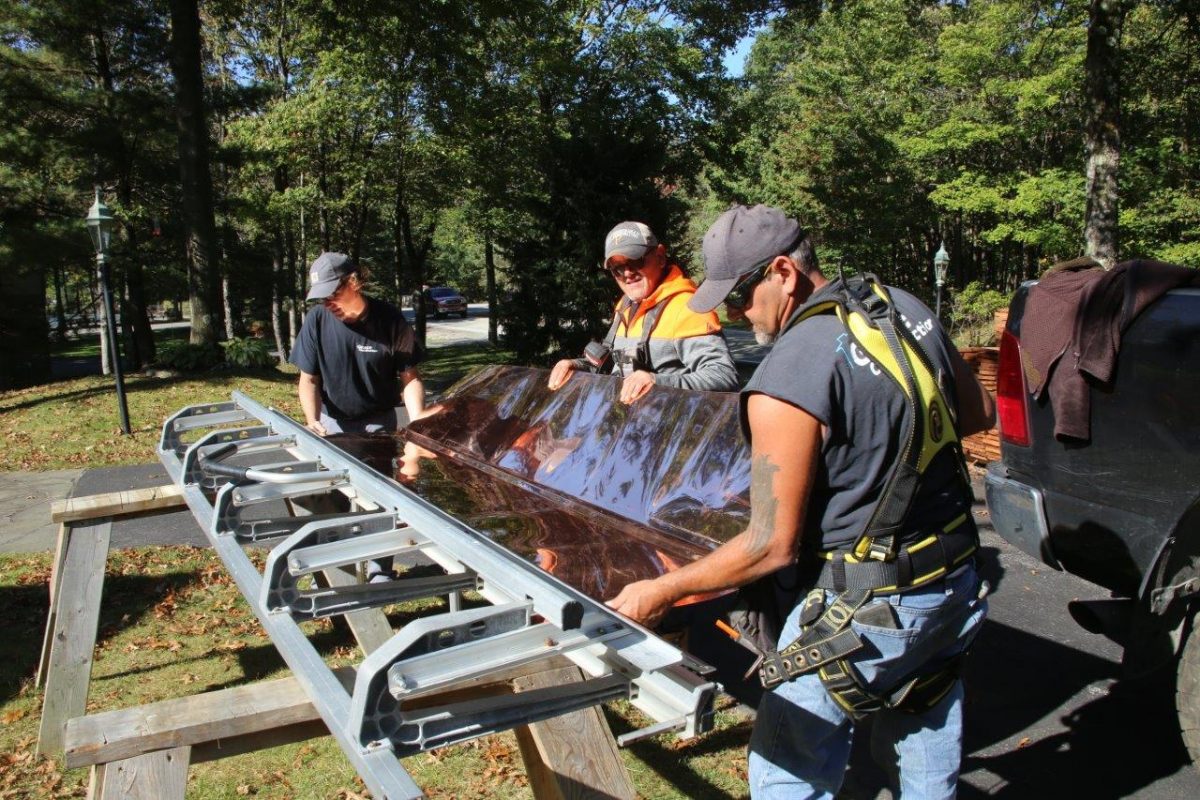
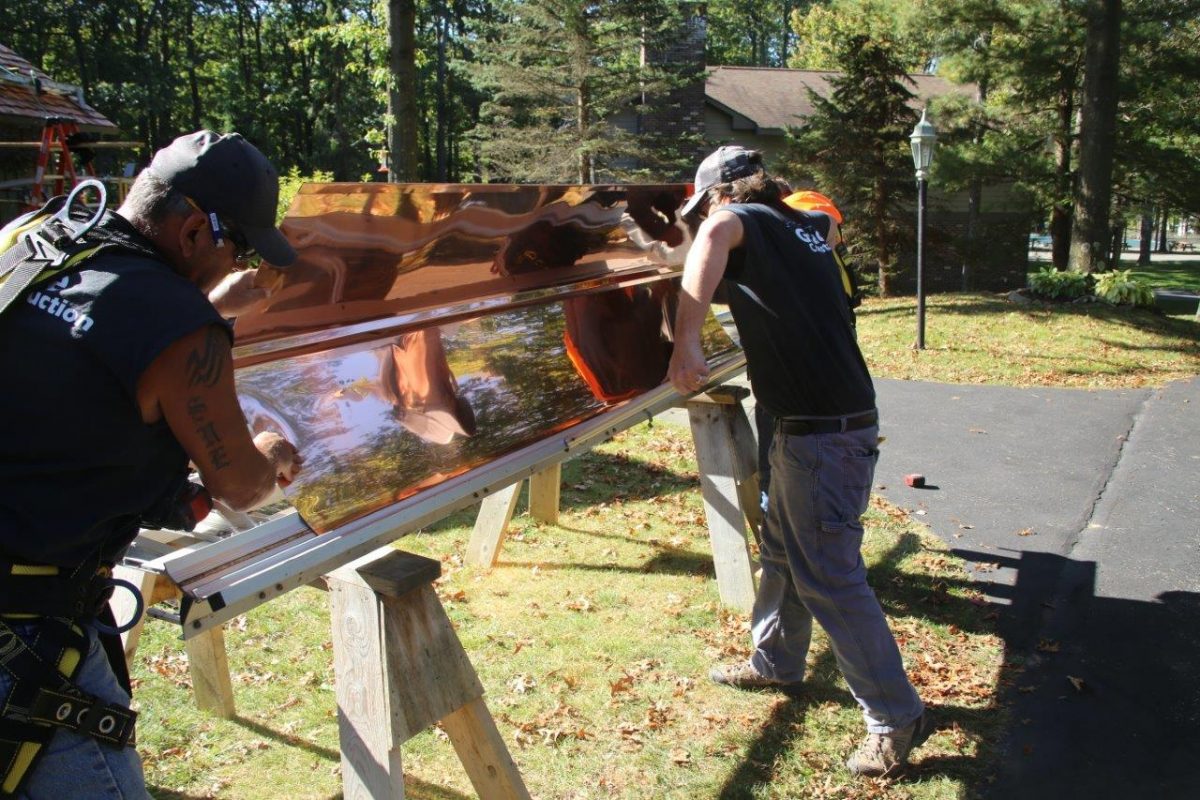
The seventh bend fully flattens the hemmed edge.
Andrew Grace is a roofer and remodeler in Ligonier, Pa.
RELATED LINKS
Fine Homebuilding Recommended Products
Fine Homebuilding receives a commission for items purchased through links on this site, including Amazon Associates and other affiliate advertising programs.
Flashing Boot Repair
Shingle Ripper
Peel & Stick Underlayment


