Custom, Shop-Built Radiator Covers
A furniture maker pairs traditional looks with modern assembly details to make a beautiful, safe, and functional surround for a cast-iron hydronic radiator.
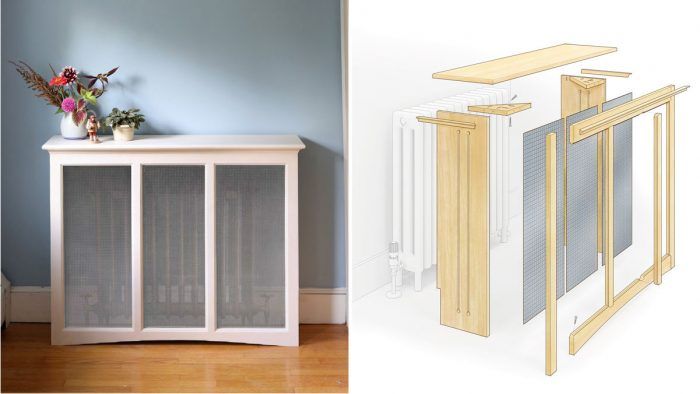
Synopsis: Old cast-iron radiators collect dust and cobwebs, can get dangerously hot, and may be unsightly. These custom radiator covers are built with pocket-screw joinery and can be modified to fit radiators and baseboard of any size. Woodworker Brian Alcorn describes the process, from building the face frames, to attaching the sides, to adding the screen panels and securing the cover to the wall with cleats.
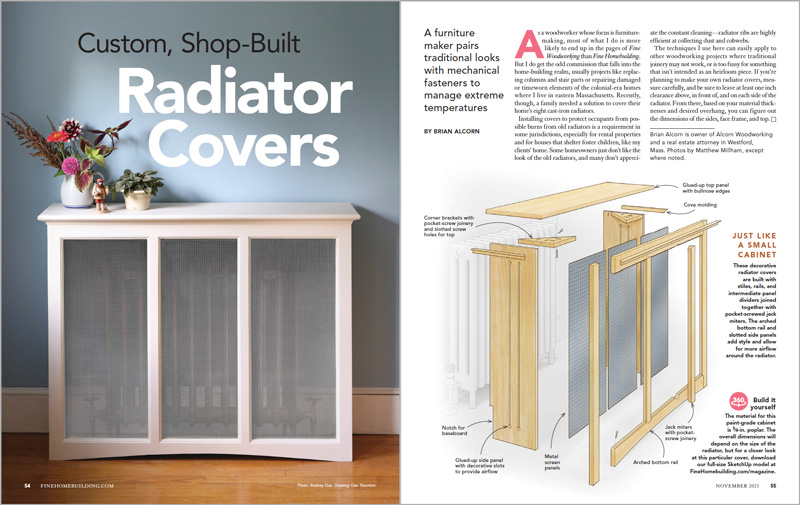
As a woodworker whose focus is furniture-making, most of what I do is more likely to end up in the pages of Fine Woodworking than Fine Homebuilding. But I do get the odd commission that falls into the home-building realm, usually projects like replacing columns and stair parts or repairing damaged or timeworn elements of the colonial-era homes where I live in eastern Massachusetts. Recently, though, a family needed a solution to cover their home’s eight cast-iron radiators.
Installing covers to protect occupants from possible burns from old radiators is a requirement in some jurisdictions, especially for rental properties and for houses that shelter foster children, like my clients’ home. Some homeowners just don’t like the look of the old radiators, and many don’t appreciate the constant cleaning—radiator ribs are highly efficient at collecting dust and cobwebs.
The techniques I use here can easily apply to other woodworking projects where traditional joinery may not work, or is too fussy for something that isn’t intended as an heirloom piece. If you’re planning to make your own radiator covers, measure carefully, and be sure to leave at least one inch clearance above, in front of, and on each side of the radiator. From there, based on your material thicknesses and desired overhang, you can figure out
the dimensions of the sides, face frame, and top.
Face frames first
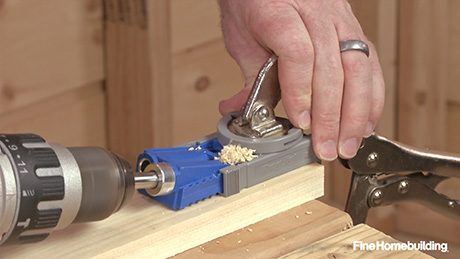
While not all radiator covers will be the same size, the construction of the front face frames is the same, each with a pair of rails and stiles like those found on kitchen cabinets. After considering the swings in heat these joints will see, I determined that pocket-screw joinery would work best.
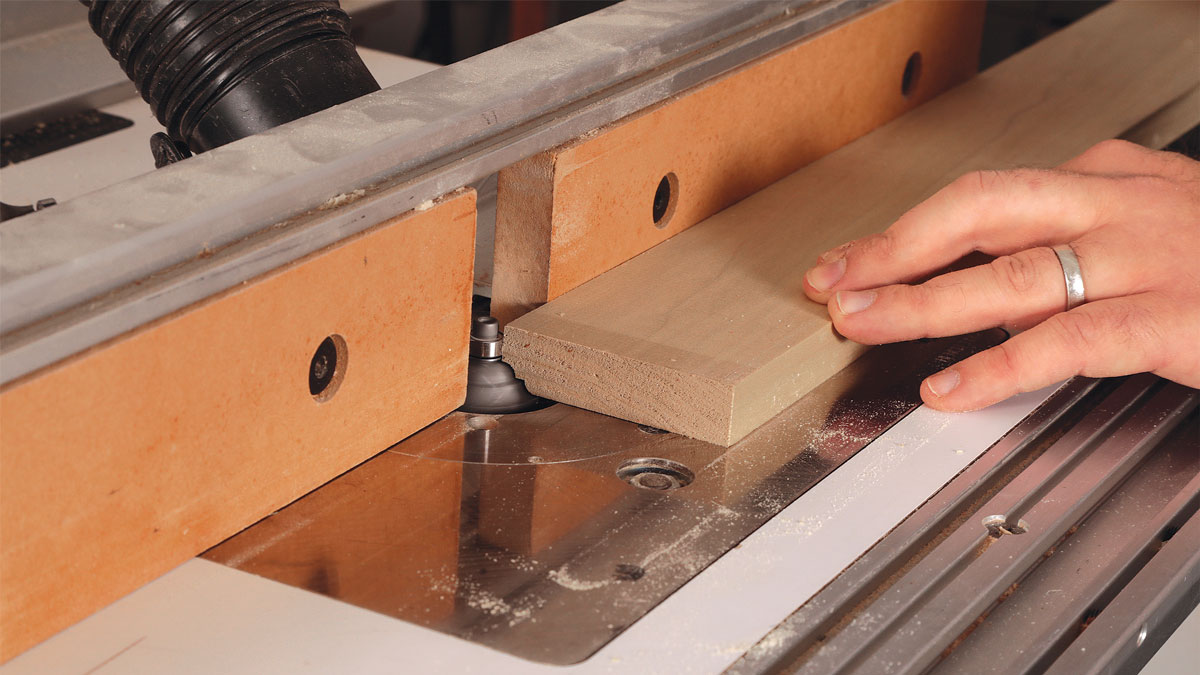
Joint, rip, and profile. For straight material and tight joints, run the stock through a jointer. Rip the rails to 3 in. and the stiles to 2-1⁄4 in. Profile one edge of each piece on the router table with a beading or cove bit.
 |
 |
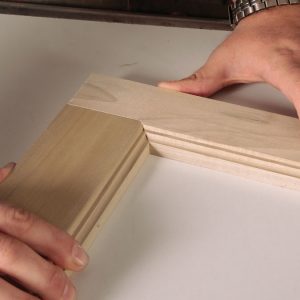 |
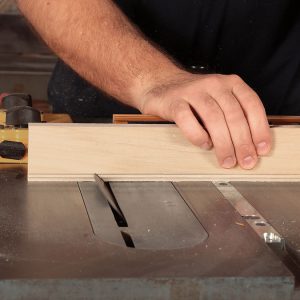
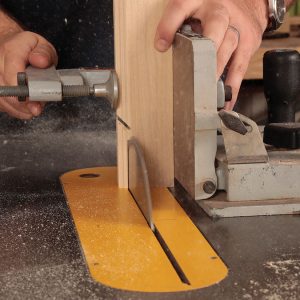
Nip the rails, cut the stiles. Less prone to opening from wood movement, jack miters combine a 45° miter at the profile and a butt joint for the rest of the material. With the blade tilted at 45°, cut the miter on the stiles equal to the depth of the profile. For the flat portion of the joint, use a tenoning jig to hold the stock vertically and square as it passes through the blade. Nip off the corner of the profile on the corresponding rail (Not shown). Cut and practice with sacrificial boards until you fine-tune the setup.
Brian Alcorn is owner of Alcorn Woodworking and a real estate attorney in Westford, Mass. Photos by Matthew Millham, except where noted.
From Fine Homebuilding #303
RELATED LINKS:








View Comments
I put together something like that a few years ago to conceal a TV.
While nice looking, this cover as designed will reduce the radiator's heat output. Think "stack effect"; the solid top impedes convection circulation of heat. This should be well know by now, see the attached analysis on the effects of radiator covers done in the 1920's.
Mark