Working With Tongue-and-Groove Boards
Focus on handling wood movement due to changes in humidity when installing wall paneling.
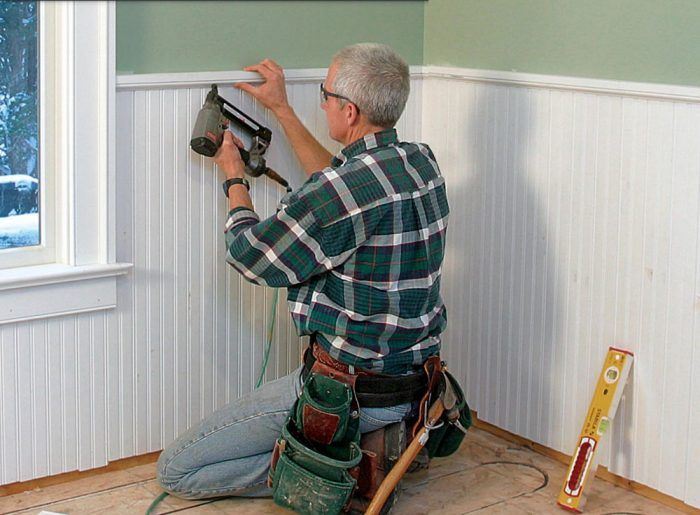
I plan to panel the walls of a room with tongue-and-groove boards—the real stuff, not sheet goods with beads milled in the face. Are there any tricks I should know to handle wood movement due to changes in humidity?
—John Pond via email
Contributing editor Andy Engel replies: It sounds like you already know that the most important consideration when creating wall paneling with solid-wood boards is wood movement. You cannot stop it—you can only minimize and accommodate it. Like wood floors, solid-wood paneling needs to be able to expand or shrink with changes in humidity. Whenever possible, use quartersawn or vertical grain (VG) boards because they are more stable during humidity swings than plain-sawn material.
Store the boards on-site until they become acclimated to the room’s temperature and humidity level. This will happen faster if they are unbundled and stacked with stickers between the layers. And finishing the boards prior to installation makes a difference. Not only does finishing slow the wood’s moisture gain or loss, it prevents unfinished wood from showing through the joints if the planks do shrink.
Your installation will depend on the conditions of the material and the site. If you’re installing high-moisture planks on the hottest, most humid week of the year, you can expect them to shrink when things cool down and dry out. This may leave gaps, so the planks can be butted tight to one another. If you’re installing dry planks during the coldest and driest week of the year, the planks will likely expand with the rise in humidity, which could cause them to buckle. Gaps may be unsightly, but severe buckling can be a disaster.
If you suspect the planks will expand, the main trick is to avoid pinning both ends of long planks tightly between intersecting walls. The planks on the longest wall will see the greatest total amount of movement and will need bigger gaps to accommodate that movement, so starting on the long walls will allow you to cover up those gaps with a corner board or the planks on the adjacent wall.
Narrower pieces of wood expand less than wider ones, so I vary the gaps between boards depending on the width of the board. For stock under 3 in., I’ll use a thin drywall knife to gap the planks at both ends. For wider stock, I’ll use the thin end of a cedar shim, doubling or tripling that for very wide planks such as 1x12s.
You also need to allow the paneling to move at intersections with door and window casing just as with abutting walls. I’ve seen paneling swell enough to jam the door so it won’t close. You can avoid this by simply using wider jambs and installing the casing over the paneling.
In short, think about how the wood is likely to move after installation and accommodate that movement.
From Fine Homebuilding #303
RELATED LINKS:
