How to Hang Cabinets on a Brick Wall
Readers recommend using the "amazingly strong" French cleat.
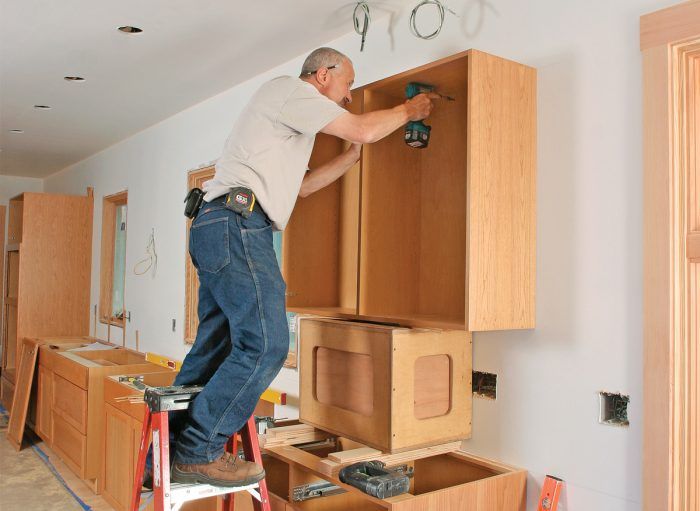
Hanging kitchen cabinets on a conventionally framed wall is a snap, assuming you’ve remembered to put blocking where you need it.
But what about a brick wall?
In a post on FHB’s Discussion Forum, Sean114 writes, “No time or space to build a new 2×4 framed wall at current spot. Some folks suggest Tapcons (lots of folks do not), I’ve been told sleeve anchors work best. Just want to make sure that I do the best I can. Wall has furring strips also.”
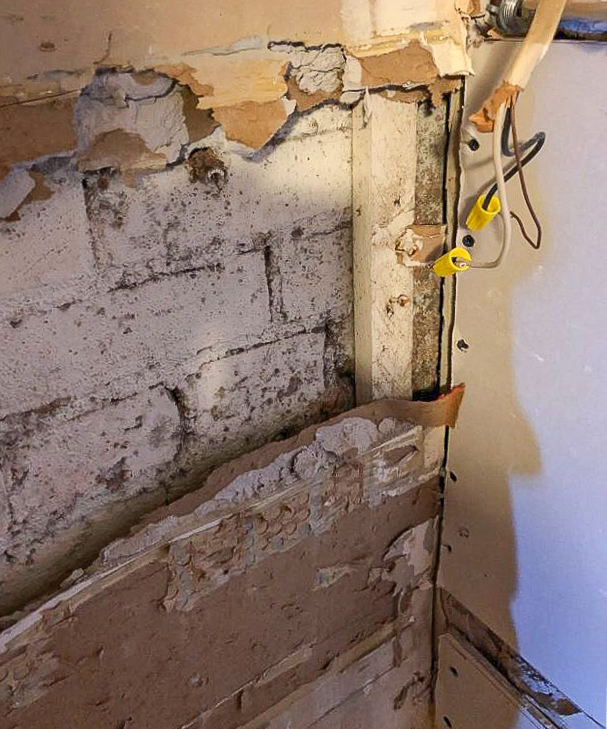
The wall that Sean has in mind consists of brick followed by vertical furring strips and then drywall. He doesn’t say how far apart the furring strips are, but Florida suggests that he could mount the cabinets directly to them. Alternately, Florida says, pull the drywall and screw 1/2-in. plywood to the furring strips. The cabinets could be attached to the plywood, and the plywood finished as if it were drywall.
Try French cleats
Roy Turning writes that he has faced just such a situation. His solution was to use French cleats, which consist of two pieces of wood whose edges have been cut on a bevel. One piece is mounted to the wall and the matching piece goes on the cabinet. The two edges interlock and keep the cabinet firmly attached to the wall.
“In my case, I used sleeve anchors into the brick, not the mortar joint, to mount French cleats,” Turning says. “This requires another (mating) French cleat mounted on the back of the cabinet. I made my cleats about two inches shy of the total inside width of the back of the cabinet so that I could slide the cabinet left or right an inch or two for a more perfect placement.”
Where the bottom of the cabinet would hit the wall, Turning mounted another furring strip. He placed a matching wood strip on the back of the cabinet, and then screwed through the inside of the cabinet into the furring strip. The cleats could be made from poplar, pine, or fir.
“As I recall,” he said, “I had to use some hydraulic cement around one of the sleeve anchors because the brick was very soft and blew out.”
Since then, Turning has used hundreds of Tapcon screws, a screw designed to be driven into a pilot hole in masonry. He’d probably recommend that route now for Sean’s project. If the brick is soft, Turning suggests using a masonry bit to drill the pilot hole, but not the hammer option on a hammer drill. Also, he favors the hex head over the Philips head on the screw even if that means he has to recess the screw head.
Bing0328 says 3/4-in. shop birch would make good cleats. In addition to the screws, he would also use epoxy or Gorilla Glue, a polyurethane adhesive.
French cleats carry a lot of weight
Obeeswax offers another endorsement for the French cleat. They will carry an amazing amount of weight, he says. In his shop, Obeeswax attached them to the back of solid wood cabinets and the 2×4 studs in the wall. Then he filled the cabinets with power tools, hardware, and antique hand tools.
“I plan to also use them for the kitchen renovation,” he adds. “But instead of the plywood I used in my shop, I may go to maple or another hardwood, just in case it shows, something strong on the Janka scale. If I don’t like where something is, I can simply change the configuration without expense.”
What about 2×4 furring?
The discussion has given Sean some ideas, one of which is to fur out the wall with 2x4s on the flat, and attach the cabinets directly to the furring.
“I was thinking of anchoring the 2×4 into the brick and then attaching the cabinets to the 2×4,” Sean says. “I was going to run a top plate and bottom plate secured into the brick and the studs at 16 in. on center. And yes, I was thinking of using some Hilti epoxy and glue also. I’m happy to over-engineer if I have to.”
Our expert’s opinion
Builder Jason Mollak had these thoughts:
Taking into consideration Sean’s comment that he doesn’t have enough room to frame out a new 2×4 wall, I would pull the drywall, check the furring and address any loose pieces, and then replace the drywall with plywood. This would give you a solid surface for hanging your cabinets. Assuming this is in a kitchen, most of the walls will be covered with cabinets and backsplash, so most of the plywood would be covered. Any exposed sections could be touched up with drywall or trim pieces.
If you do have the room, I would add 2x4s on the flat, attached with Tapcons or anchors and construction adhesive, and then add a layer of plywood.
I personally do not like using Tapcons alone unless I know they’re catching. We have used them in the past and seem to make multiple holes in order to achieve sufficient holding power. With plywood or added furring you’ll know what you’re installing the cabinets on and will have more peace of mind that they will continue to stay where you want them.
Scott Gibson is a contributing writer at FHB and Green Building Advisor. Jason Mollak is president of JPM Construction Inc. in Elkhorn, Neb. Reader comments may have been edited for clarity. For a look at the complete thread, use the link at the top of this column.
RELATED LINKS
